• Don't miss out on all the fun! Register on our forums to post and have added features! Membership levels include a FREE membership tier.

Installation & Review: Yamaha OEM Turbo & MPI Stage One Upgrade

2Huskies

Well-known member
Lifetime Membership
Jul 19, 2009
581
206
43
Rigby, Idaho
Throttle Body Preparation

Steps 16-17

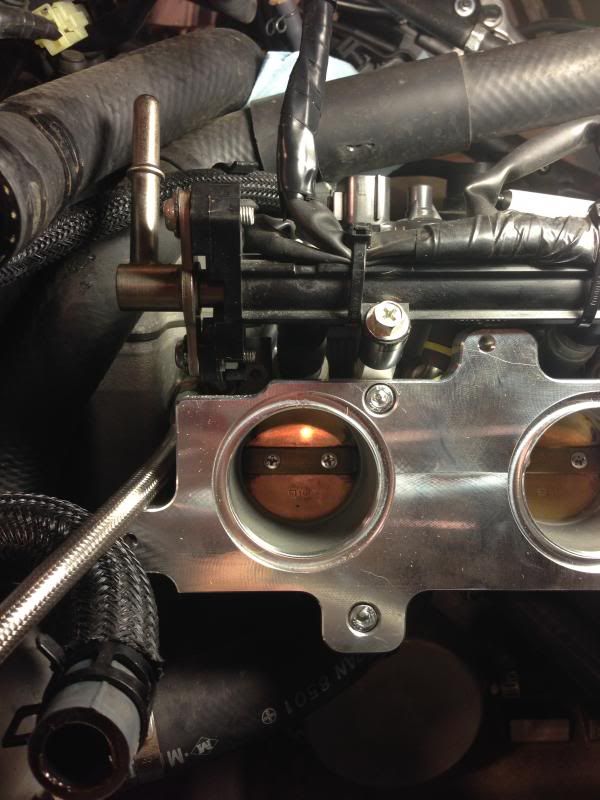
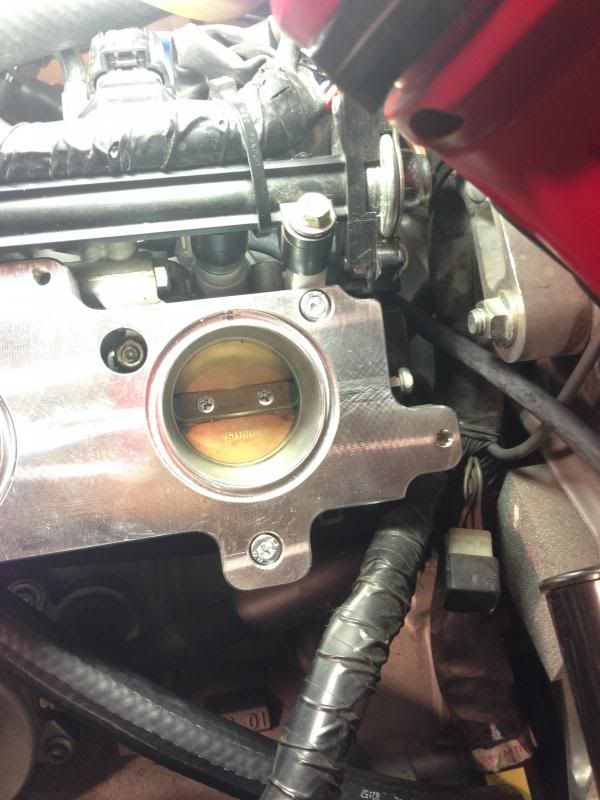
Install throttle bodies

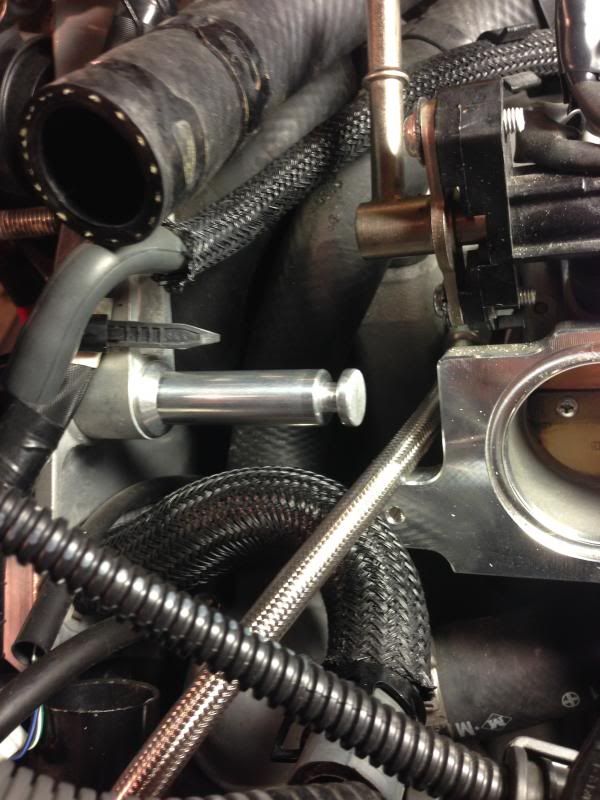
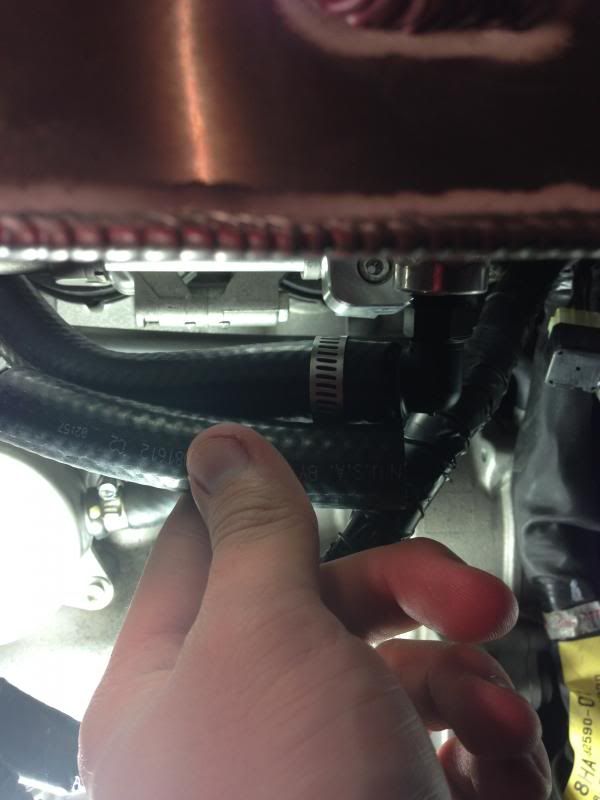
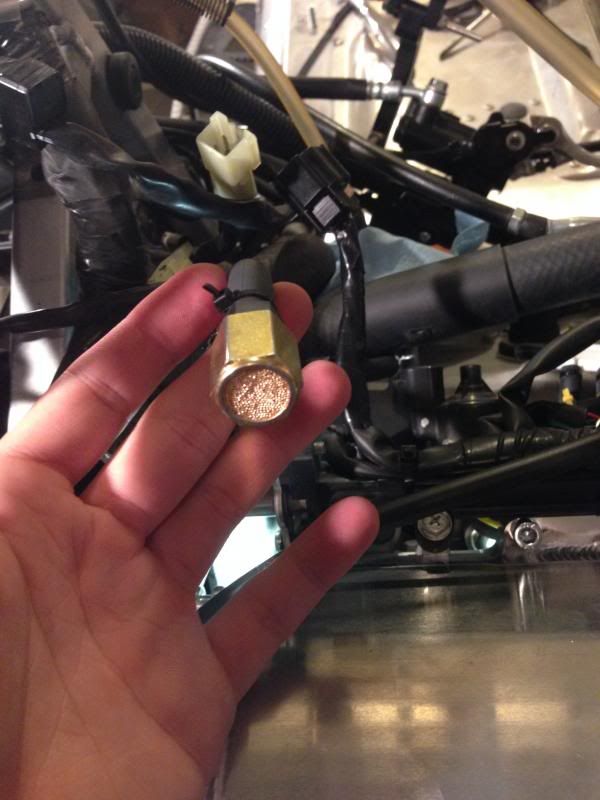
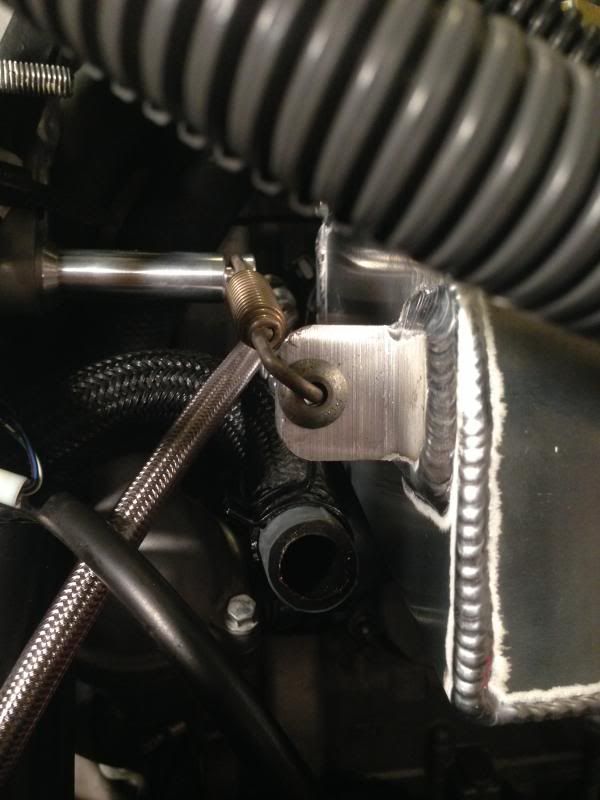
Now a key point in this was to install the RH (as you sit on the sled) carb heater before you seat it, or its nearly impossible to get on.

You will notice the line is not seated all the way, haha I made that mistake of only getting it on half way and installing it. Its pain to try and get it on all the way after installation.
klim3006.jpg


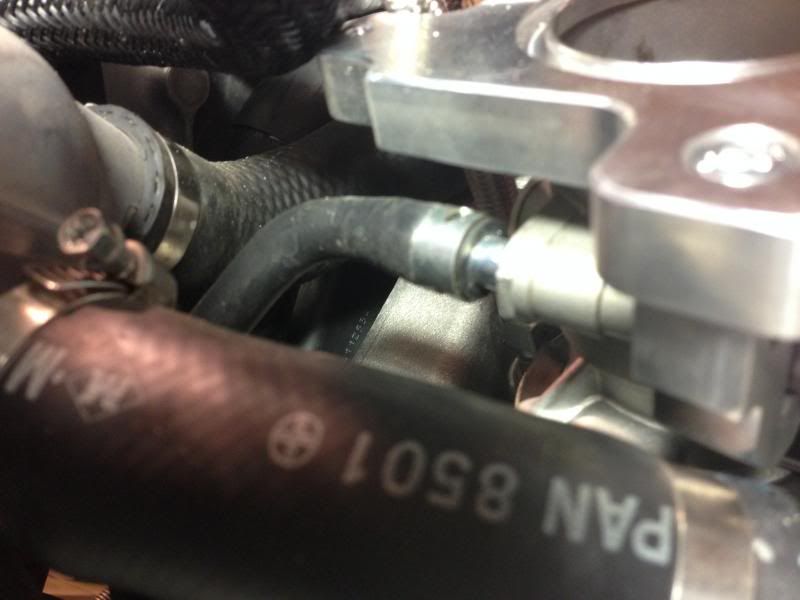
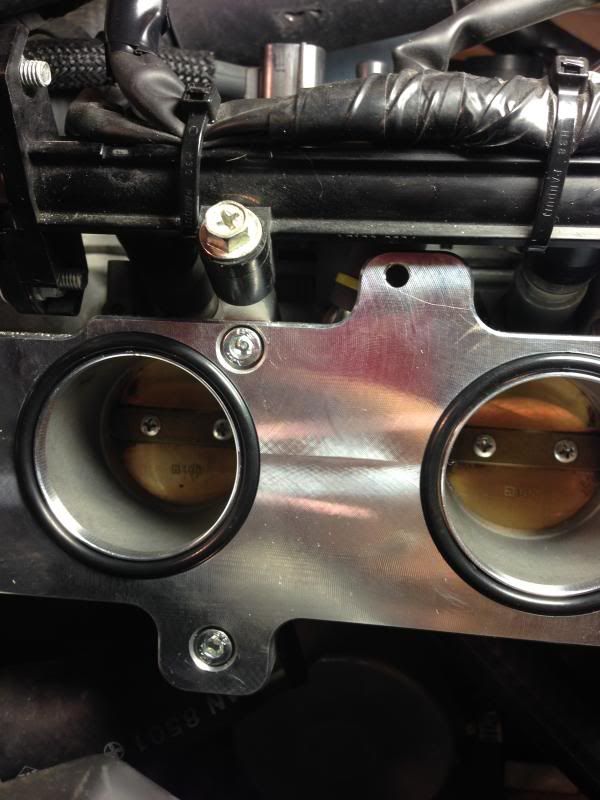
Same thing happened on the LH side.
klim3005.jpg


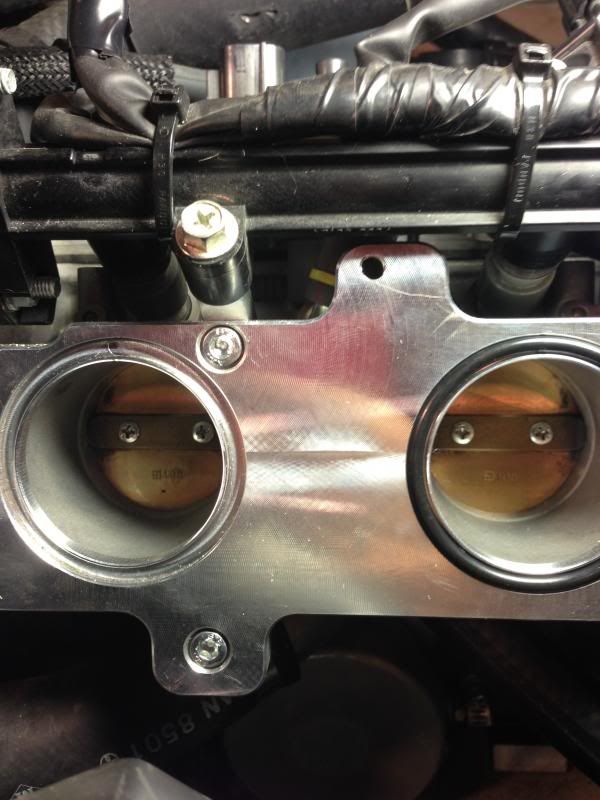
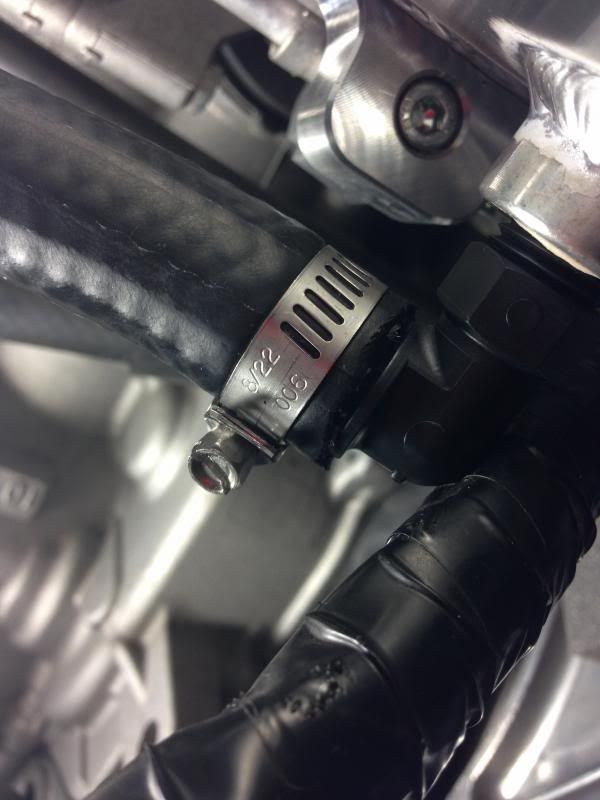
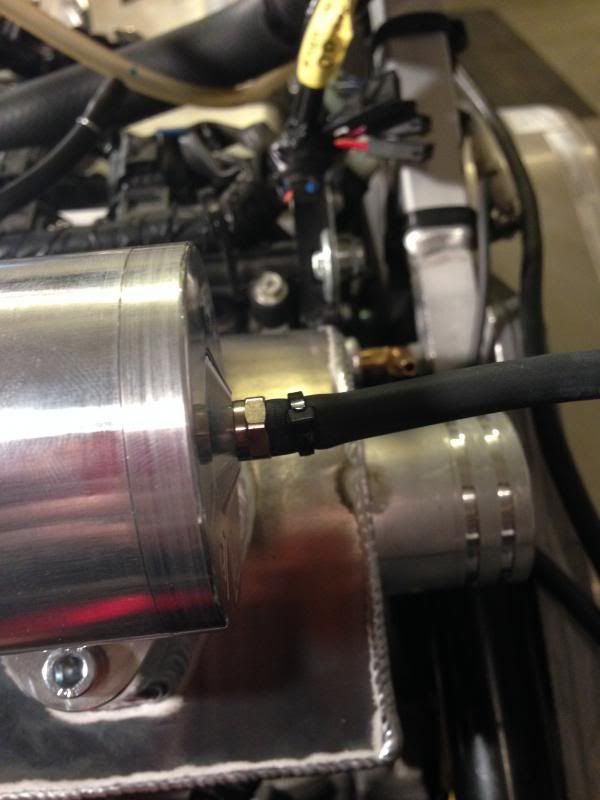
Eventually after some coaxing they finally seated all the way.

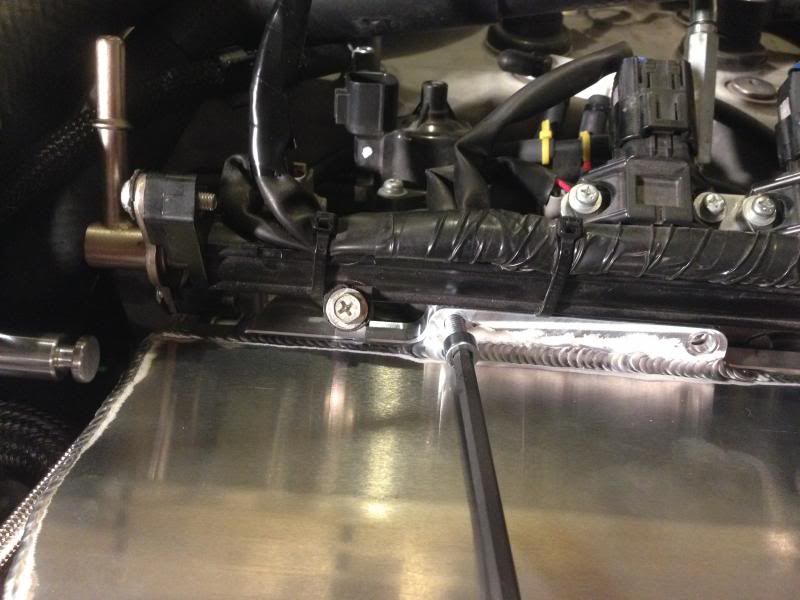
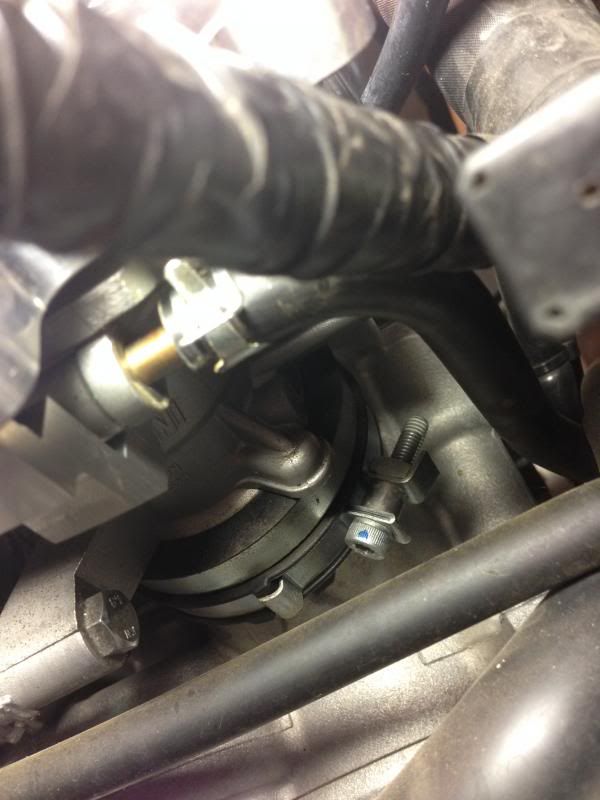
Now I double checked the tightness of all the Manifold clamps
klim3005.jpg


With that done the Throttle bodies are installed

klim3008.jpg
klim3007.jpg
 

slash

Parts Moderator & Chat Box Cop
Staff member
Lifetime Membership
Jul 22, 2008
3,060
1,224
113
64
IDAHO FALLS 83404
Well I ran into a small problem that I mentioned earlier

We debated between replacing the wiring
klim3002.jpg


We ended up just wrapping each wire then wrapping it all together

klim3003.jpg
klim3004.jpg


Then wrapped the entire thing up.

Well onto finishing the Throttle Body preparation
no good ! take it back apart go to napa get some STARBRITE LIQUID ELECT SEALER AND WATER PROOF THE WIRES ........
 

slash

Parts Moderator & Chat Box Cop
Staff member
Lifetime Membership
Jul 22, 2008
3,060
1,224
113
64
IDAHO FALLS 83404
THINK YOU CAN EVEN GET IT IN PINK
IF YOU DONT SEAL THEM AND WATER GETS IN THERE THEY WILL CORRODE AND CAUSE INJ FAILURE
 

slash

Parts Moderator & Chat Box Cop
Staff member
Lifetime Membership
Jul 22, 2008
3,060
1,224
113
64
IDAHO FALLS 83404
thats a weather pack connector it has rubber seals around each wire and the connector joint so water cant get in
 
T

TRUEBLUEMAX

Well-known member
Aug 4, 2010
751
280
63
Hooper, Utah
If its not completely sealed off electrical tape can make things even worse because water will find its way in but with the tape on there it tends to hold the moisture in and accelerate the corrosion process.


Sent from my iPhone using Tapatalk - now Free
 

slash

Parts Moderator & Chat Box Cop
Staff member
Lifetime Membership
Jul 22, 2008
3,060
1,224
113
64
IDAHO FALLS 83404
more often than not the harness is hot and the ecm duty cycles neg if you have water in there it might fire all 3 injectors at the same time and flood or just shut down the eng
 

2Huskies

Well-known member
Lifetime Membership
Jul 19, 2009
581
206
43
Rigby, Idaho
Airbox and Blow-Off / ByPass Valve Assembly

Step 18

Remove the RH OEM nut that connects the Square Aluminum upper steering column to the cast bulkhead.

Make sure you keep the bolt, its reused!
AirboxInstall001.jpg


Step 19

Then install the billet nut extension in its place

AirboxInstall002.jpg
 

2Huskies

Well-known member
Lifetime Membership
Jul 19, 2009
581
206
43
Rigby, Idaho
Airbox and Blow-Off / ByPass Valve Assembly

Step 20

Insure the 3 Provided O-Rings are in place

AirboxInstall004.jpg
AirboxInstall003.jpg


Step 21

Attach the Airbox using 4 M6X16 Socket head bolts

AirboxInstall005.jpg


When I first put the bolt in it didnt fit. It took a bit of fighting but eventually the bolt will turn and fit.
 

2Huskies

Well-known member
Lifetime Membership
Jul 19, 2009
581
206
43
Rigby, Idaho
Airbox and Blow-Off / ByPass Valve Assembly

Step 22

Connect the 1/2" IAC hose from the throttle bodies to the airbox. You will have to trim the hose down to make it fit.

The piece in my hand is the amount that I had to remove to make it fit, its a tight fit. Make sure you include the hose clamp before you connect it to the Air box.

AirboxInstall008.jpg


Then tighten down, but don't wail on it or you can break the plastic adapter.

AirboxInstall009.jpg
 

2Huskies

Well-known member
Lifetime Membership
Jul 19, 2009
581
206
43
Rigby, Idaho
Airbox and Blow-Off / ByPass Valve Assembly

Step 23

Attach the brass Oil Vent Filter/Breather into the small 6MM vent hose on top of the valve cover. Used to be connected to the OEM air box. Then zip tie down and ziptie to the fuel line.

AirboxInstall010.jpg


Step 24

Mount Bypass/ Blowoff Valve

Use the last two of the socket head bolts to mount this. Insure the large outlet points to the right. (all directions are as you sit on the sled)

AirboxInstall015.jpg


Step 26

Connect the the 3/16 rubber vacuum line coming off of the throttle body Tee that was previously installed. Its the really long tube haha. Then Zip-Tie it down.

AirboxInstall014.jpg
 

2Huskies

Well-known member
Lifetime Membership
Jul 19, 2009
581
206
43
Rigby, Idaho
Airbox and Blow-Off / ByPass Valve Assembly

Final Step
Step 27

Attach the spring from the RH side of the sled with the nut extension to the Airbox. I had to use a screw driver to pull it into the ear on the air box.

AirboxInstall016.jpg


Onto the Chassis Preparation and Turbocharger Installation.
 

2Huskies

Well-known member
Lifetime Membership
Jul 19, 2009
581
206
43
Rigby, Idaho
This will be one of my Saturday Projects. Ill make sure to get that resolved.

If its not completely sealed off electrical tape can make things even worse because water will find its way in but with the tape on there it tends to hold the moisture in and accelerate the corrosion process.


Sent from my iPhone using Tapatalk - now Free
 

christopher

Well-known member
Staff member
Lifetime Membership
Nov 1, 2008
81,528
27,398
113
Rigby, Idaho
So, all in all, how's your installation going?

You having fun bolting in this new turbo, or did you bite off more than you can chew??

I remember installing my supercharger, there were some moments where I was LOST and felt like beating my head against the wall, and others where it was the easiest thing in the world. I was glad MPI provided such a detailed, Step-by-Step manual for me to follow. That made all the difference in the world.

I think cutting the holes in the bulkhead was the most "troubling" thing about it for me. I was SOO worried about screwing that up and making a mistake. Anything else could be fixed, but putting the hole in the wrong spot had my undivided attention!! In the end it worked out GREAT though, was TOTALLY WORTH THE TIME AND EFFORT!!
 
B

BigFish BC

Well-known member
Jan 27, 2005
3,348
1,139
113
kitimat b.c
So, all in all, how's your installation going?

You having fun bolting in this new turbo, or did you bite off more than you can chew??

I remember installing my supercharger, there were some moments where I was LOST and felt like beating my head against the wall, and others where it was the easiest thing in the world. I was glad MPI provided such a detailed, Step-by-Step manual for me to follow. That made all the difference in the world.

I think cutting the holes in the bulkhead was the most "troubling" thing about it for me. I was SOO worried about screwing that up and making a mistake. Anything else could be fixed, but putting the hole in the wrong spot had my undivided attention!! In the end it worked out GREAT though, was TOTALLY WORTH THE TIME AND EFFORT!!


measure 20 times check,check & double check & cut once:face-icon-small-win:face-icon-small-hap
 

2Huskies

Well-known member
Lifetime Membership
Jul 19, 2009
581
206
43
Rigby, Idaho
Overall its actually been pretty fun!

I have never done anything like this before. To be honest the closest I have come to doing something like this would be changing the tire on a car. Yet so far things are really going well.

Thats not to say I havnt gotten stuck, had to consult friends or the manual, or banged up my nuckles and tried to stifle a few words haha.

MPI really does a good job of making it clear what to do! The only times i felt lost were when I wasn't paying close enough attention to what their instructions were.

I have had to sit there a few times and just look at it and look at it and smack the sled a few times till I figured it out :face-icon-small-ton.

But without a doubt drilling that hole last night about gave me a panic attack. Haha, up until now it had just been uninstall this, install that, all using stuff that already existed.

Yet when I got to a step that said to cut out a hole i really stressed. (Ill have pictures this afternoon)

But without a doubt I am so EXCITED to see how this thing runs in a week!
 
Premium Features