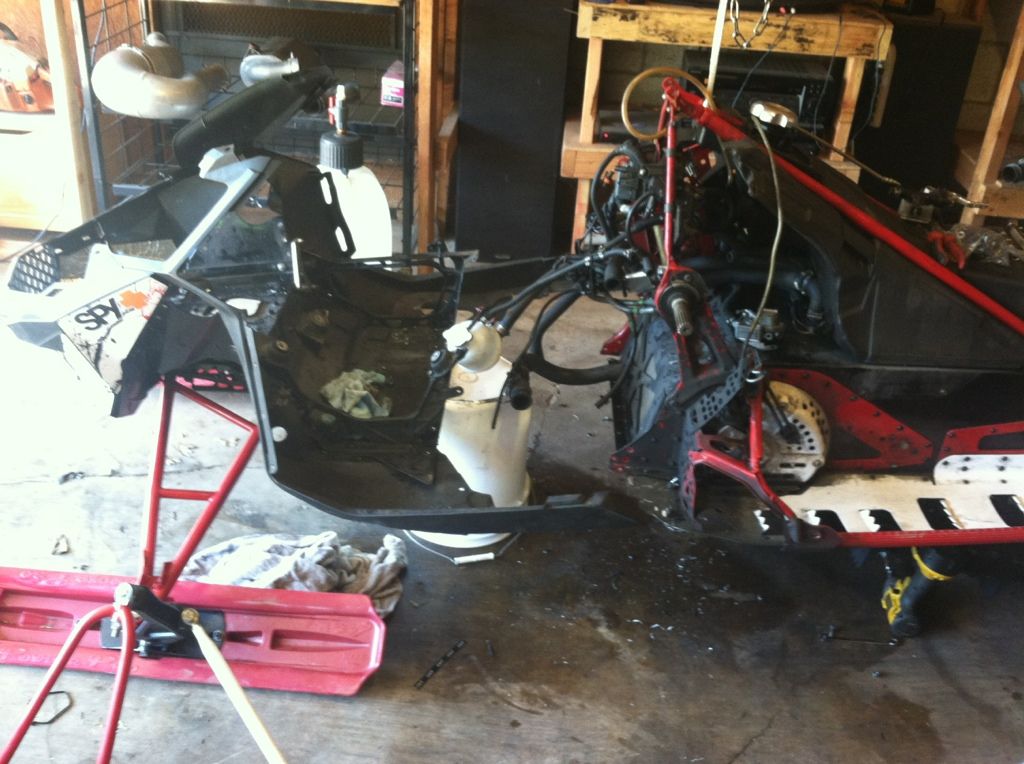
I recently bought a new to me '08 XP for a back up. I picked it up for really cheap but I knew when I bought it that I would have to do some work to it. It only has 798 miles on the chassis. From what I know about the sled the crank was replaced about 400 or so miles ago. The sled came with a SLP single, Vforce 3 reeds, and an Oil Delete. It also had Dave Trygstads race porting done to the cylinders. The ECU was programmed back to stock with the 8400 rev limiter. Since I already have a slightly Mod sled already I was looking for a stock sled but It was too good of a deal to pass up.
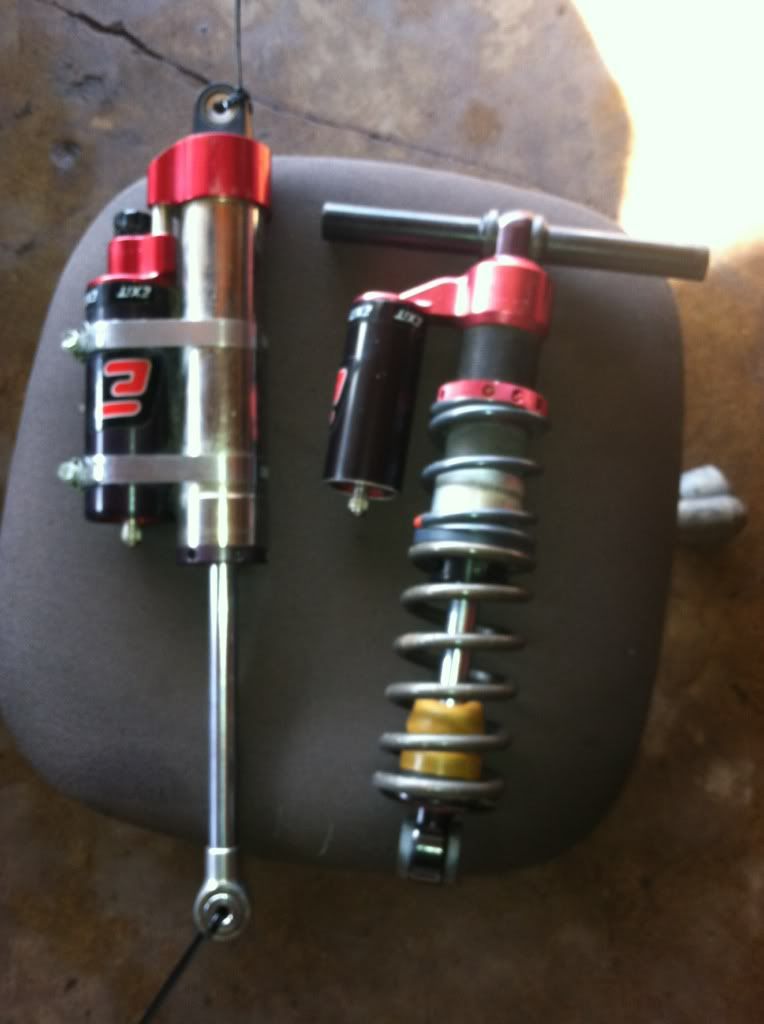
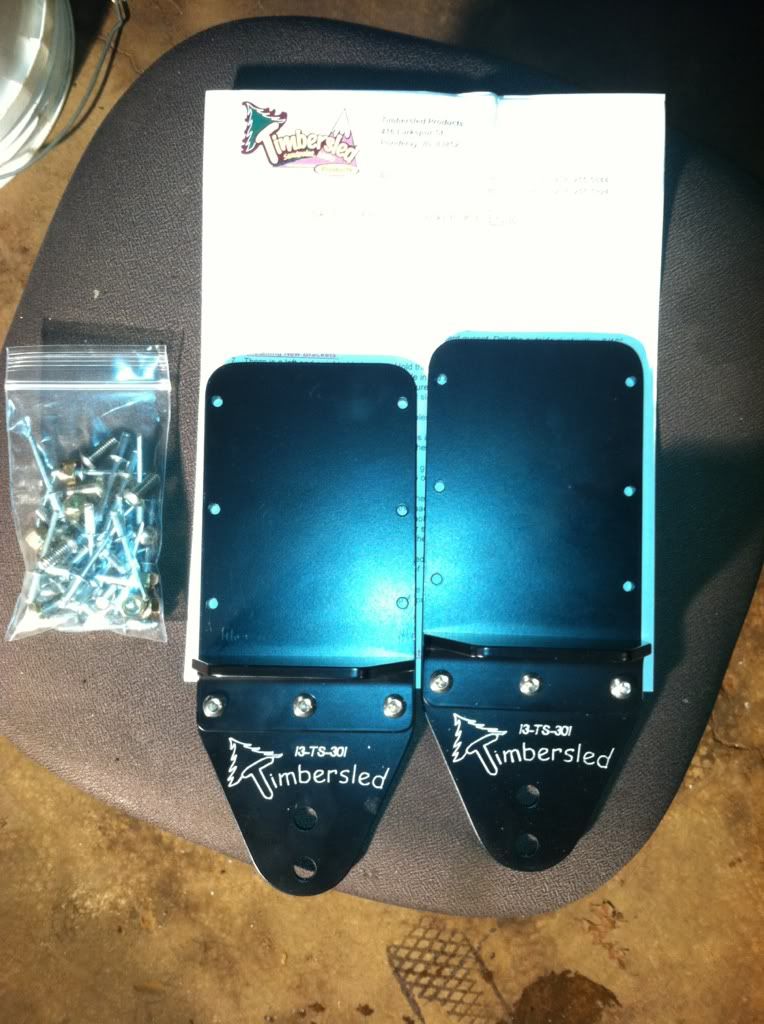
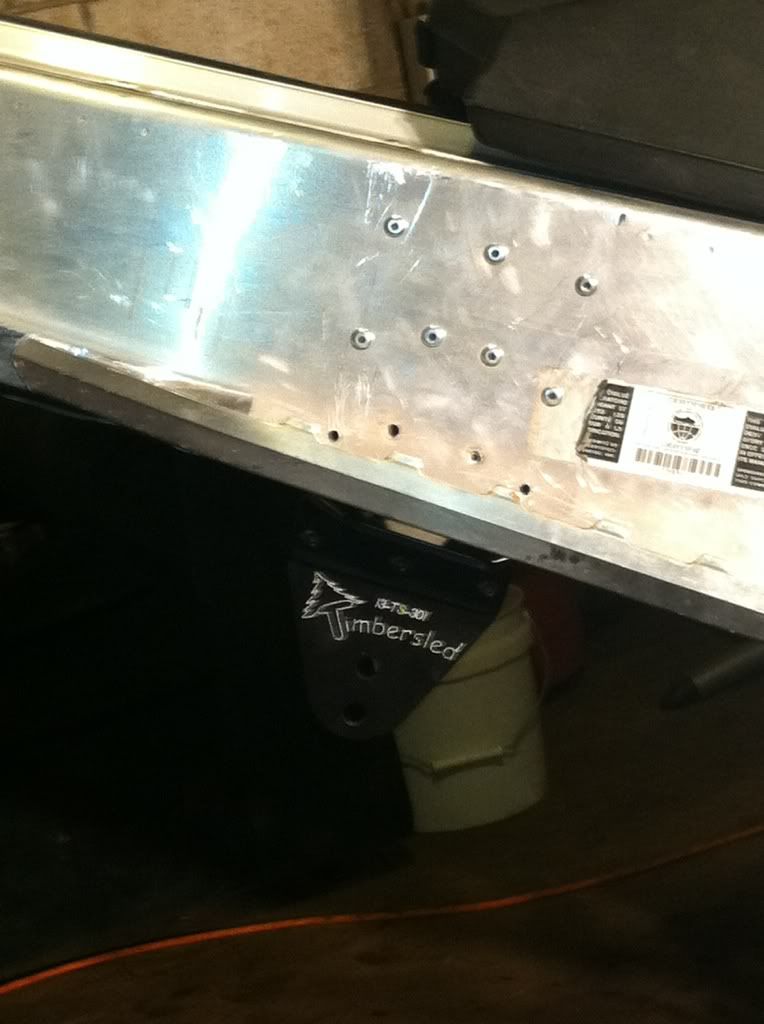
Old Build
Plan:
1. I took of the Race Port cylinders and have sold them and already bought stock cylinders. Made some money on the deal too, which was nice.
2. Run Dave's race pistons
3. I bought a new hood, belly pan, side pannels, and gauge console.
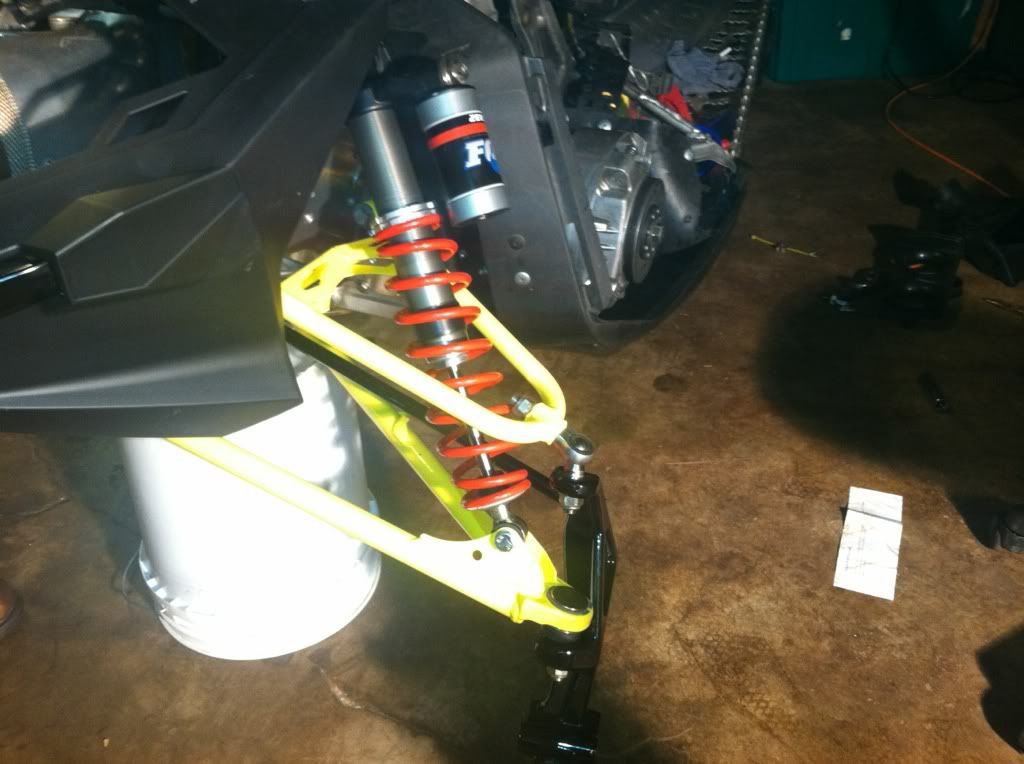
4. It has a set of steel A-arms on it right now. I have my old take off aluminum A-arms from my first XP build and am going to put them on.
5. I ordered both of the Frett bros. E-module braces.
6. I plan on getting the SLP intake just for a little more air so it is their Stage 2 set up with the pipe and reeds.
7. The sled has the old Challenger lite track which I don't care for so, I am installing my old Powdermaxx track that I took off when I put the Camo Extreme on.
8. On the Powdermaxx track I am going to install the Mountain Magic port repair kit
I am sure I will do a few little things also.
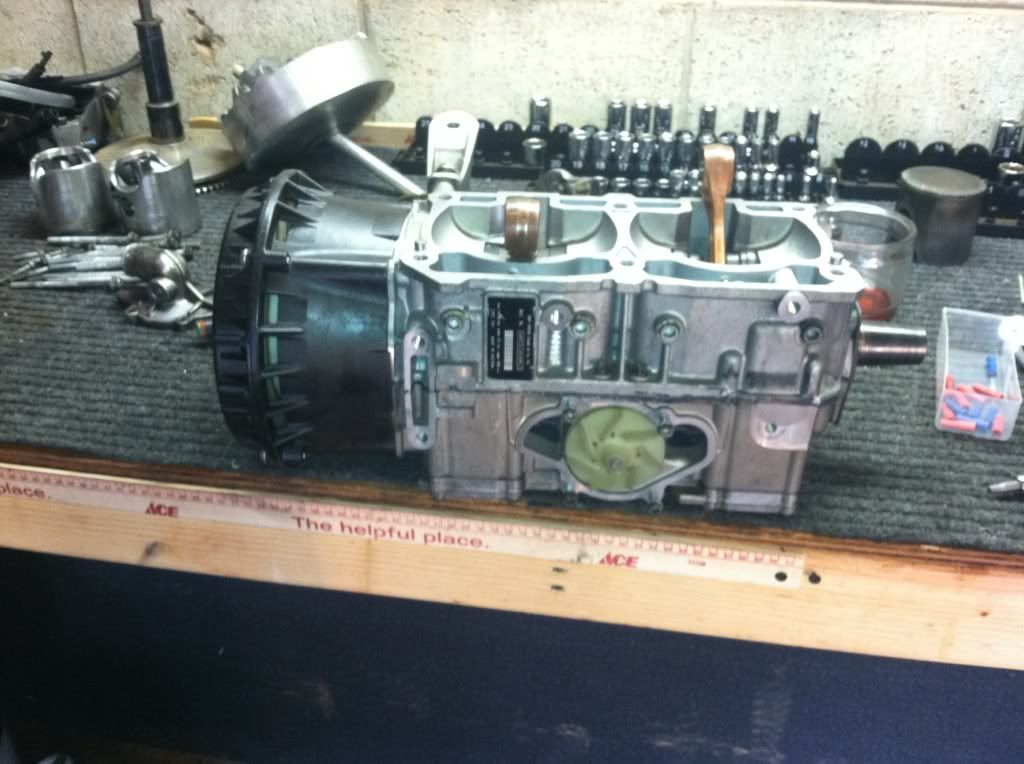
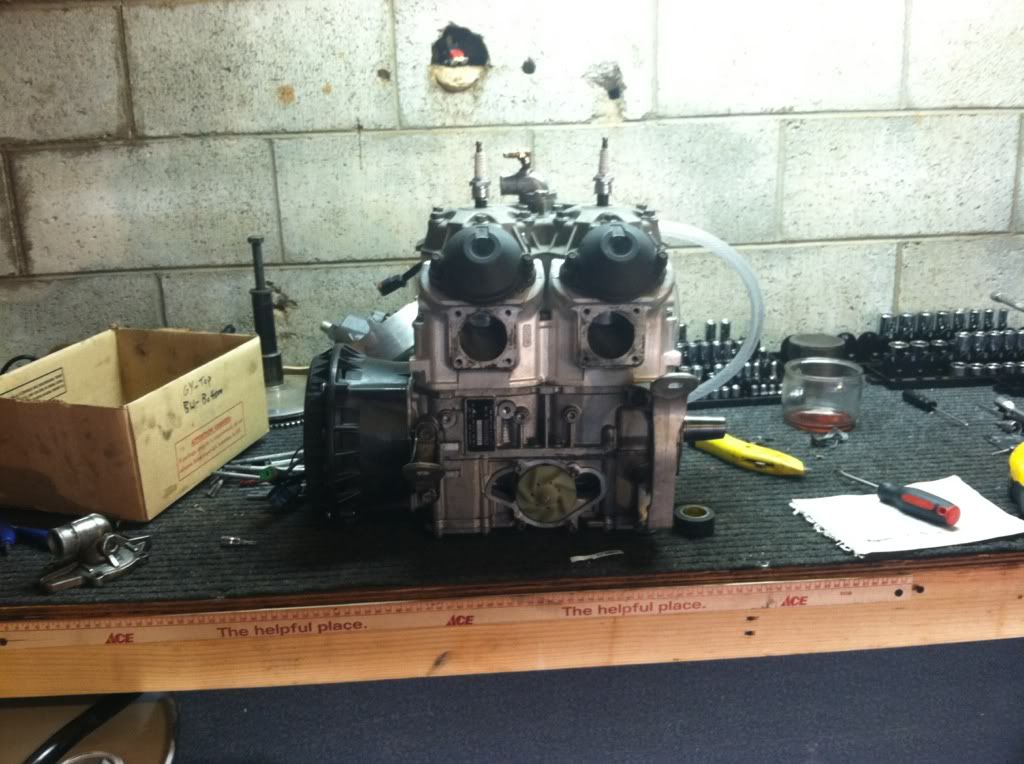
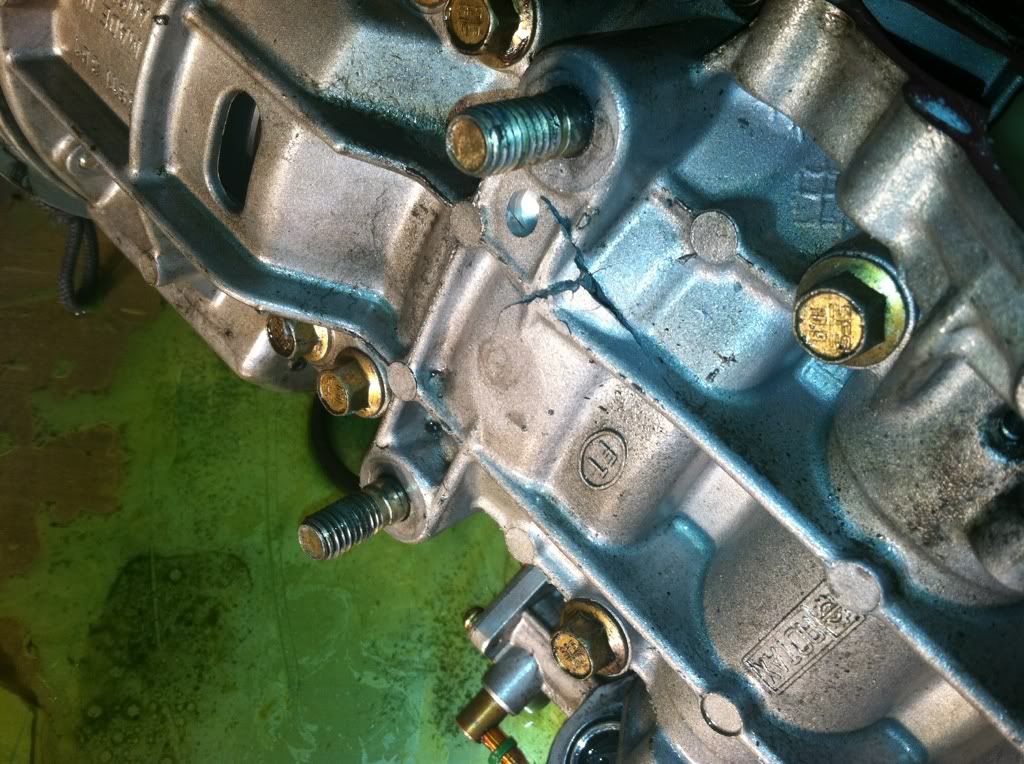
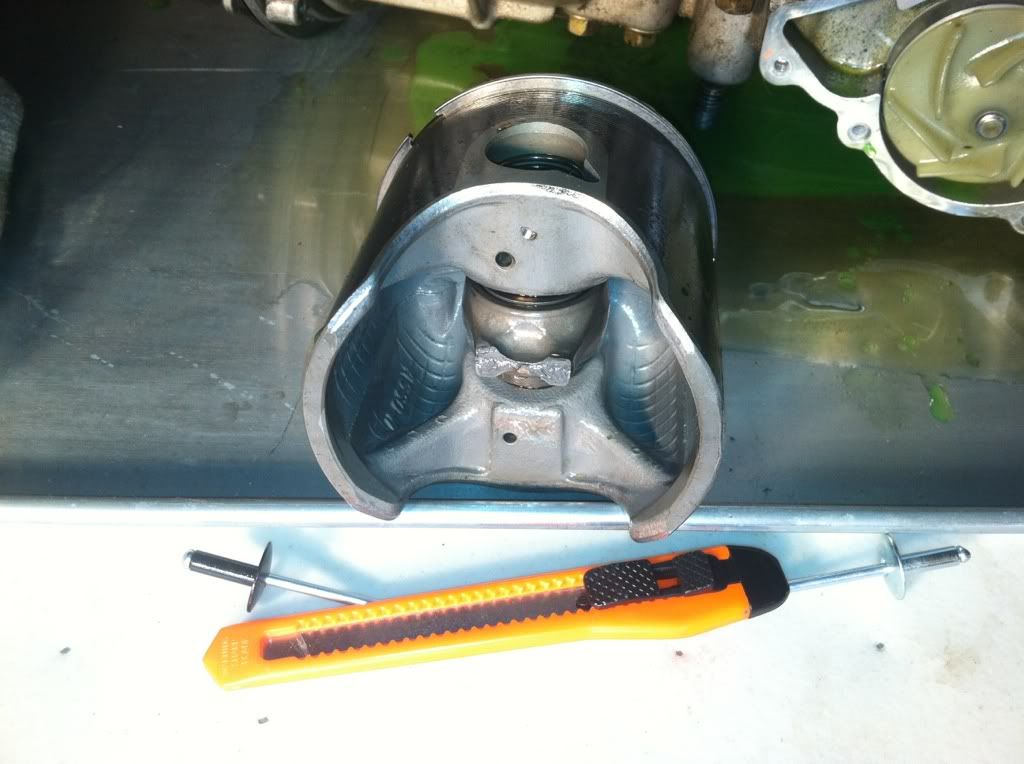
I found out the biggest problem with the sled today. I already had the top end off of the sled and am waiting for a base gasket to get here. I was messing around in the shop and decided to take the whole motor out just to check out a few things. When I took the water pump cover off the bottom and and rotated the crank the propeller wouldn't spin. A few know this but this same thing just happened to me on my other XP. It turns out that it was the water pump gear on the water pump shaft. Makes sense since there was no oil reservoir filing the vent for the water pump cavity. I started taking the bottom end apart and about a half hour later I found this...
Chewed up water pump gear.
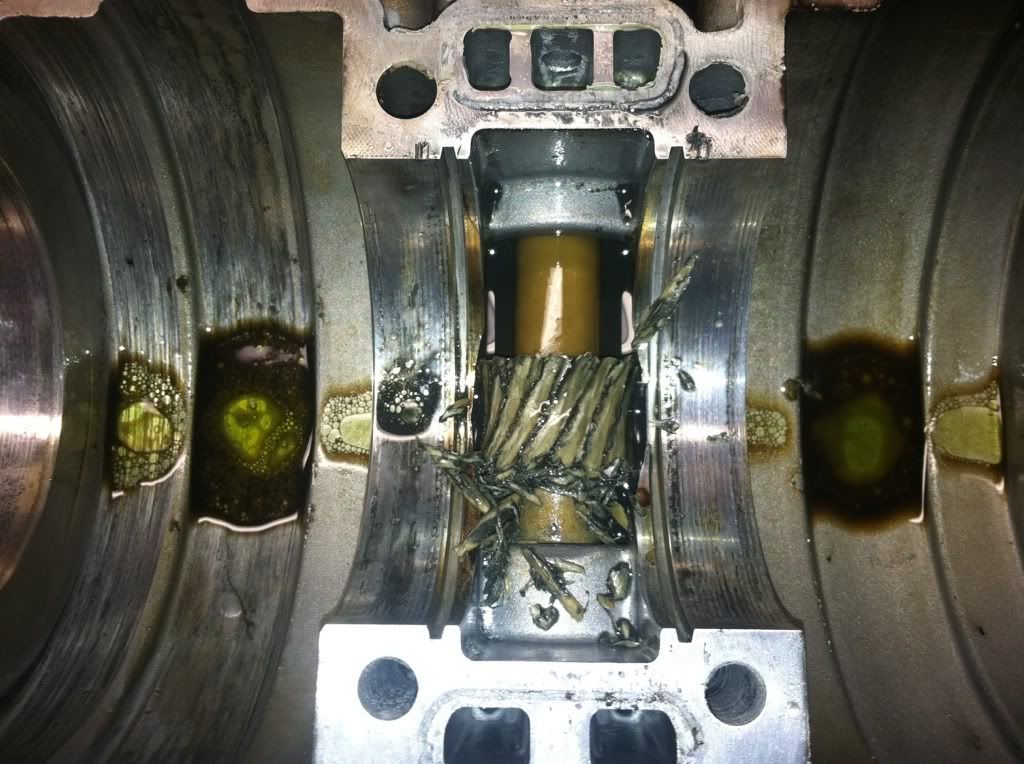
While looking at the crank I saw that the bearings were packed with Patamo grease instead of ISO flex grese.
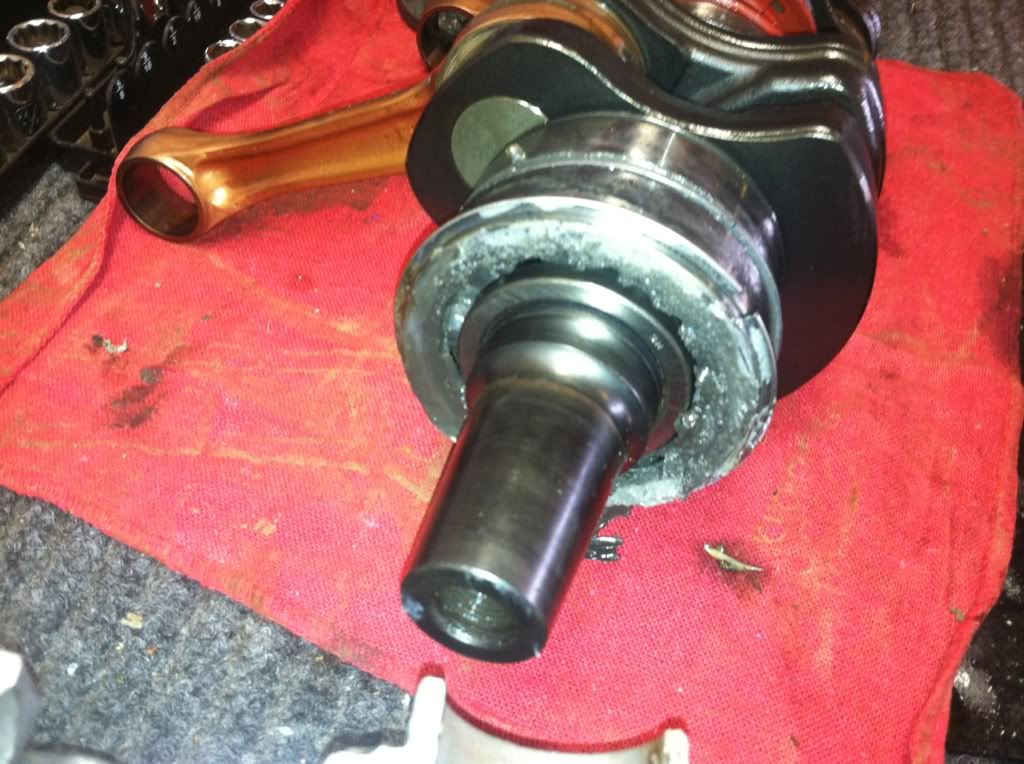
I am really glad that the water pump gear was stripped because I wouldn't of torn it down to look at the bearing grease. This probably saved me thousands in the long run. Whie I am waiting on the water pump shaft assembly I am going to take out the Petamo grease as best as I can and install ISO flex grease. Luckily I have most of a tube left from my last motor and the case sealant so I don't have to order anything else. Not how I wanted to spend my winter (wrenching) but at least it has to do with snowmobiles.
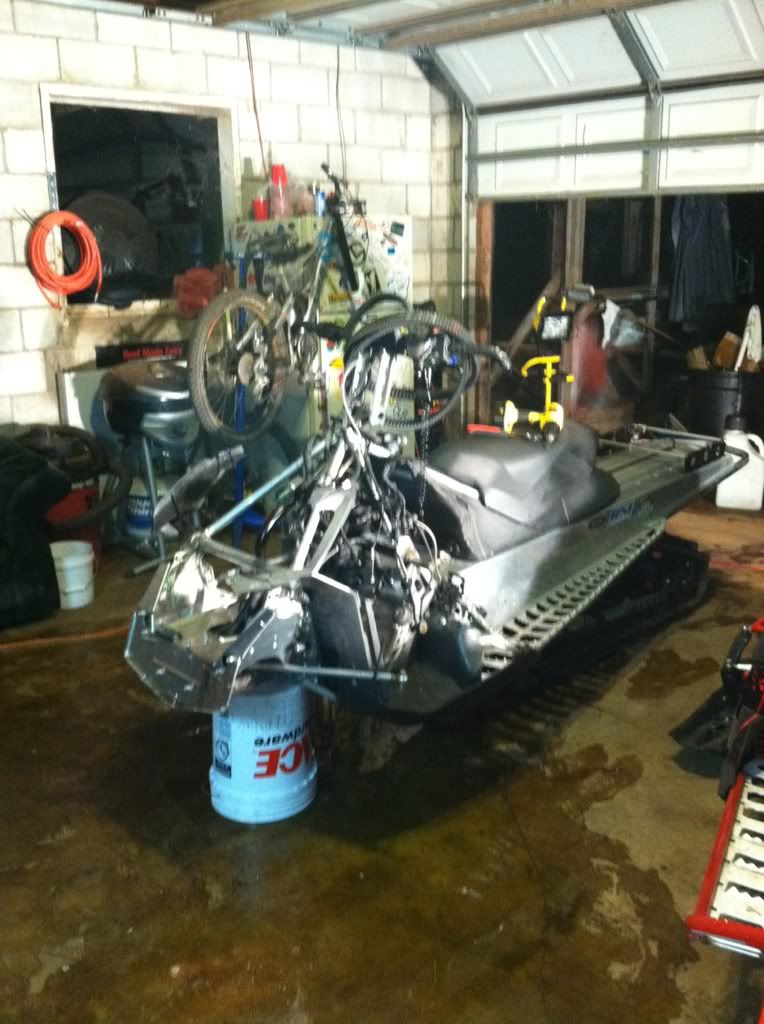
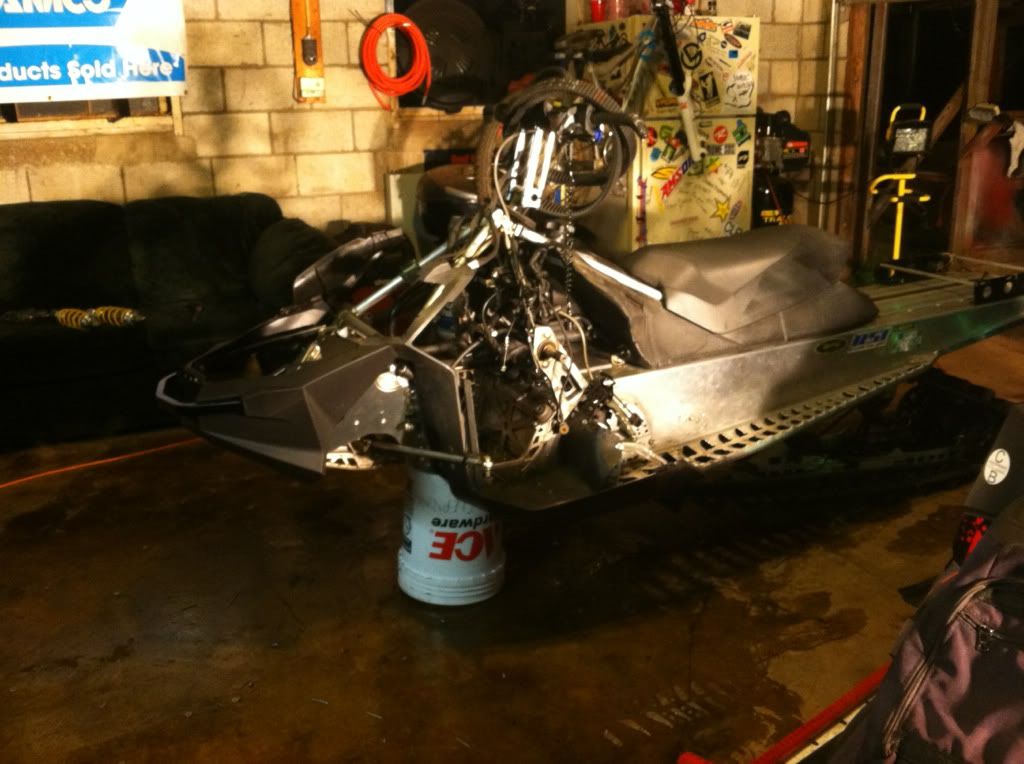
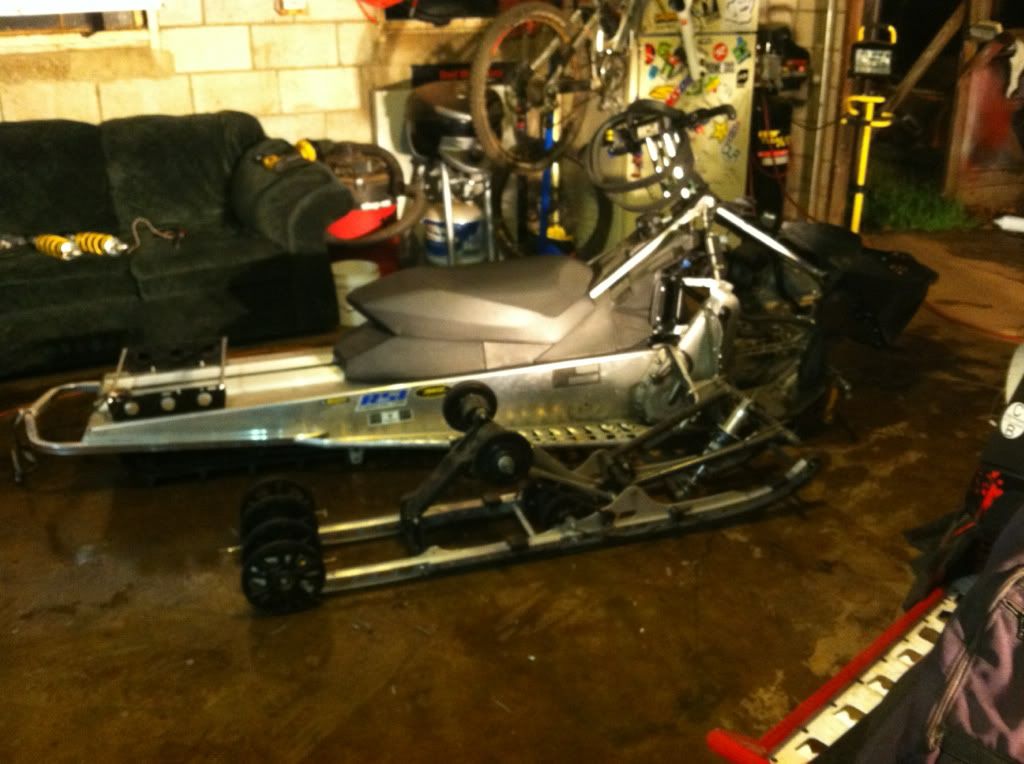
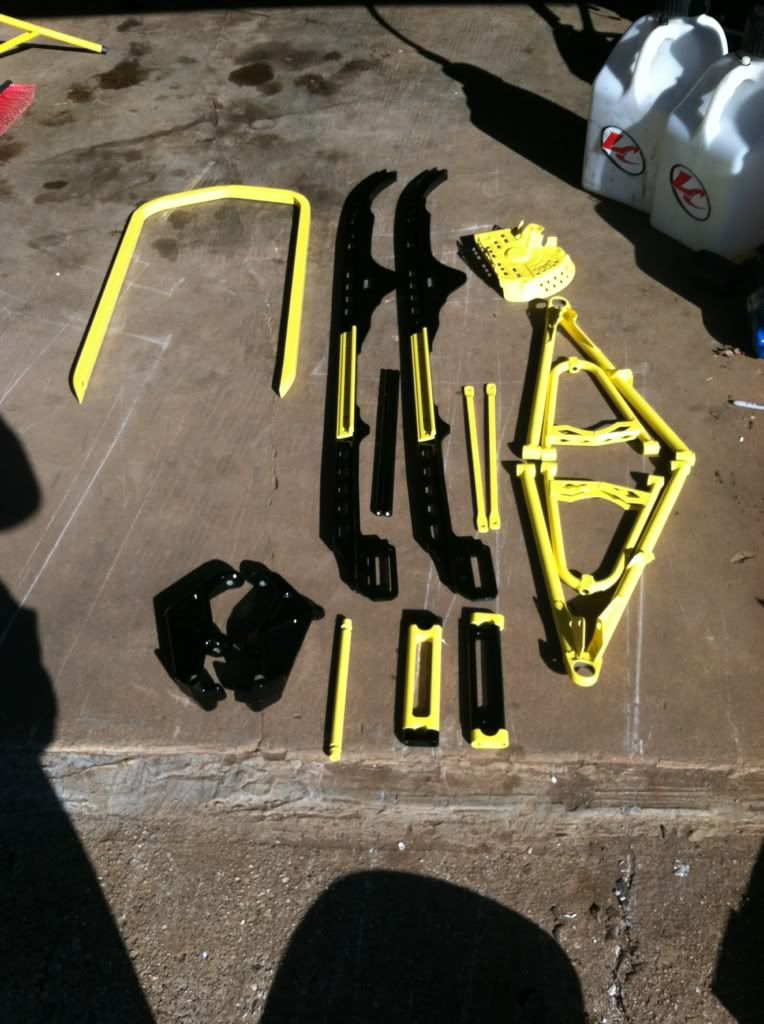
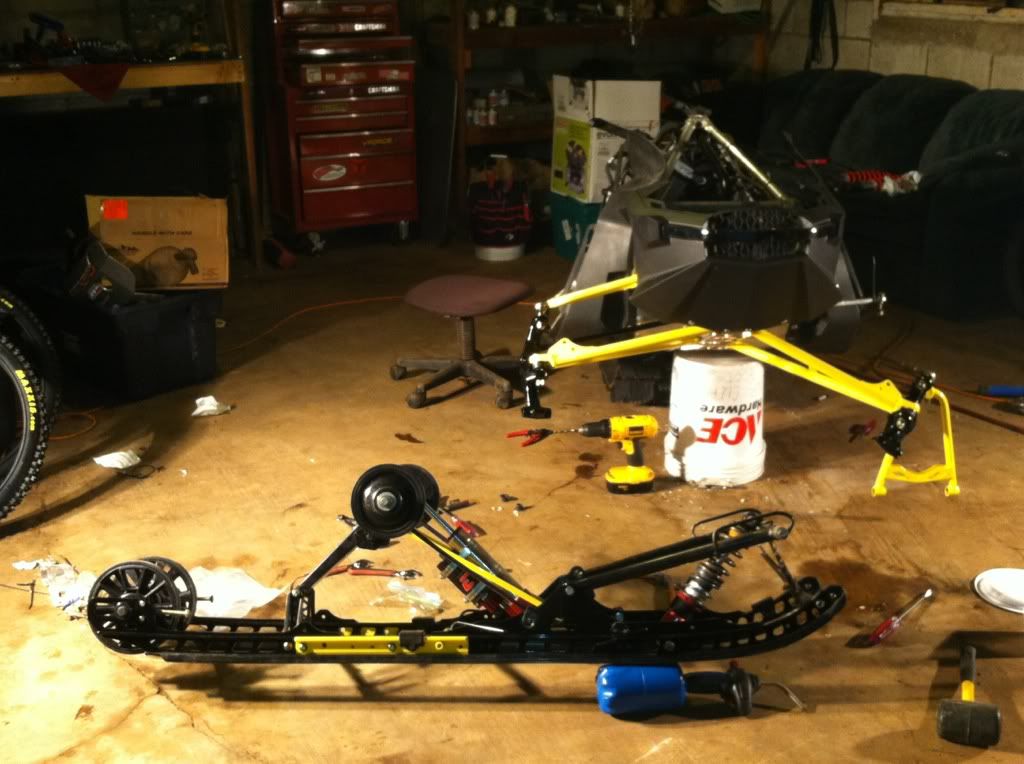
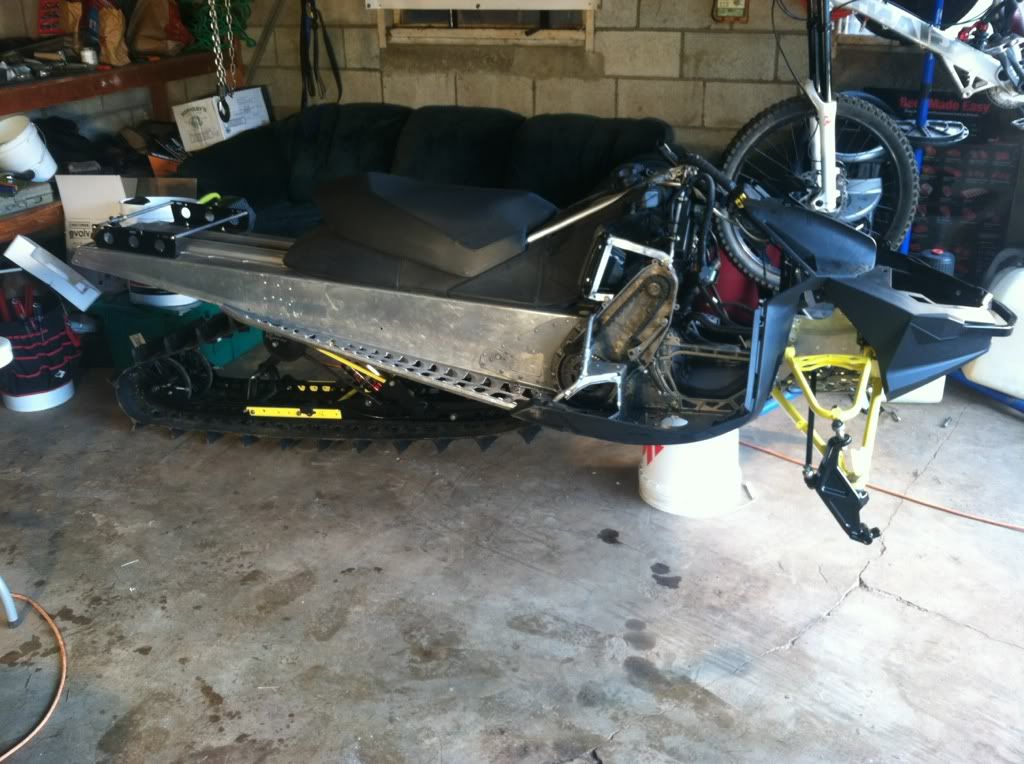
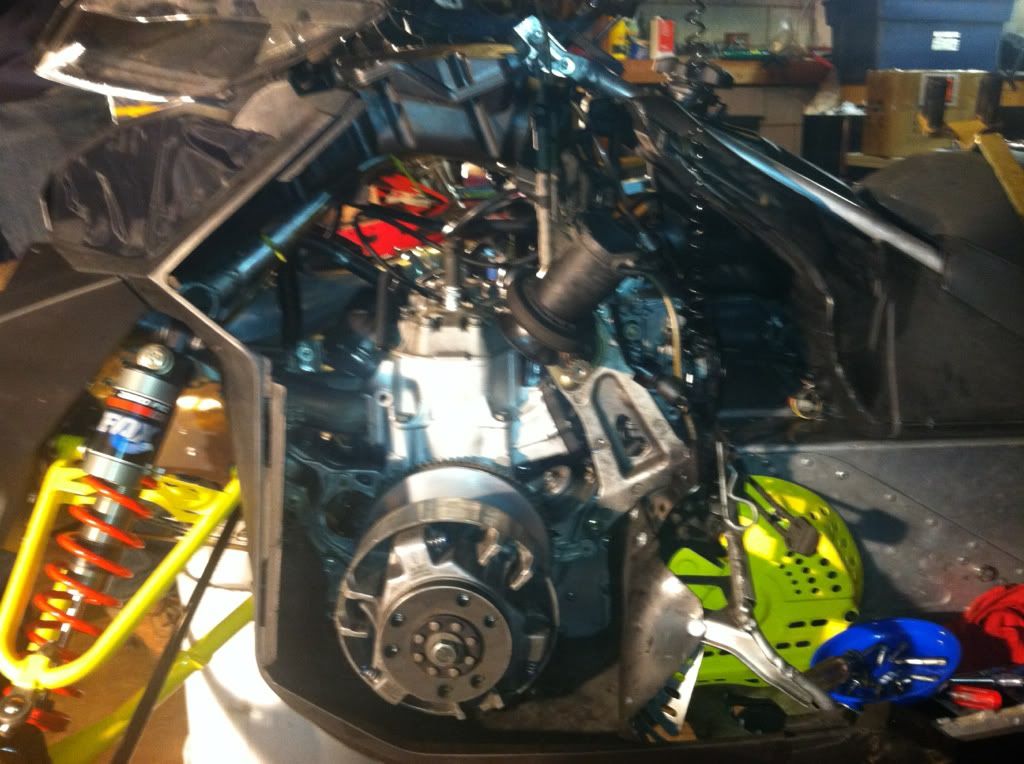
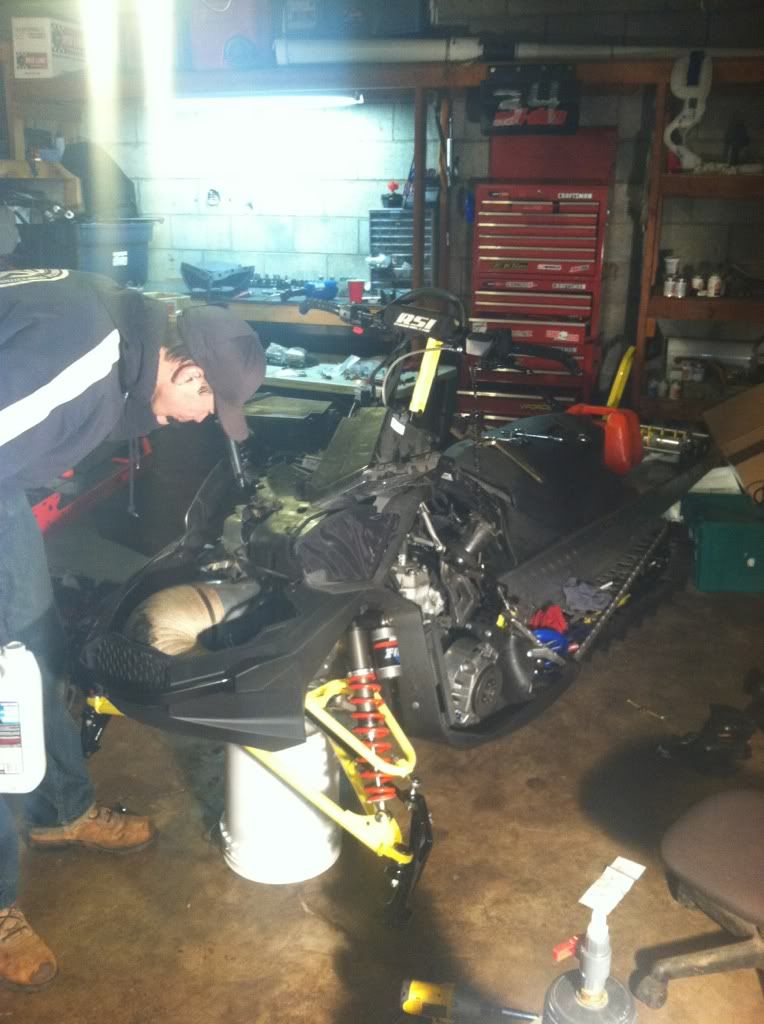
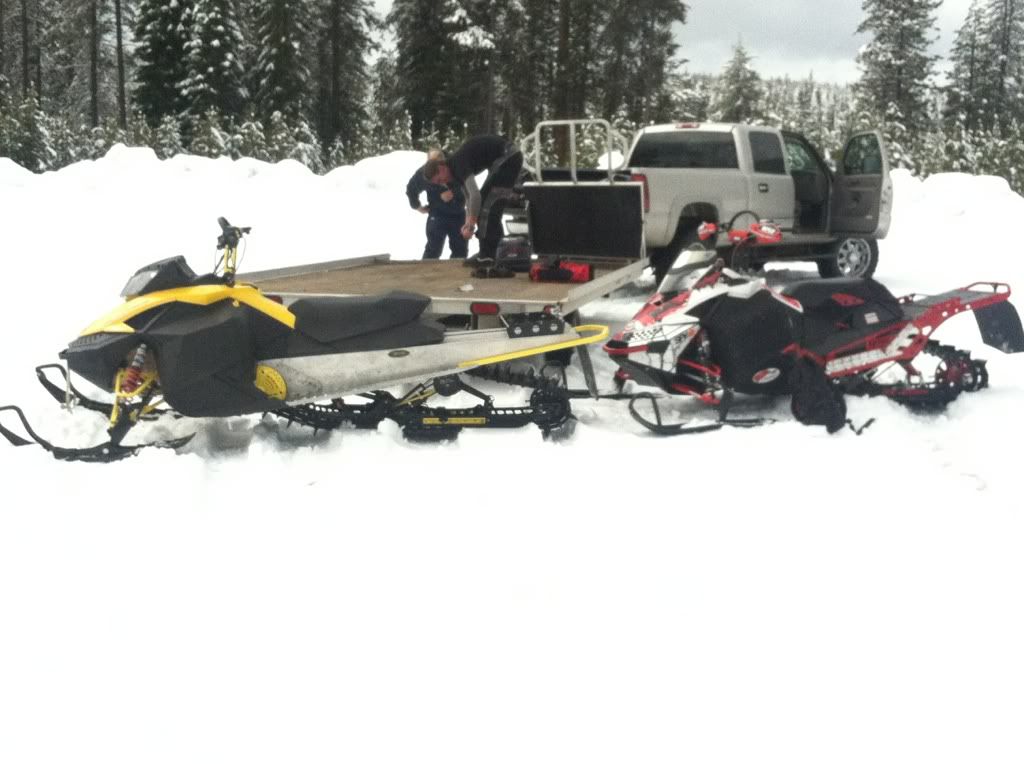
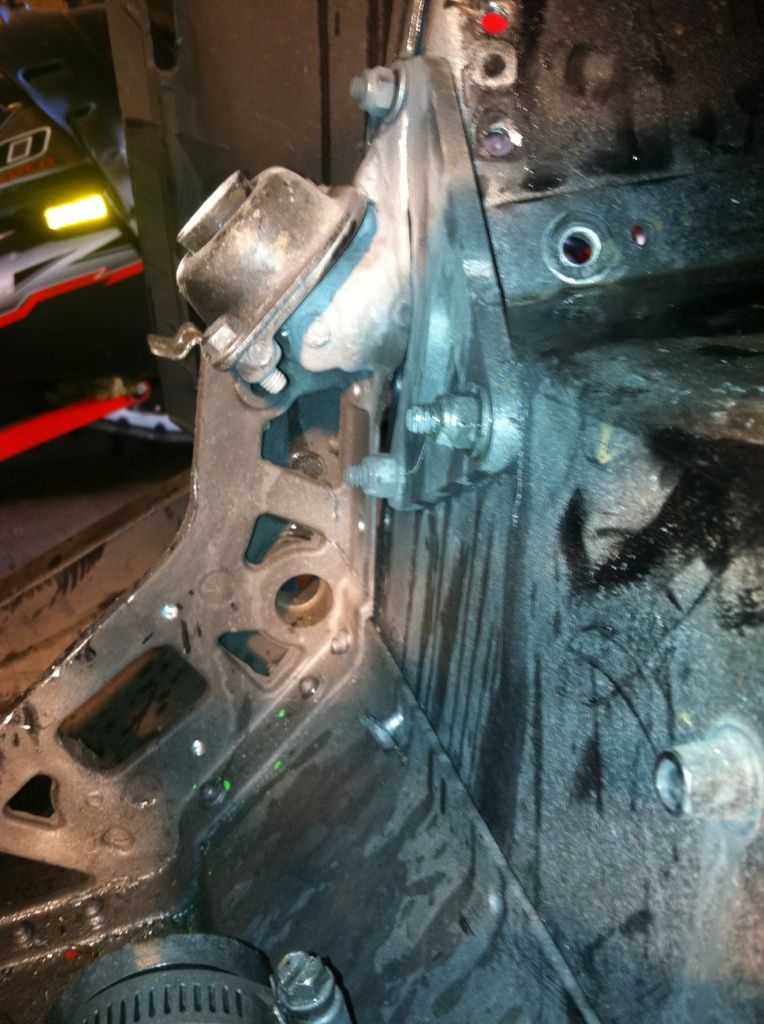
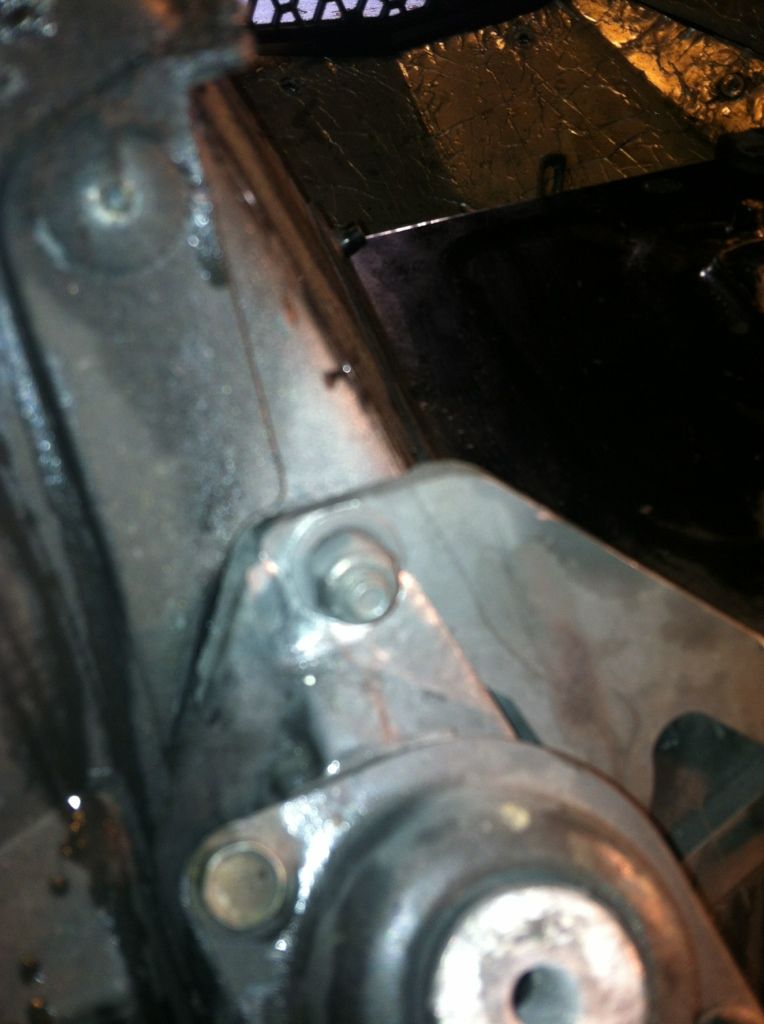
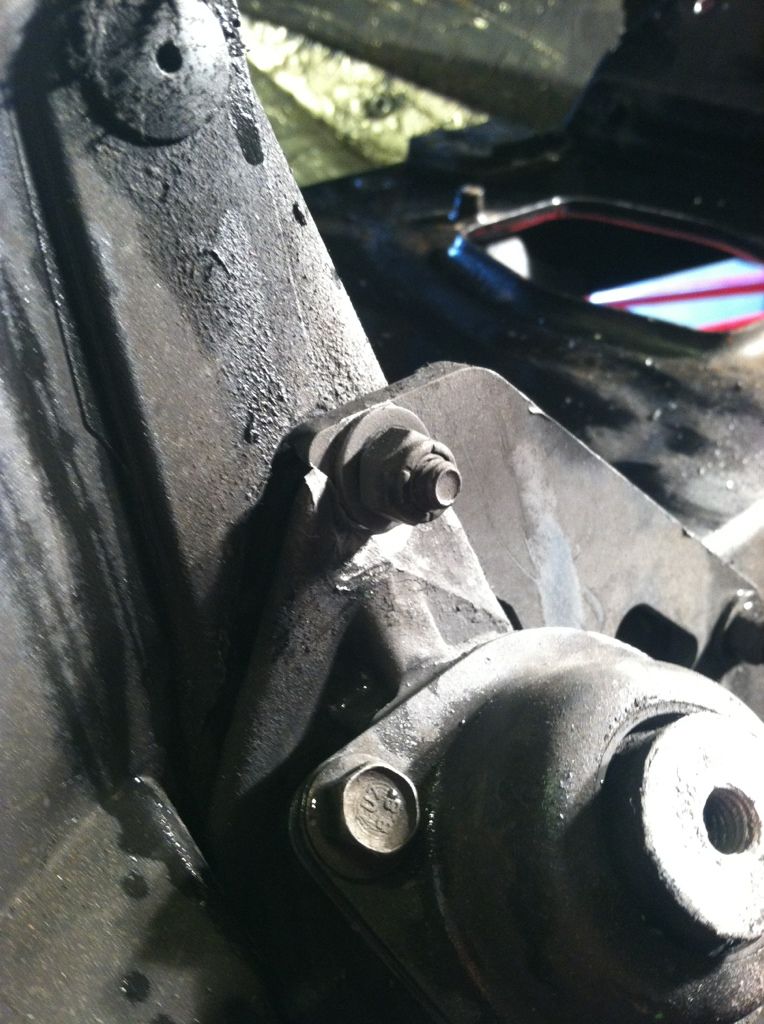
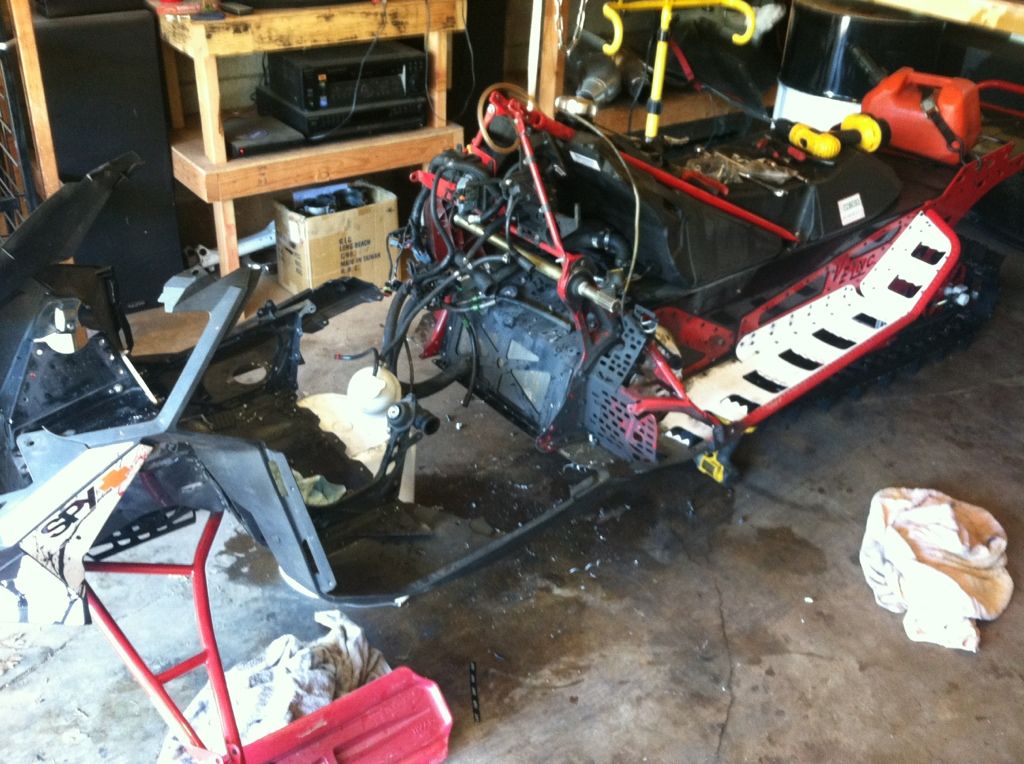
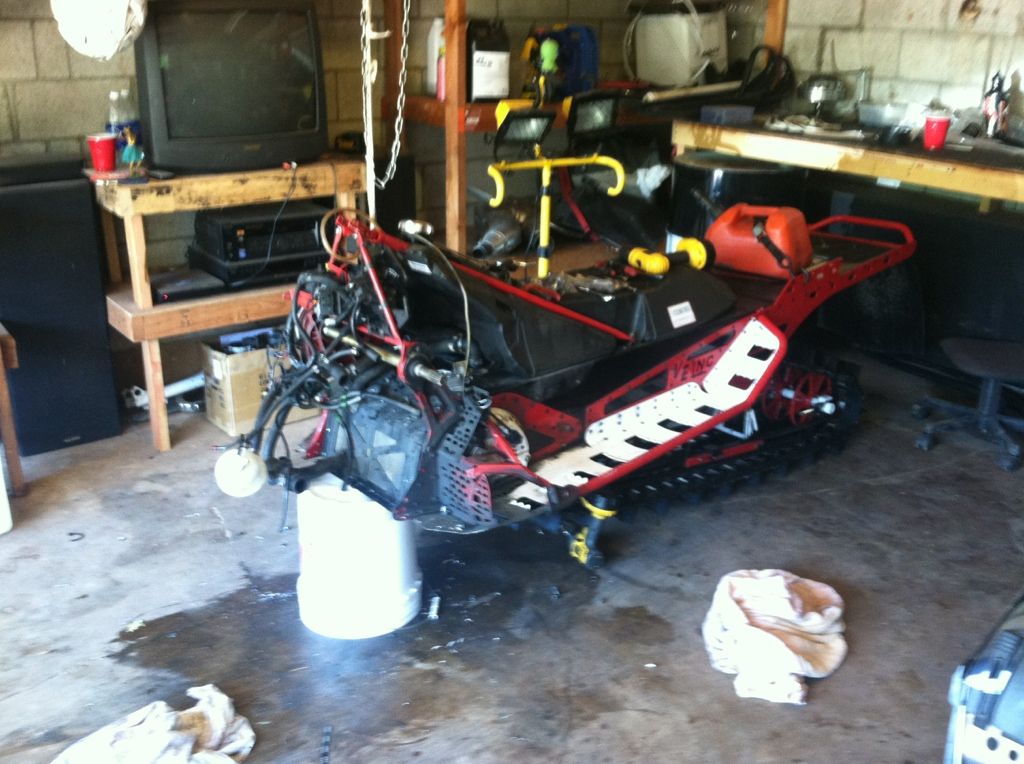
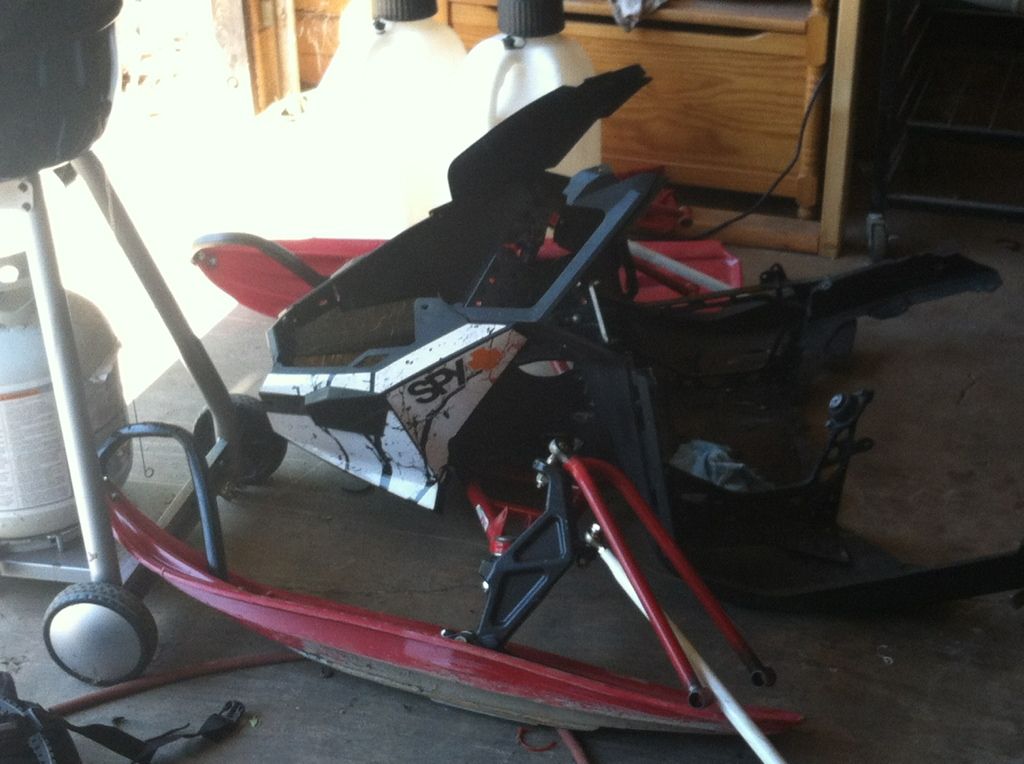
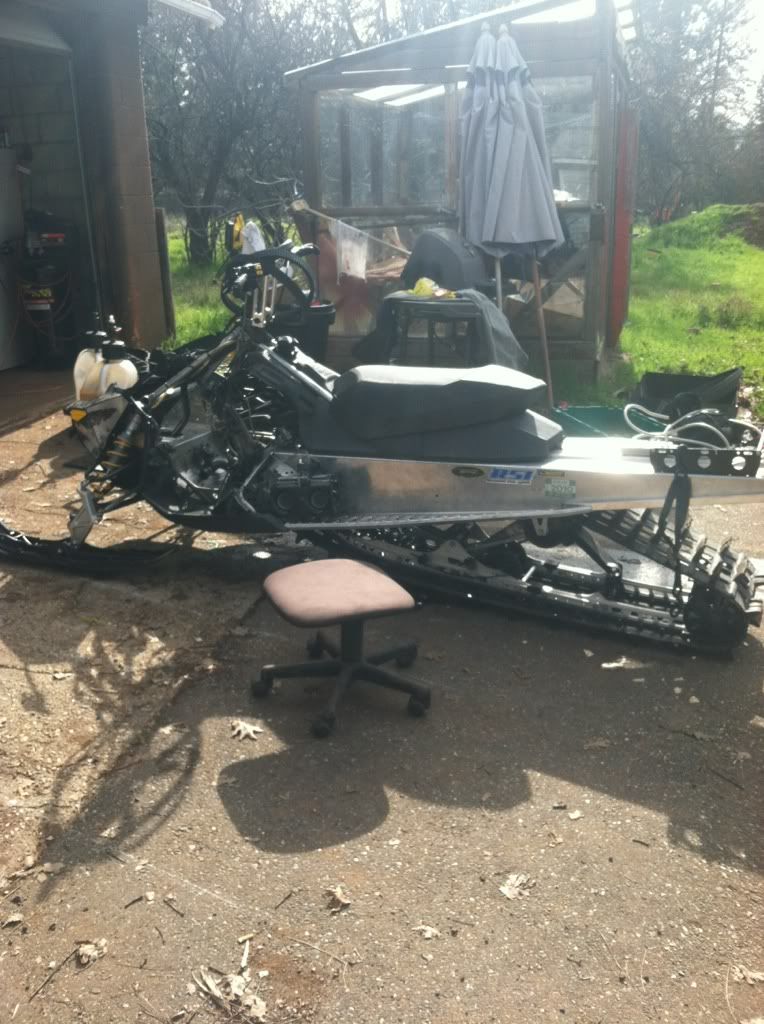
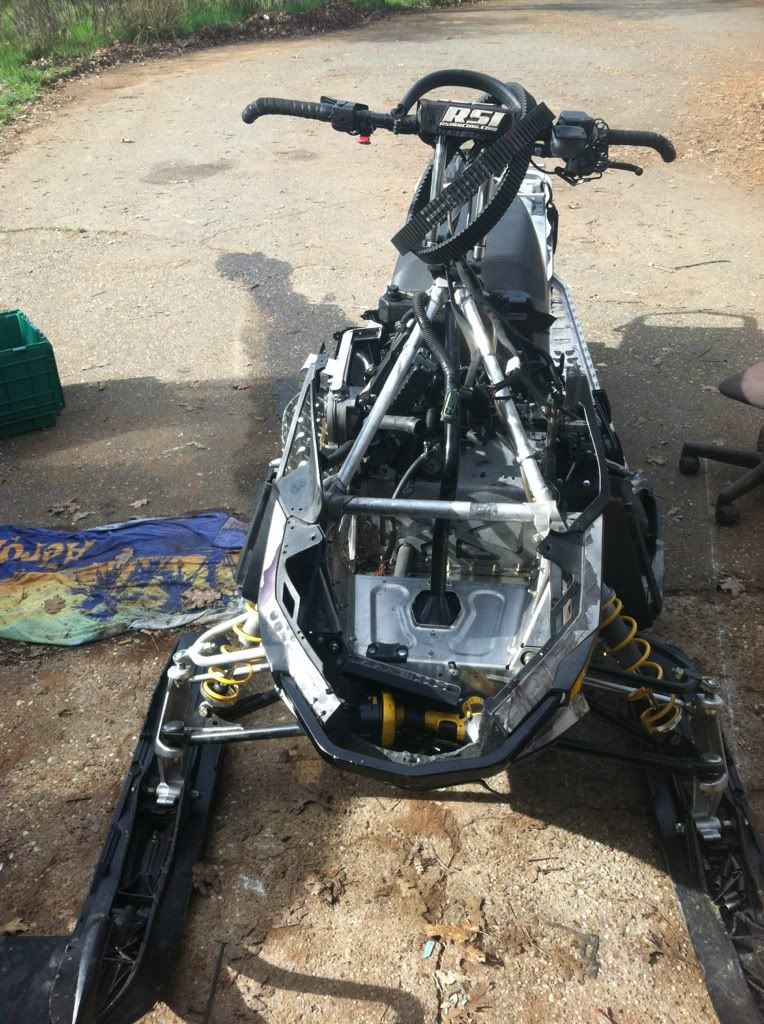
Couple of the Chassis
Old Build
Plan:
1. I took of the Race Port cylinders and have sold them and already bought stock cylinders. Made some money on the deal too, which was nice.
2. Run Dave's race pistons
3. I bought a new hood, belly pan, side pannels, and gauge console.
4. It has a set of steel A-arms on it right now. I have my old take off aluminum A-arms from my first XP build and am going to put them on.
5. I ordered both of the Frett bros. E-module braces.
6. I plan on getting the SLP intake just for a little more air so it is their Stage 2 set up with the pipe and reeds.
7. The sled has the old Challenger lite track which I don't care for so, I am installing my old Powdermaxx track that I took off when I put the Camo Extreme on.
8. On the Powdermaxx track I am going to install the Mountain Magic port repair kit
I am sure I will do a few little things also.
I found out the biggest problem with the sled today. I already had the top end off of the sled and am waiting for a base gasket to get here. I was messing around in the shop and decided to take the whole motor out just to check out a few things. When I took the water pump cover off the bottom and and rotated the crank the propeller wouldn't spin. A few know this but this same thing just happened to me on my other XP. It turns out that it was the water pump gear on the water pump shaft. Makes sense since there was no oil reservoir filing the vent for the water pump cavity. I started taking the bottom end apart and about a half hour later I found this...
Chewed up water pump gear.
While looking at the crank I saw that the bearings were packed with Patamo grease instead of ISO flex grese.
I am really glad that the water pump gear was stripped because I wouldn't of torn it down to look at the bearing grease. This probably saved me thousands in the long run. Whie I am waiting on the water pump shaft assembly I am going to take out the Petamo grease as best as I can and install ISO flex grease. Luckily I have most of a tube left from my last motor and the case sealant so I don't have to order anything else. Not how I wanted to spend my winter (wrenching) but at least it has to do with snowmobiles.
Couple of the Chassis