
Project 2015/16 Arctic Cat M 8000 SnoPro Build Part 6—Track Install
Project 2015/16 Arctic Cat M 8000 SnoPro Build
Part 6—Track Install
Published online: Aug 05, 2015 Arctic Cat Steve Janes
(EDITOR’S NOTE: This is the sixth in a series of articles about converting a 2015 Arctic Cat M 8000 SnoPro into a SnoWest Forums 2016 Project Cat giveaway sled. Throughout the summer and fall we will be working with SnoWest Forum members to build the perfect snowmobile … and then we will give it away to a Forum member at the end of the build.)
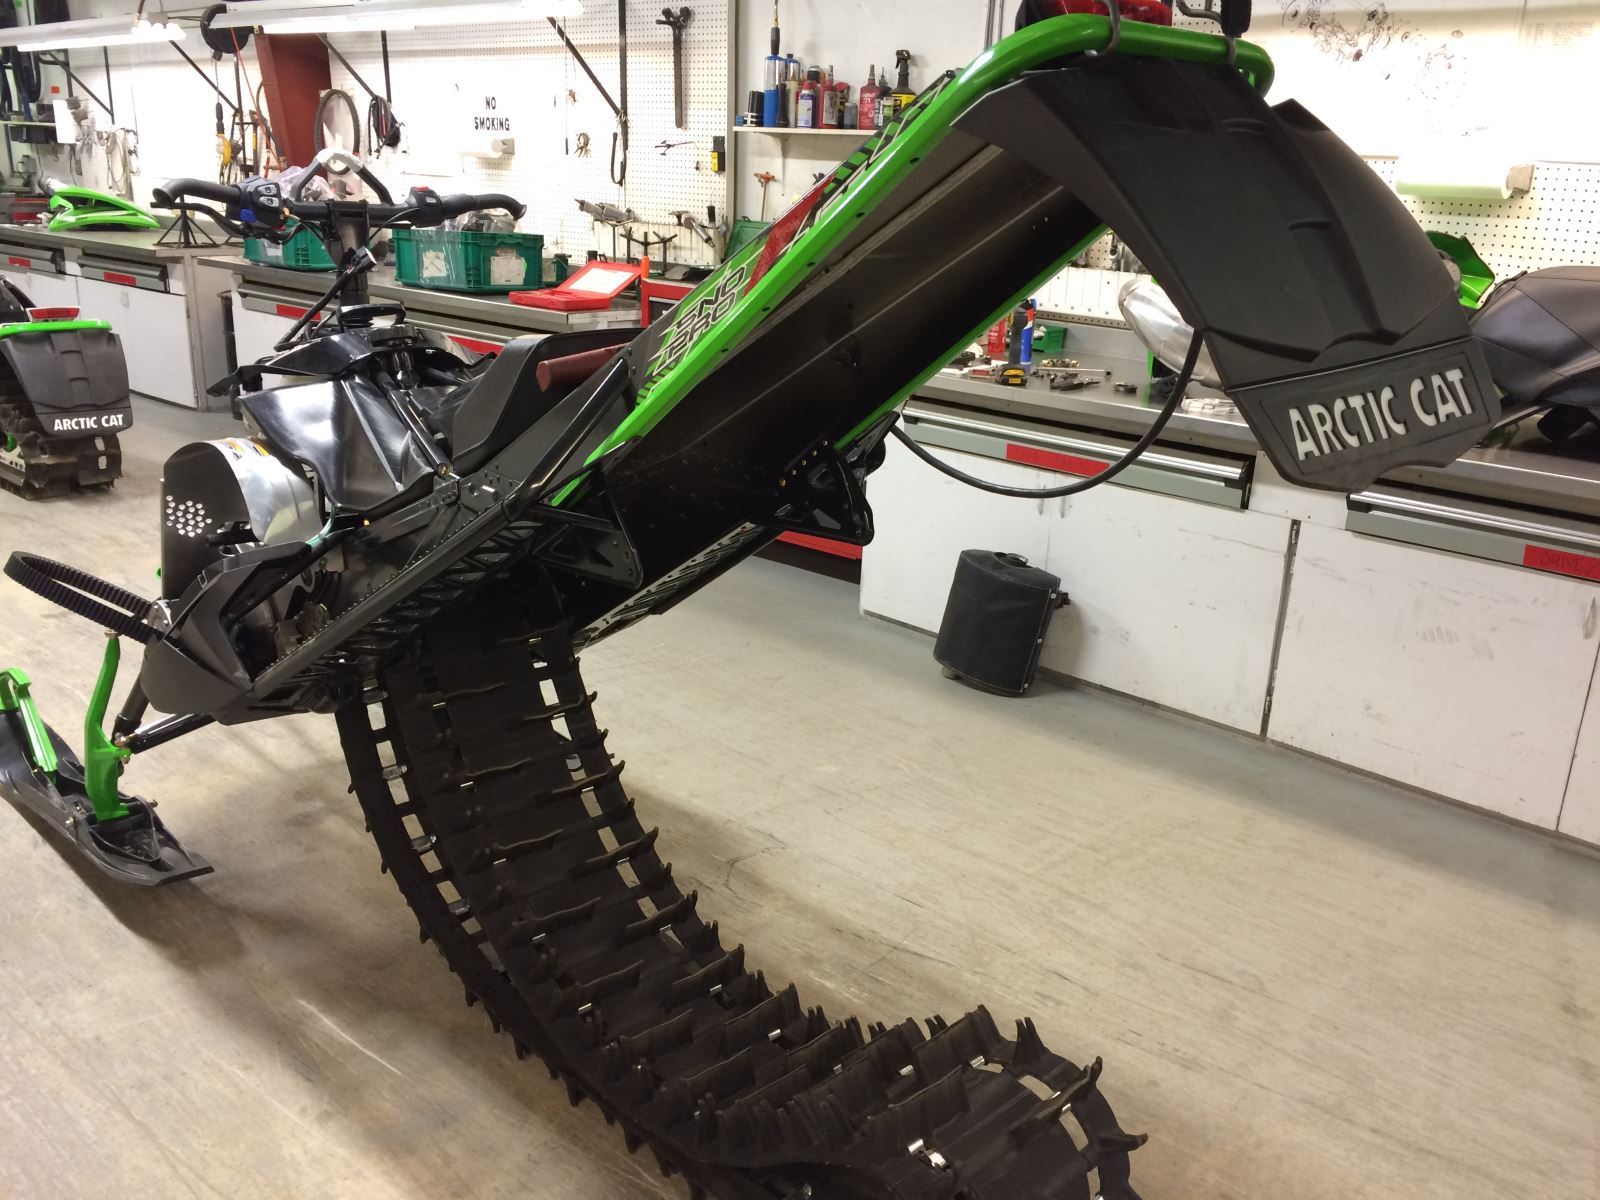
Last week we covered the installation of the Mountain Valley Machine belt drive. This week we’re adding a three-inch Power Claw track—one of the most popular installs to the 2015 Arctic Cat M 8000 SnoPro project.
Although this install was actually part of last week’s install (when you have the drive system exposed, it’s best to do everything at once), we are addressing this as a separate and unique install (so there will be some redundancies from last week’s install).
One thing nice to note about Arctic Cat is that they have a great program in place for Cat riders who may want to upgrade their 2.6-inch track to a 3-inch track.
1) Remove hood. This will allow access to the chaincase.
2) Remove pipes. Again, for access.
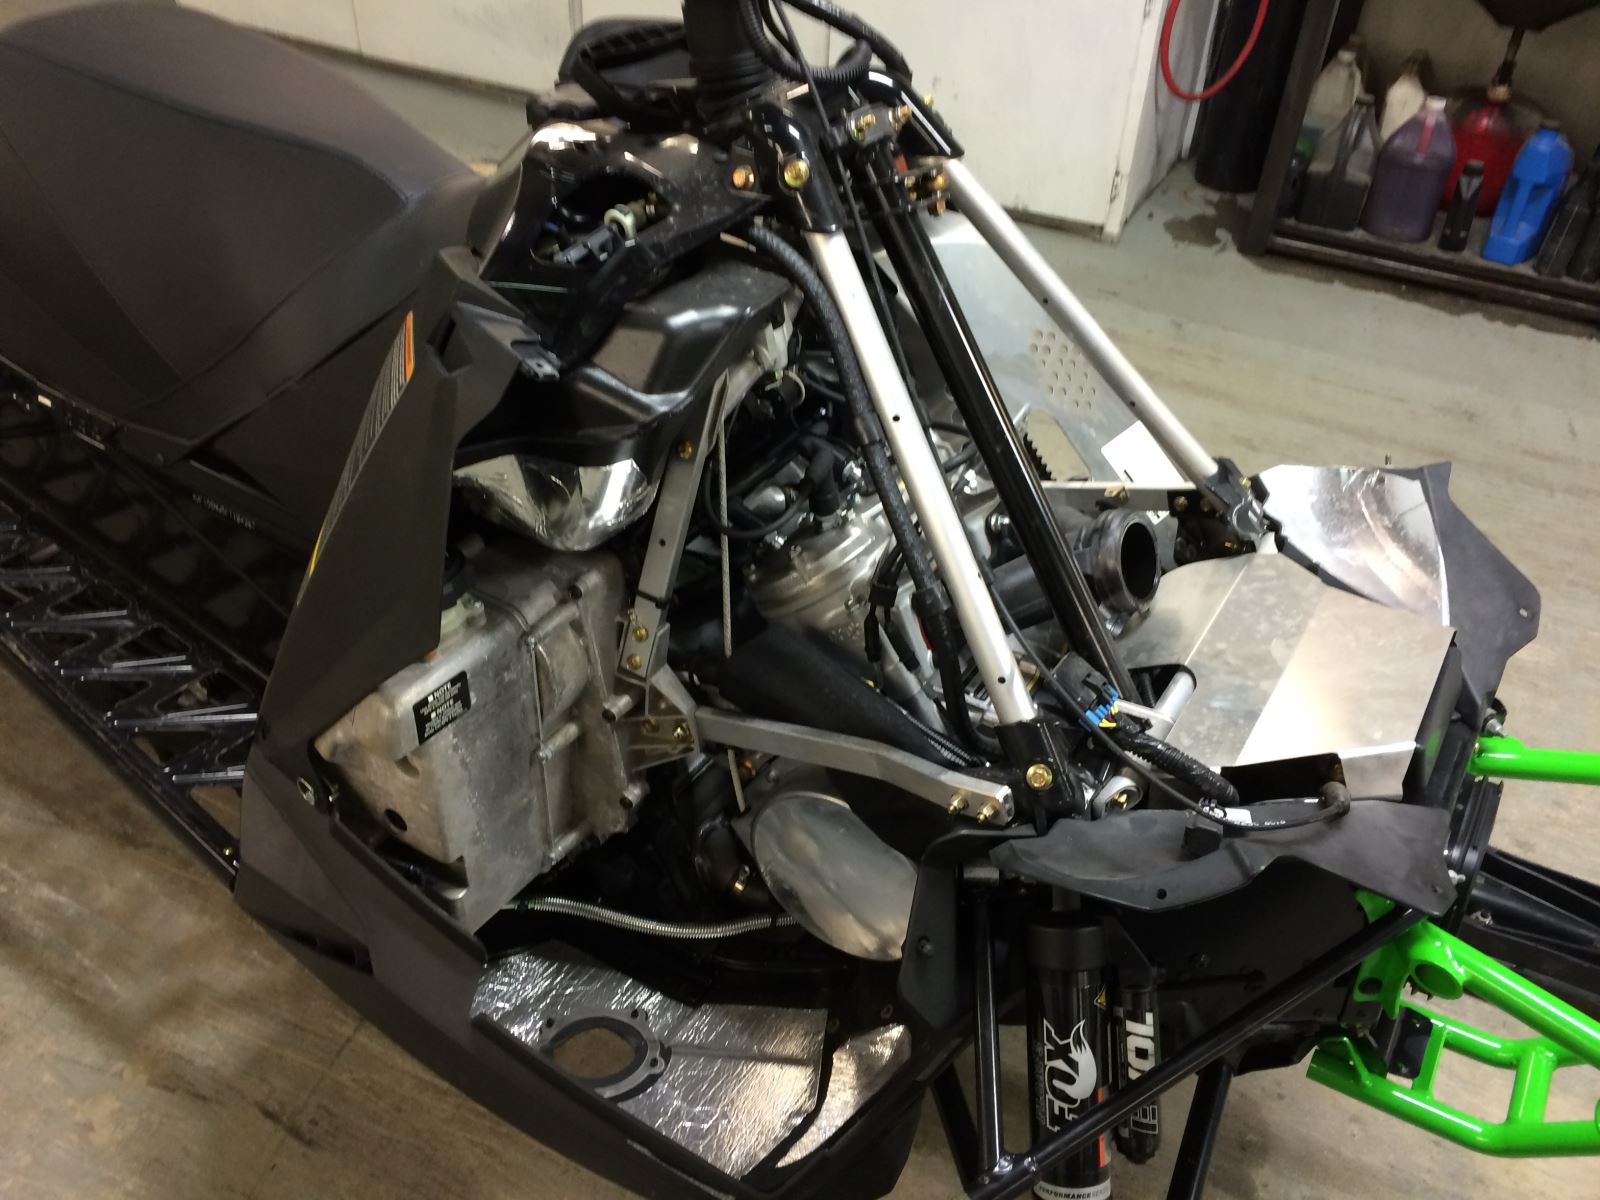
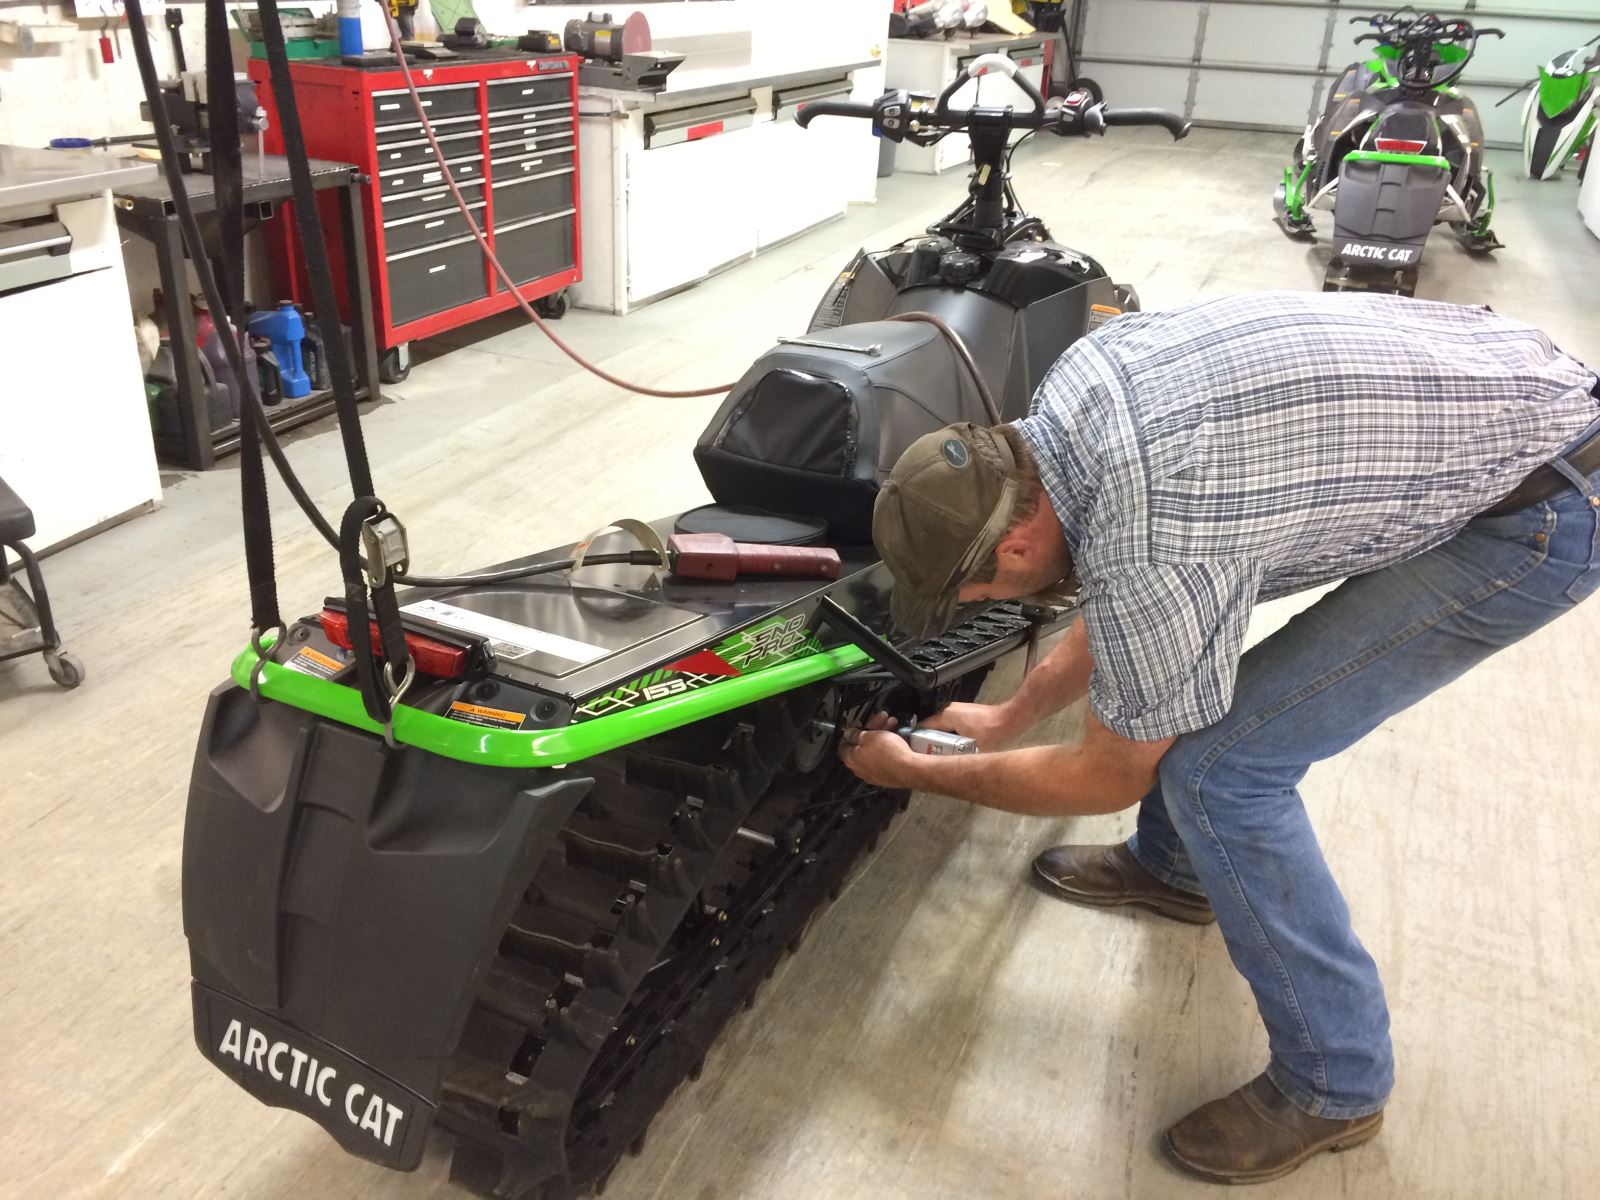
3) Elevate rear of sled to remove tension from rear suspension.
4) Remove rear skid. This involved talking out four bolts and then wiggling the skid out from the track.
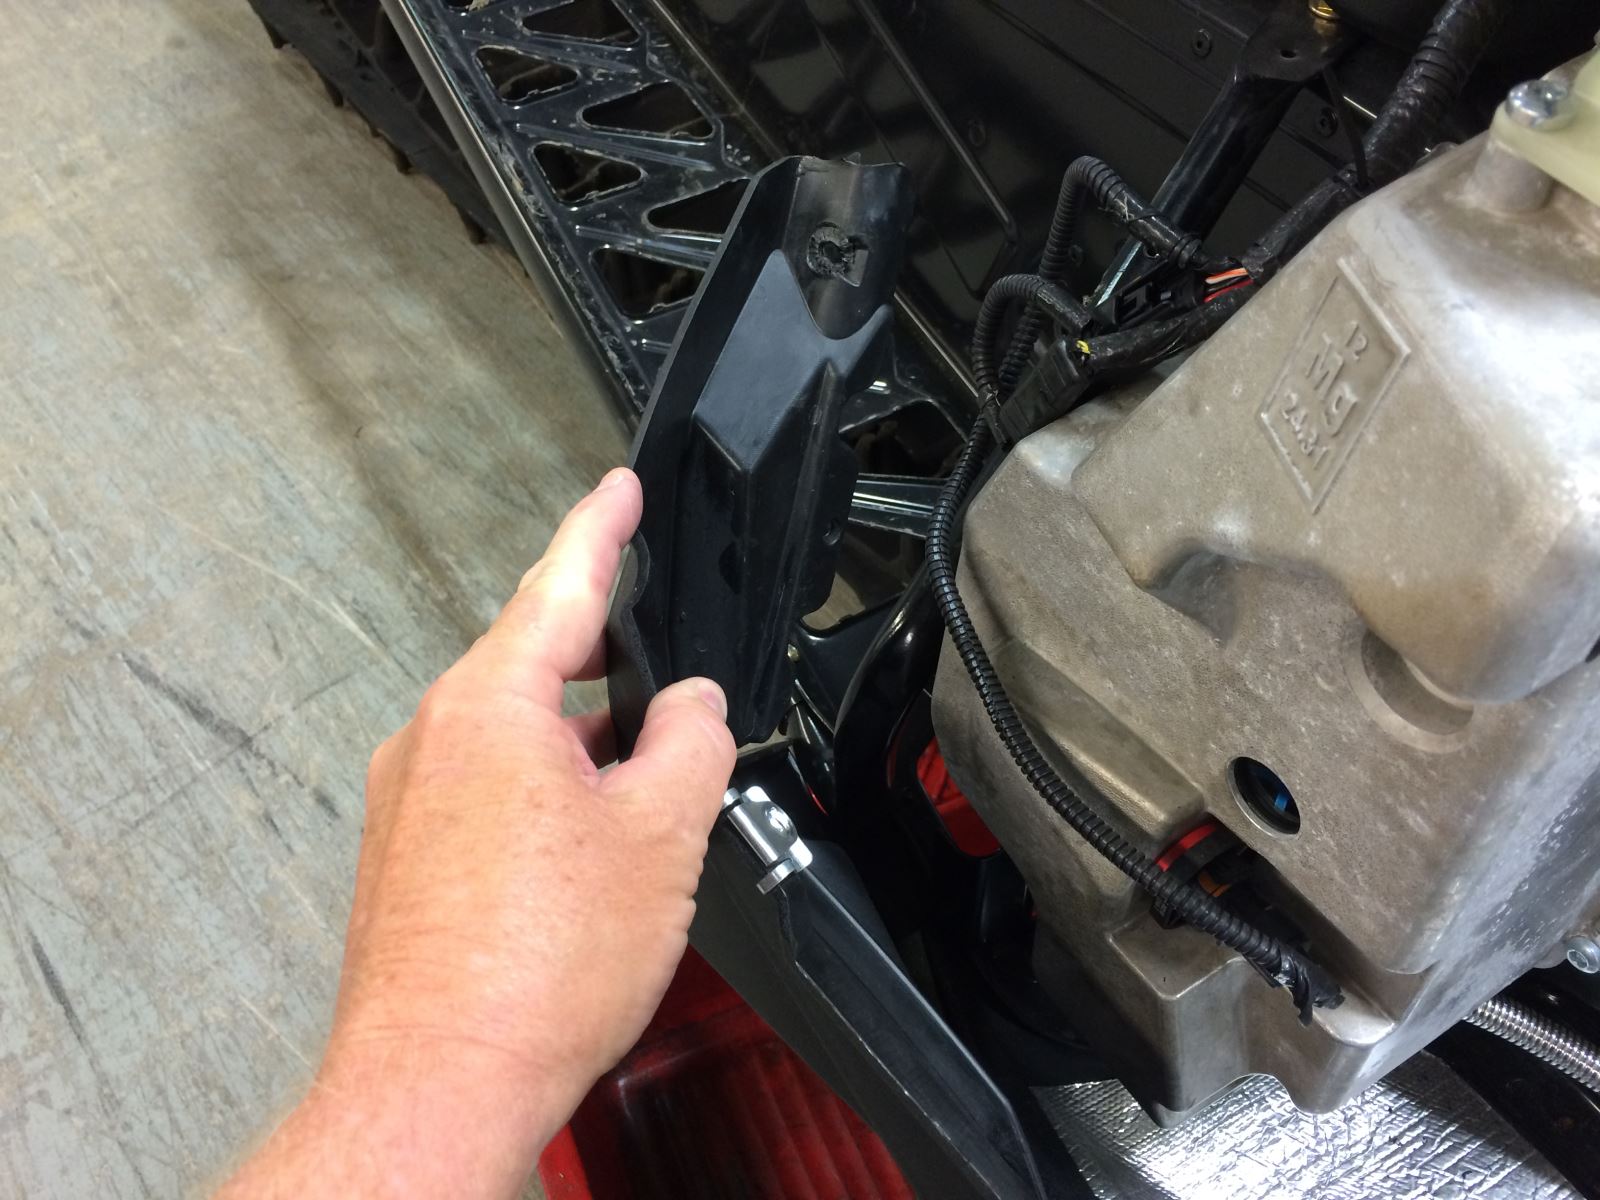
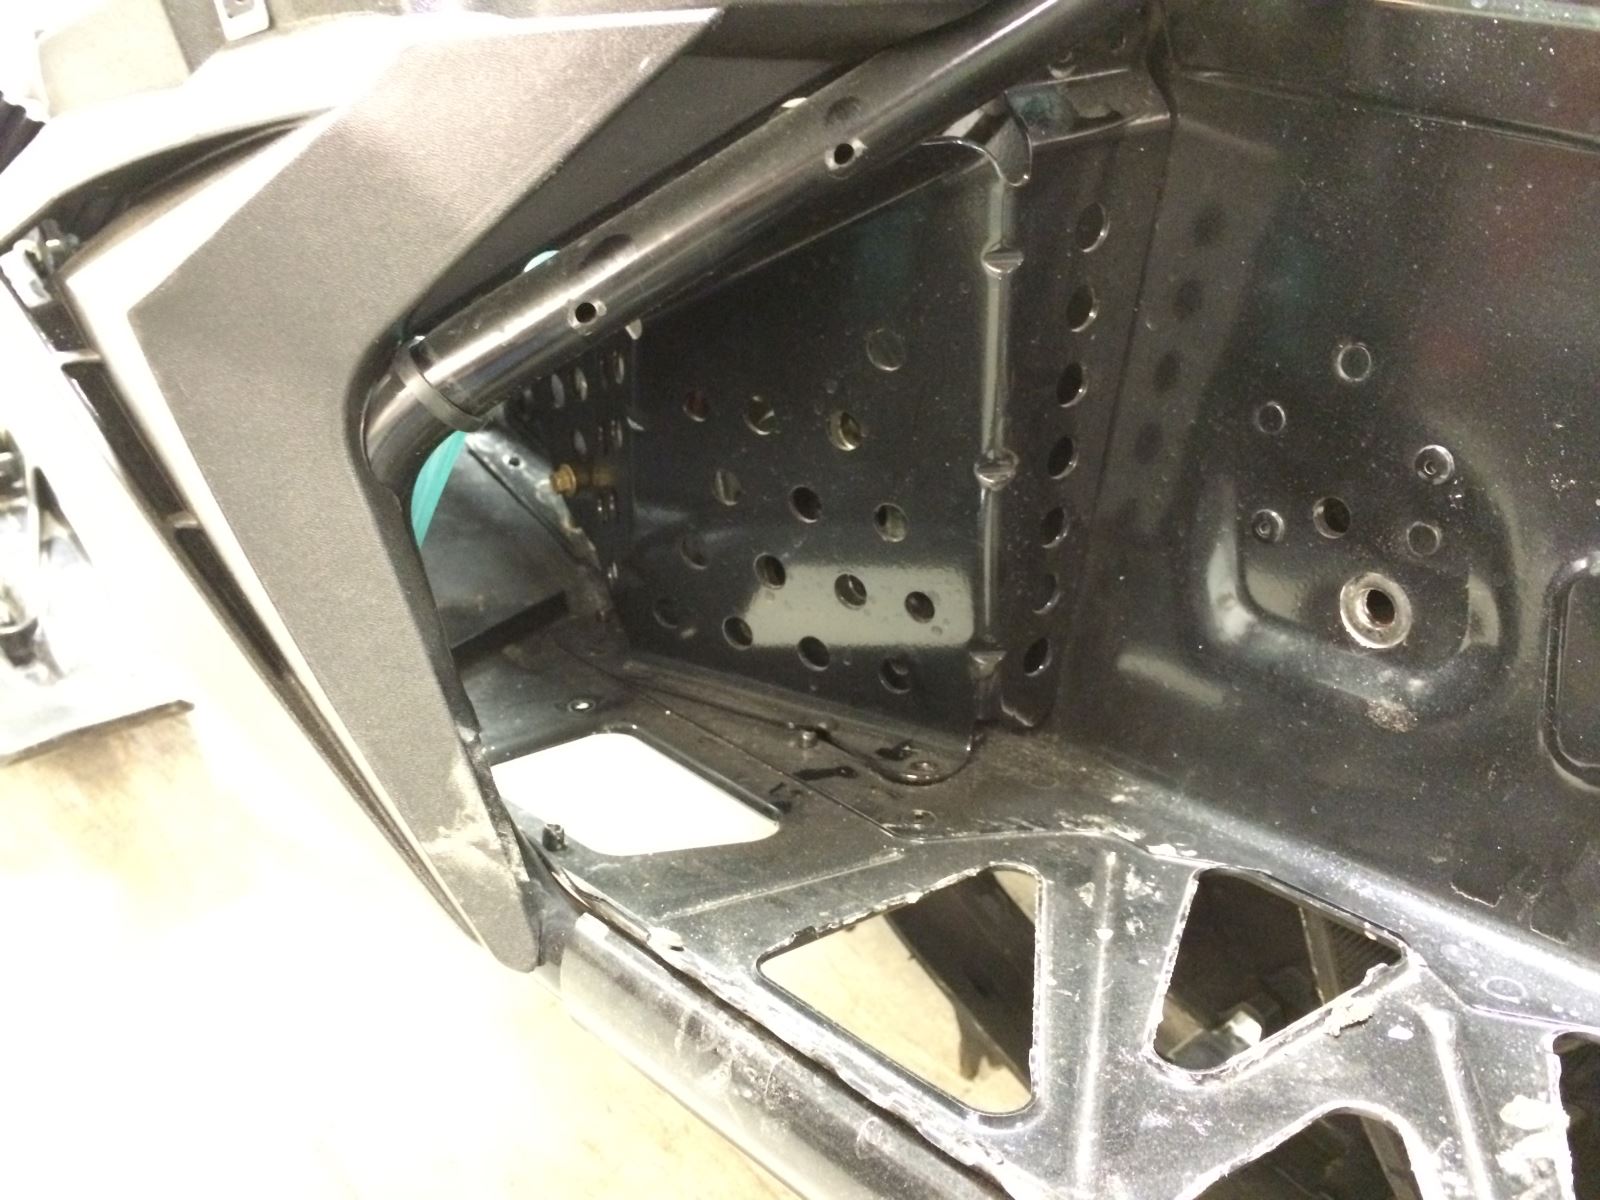
5) Remove screws from left and right side of belly pan plastic that attaches above the foot rests.
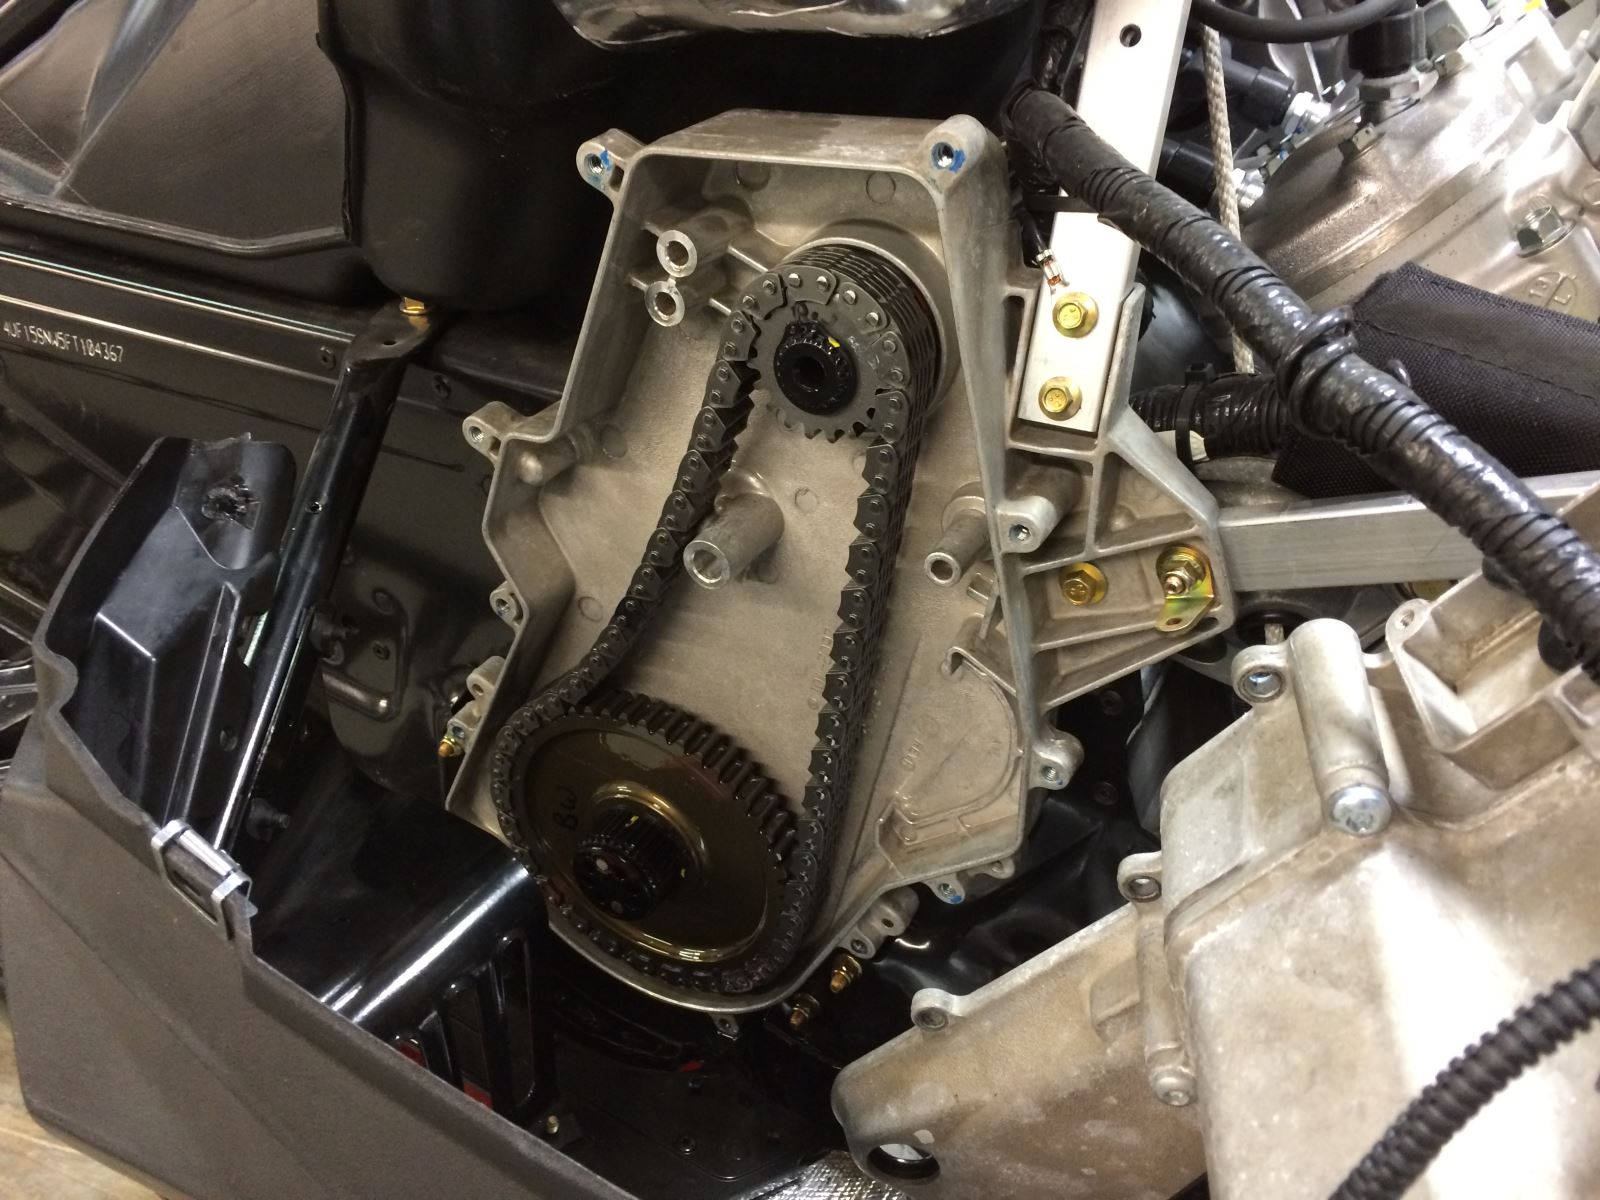
6) Pull chaincase cover (11 screws). Make sure to place a catch pan under the chaincase to catch the chaincase oil.
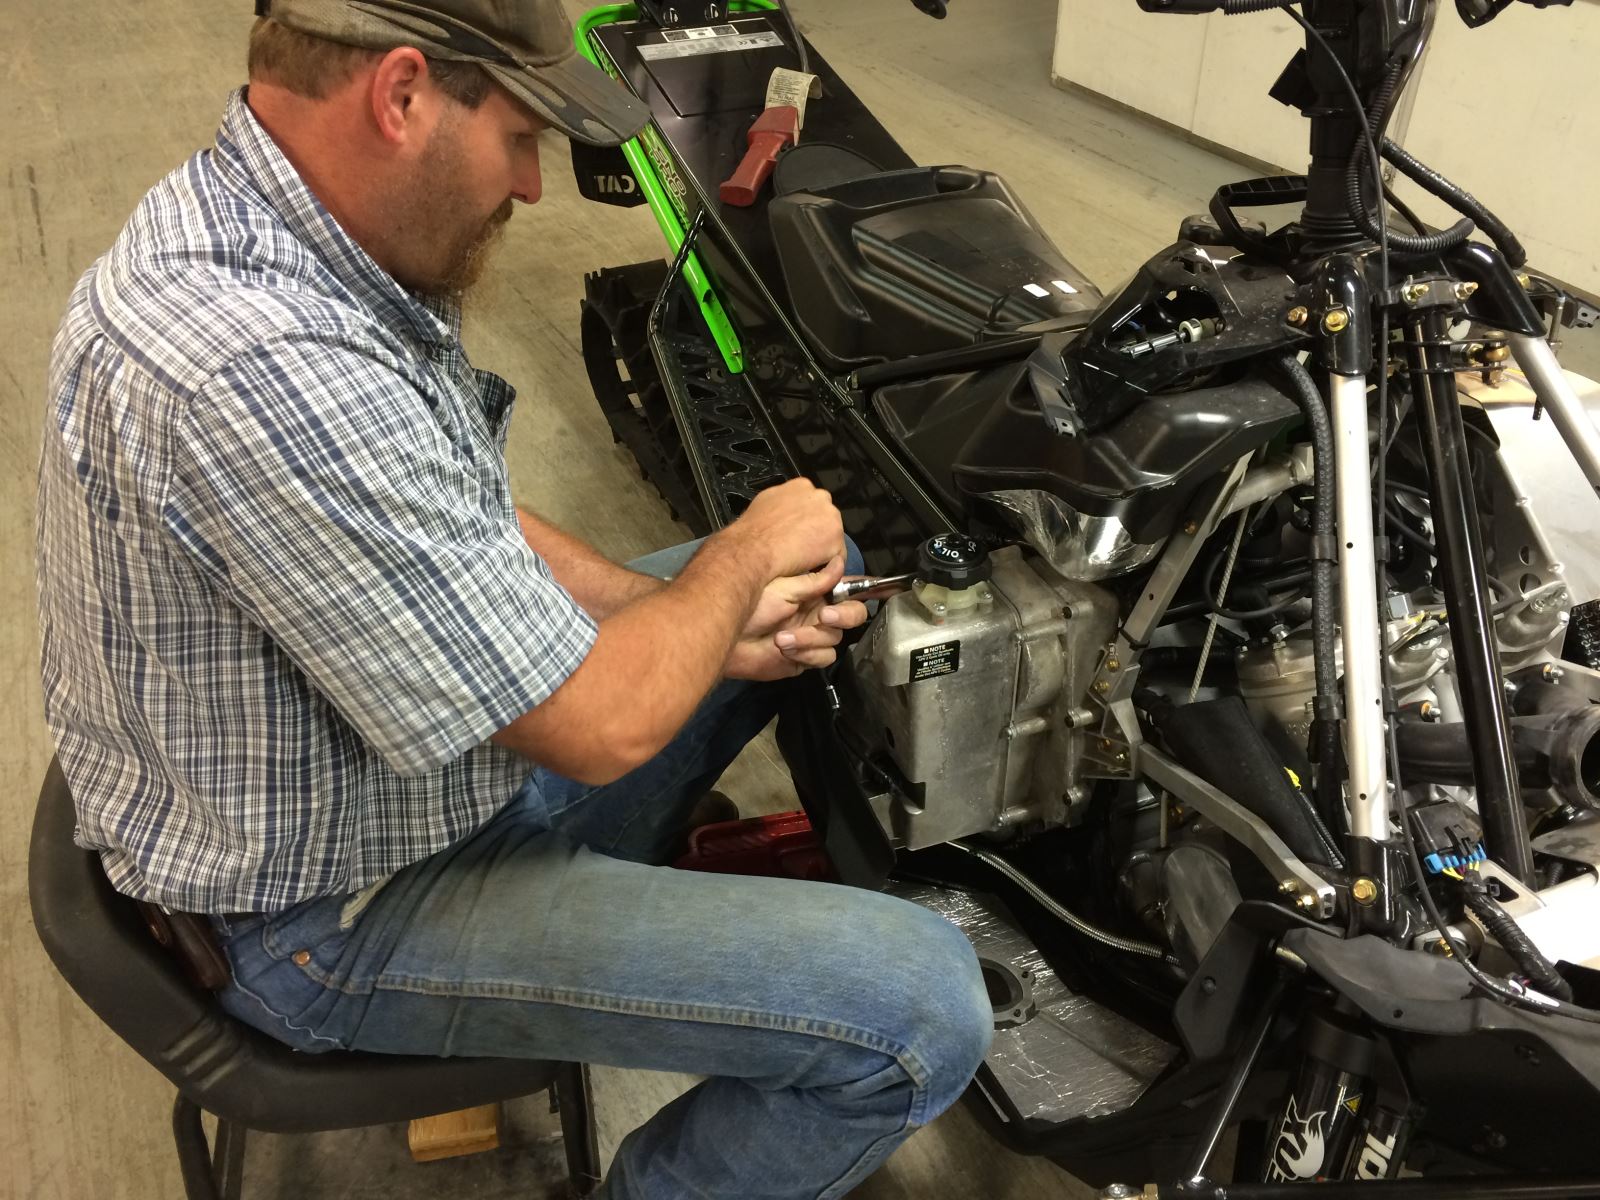
7) Remove c-clips that hold the gears. Remove the top gear and chain and then the bottom gear.
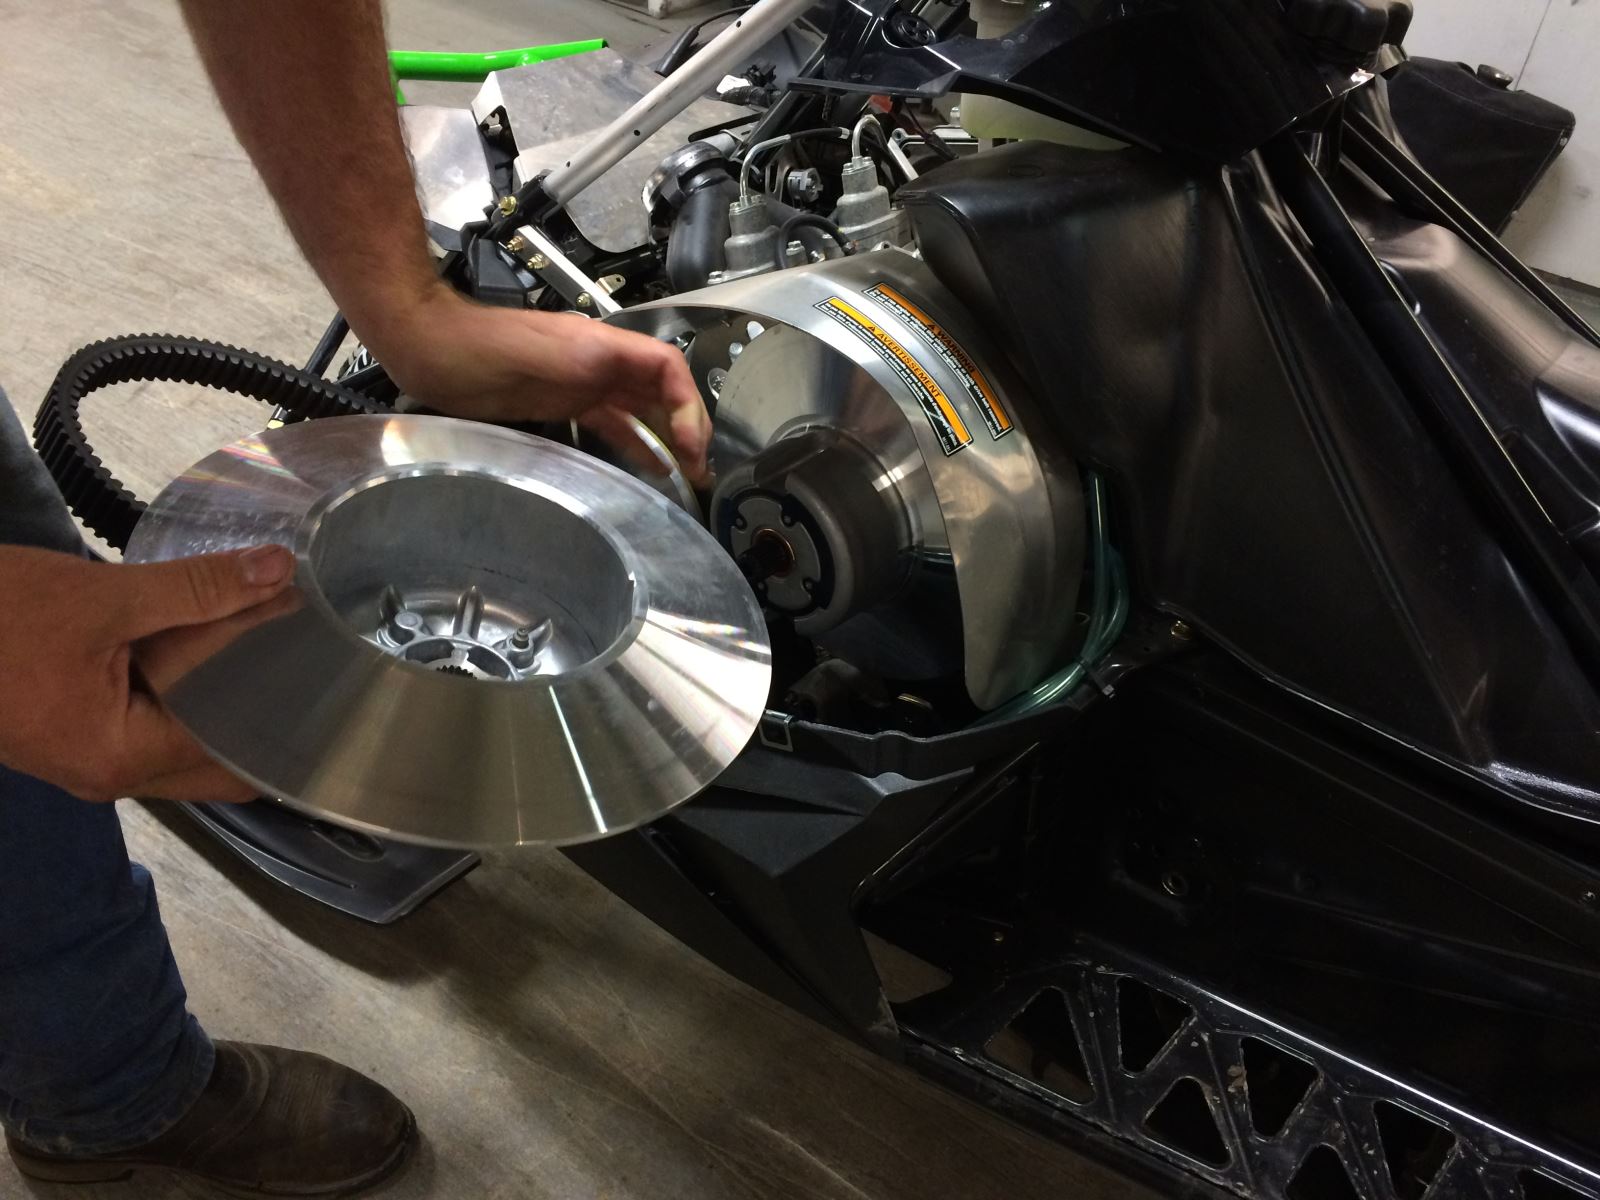
8) Remove the driven clutch. This will give you access to the jackshaft.
9) Remove the clutch side foot stop. This is attached with four bolts and will provide access to the brake disc cover. Two bolts are attached to the brake caliper, one bolt in the running board and one in the clutch guard
9) Remove the clutch side foot stop. This is attached with four bolts and will provide access to the brake disc cover. Two bolts are attached to the brake caliper, one bolt in the running board and one in the clutch guard.
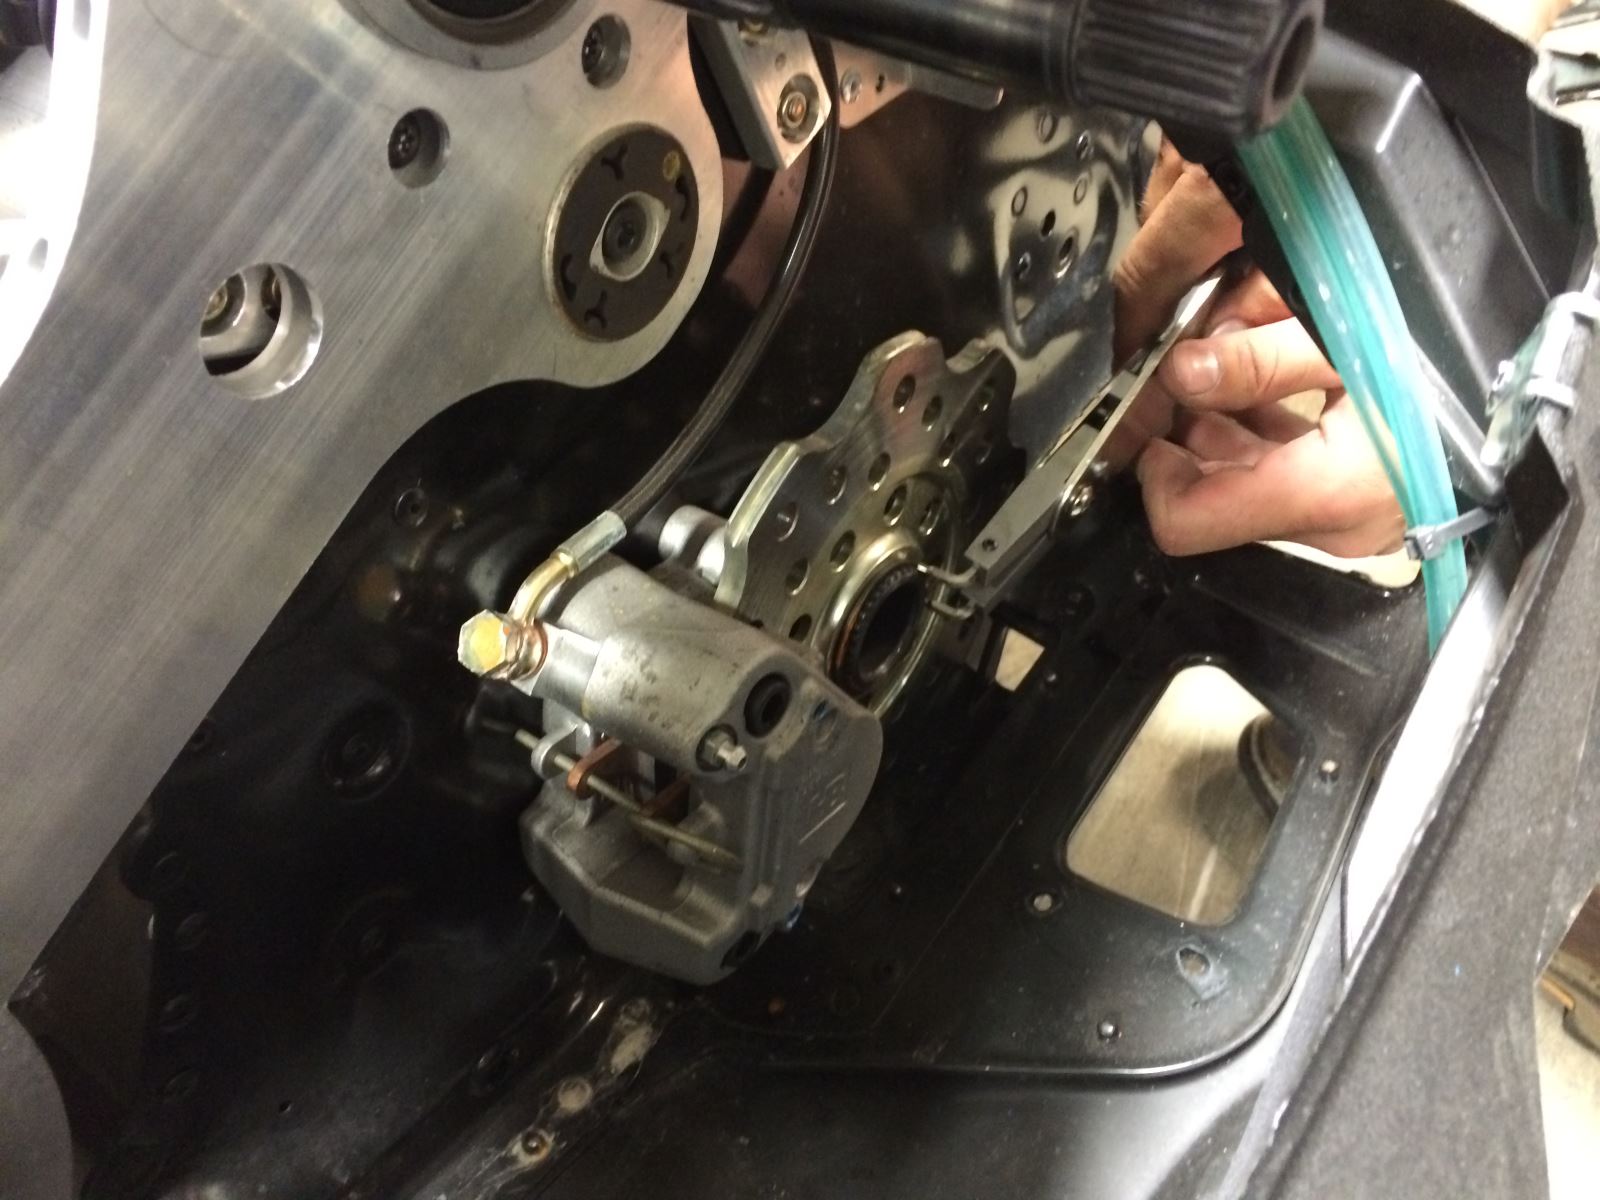
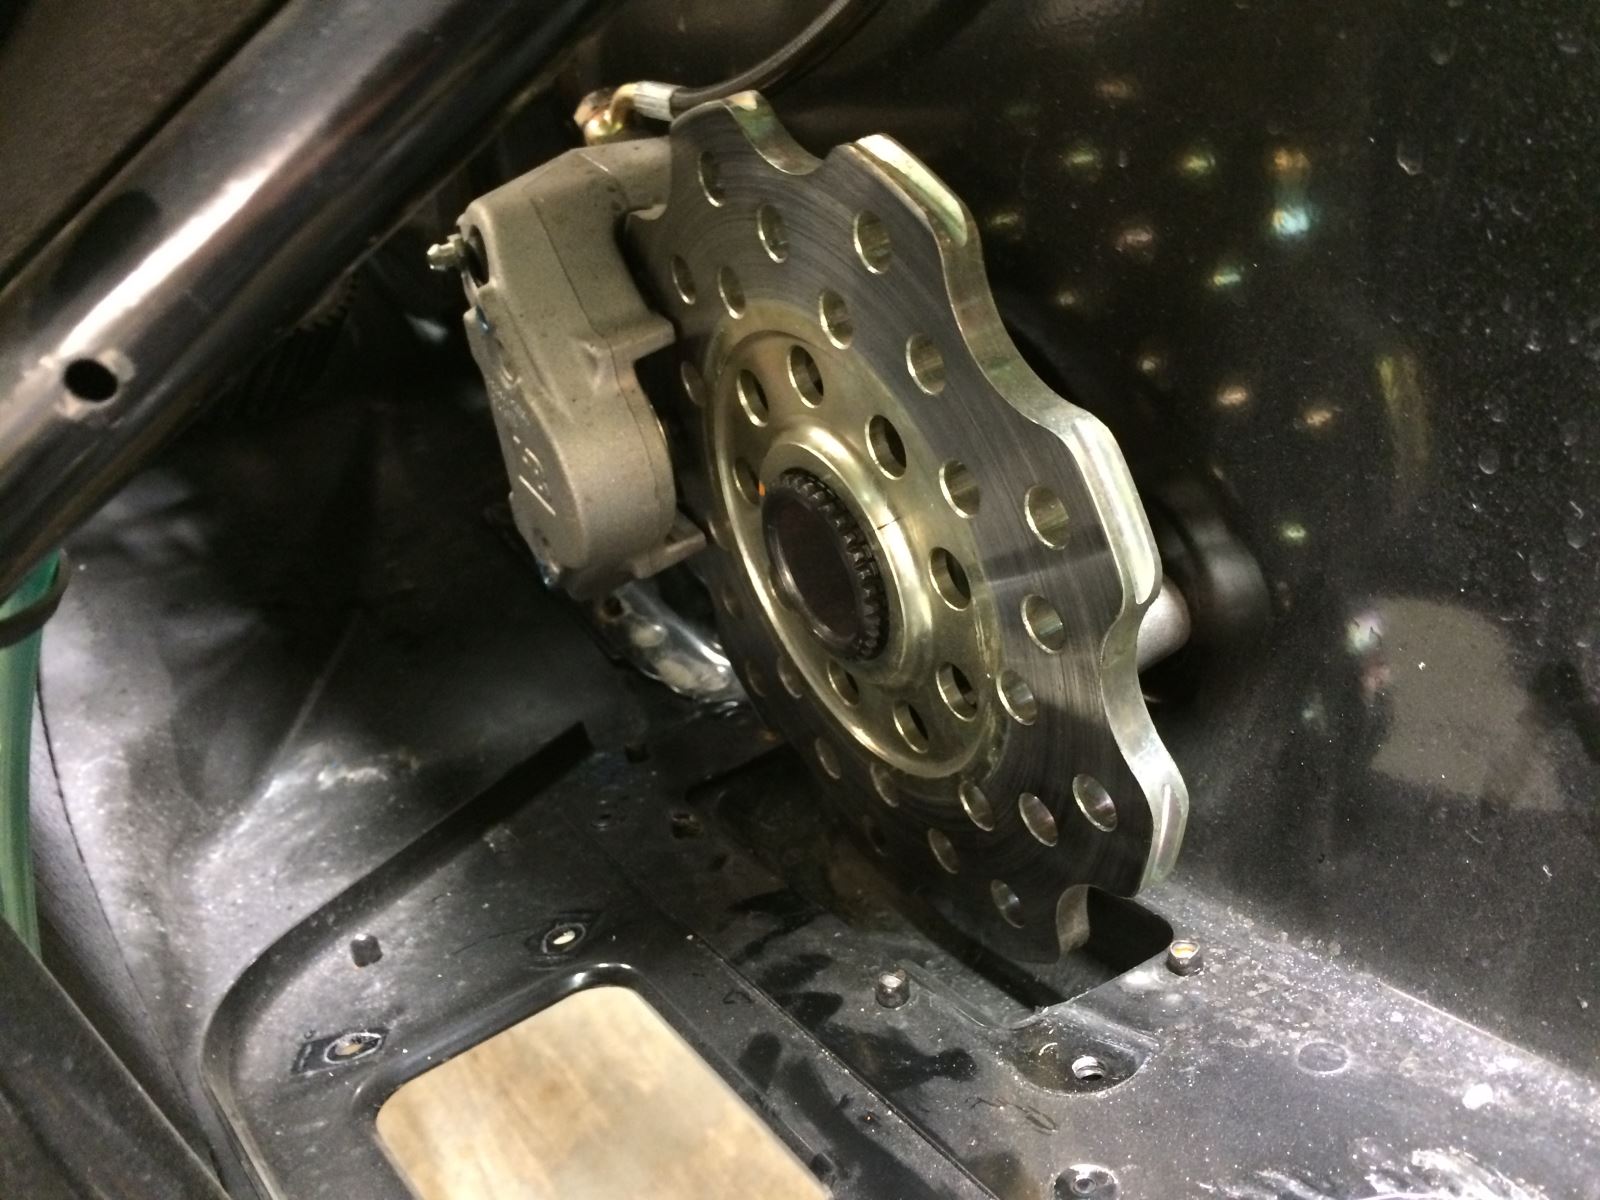
10) Remove the brake disc cover (four screws). 11) Remove c-clip on the brake disc. 12) Pull clip that holds brake pads to get more access to the brake disc.
13) Elevate the rear of snowmobile to get better access to the front part of the tunnel.
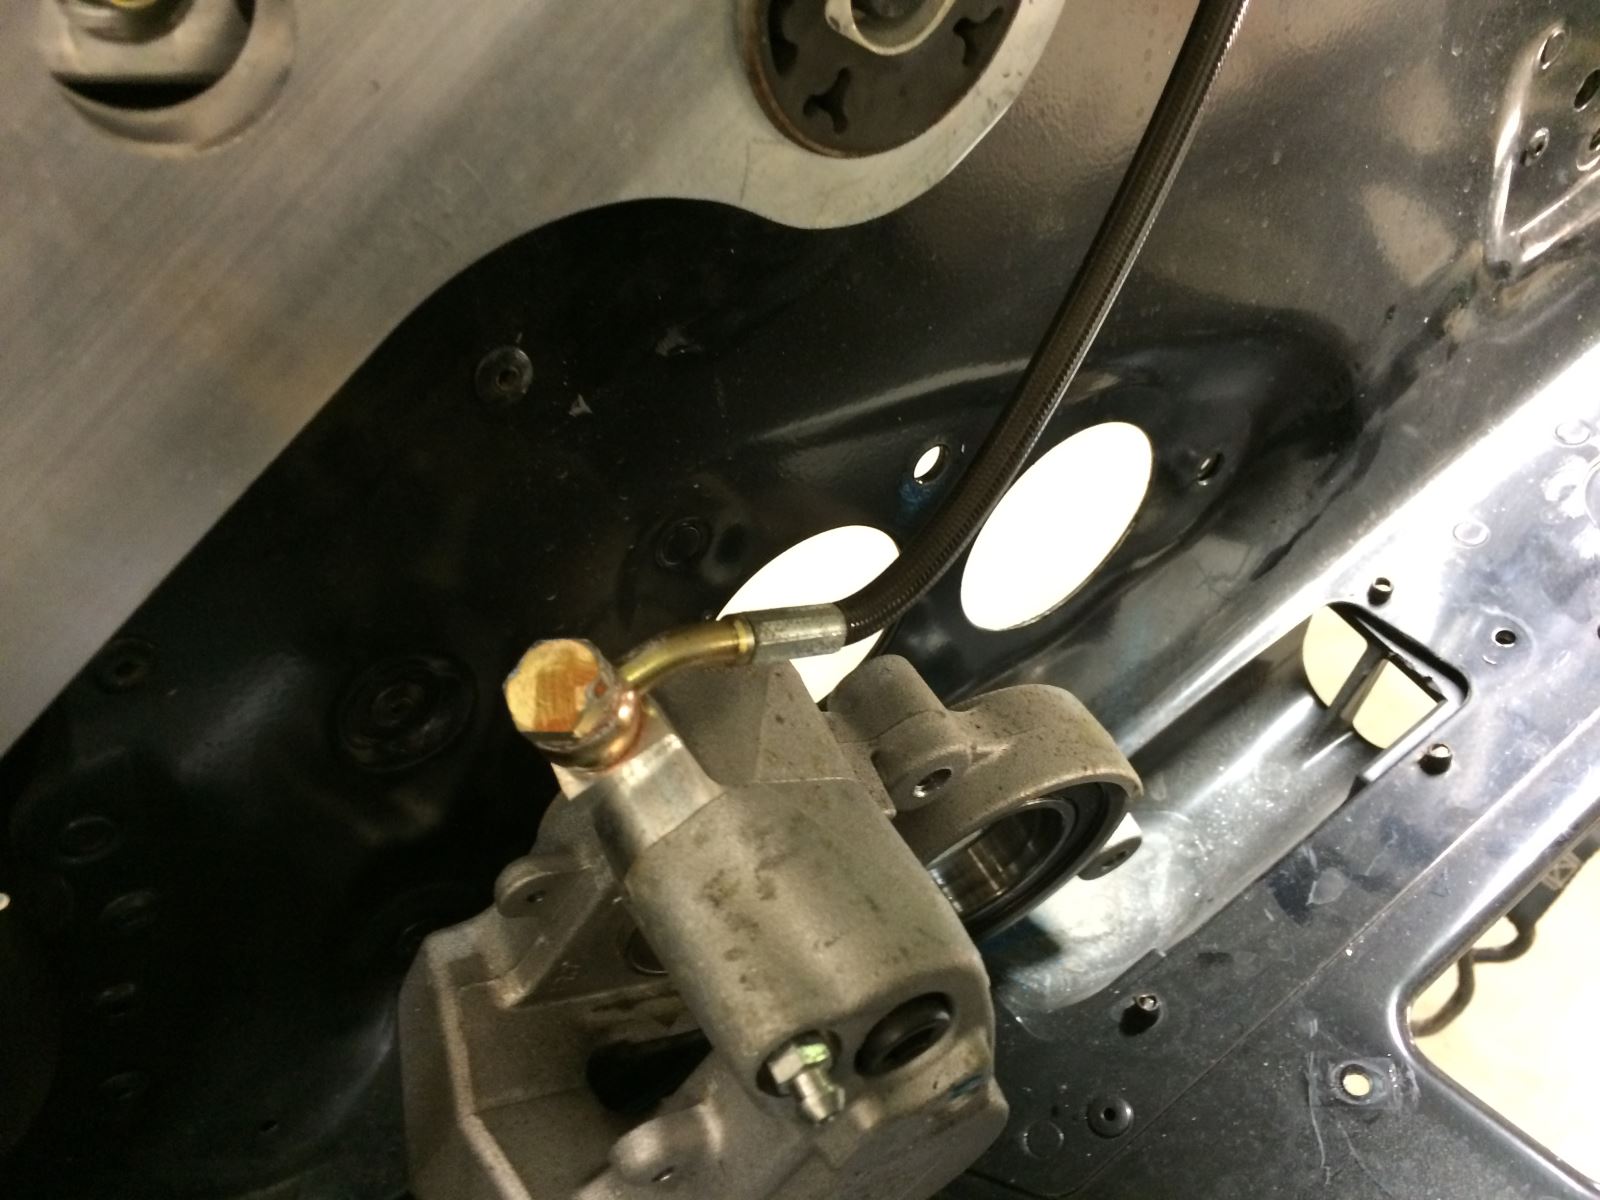
14) Remove the three bolts on the backside of the brake caliper and slide off the disc and caliper.

15) Pull drive shaft. Slide the shaft through the left side area vacated by removing the brake caliper, until it clears the chaincase.
16) Remove the track.
17) Make certain the track is lined with its arrows pointing forward.
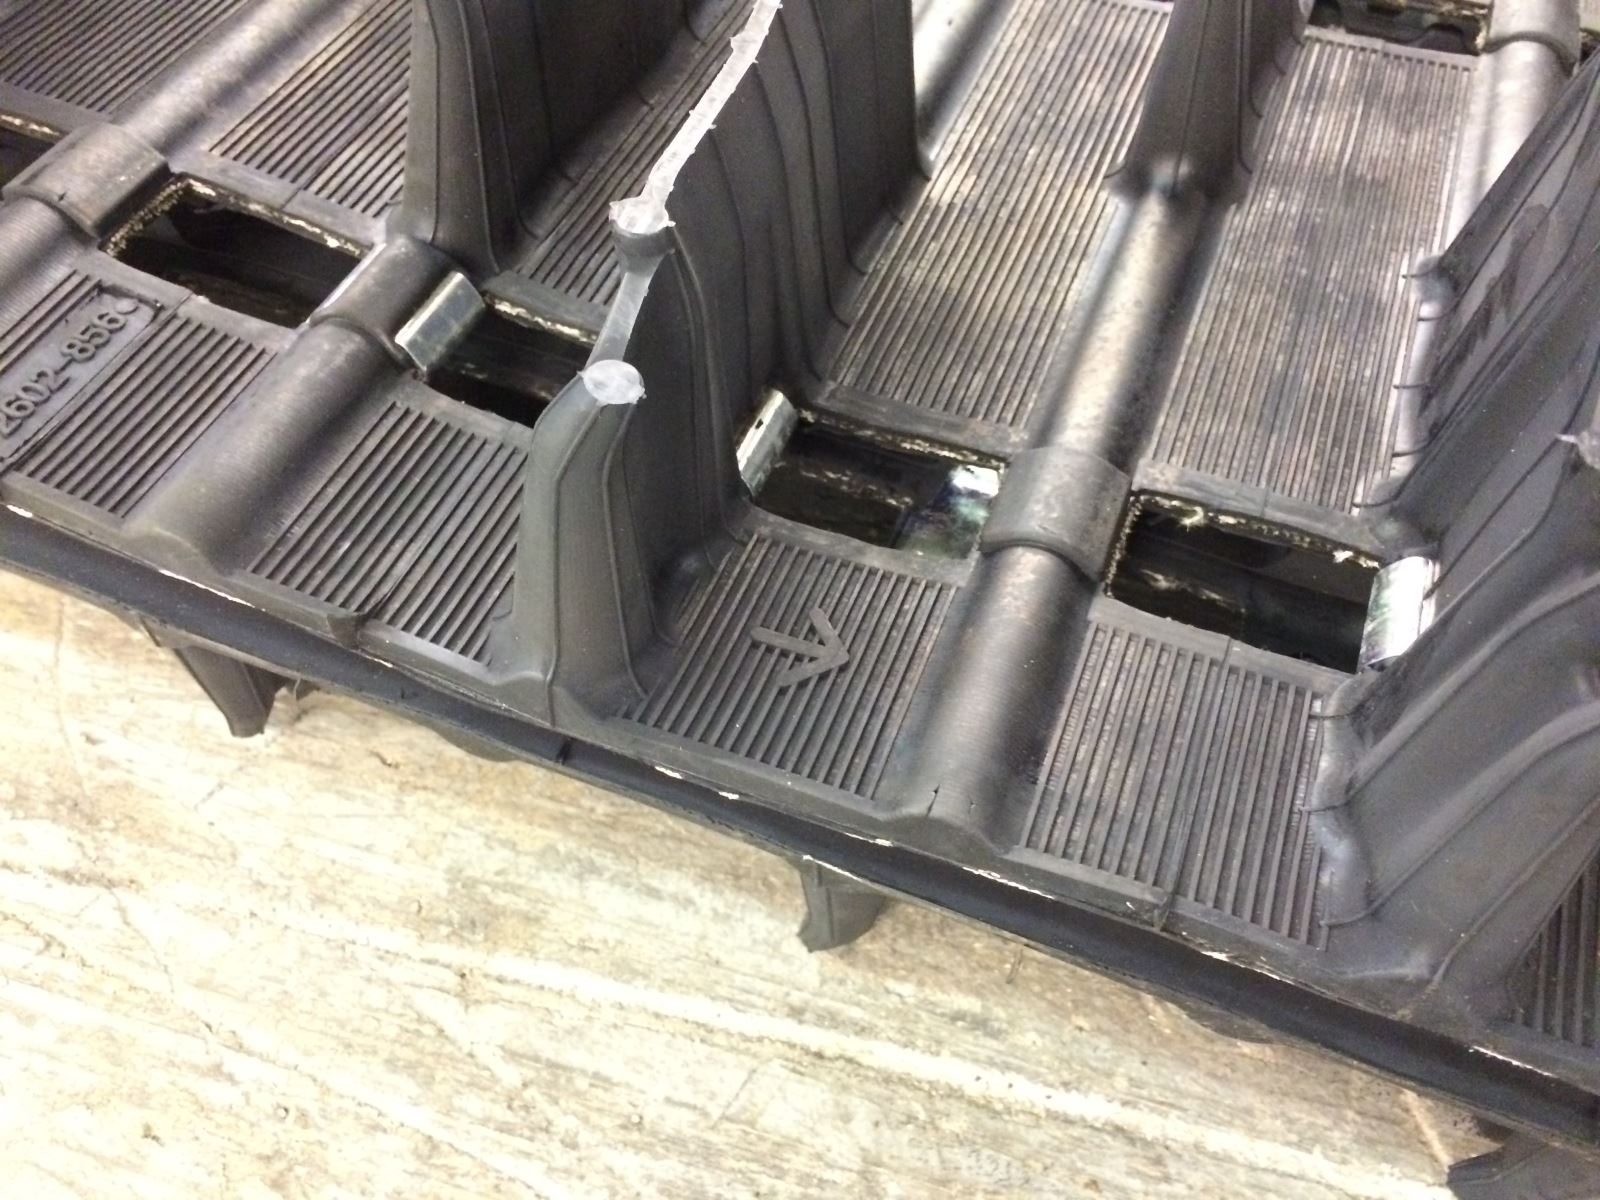
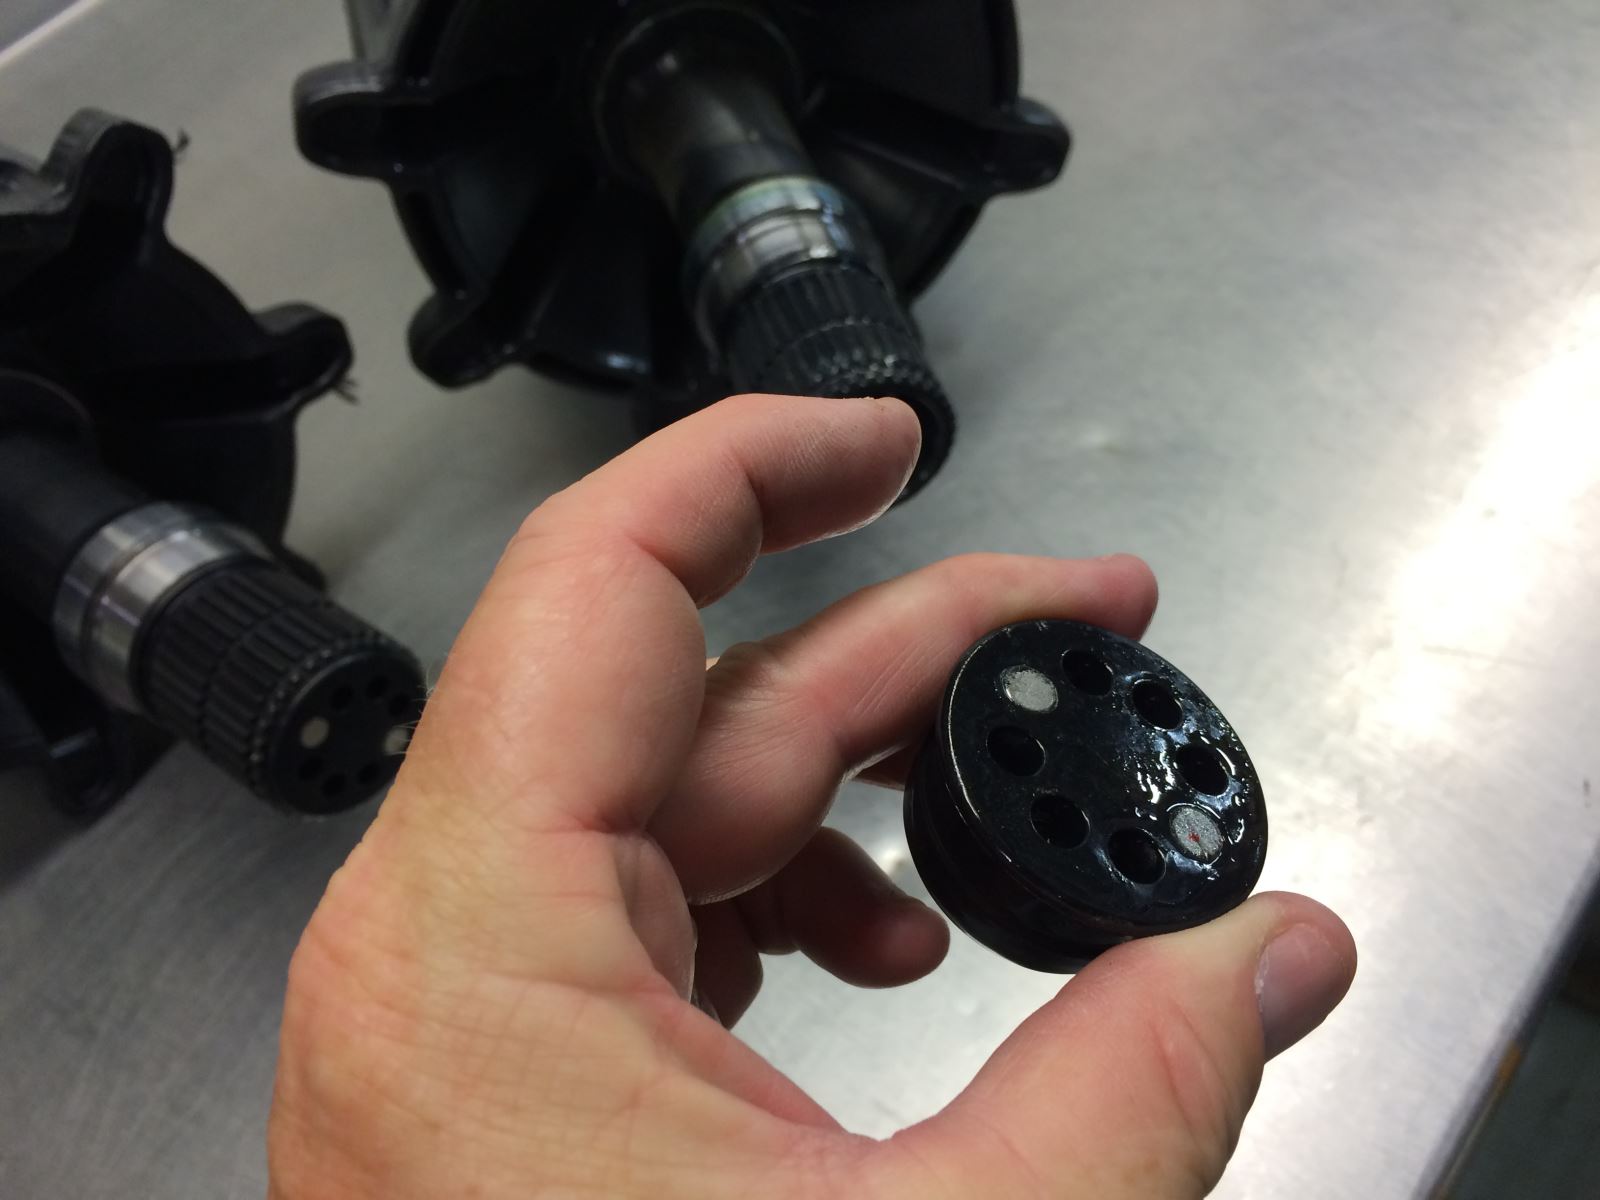
18) Shove the track in and then put the new 7-tooth drive shaft inside front of track. Make sure you’ve changed the odometer magnet to the new drive shaft. Then put left side of drive shaft through the hole vacated by the brake caliper, and then in the rig

19) Shove the track in and then put the new 7-tooth drive shaft inside front of track. Make sure you’ve changed the odometer magnet to the new drive shaft. Then put left side of drive shaft through the hole vacated by the brake caliper and then in the righ
20) Re-install brake caliper and brake disc. Brake disc shoulder should point inward toward the track.
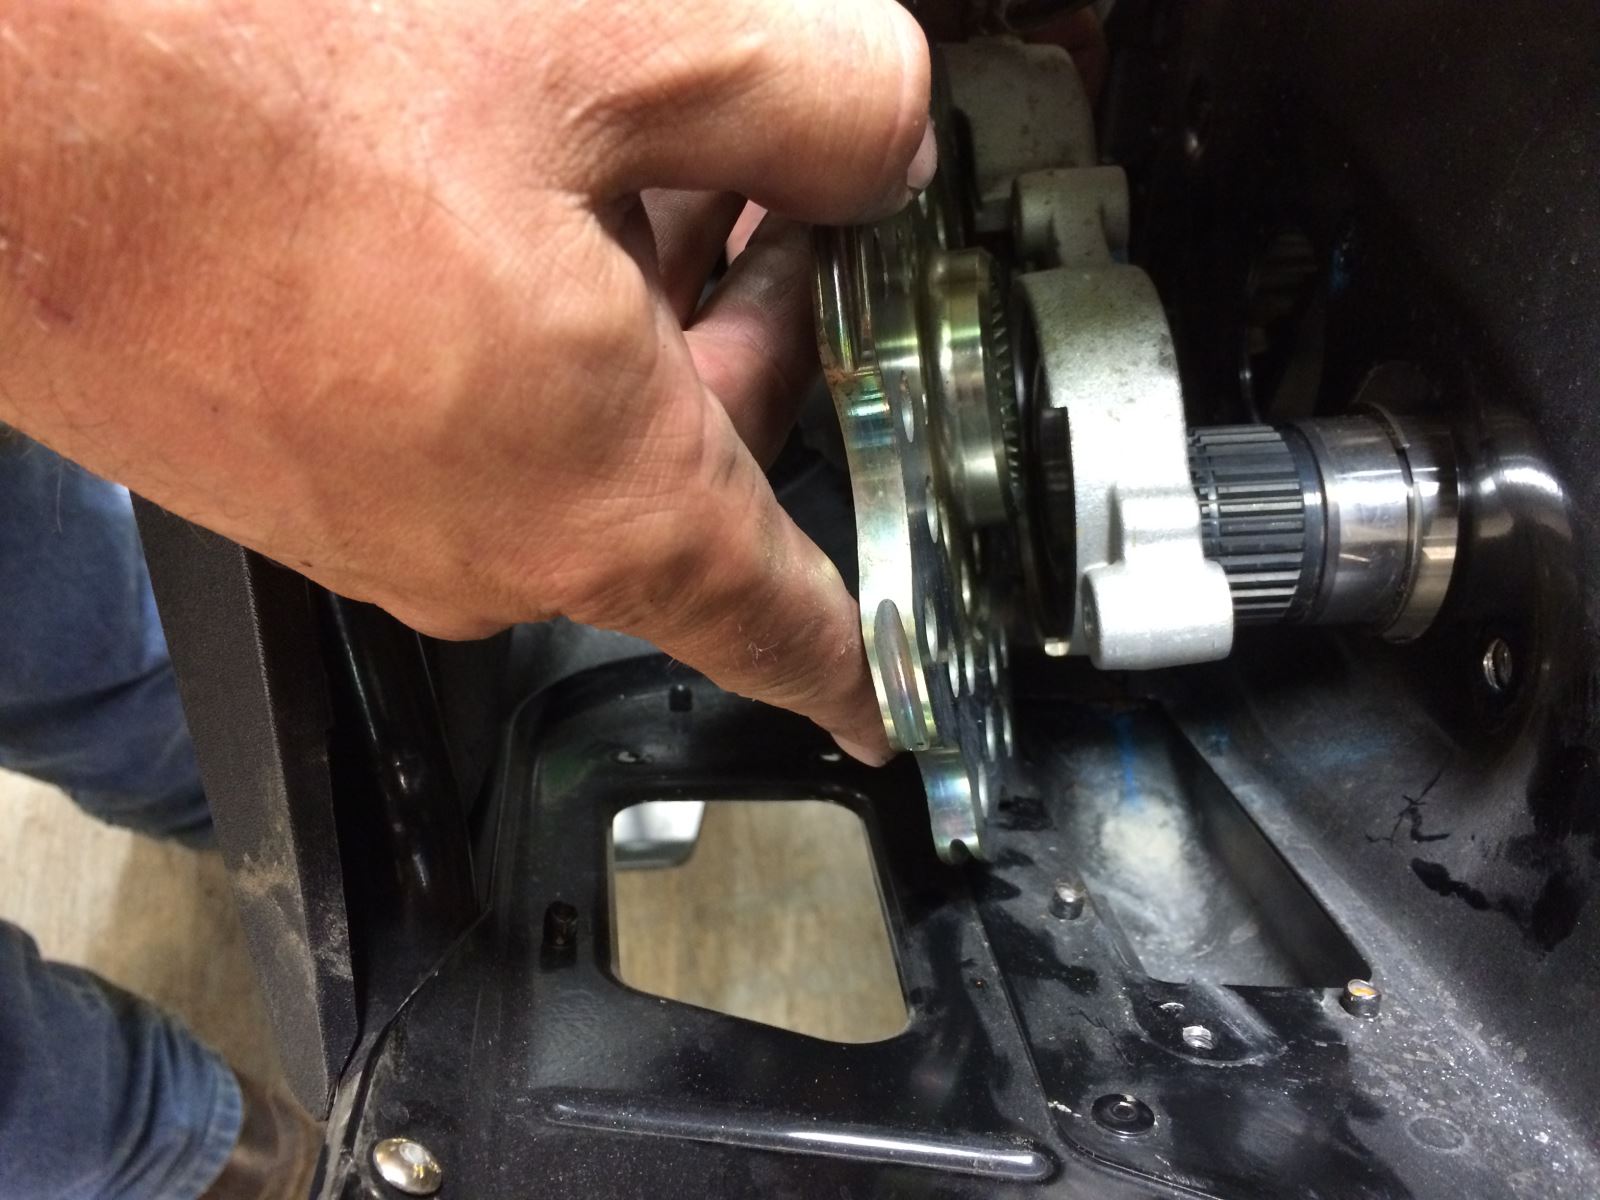
21) Replace drive shaft seal. It can only go on one way due to its bolt pattern.
22) Follow removal steps in reverse from 14 to 1.

Project 2015/16 Arctic Cat M 8000 SnoPro Build
Part 6—Track Install
Published online: Aug 05, 2015 Arctic Cat Steve Janes
(EDITOR’S NOTE: This is the sixth in a series of articles about converting a 2015 Arctic Cat M 8000 SnoPro into a SnoWest Forums 2016 Project Cat giveaway sled. Throughout the summer and fall we will be working with SnoWest Forum members to build the perfect snowmobile … and then we will give it away to a Forum member at the end of the build.)
Last week we covered the installation of the Mountain Valley Machine belt drive. This week we’re adding a three-inch Power Claw track—one of the most popular installs to the 2015 Arctic Cat M 8000 SnoPro project.
Although this install was actually part of last week’s install (when you have the drive system exposed, it’s best to do everything at once), we are addressing this as a separate and unique install (so there will be some redundancies from last week’s install).
One thing nice to note about Arctic Cat is that they have a great program in place for Cat riders who may want to upgrade their 2.6-inch track to a 3-inch track.
1) Remove hood. This will allow access to the chaincase.
2) Remove pipes. Again, for access.
3) Elevate rear of sled to remove tension from rear suspension.
4) Remove rear skid. This involved talking out four bolts and then wiggling the skid out from the track.
5) Remove screws from left and right side of belly pan plastic that attaches above the foot rests.
6) Pull chaincase cover (11 screws). Make sure to place a catch pan under the chaincase to catch the chaincase oil.
7) Remove c-clips that hold the gears. Remove the top gear and chain and then the bottom gear.
8) Remove the driven clutch. This will give you access to the jackshaft.
9) Remove the clutch side foot stop. This is attached with four bolts and will provide access to the brake disc cover. Two bolts are attached to the brake caliper, one bolt in the running board and one in the clutch guard
9) Remove the clutch side foot stop. This is attached with four bolts and will provide access to the brake disc cover. Two bolts are attached to the brake caliper, one bolt in the running board and one in the clutch guard.
10) Remove the brake disc cover (four screws). 11) Remove c-clip on the brake disc. 12) Pull clip that holds brake pads to get more access to the brake disc.
13) Elevate the rear of snowmobile to get better access to the front part of the tunnel.
14) Remove the three bolts on the backside of the brake caliper and slide off the disc and caliper.
15) Pull drive shaft. Slide the shaft through the left side area vacated by removing the brake caliper, until it clears the chaincase.
16) Remove the track.
17) Make certain the track is lined with its arrows pointing forward.
18) Shove the track in and then put the new 7-tooth drive shaft inside front of track. Make sure you’ve changed the odometer magnet to the new drive shaft. Then put left side of drive shaft through the hole vacated by the brake caliper, and then in the rig
19) Shove the track in and then put the new 7-tooth drive shaft inside front of track. Make sure you’ve changed the odometer magnet to the new drive shaft. Then put left side of drive shaft through the hole vacated by the brake caliper and then in the righ
20) Re-install brake caliper and brake disc. Brake disc shoulder should point inward toward the track.
21) Replace drive shaft seal. It can only go on one way due to its bolt pattern.
22) Follow removal steps in reverse from 14 to 1.