• Don't miss out on all the fun! Register on our forums to post and have added features! Membership levels include a FREE membership tier.

Turbo Apex Impulse Install

J

jsandgren10

Well-known member
Jan 17, 2008
499
184
43
Northern California
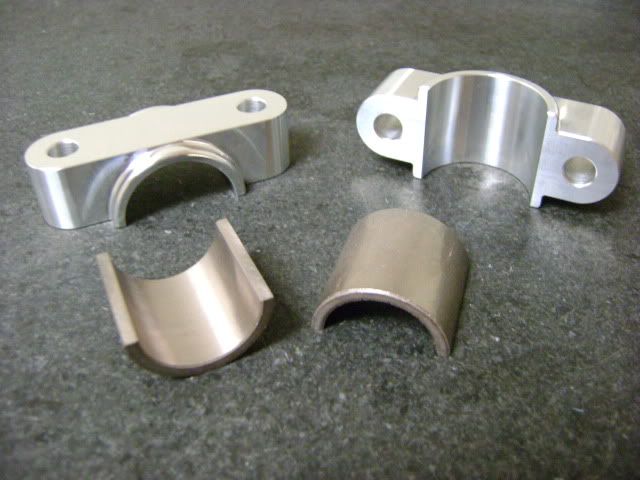
Well I just got the big kit in the mail from Paul over at Impulse. Talk about great quality materials. I can't wait to start installing. Figured I would post some pictures of the parts and the sled as it stands before I really tear into it tomorrow.

turboinstall001.jpg

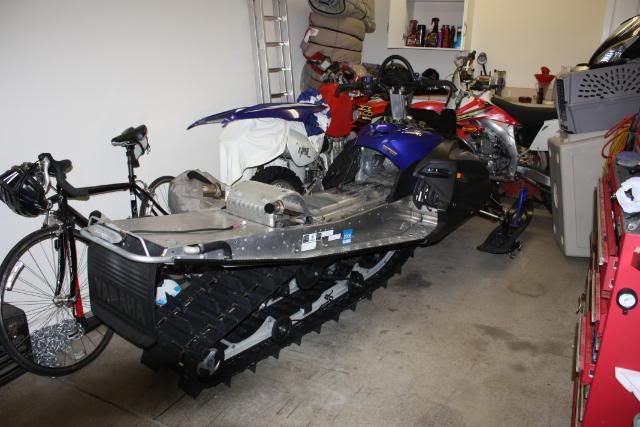
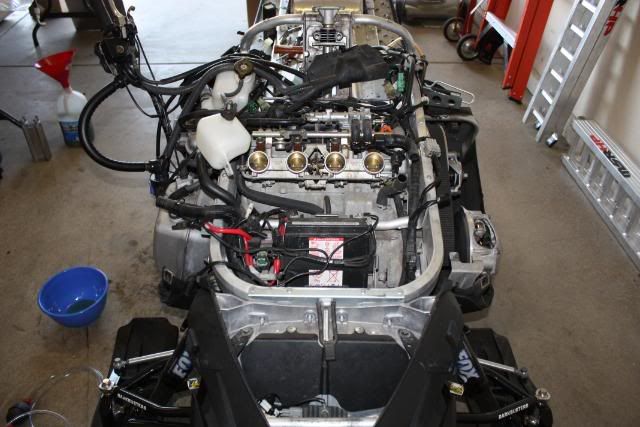
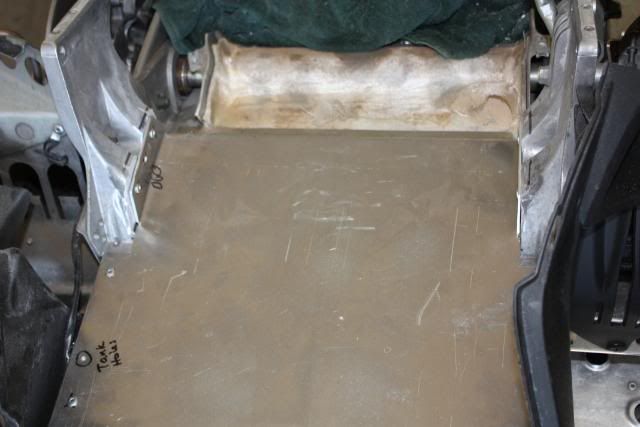
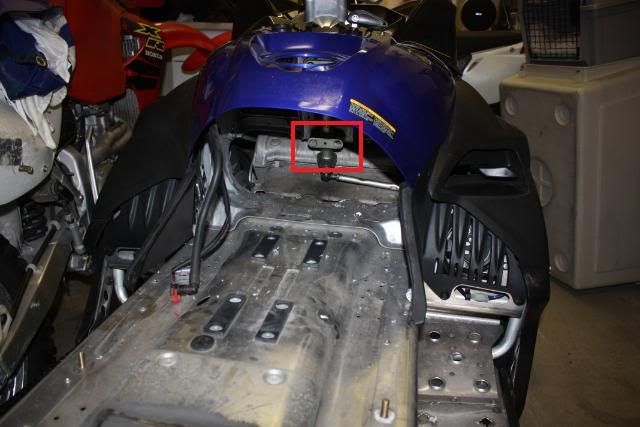
Sled with Seat removed, tank, and new hood on

turboinstall003.jpg

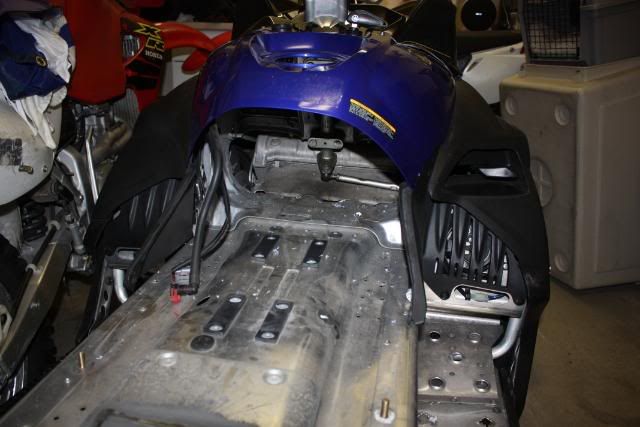
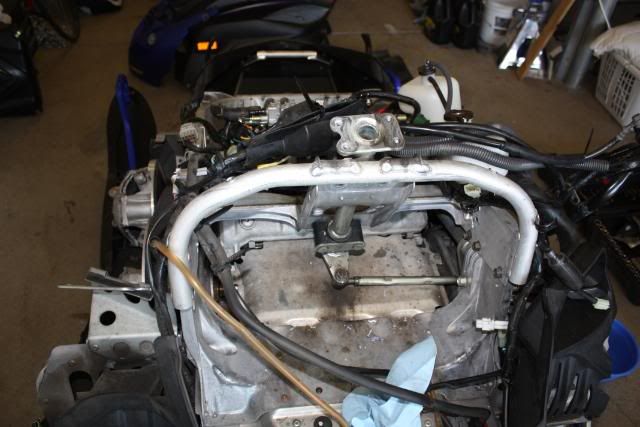
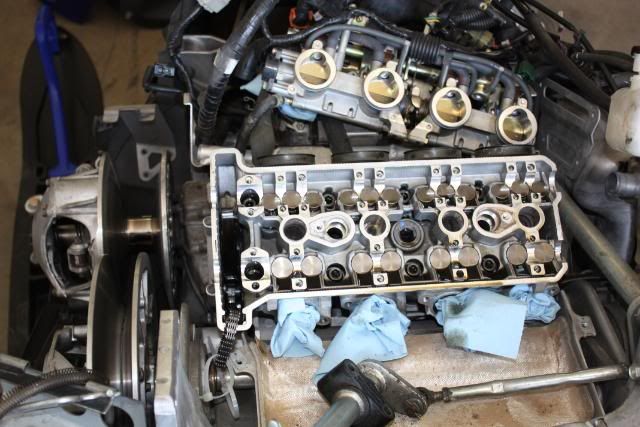
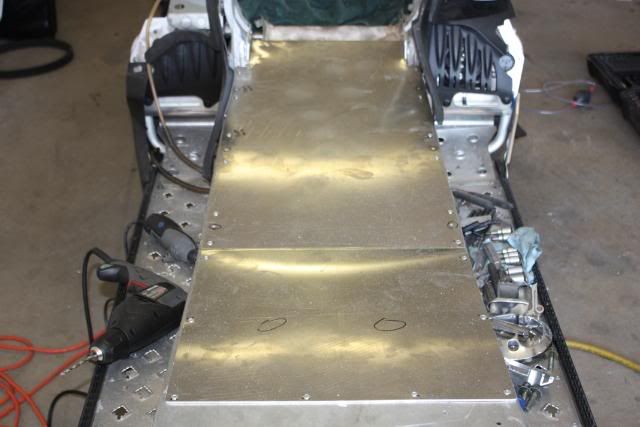
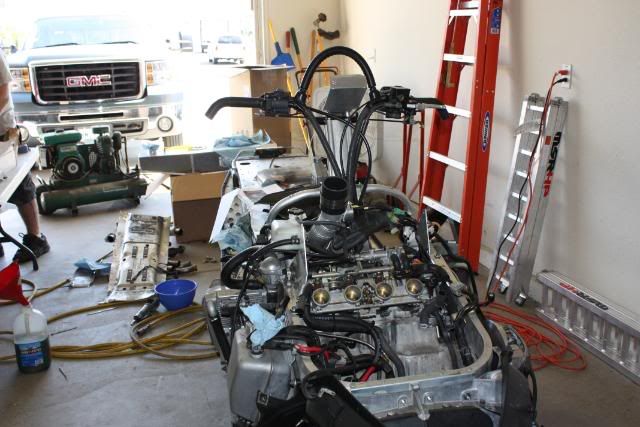
All empty ready to house the turbo, after I cut the tunnel out of course.
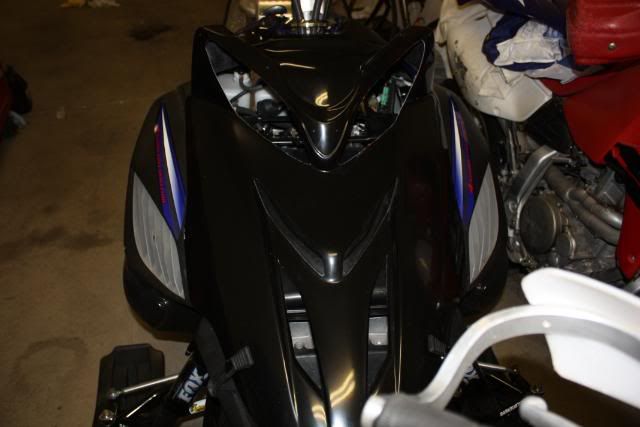
turboinstall006.jpg

New CR racing hood

turboinstall008.jpg

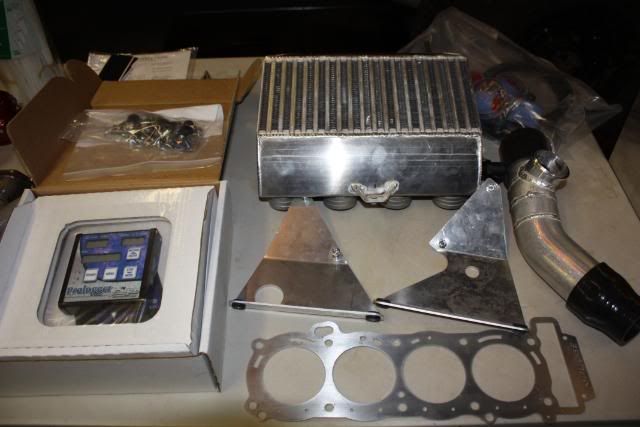
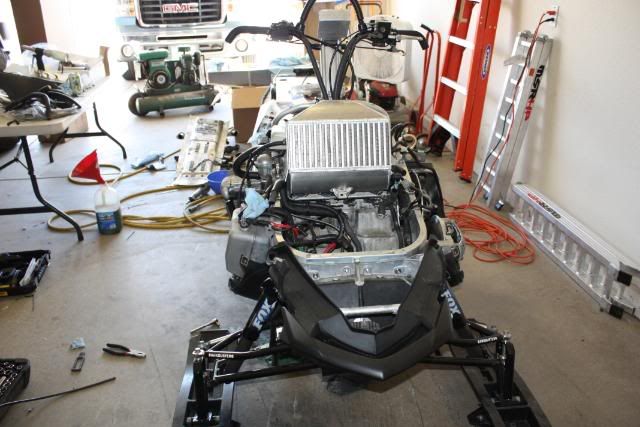
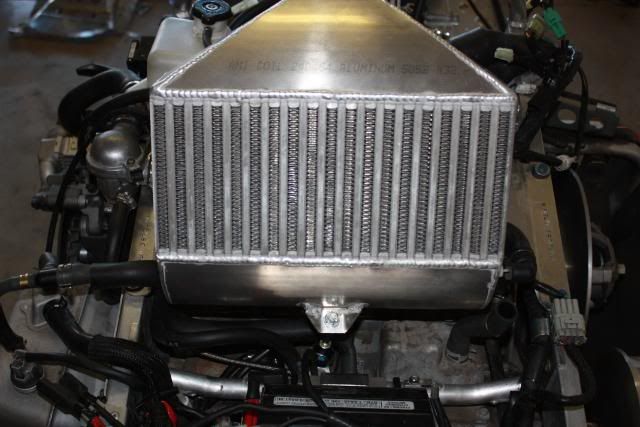
Intercooler, prologger, headshim, uppipe, and on the right the new tunnel plate

turboinstall009.jpg

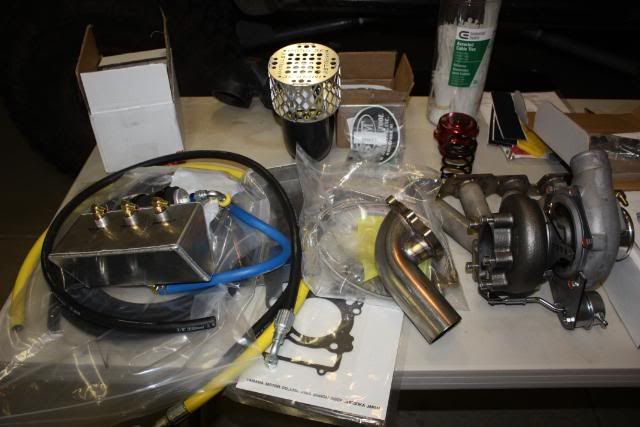
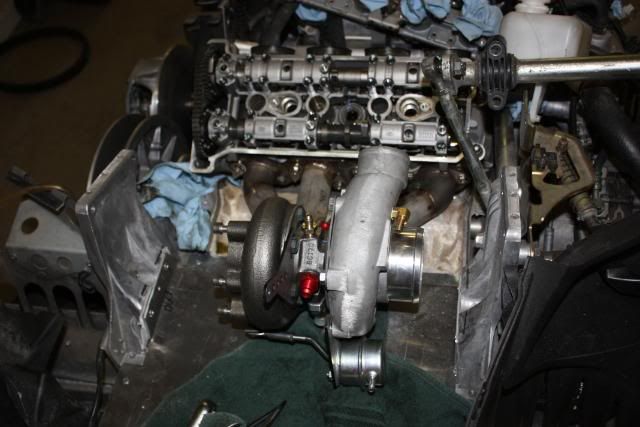
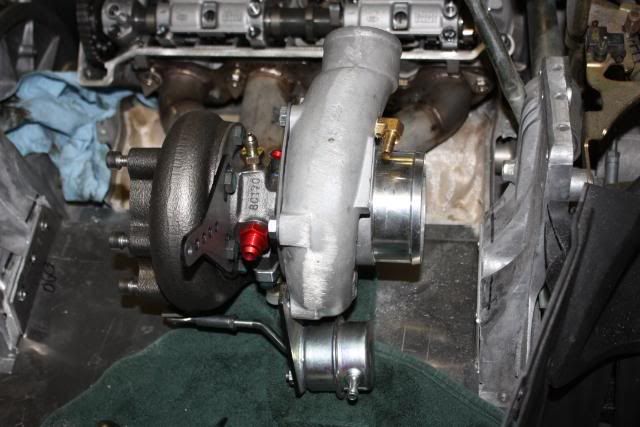
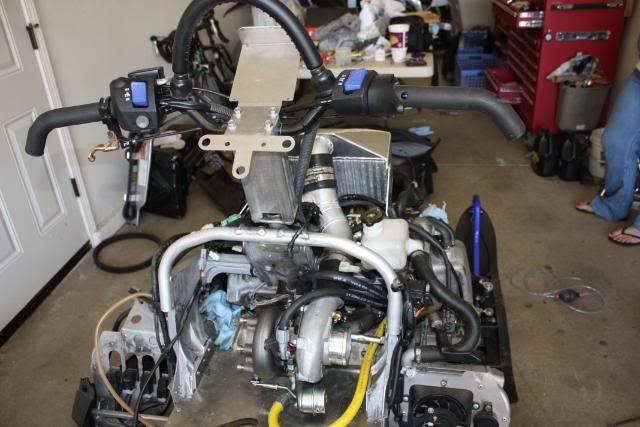
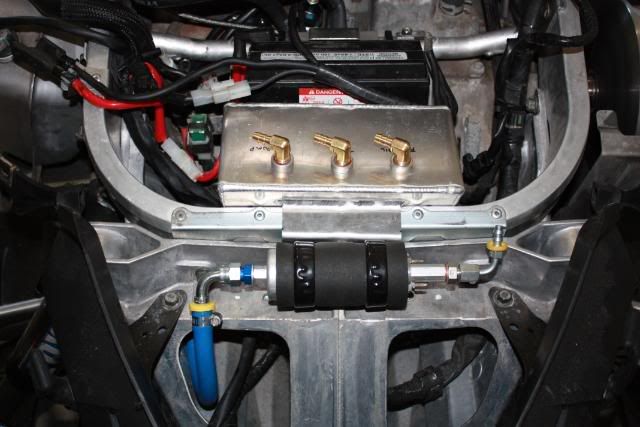
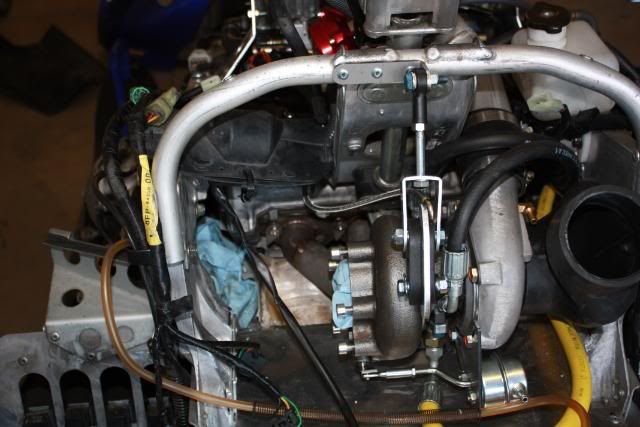
The turbo, downpipe, fuel surge tank, intake, shockwave, supertips and BOV

turboinstall010.jpg

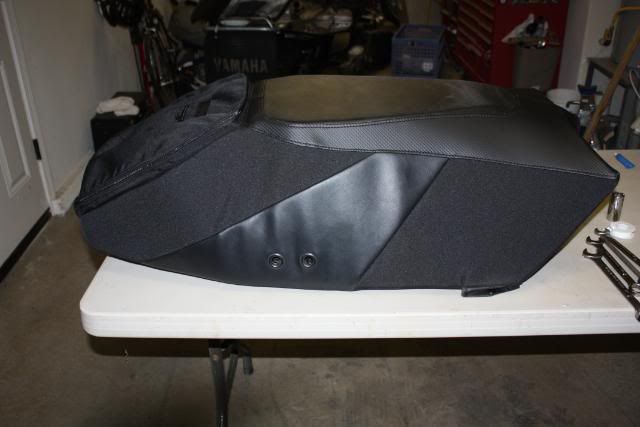
New Boss seat to house the new 12 gallon tank

turboinstall011.jpg

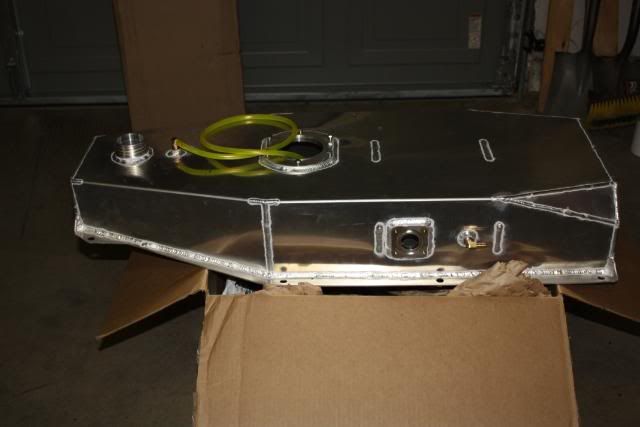
New 12 gallon fuel cell

Looking forward to the install and the boost once the snow hits. I'll keep this thread updated as the install progresses.
 
H

HYFLYR

ACCOUNT CLOSED
Nov 21, 2007
1,038
142
63
Alaska
Have fun with it, tank and seat is a much better option over stock.

I want a 12 gallon tank too!
 
R

relentless rider

Well-known member
Jan 25, 2009
862
208
43
in the mountians western mt
head shim

If that's a impulse head shim, you might have to drill out your head bolt holes in the shim.We just put the head shim on my apex today and ran into that problem,also the two small holes on the timing side too..
 
J

jsandgren10

Well-known member
Jan 17, 2008
499
184
43
Northern California
Zeb-its the normal Boss seat, Paul went ahead and gutted it for me.

Relentless-I'll keep that in mine when I do the head tomorrow. Thanks for the heads up.
 
J

jsandgren10

Well-known member
Jan 17, 2008
499
184
43
Northern California
Called it a night about an hour ago. Got some stuff done on it. Pics are below. Got the head all done, just have to set the cams in the morning per Paul's recommendation.

001.jpg

Tearing it apart

002.jpg

Reading to pull the delta box, and tear into the head

003.jpg

Cams removed. Getting ready to pull the head

004.jpg

head removed. Cut the tunnel out to get ready for the new plate

005.jpg

All cut out and ready to go

006.jpg

Tunnel plate installed

007.jpg

All ready for the turbo and tank

009.jpg

Turbo mounted up to the head

010.jpg

new turbo mounted up

Tomorrow going to set the cams and make sure timing is correct. Then begin re-assembling some stuff, and installing all the turbo lines, etc. Once that is all routed will start working on the intercooler, tank, etc.
 

scmurs

Well-known member
Lifetime Membership
Dec 13, 2002
421
174
43
Minneapolis, MN
Just make sure you check out your steering bushings while you have it apart. You're about to put a 1000+ degree hairdryer next to this plastic steering bushing:
turboinstall003.jpg


I might suggest a better alternative:
DSC00239.jpg

There are three of these bushings on an Apex.

Congrats on the build. Looks like its gonna be a fun one. :D

:beer;
scmurs
www.OFTRacing.com

 
J

jsandgren10

Well-known member
Jan 17, 2008
499
184
43
Northern California
looks like you got a lot done!How did your head shim fit? Are you just going to slot your intake? They say for mountain riding that works the best

The head shim good. It was a tad tight on the stud bolts, but was able to go on without drilling out any bigger. The two little bolts by the chaincase, I threaded through the shim a few times before I put it on so it made it pretty easy to put on.

What do you mean by slotting the intake? I was planning on running the intake Paul gave me, out of the fuel filler with the outerwear.
 
J

jsandgren10

Well-known member
Jan 17, 2008
499
184
43
Northern California
Scmurs- I went out and looked at the bushings after you said that. Mine are still in great shape, the sled only has about 300 miles on it.

If they start to wear I'll definitely consider what you proposed.

I'm looking forward to getting it all done and see the snow fall haha.
 

Polarisrocks

Well-known member
Lifetime Membership
Sep 22, 2002
1,006
183
63
Eastern Wa
You better check your valve/cam clearance. You can lift a cap pulling cams and can make a serious mess in just a few miles. I lost dropped a valve and it ruined the block and the head. It takes some time to check but well worth your effort. It takes some narrower set of guages to get in there. I cut down a cheap set to get the job done. All the specs are in the yamaha book.

Jim
 
J

jsandgren10

Well-known member
Jan 17, 2008
499
184
43
Northern California
Got some work done on it today. Got the head back together. Put the delta box back in, ran the coolent and oil lines, and started to mount up the intercooler, but had to take off for half the day.

Hopefully I can get most of it wrapped up this next weekend.

0032.jpg

Delta box in, getting intercooler brackets on

0052.jpg

Intercooler mounted onto the throttle bodies. Have to still mount it to the brackets

0062.jpg

Lines ran, up pipe set in place, to look over clearance

More to follow next weekend unless I get some time in the evenings this week.
 

sledfvr

Well-known member
Lifetime Membership
Apr 7, 2008
1,049
436
83
NW MT
Impulse sure makes a nice looking kit. There must be zero lag on that thing. And that intercooler might actually let some air flow through it. I am impressed.
 
J
Nov 27, 2007
445
77
28
ditto

Impulse sure makes a nice looking kit. There must be zero lag on that thing. And that intercooler might actually let some air flow through it. I am impressed.

does look like a nice kit that would actually let some air go thew the charge cooler.

**** If I were you I would change the stearing bushings out while you are there. I just put the OFT ones mentioned above in, I run a boondocker and have gotten used to changeing the ones out that sit right next to the turbo. They go fast but are a lot easier to get to than the ones on the post.

julio
 
J

jsandgren10

Well-known member
Jan 17, 2008
499
184
43
Northern California
Got a little bit of time to work on it tonight. I Finished securely mounting the intercooler. Mounted up the BOV, the oil lines for the turbo, the turbo hanger.

This weekend I'll finish it up by mounting up the tank, all the fuel lines, boost lines, and hook up the prologger.

017.jpg

Fuel surge Tank and pump. Just need to run the lines

018.jpg

Intercooler mounted with side brackets and bolt to the starter to secure it nicely

019.jpg

BOV, just need to hook up the boost lines

020.jpg

Hanger mounted to help support the turbo on the header

More to follow this weekend when I have another full day to work on it.
 
Premium Features