
C
I had done one of these last year on my Dragon and absolutely loved it. It is amazing how much flex the stock running boards/bars have, even for a girl! lol This year I got to spend time in the VE shop and work with them to install the kit, SO fun!! It took us about 4.5 hours to get it installed, went unbelievably smooth. Kind of hard to cut up a sled that has almost no miles on it, but it's going to be OH SO worth it!
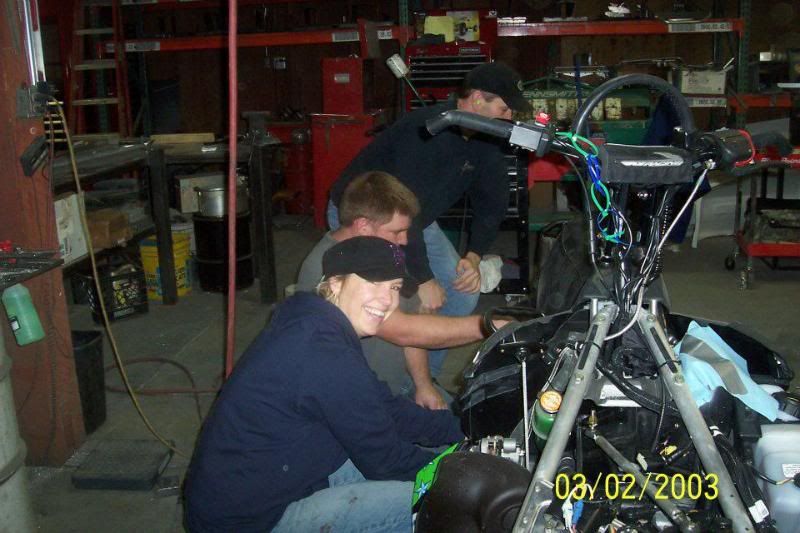
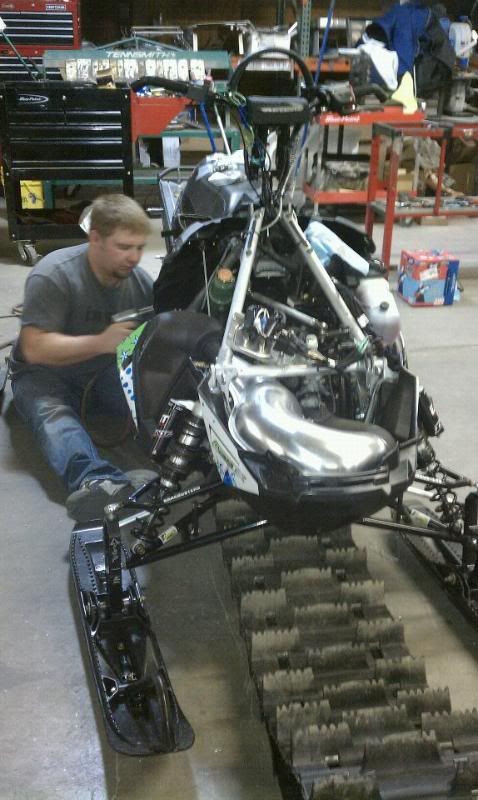
Me at the shop, I am SO happy I get to experience things like this!! THANKS MIKE AND LIZ!!!
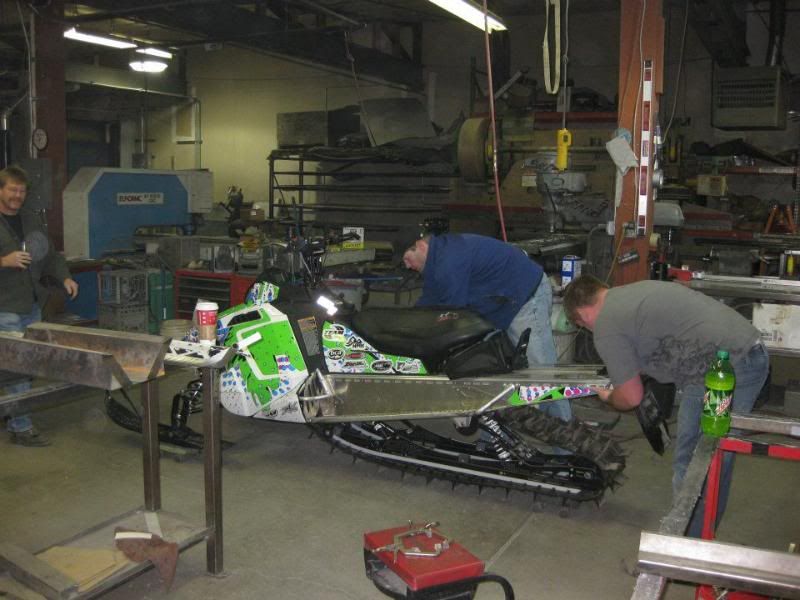
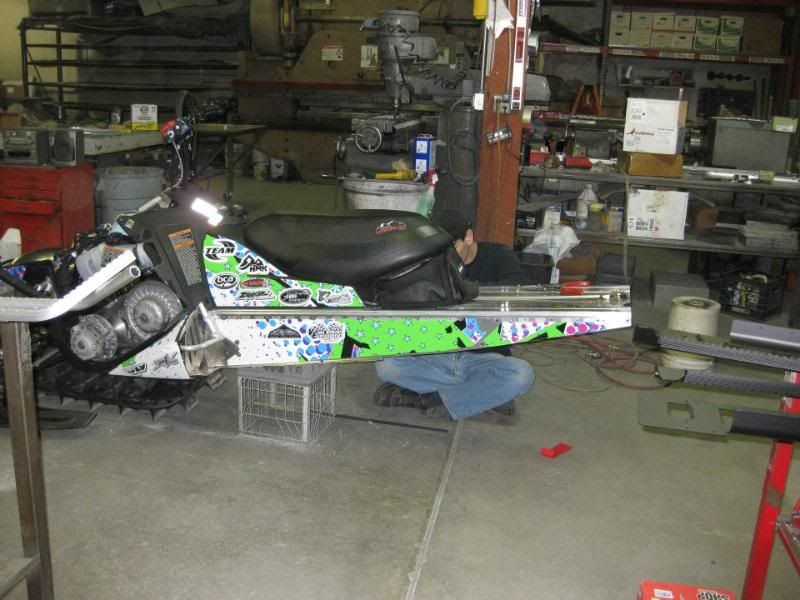
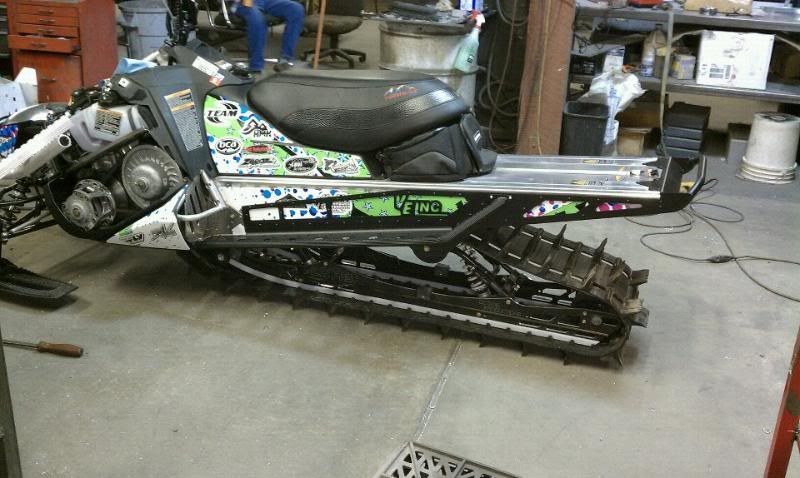
The start, what she looked like before.
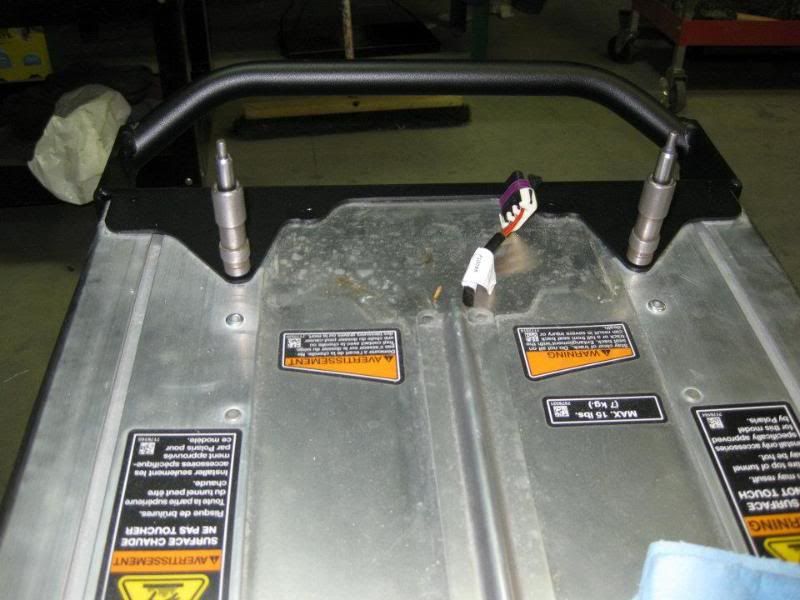
Remove rear bumper and tail light assembly
Remove the screw so you can get to the 2 bolts up front that hold on the steel bars.
Remove the steel bars
Drop rear suspension, both front and back bolts.
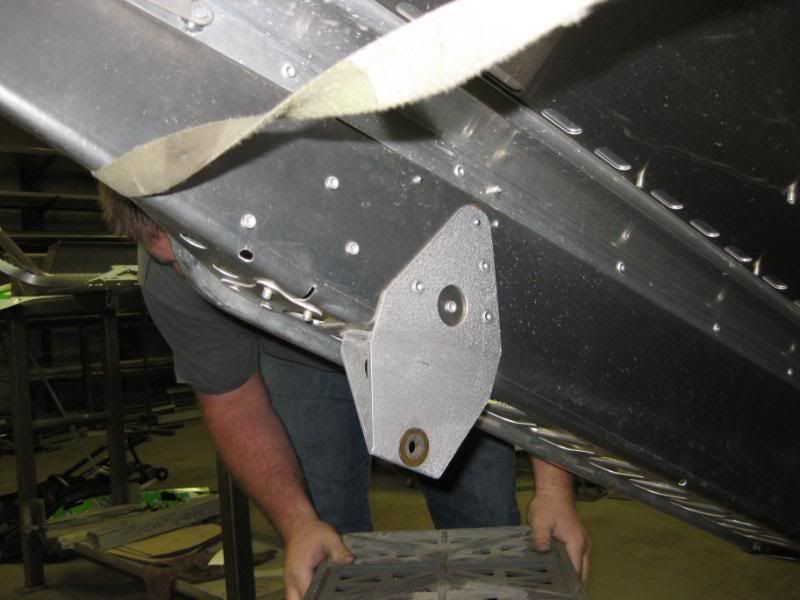
Remove stock rear drop bracket. But before you do measure center to center so you know where to drill your hole on the kit!
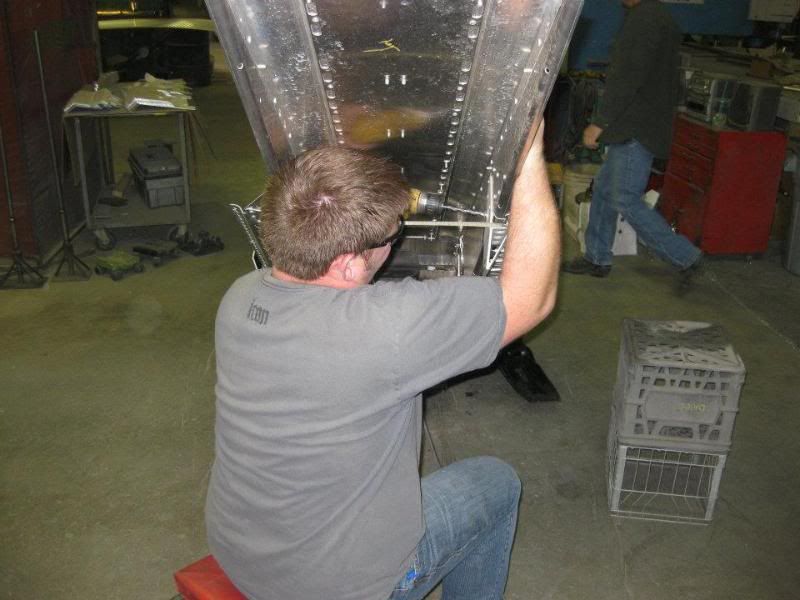
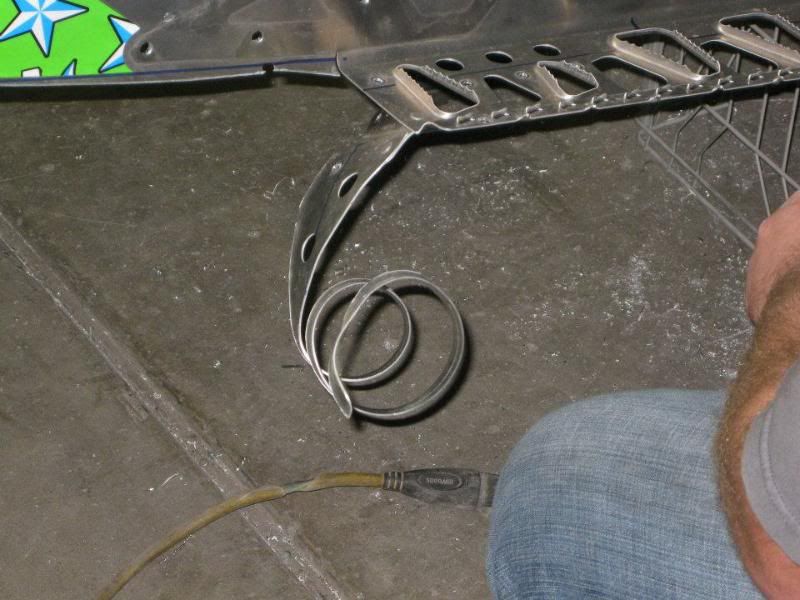
Pull the track up through the front so it isn’t in your way.
In the way:
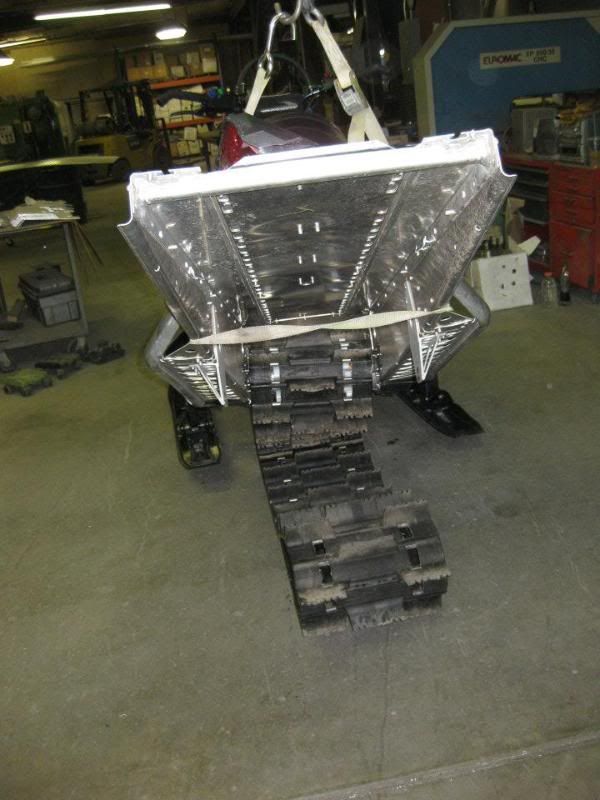
Out of the way:
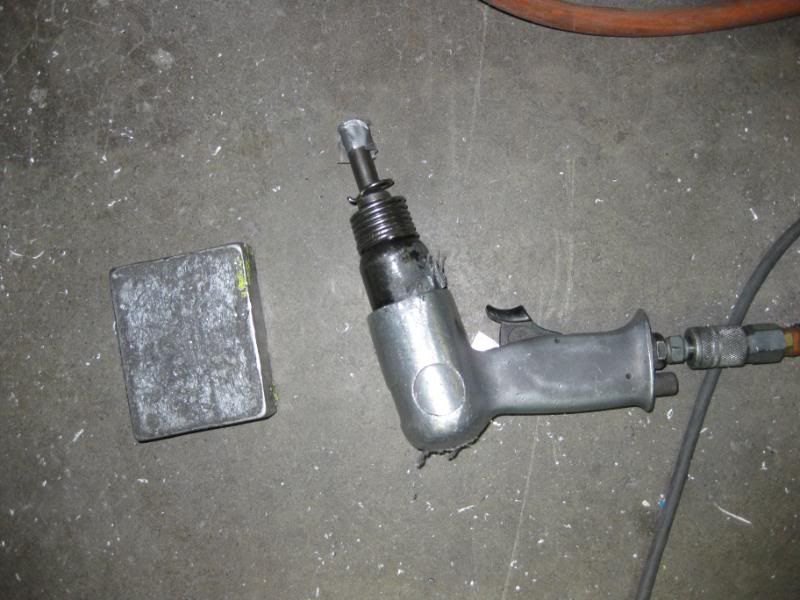
Polaris rivets are tough. Took a new meaty drill bit to bust the head off, then using a punch while holding a block just off to the side of the hole, punch the rivet through.
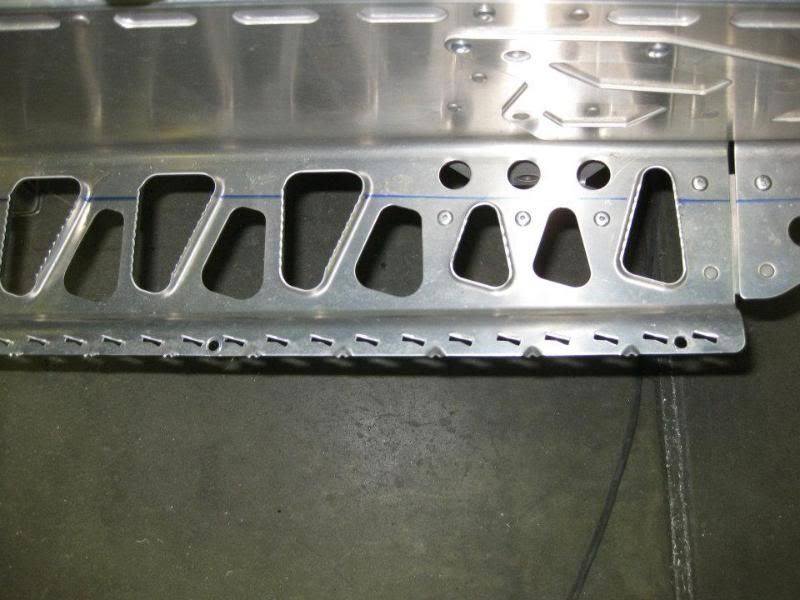
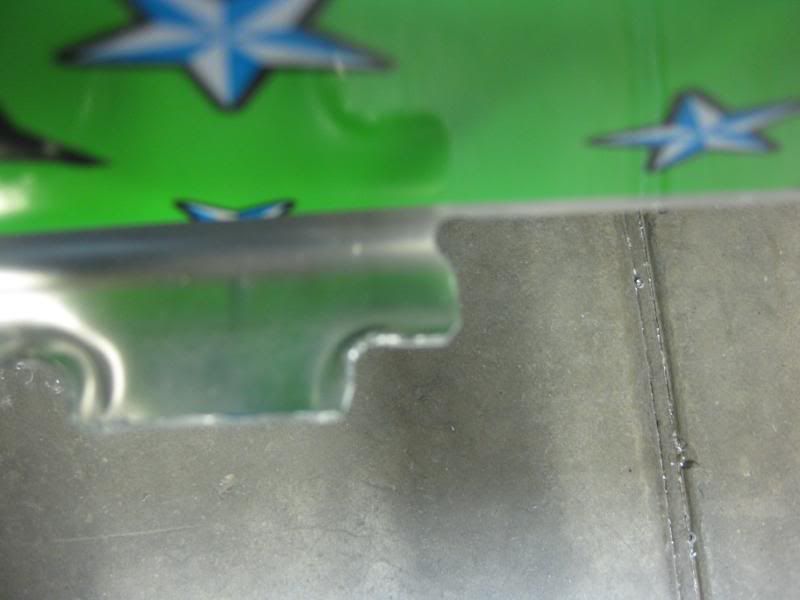
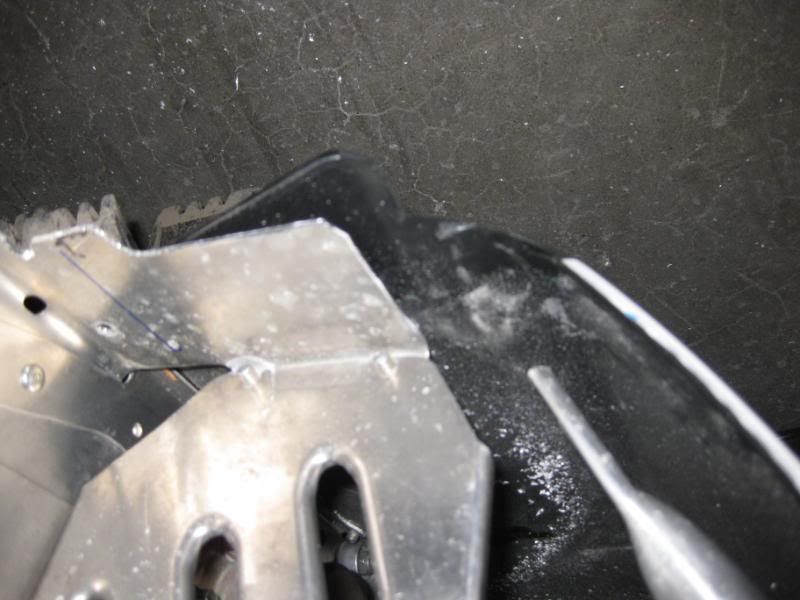
Draw a line 1 1/4” from the tunnel using a straight edge.
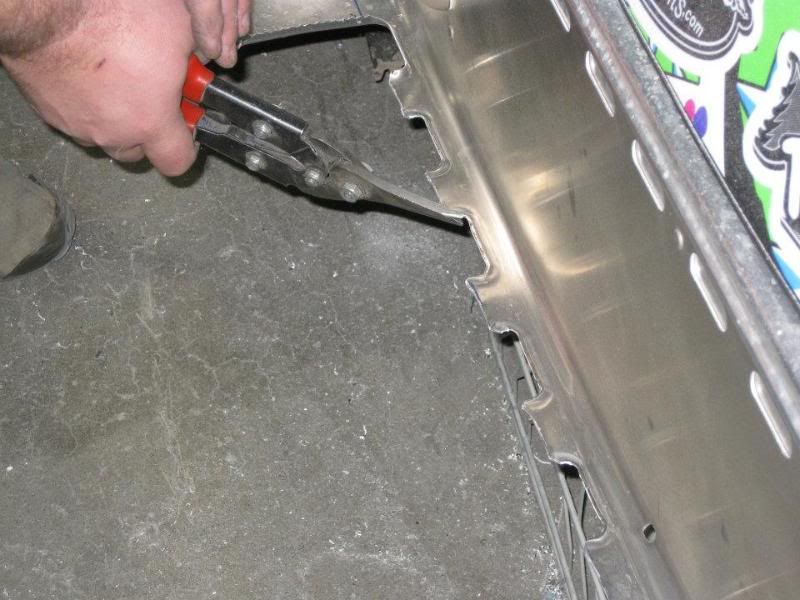
We used a “Nibbler” to cut the sides (the little kick out part) off of the tunnel. The VE kit fits flush against the rivets for the front bolt of the rear suspension, so measure from the front of the kit to where the “drop bracket” starts and this is where your cut ends on the tunnel.
Make sure to measure then drill a “stop hole” on the tunnel/running board to prevent any cracks. See 4 pics down.
Then cut the rest of the running board off with a wheel.
Make sure to drill a stop hole at the front of the running board as well. This part gets cut flush with the plastic underneath.
Once cut you will need to flatten all of the edges so that the new running board insert can sit flush.
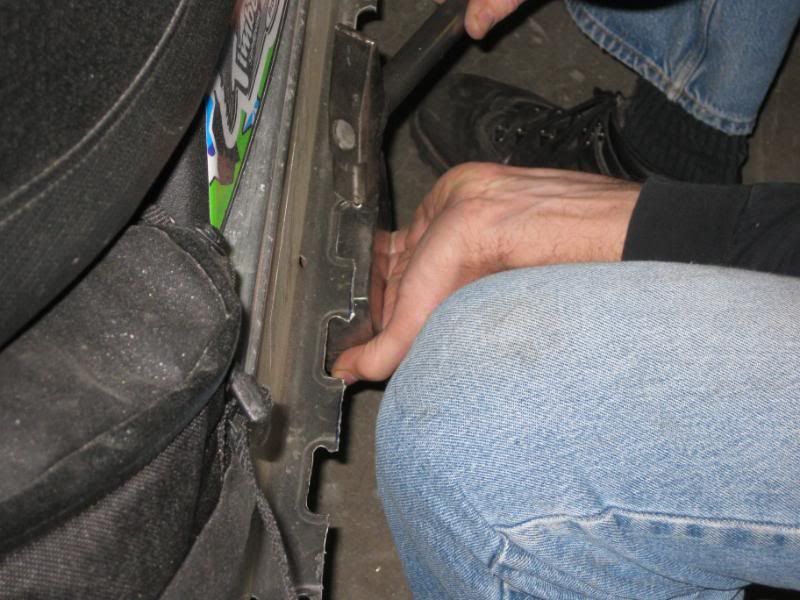
Clipped off the corners and filed down all edges.
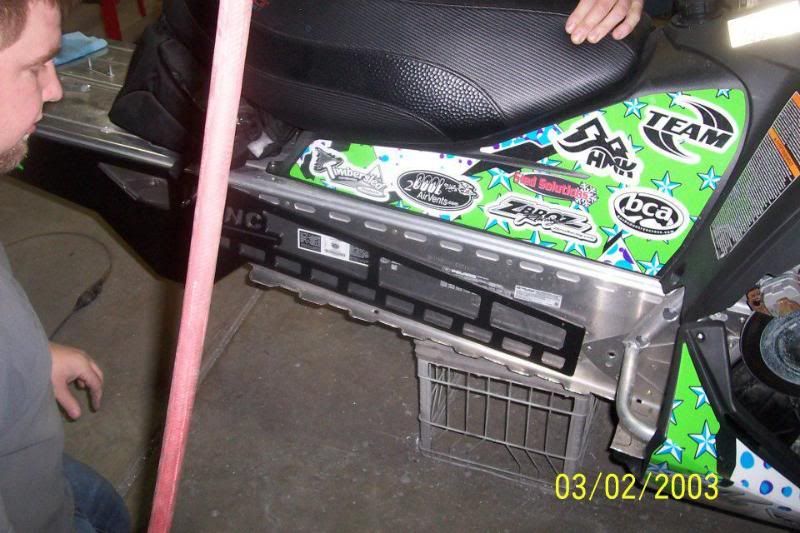
We then installed the tunnel portion of the graphics kit.
Cleaned it up first
Side one done
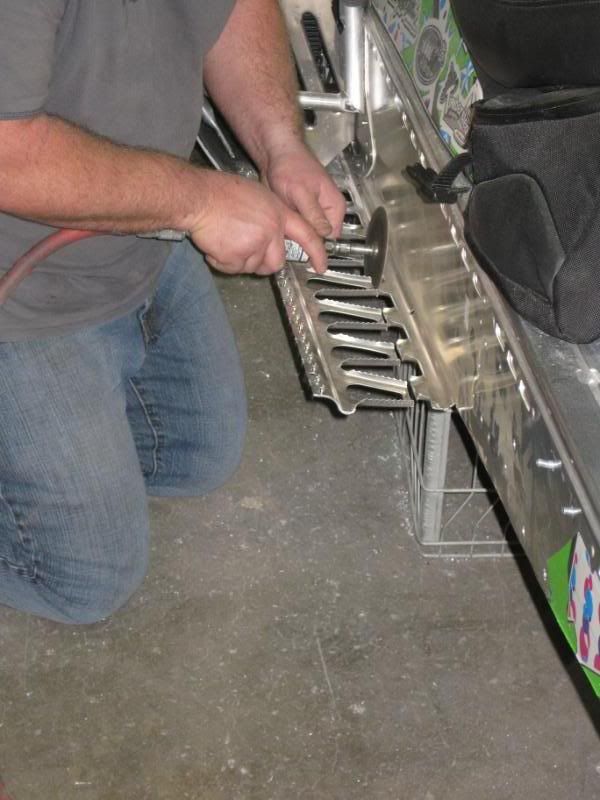
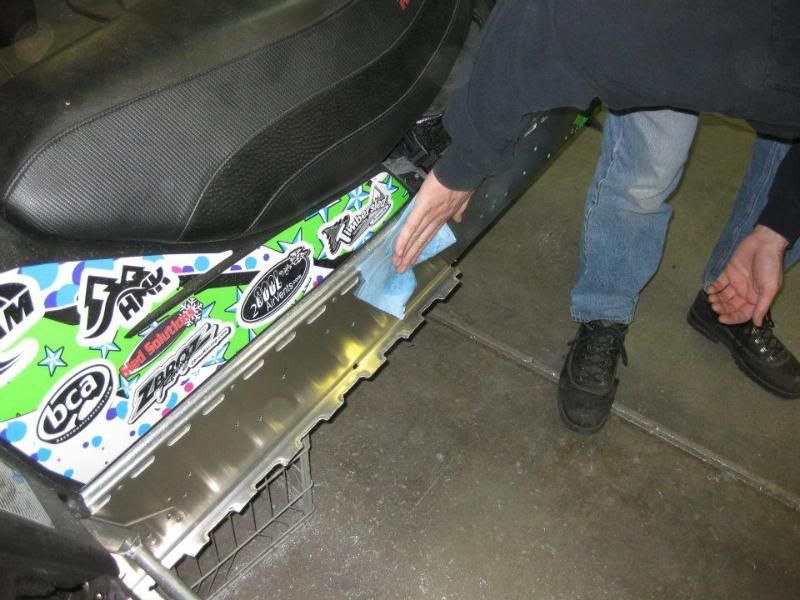
We slid the kit on to start drilling holes for installation.
Gleccos rule!
Started drilling from the back, got a few gleccos in place and then finished drilling the holes. Went back with a larger drill bit and deburred the holes.

Then started with rivets.
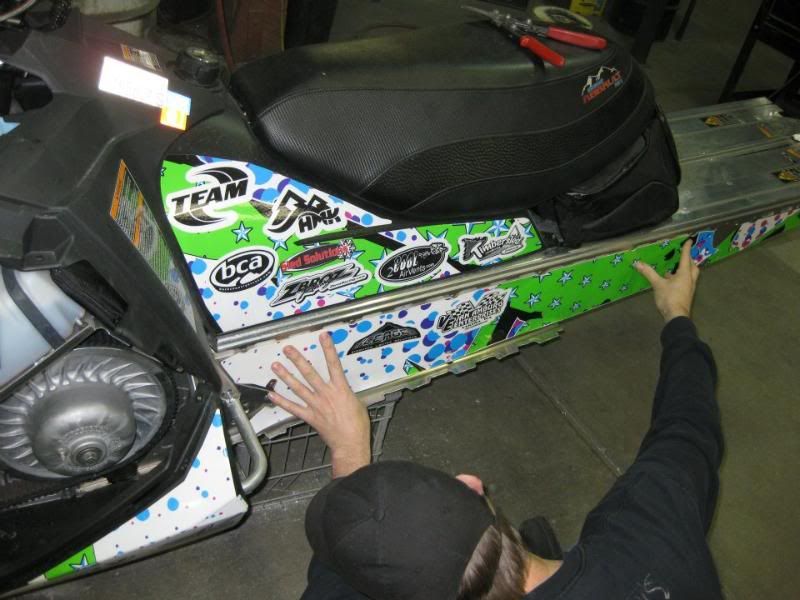
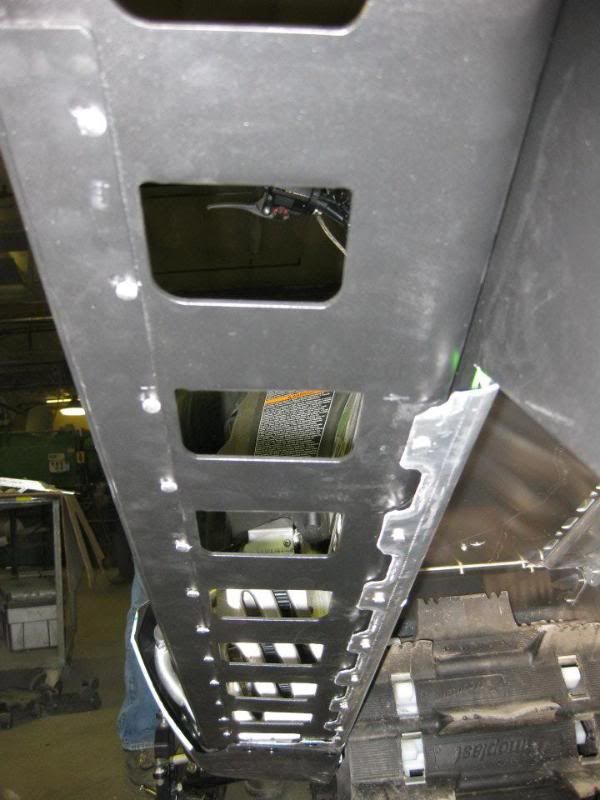
Once the tunnel portion was installed we inserted the running board insert and the new bars and glecco’d them together to align and then drill the holes into the tunnel.

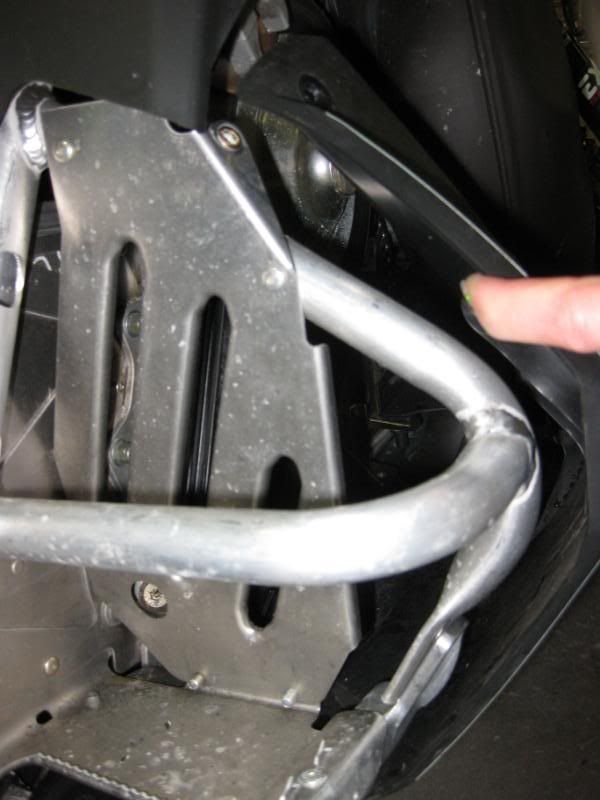
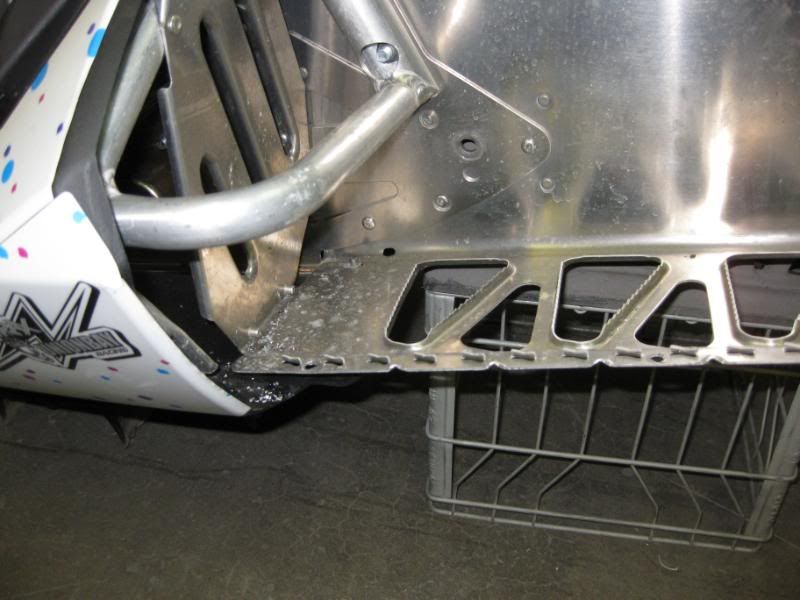
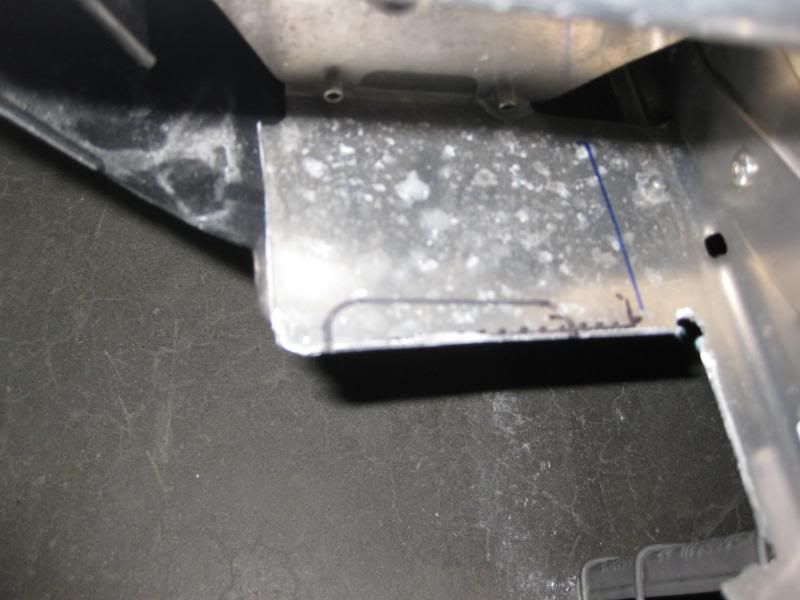
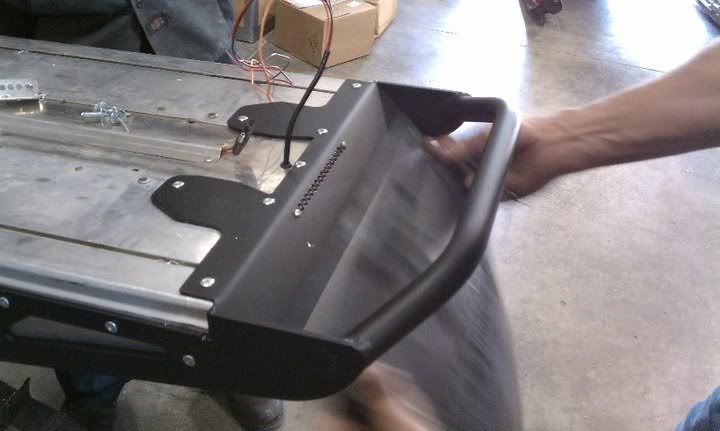
This is where we found that the front footwell had to be trimmed a bit more to allow the bar to fit flush in the front.
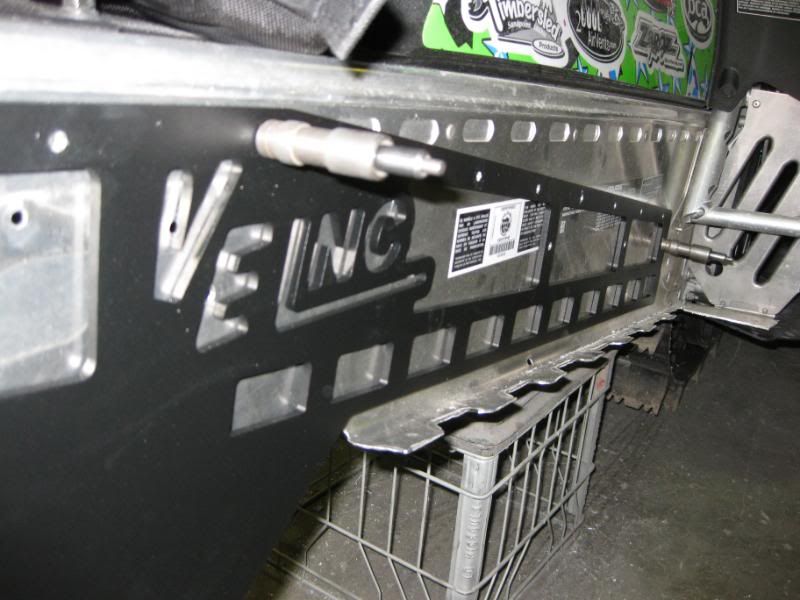
Rivet the running board insert to the tunnel portion and then the bar to the insert.
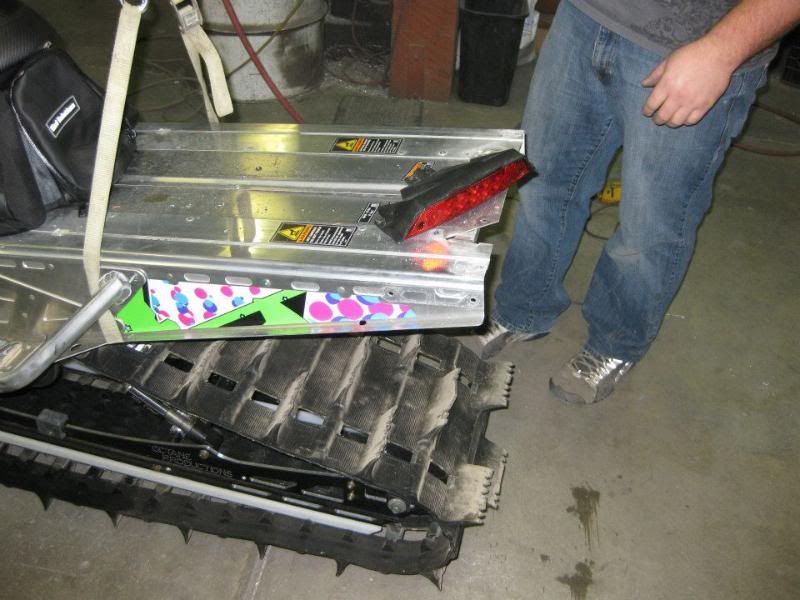
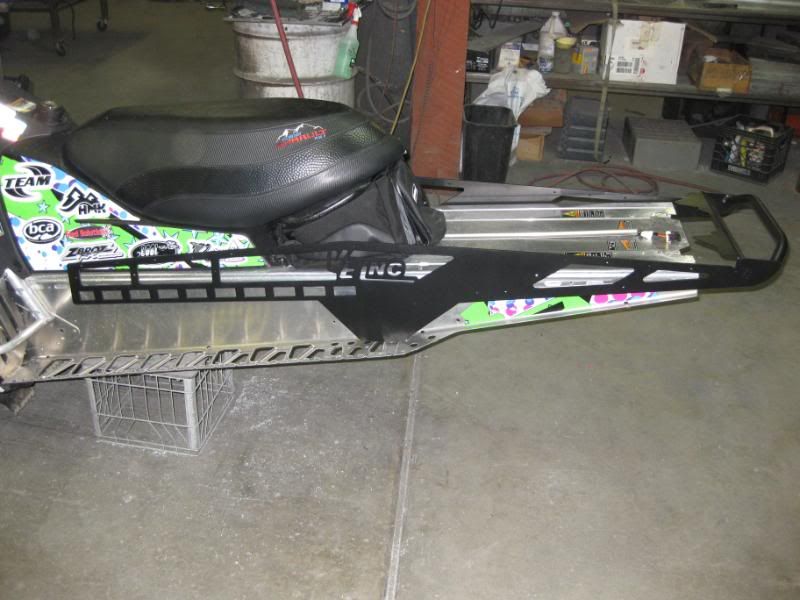
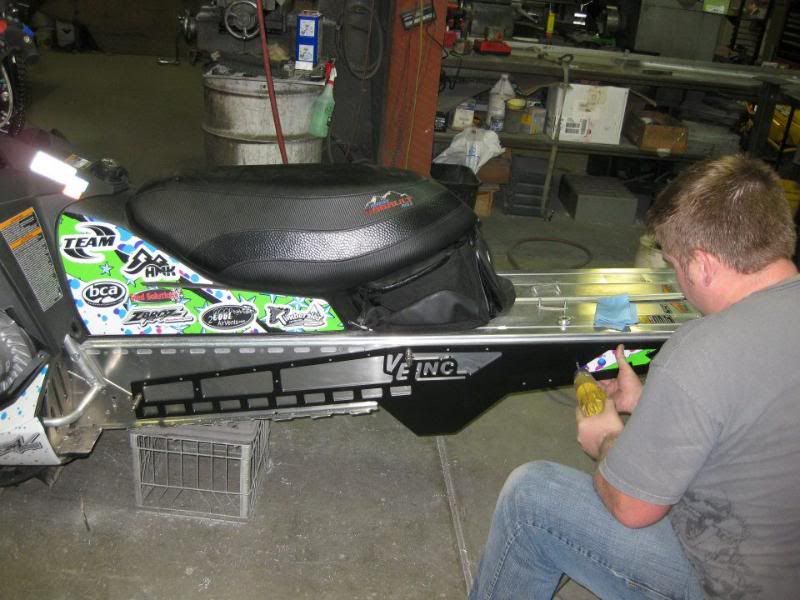
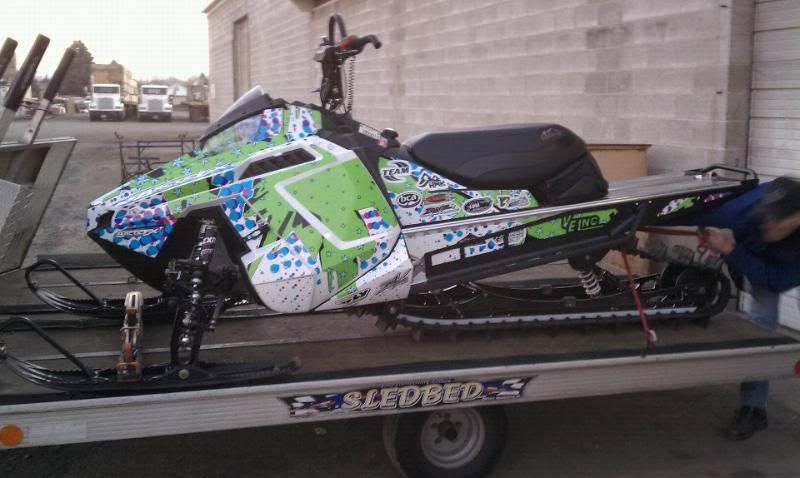
Now she is done! (except new LED brake light to be ordered but below is a picture of one) Time to install the suspension using our center to center measurements taken before we removed the rear bracket.
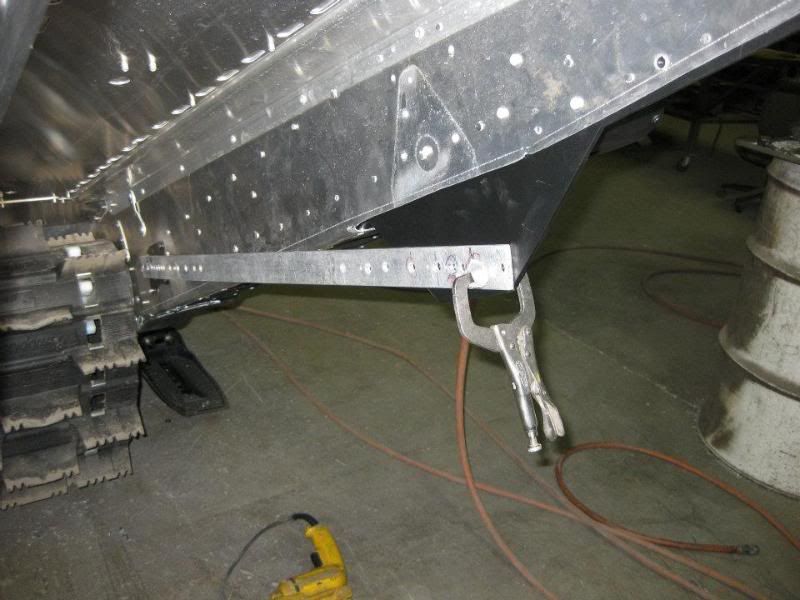
All back together.
Almost ready to go, just need to finish the front bumper!
Me at the shop, I am SO happy I get to experience things like this!! THANKS MIKE AND LIZ!!!
The start, what she looked like before.
Remove rear bumper and tail light assembly
Remove the screw so you can get to the 2 bolts up front that hold on the steel bars.
Remove the steel bars
Drop rear suspension, both front and back bolts.
Remove stock rear drop bracket. But before you do measure center to center so you know where to drill your hole on the kit!
Pull the track up through the front so it isn’t in your way.
In the way:
Out of the way:
Polaris rivets are tough. Took a new meaty drill bit to bust the head off, then using a punch while holding a block just off to the side of the hole, punch the rivet through.
Draw a line 1 1/4” from the tunnel using a straight edge.
We used a “Nibbler” to cut the sides (the little kick out part) off of the tunnel. The VE kit fits flush against the rivets for the front bolt of the rear suspension, so measure from the front of the kit to where the “drop bracket” starts and this is where your cut ends on the tunnel.
Make sure to measure then drill a “stop hole” on the tunnel/running board to prevent any cracks. See 4 pics down.
Then cut the rest of the running board off with a wheel.
Make sure to drill a stop hole at the front of the running board as well. This part gets cut flush with the plastic underneath.
Once cut you will need to flatten all of the edges so that the new running board insert can sit flush.
Clipped off the corners and filed down all edges.
We then installed the tunnel portion of the graphics kit.
Cleaned it up first
Side one done
We slid the kit on to start drilling holes for installation.
Gleccos rule!
Started drilling from the back, got a few gleccos in place and then finished drilling the holes. Went back with a larger drill bit and deburred the holes.
Then started with rivets.
Once the tunnel portion was installed we inserted the running board insert and the new bars and glecco’d them together to align and then drill the holes into the tunnel.
This is where we found that the front footwell had to be trimmed a bit more to allow the bar to fit flush in the front.
Rivet the running board insert to the tunnel portion and then the bar to the insert.
Now she is done! (except new LED brake light to be ordered but below is a picture of one) Time to install the suspension using our center to center measurements taken before we removed the rear bracket.
All back together.
Almost ready to go, just need to finish the front bumper!
")