• Don't miss out on all the fun! Register on our forums to post and have added features! Membership levels include a FREE membership tier.

Duners tunnel polishing "how to"

Thread Rating
5.00 star(s)

christopher

Well-known member
Staff member
Lifetime Membership
Nov 1, 2008
81,519
27,382
113
Rigby, Idaho
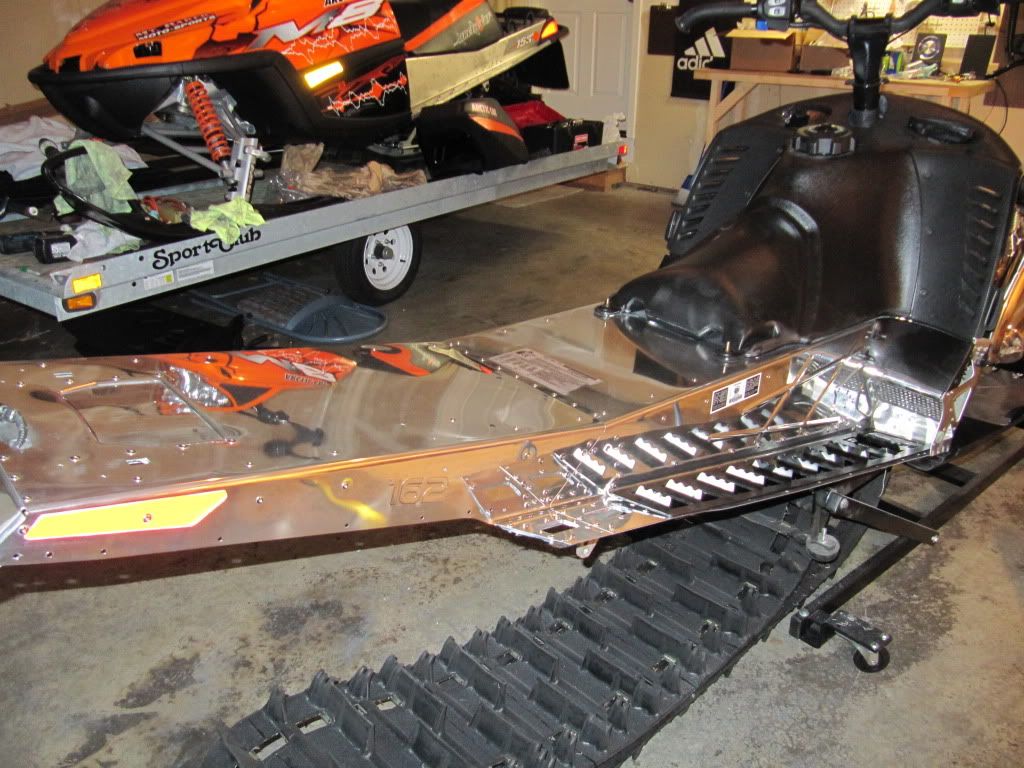
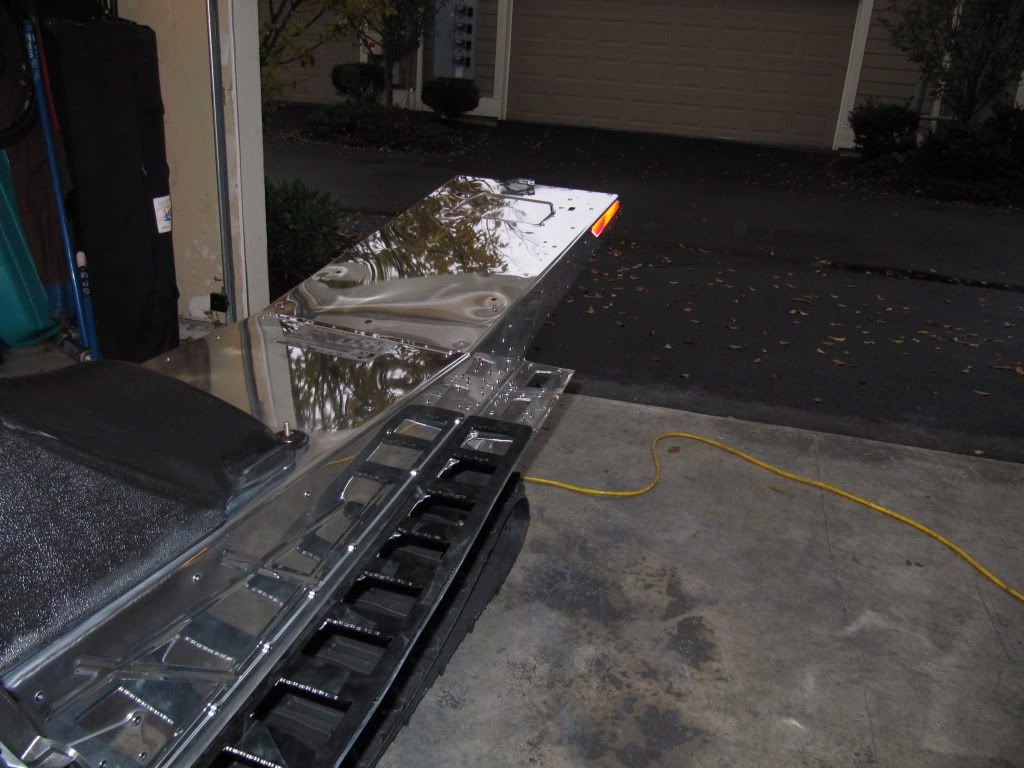
Took a little longer than planned, but I got this tunnel POLISHED finally.

DUNATIC was kind enough to come up here to Rigby and give me some lessons in the fine "ART" of tunnel polishing!


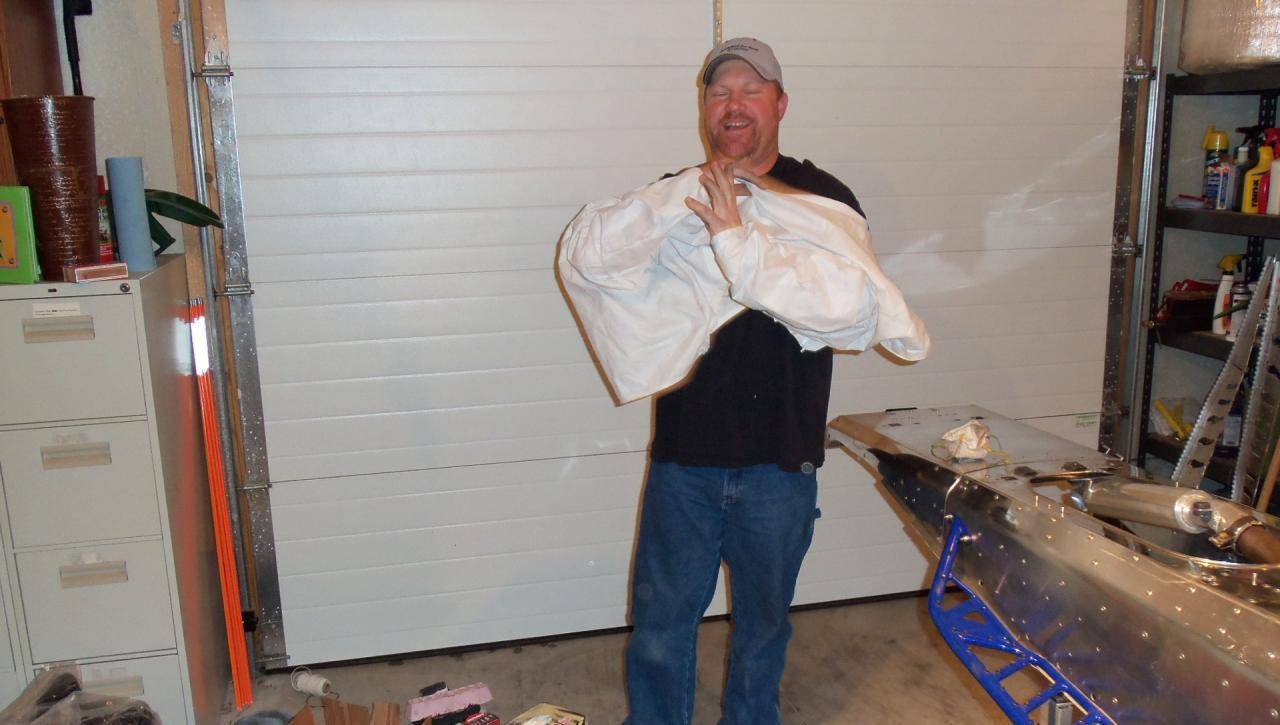
The master suited up, knowing full well just how dirty this job would be.
picture.php


Broke out a new wheel and applied a good amount of compound to it.
picture.php


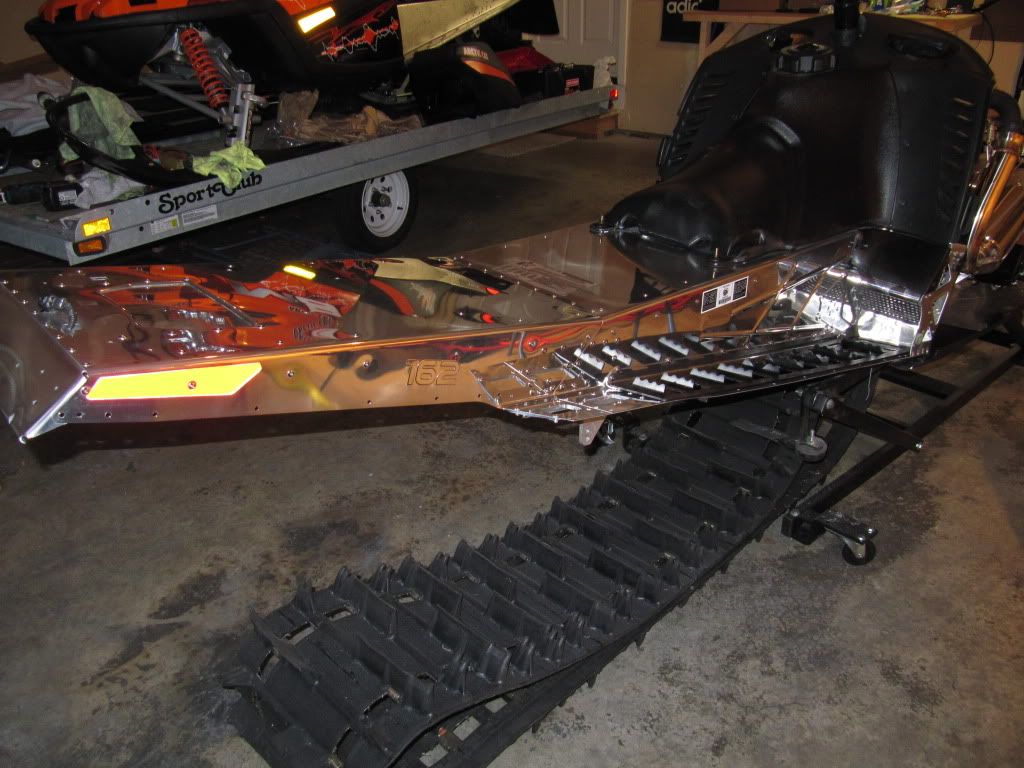
Then laid into the top of the tunnel to begin with.
picture.php
 

christopher

Well-known member
Staff member
Lifetime Membership
Nov 1, 2008
81,519
27,382
113
Rigby, Idaho
One of the things I learned quickly was that I wasn't using NEARLY enough force of the buffing wheel.

Dunatic LEANED INTO IT and put some real force behind the wheel to cut into the tunnel

picture.php


picture.php


The flash makes it look like the wheel is stationary, but it is running at MAX RPM and you can see the deflection in the bottom of the wheel.
picture.php


picture.php
 

christopher

Well-known member
Staff member
Lifetime Membership
Nov 1, 2008
81,519
27,382
113
Rigby, Idaho
You can clearly see the polishing marks left behind from the rough cut compound and the stiff wheel.
picture.php


picture.php


But even with the rough cut, you can see the gloss begining to show itself.
picture.php
 

christopher

Well-known member
Staff member
Lifetime Membership
Nov 1, 2008
81,519
27,382
113
Rigby, Idaho
Now he changes the wheel to a NON-Stitched version and goes to the Pink Jewlers Rouge compound and attacks the whole sled over again.

picture.php


picture.php


And again, notice how much deflection there is on the Wheel.
He is LEANING INTO IT hard and getting lots of force behind it.
picture.php
 

christopher

Well-known member
Staff member
Lifetime Membership
Nov 1, 2008
81,519
27,382
113
Rigby, Idaho
After the whole sled was done the 2nd time, the final treatment using Mother's Billet Polish by hand begun.

It took a Solid 6 hours with the buffer to get this far.
And if it hadn't been so late might have taken 7 hours to do an even deeper cleaning of the aluminum tunnel.

picture.php


Apply with the short nap side of a Micro Fiber Towel, buff till it turns DARK BLACK, then wipe off with the long nap side of the Micro Fiber towel. Each time covering a small area so as NOT to allow the polish to dry.
picture.php
 

christopher

Well-known member
Staff member
Lifetime Membership
Nov 1, 2008
81,519
27,382
113
Rigby, Idaho
I can NOT begin to say enough good things about DUNATIC!
He gets very high marks from me for a great job.

If your in the Utah area, he offers his professional polishing services to anyone that is willing to pay his modest fee of $400, which in my opinion is WELL WORTH it considering the time and effort he puts into his work!
 

christopher

Well-known member
Staff member
Lifetime Membership
Nov 1, 2008
81,519
27,382
113
Rigby, Idaho
Now I am wondering, after all this time and effort, should I go ahead and try a sealent???

ZoopSeal Protective Sealer kit for billet Aluminum


ZoopSeal protects aluminum from the oxidation process, and offers a long lasting, durable shine. Includes video, cleaner, sealer, activator, spray bottle, applicator cloths, finish sealer, metal polish, and tire/trim dressing.

Seal in your shine with these ZoopSeal protective sealer kits. Simply polish your aluminum, stainless steel, or chrome, and then apply ZoopSeal to seal in the shine and protect it against oxidation for two to three years


0612hppp_30z+trim_restoration+zoop_seal.jpg
 

Steelman

Lifetime Member
Lifetime Membership
Feb 12, 2009
8,849
1,300
113
snowexhaust.ggb.ca
Thanks for sharing. Tunnel looks awesome:thumb: Wish I was closer, would not have a probably paying him. Great job Dunner and Chris!!!
 
B

Bear North

Member
Aug 23, 2009
116
19
18
Skagway, AK & Snoqualmie, WA
Many Hours Later and She Just Needs Snow Now

After many hours spent on this project here are the final results. Thanks to Duner and Chris for their post.

Step 2 after white bar
IMG_1424.jpg


Final Step 3 after Mothers Billet Polish
IMG_1418.jpg


IMG_1435.jpg


Now all I need are my parts to come back from the powder coater and I am set to go.

Thanks
 
G

green_denali

Active member
Dec 14, 2009
172
39
28
Anchorage, AK
One of the things I learned quickly was that I wasn't using NEARLY enough force of the buffing wheel.

Dunatic LEANED INTO IT and put some real force behind the wheel to cut into the tunnel

picture.php


picture.php


The flash makes it look like the wheel is stationary, but it is running at MAX RPM and you can see the deflection in the bottom of the wheel.
picture.php


picture.php
Christopher, you say the wheel is running max rpm, how many rpm's? In Duners original write up, he says that the wheel is running at 2000 rpms to get the compound on the pad, but doesnt say if he increases rpm's when applying the wheel to the tunnel.
 

christopher

Well-known member
Staff member
Lifetime Membership
Nov 1, 2008
81,519
27,382
113
Rigby, Idaho
When he first started in on my tunnel he was running around 2,000 rpm.
And I asked him WHY he was running slow.
He said just because he had always done it that way.
I said crank that bad boy up and lets see what happens.
He rolled his little thumb speed wheel up to 10 and went for it.

The big difference is that the higher speed made a bigger mess as the wheel throws more fuzz and rouge, but the final product looked pretty good to me!
 

Dunatic

MODERATOR: Paid Premium Member
Staff member
Premium Member
Jan 24, 2003
1,687
753
113
51
Plain City, Utah
It was alot harder to hold onto at the higher rpm, and I tore up the pad quicker.

shaved a little bit of time off though...
 
T

Thunderguy BOOSTED

Well-known member
Oct 5, 2008
1,324
68
48
Bc Canada
hey Dunatic? did you ever get that PM i sent you???? I sent you another PM, please suggest anything you can think of, or anything i would need!!

Thx
Justin
 
Last edited:
S

SaskRMK

Active member
Sep 7, 2010
433
41
28
Saskatoon,SK
I was able to come across these products from Canadian tire. Ended up costing me $27 and I'll post the results once i'm finished

dsc03843q.jpg
 
A
Dec 24, 2010
36
3
8
Yup, I was talking about you.
I think you did a fine job on that sled.
Enough so that I am considering the same route.

Not sure yet though.
Could go with a Powdercoated tunnel or a polished one.
powdercoat for sure they never usualy wear off or break and hold colr and i would hae my crappy ol powder extreme 600s coated but i dont have a oven large enough :( but im coating the cyliners next week :) candy apple red
 
Premium Features