Install the app
How to install the app on iOS
Follow along with the video below to see how to install our site as a web app on your home screen.
Note: This feature may not be available in some browsers.

Supercharger build
- Thread starter tundramonkey
- Start date
You are using an out of date browser. It may not display this or other websites correctly.
You should upgrade or use an alternative browser.
You should upgrade or use an alternative browser.
stock weight around 68 and with the stiffer springs and only 73 g what does this make HP wise? 5 G x 5 hp pr g = 25 hp over stock? the one thing i have seen is speedwerx will not help you on the fuel map. so i will love to follow this over time and most of the sleds with this set up in are area love the super charger instant power most can't get past 45 miles on a TANK of fuel. please keep us posted.
I think it is set up for 8-9 psi so 160+25=185 ish?
I think it is set up for 8-9 psi so 160+25=185 ish?
It's set up for 6k and up.What elevation are you setting this sled up for?? Great write up.
Kit is listed for around 225 HP. The kit comes with a PC5 with the fuel map. Can you explain how you come up with that gram to HP conversion? What factors do you consider in that conversion calculation? I'm always interested in gaining clutching knowledge. I have to trust that Speedwerx has this clutch setup correct for this kit. The only true test will be seat time with the clutching IMO.stock weight around 68 and with the stiffer springs and only 73 g what does this make HP wise? 5 G x 5 hp pr g = 25 hp over stock? the one thing i have seen is speedwerx will not help you on the fuel map. so i will love to follow this over time and most of the sleds with this set up in are area love the super charger instant power most can't get past 45 miles on a TANK of fuel. please keep us posted.
I think it is set up for 8-9 psi so 160+25=185 ish?
What clutching are these kits in your area running?
Get ready to have a high engagement on that 155-300 spring.
Can you expand more on this?Get ready to have a high engagement on that 155-300 spring.
Seems like most of the springs used for mountain setups use a starting rate in the 120-130 range. Higher rate means higher engagement RPM and it usually comes on with a harder hit. Not a bad thing for hill climbing, but usually not good for boondocking through the trees.
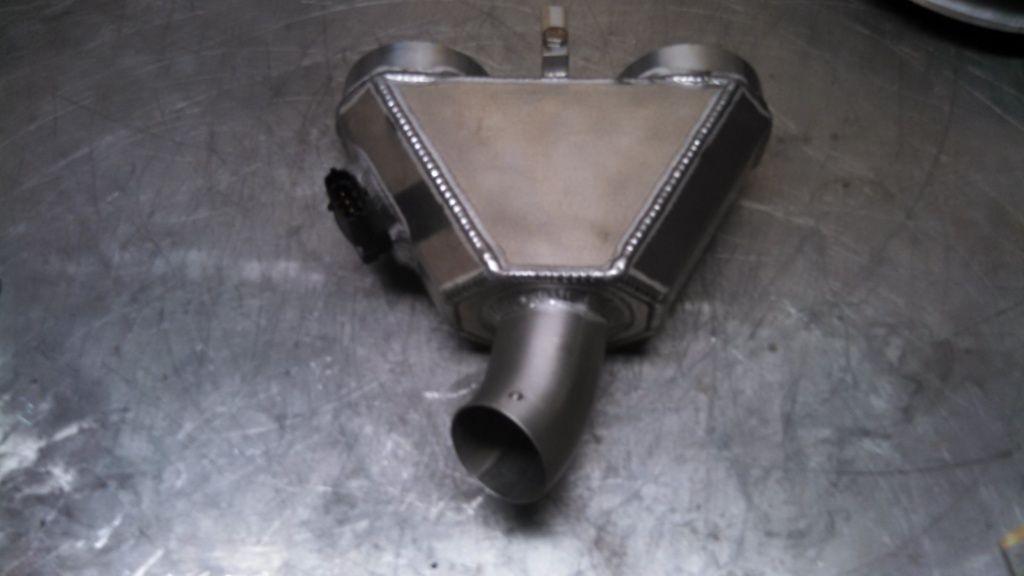
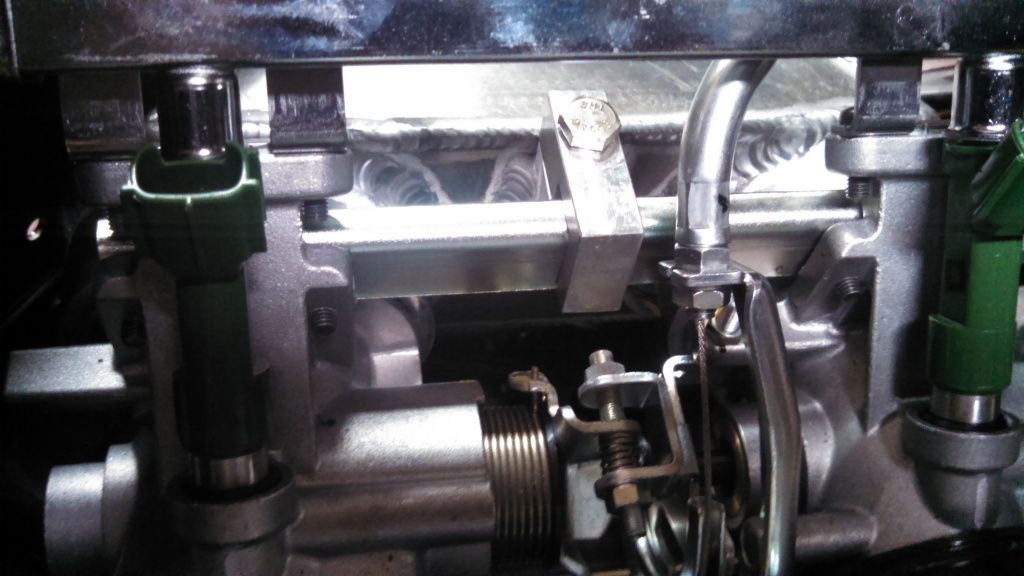
Air box install. Includes welded aluminum air box, map sensor, o-rings and bracket.

Map sensor installed and held in place with T-20 Torx bit screw.
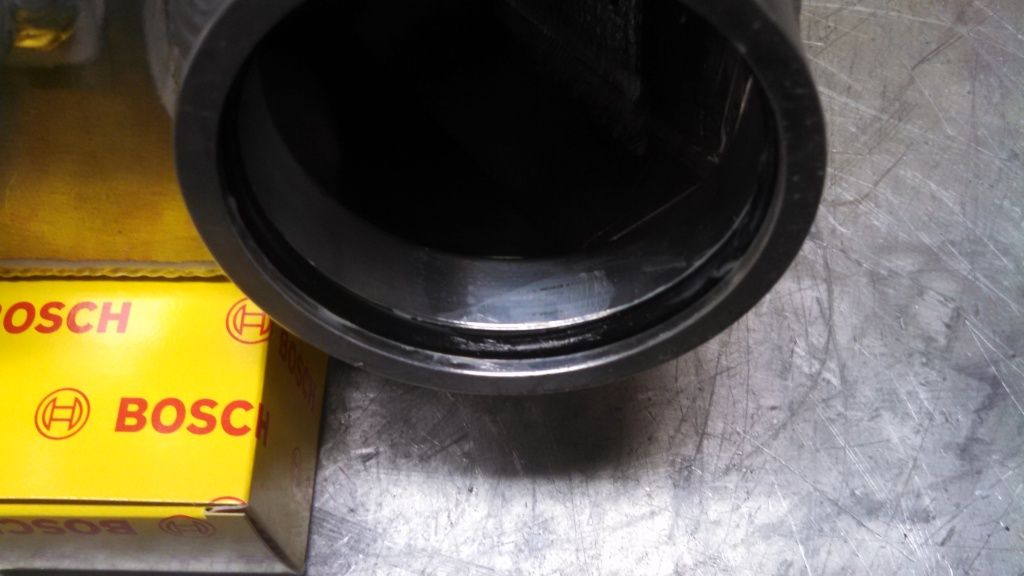
O-rings installed and greased.
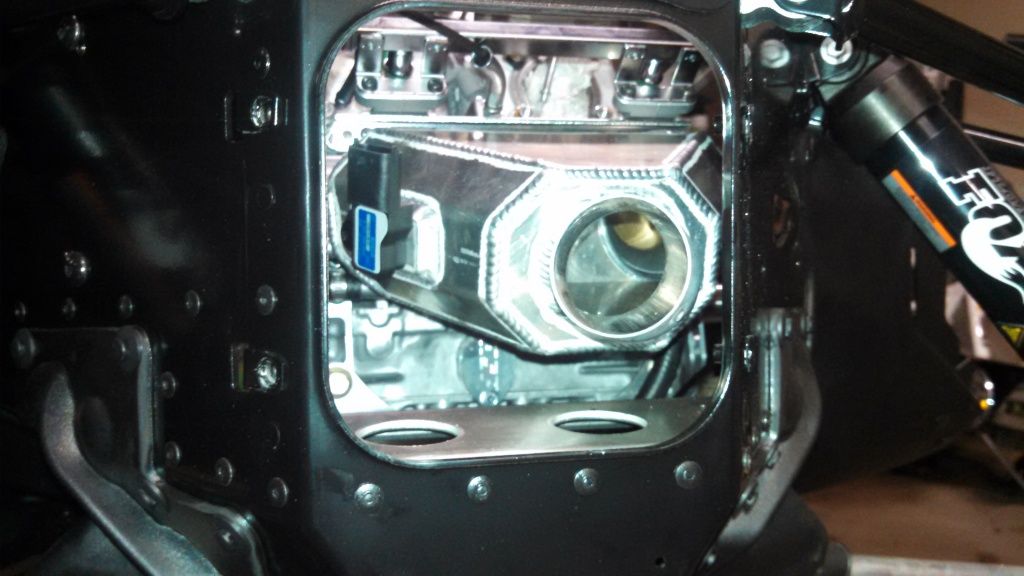
Installed.

Bracket to hold air box in place.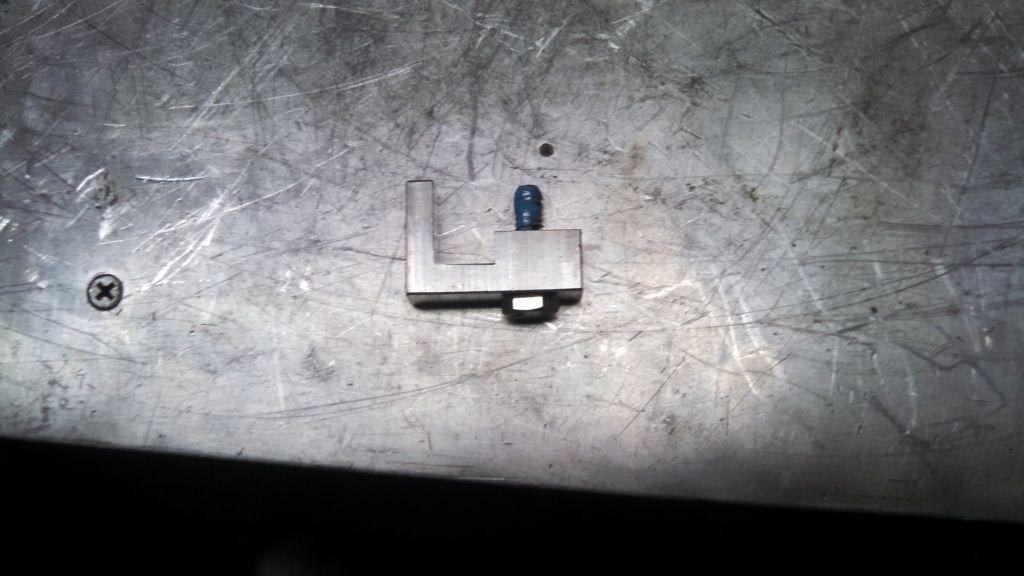

Map sensor installed and held in place with T-20 Torx bit screw.

O-rings installed and greased.

Installed.


Bracket to hold air box in place.


Is this gonna be intercooled?
Yes.
Kit is listed for around 225 HP. The kit comes with a PC5 with the fuel map. Can you explain how you come up with that gram to HP conversion? What factors do you consider in that conversion calculation? I'm always interested in gaining clutching knowledge. I have to trust that Speedwerx has this clutch setup correct for this kit. The only true test will be seat time with the clutching IMO.
What clutching are these kits in your area running?
the g per hp is just a average i put together over the years granted it has many influences from boost to helix and clutching. from what i understand (and i have no time tuning SC only turbo boost sleds) is the map is fat, as it should be. the big complaint is SW did not work it down to more of a pull and go set up. this is now the fuel consumption problem most of them find along with the fuel at idol and how to deal with the lower fuel portions. I know you have to feed the horses but with this kit the learning is going to be with the lower part of the fuel map. as for local clutching i have not had a hand in this only our local boost and NA sleds 5-9k.
as for the engagement most do not realize the higher spring engagement is only perspective to the primary weight. you can have two separate springs with the same start rate and one with a higher finish. the higher finish will take more weight with a lower engagement and still pull the same finish rpm.
and as always i love your wright ups and builds. keep up the good work!
Last edited:
Thanks.the g per hp is just a average i put together over the years granted it has many influences from boost to helix and clutching. from what i understand (and i have no time tuning SC only turbo boost sleds) is the map is fat, as it should be. the big complaint is SW did not work it down to more of a pull and go set up. this is now the fuel consumption problem most of them find along with the fuel at idol and how to deal with the lower fuel portions. I know you have to feed the horses but with this kit the learning is going to be with the lower part of the fuel map. as for local clutching i have not had a hand in this only our local boost and NA sleds 5-9k.
as for the engagement most do not realize the higher spring engagement is only perspective to the primary weight. you can have two separate springs with the same start rate and one with a higher finish. the higher finish will take more weight with a lower engagement and still pull the same finish rpm.
and as always i love your wright ups and builds. keep up the good work!
This is my first boosted sled so there is definitely going to be some challenges along the way. My last sled had a BD box which is a breeze to adjust on the hill. From everything I've seen on the PC5 it's not as user friendly in the "adjustment on the hill" category. However, I did purchase a LCD 300 that does allow for adjustment on the hill. The main reason I purchased the 300 was for the data logging capabilities. This will allow me to log real time data and compare it to the fuel map and make corrections based on that data.
With a complete rebuild of both clutches there are just to many variables to say exactly how this will perform without actual seat time. My guess is that with the slight increase in the primary spring start rate and the increased weight of the cams the engagement should be close to stock. I will have to check on the peak RPM target with SW.
I have heard that turbos do tend to take a lot of primary weight. I wonder if the lighter cam weights on the SC is due to how it's being driven? Direct drive off the crank VS. exhaust driven. I don't even know if that is even a factor to consider if both setups would produce the same amount of HP and boost. What's your opinion on this?
But as I said before, seat time will be the real determining factor with the clutch setup on this kit. Until then this is all just speculation, but definitely makes for some great discussions.
Thanks.
This is my first boosted sled so there is definitely going to be some challenges along the way. My last sled had a BD box which is a breeze to adjust on the hill. From everything I've seen on the PC5 it's not as user friendly in the "adjustment on the hill" category. However, I did purchase a LCD 300 that does allow for adjustment on the hill. The main reason I purchased the 300 was for the data logging capabilities. This will allow me to log real time data and compare it to the fuel map and make corrections based on that data.
With a complete rebuild of both clutches there are just to many variables to say exactly how this will perform without actual seat time. My guess is that with the slight increase in the primary spring start rate and the increased weight of the cams the engagement should be close to stock. I will have to check on the peak RPM target with SW.
I have heard that turbos do tend to take a lot of primary weight. I wonder if the lighter cam weights on the SC is due to how it's being driven? Direct drive off the crank VS. exhaust driven. I don't even know if that is even a factor to consider if both setups would produce the same amount of HP and boost. What's your opinion on this?
But as I said before, seat time will be the real determining factor with the clutch setup on this kit. Until then this is all just speculation, but definitely makes for some great discussions.
im not a mech, not even close, but i would think that b/c the s/c is on the crank and the motor having to spin it, it would be like having heavier weights in the pri. thus needing less weight in the pri than a turbo making the same hp. just my theory tho....
Turbo sleds also need the load of the heavier weights and a steep secondary angle on the helix to build boost. No load = no boost. With the SC your boost is based purely on engine RPM.
Let me start by saying this is a top notch kit. I did have to deviate from the direction a bit, but not due to the kit. The customer service Tom provides is second to none. I did make several call and a few text messages to Tom and he was very helpful.
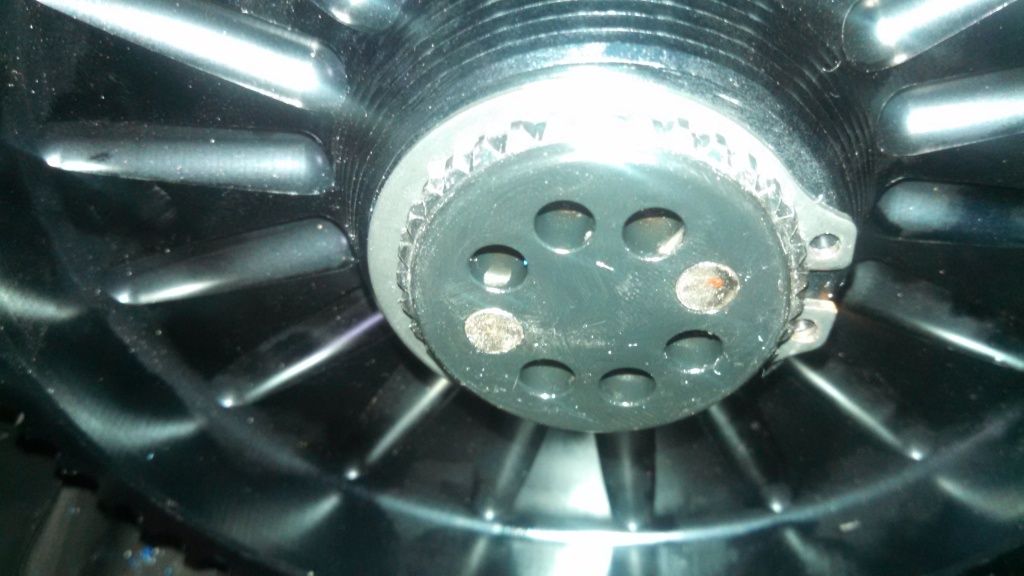
Remove the small black, large silver retaining rings and the shim that hold in the top bearing.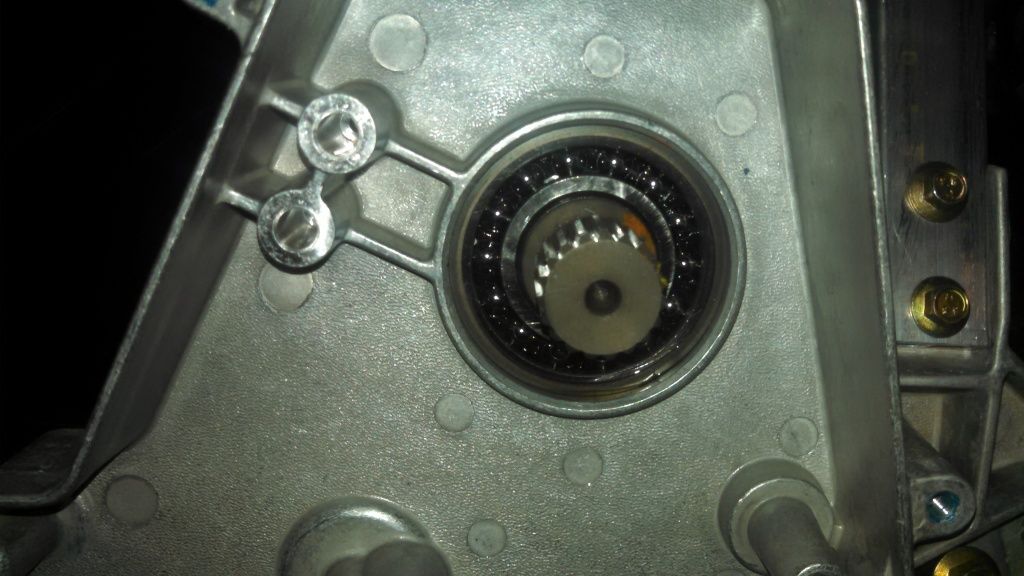
Next remove the spring type retaining ring on the outer race of the bearing. The is a small notch that you can get a small flat head screwdriver under and it pulls right up, then just wind it out. It's about two wraps total.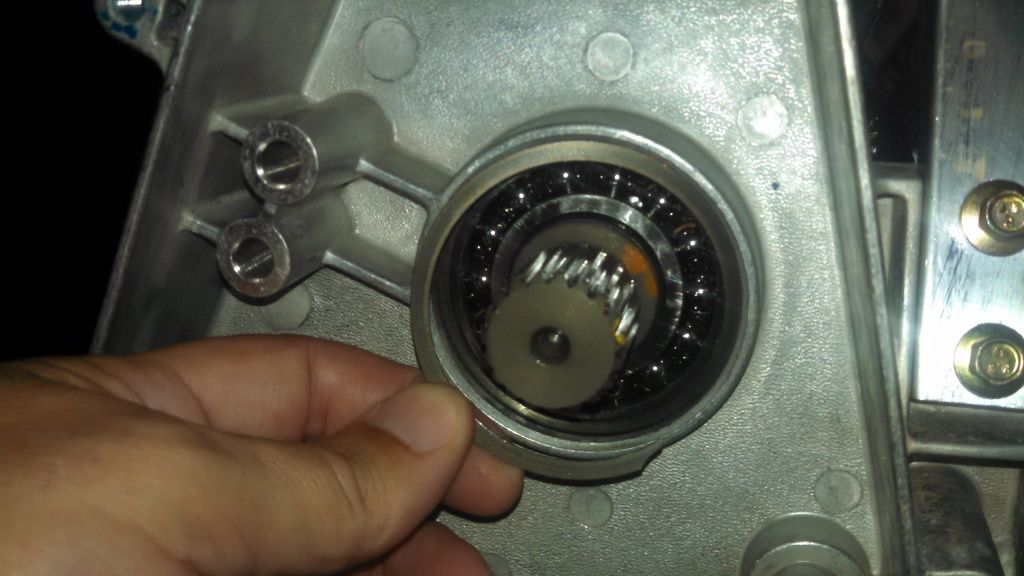

Remove the small black, large silver retaining rings and the shim that hold in the top bearing.

Next remove the spring type retaining ring on the outer race of the bearing. The is a small notch that you can get a small flat head screwdriver under and it pulls right up, then just wind it out. It's about two wraps total.

Last edited:
Here is were I had to deviate from the directions a bit. Not matter how long I heated the case with a heat gun (DO NOT USE A OPEN FLAME TO HEAT THE CASE) I couldn't get the bearing to pry out. I already had the clutches off, so I removed the TSL and used a dead blow hammer, after I reheated the case, to drive the bearing out. Once it was out of the case it slid right off the jack shaft.

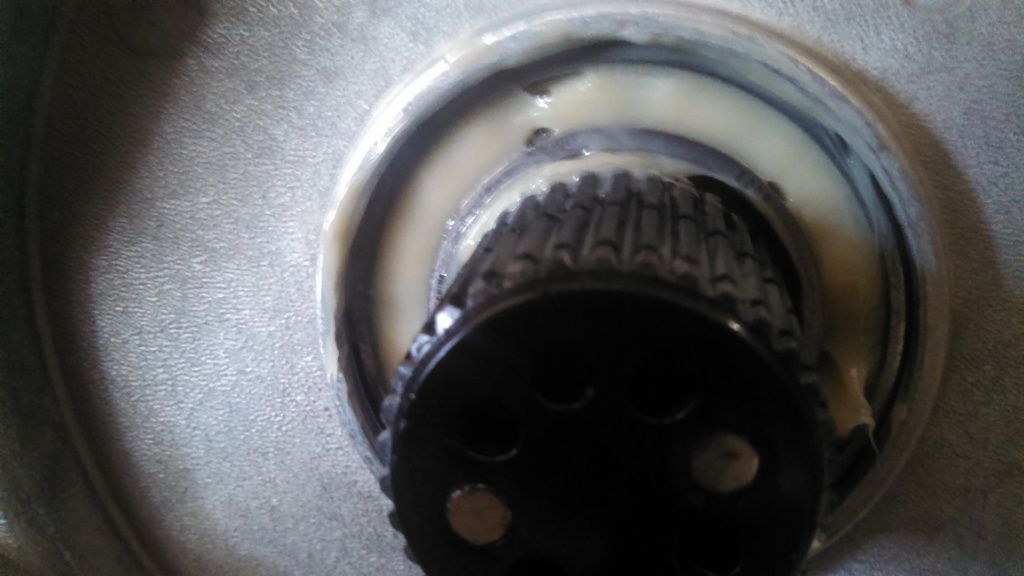
New top bearing installed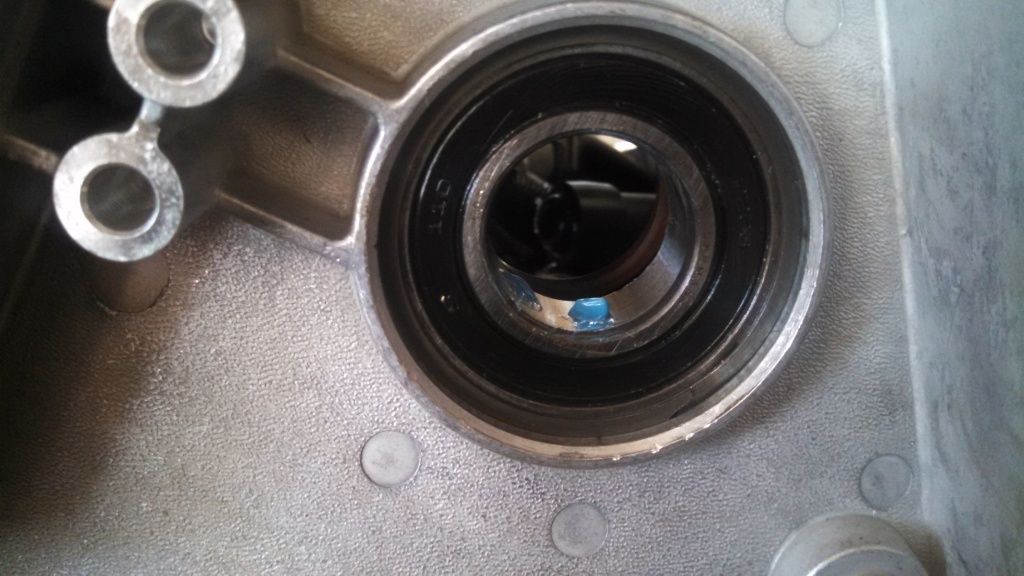
Top gear installed. I tried to reinstall the shim between the bearing and top gear, but it just didn't fit. With out the shim installed a have just a slight bit of movement on the gear.


New top bearing installed

Top gear installed. I tried to reinstall the shim between the bearing and top gear, but it just didn't fit. With out the shim installed a have just a slight bit of movement on the gear.

I don't know if you need to remove the spring retaining ring on the bottom gear to get the seal in, but I did just in case and install supplied seal.
Pack the bearing full of grease.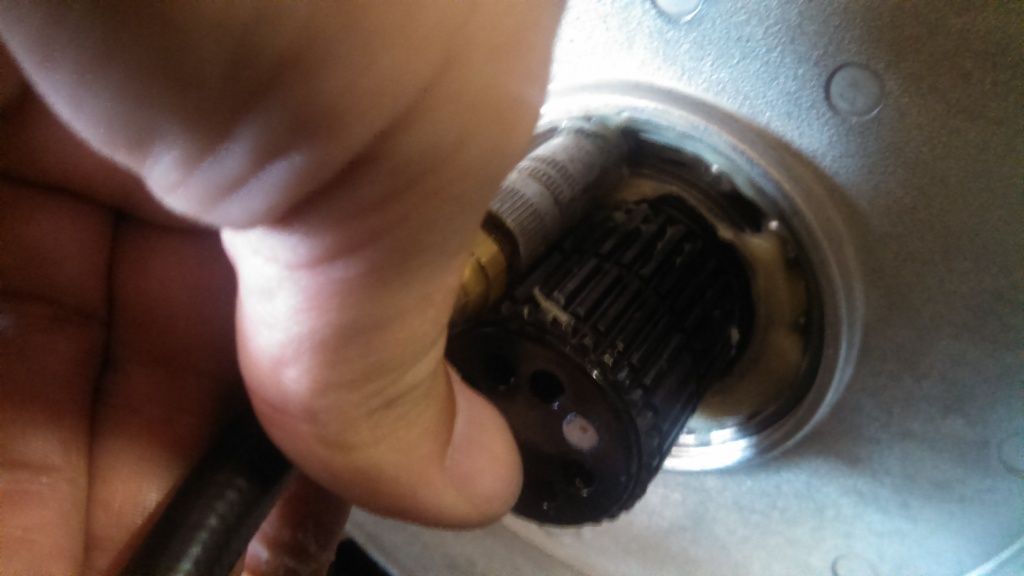


Pack the bearing full of grease.


Install beveled spacer with the small side towards the bearing race and install bottom gear.
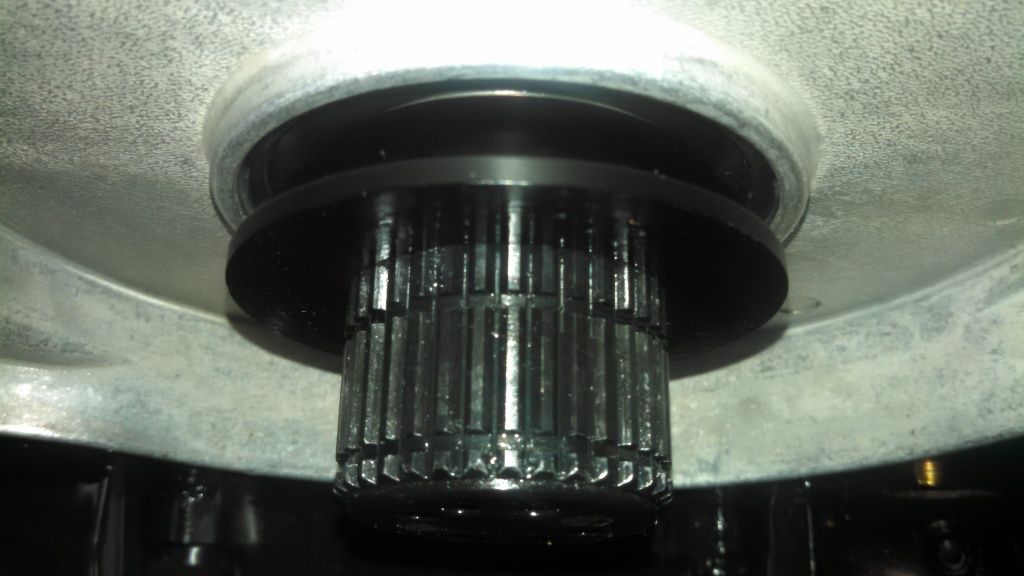
Both gears installed.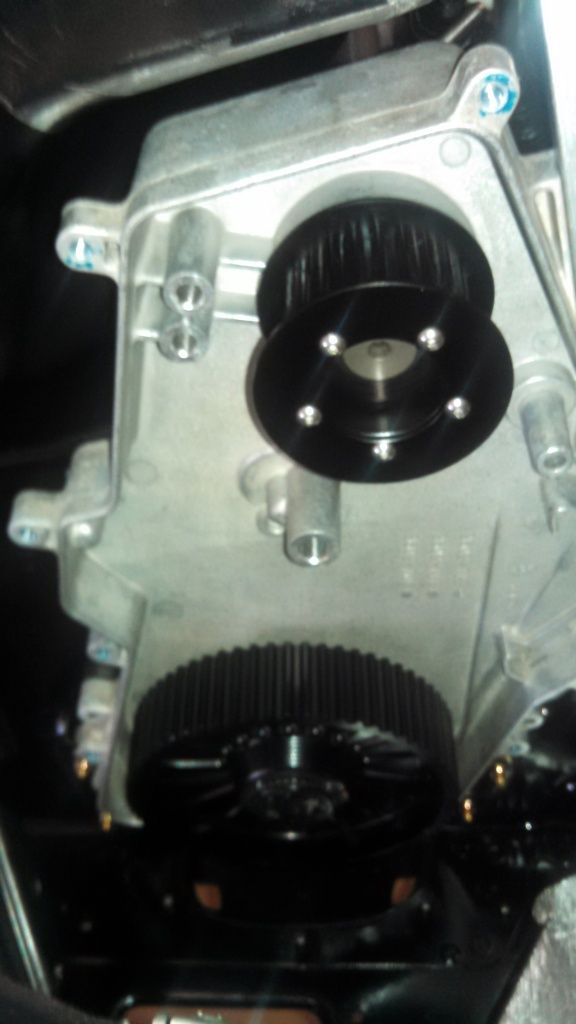


Both gears installed.

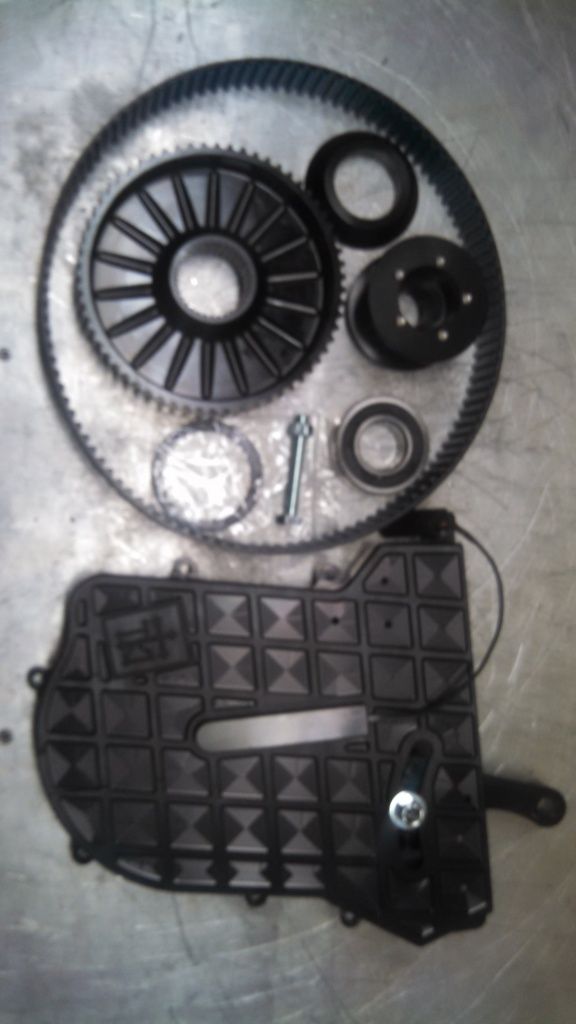
Belt and cover installed. Once I tightened to belt I used a piece of masking tape to mark the belts position and then made marks at 1/8 inch increments to assist in setting the tension properly.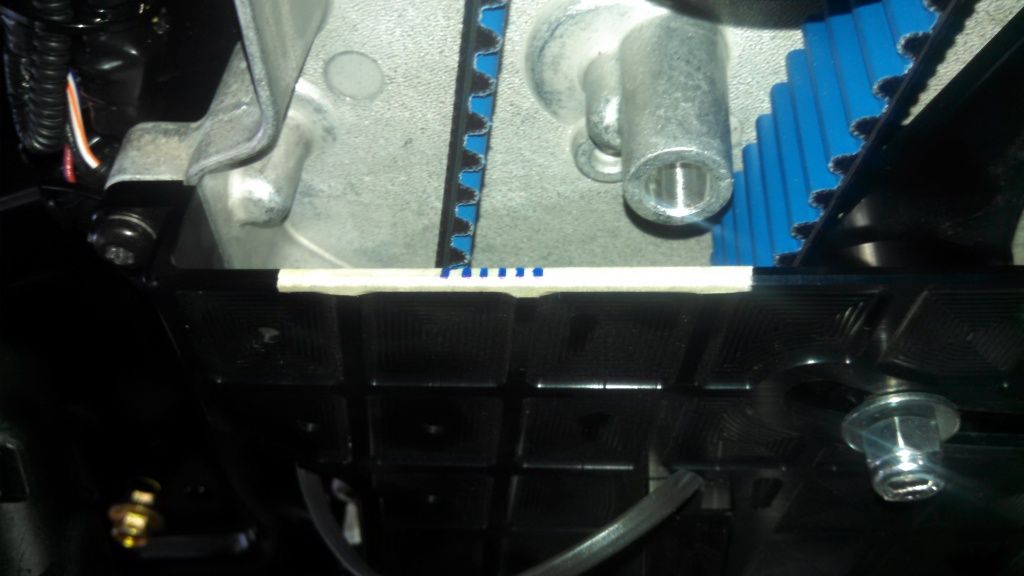


Similar threads
B
- Replies
- 11
- Views
- 3K
B
H
- Replies
- 16
- Views
- 2K
C
- Replies
- 22
- Views
- 8K
R
- Replies
- 10
- Views
- 7K
O