Install the app
How to install the app on iOS

Follow along with the video below to see how to install our site as a web app on your home screen.

Note: This feature may not be available in some browsers.

  • Don't miss out on all the fun! Register on our forums to post and have added features! Membership levels include a FREE membership tier.

Installation and Review: SKINZ Tunnel Rack & Tunnel Pack.

christopher

Well-known member
Staff member
Lifetime Membership
Ski-Doo Klim EZ Lynk
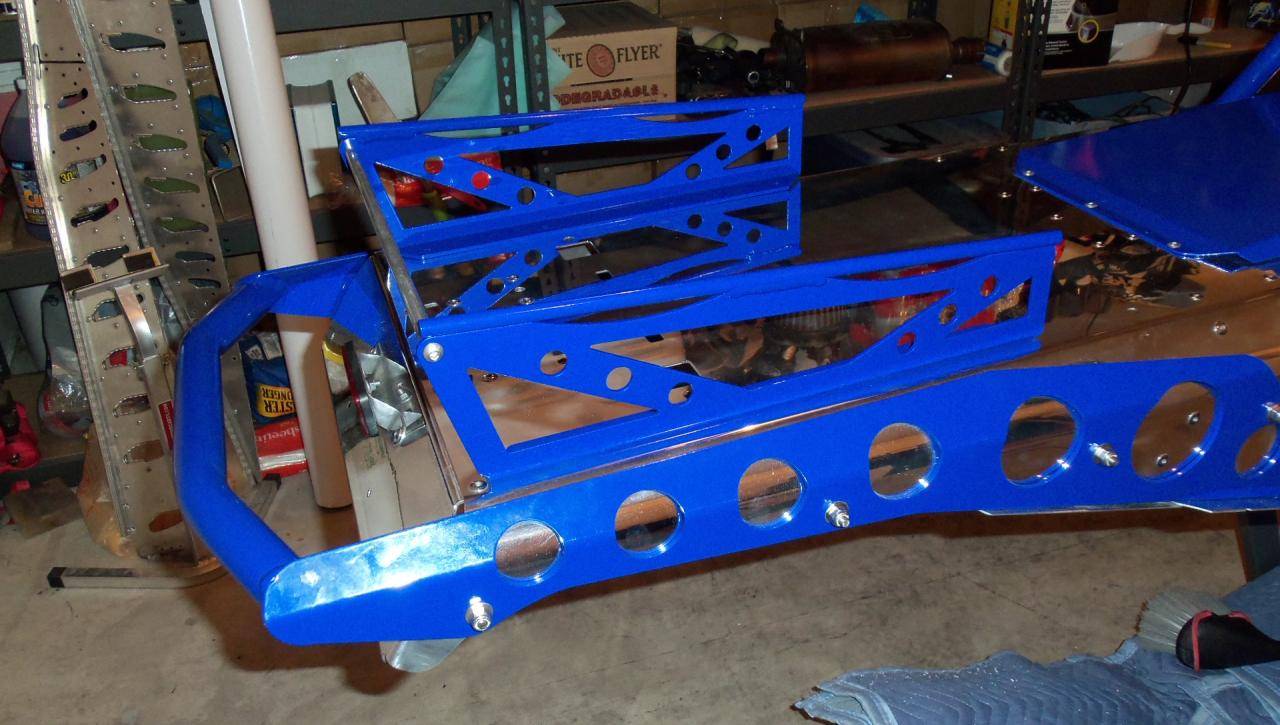
Just got my new Tunnel Rack in from Skinz.
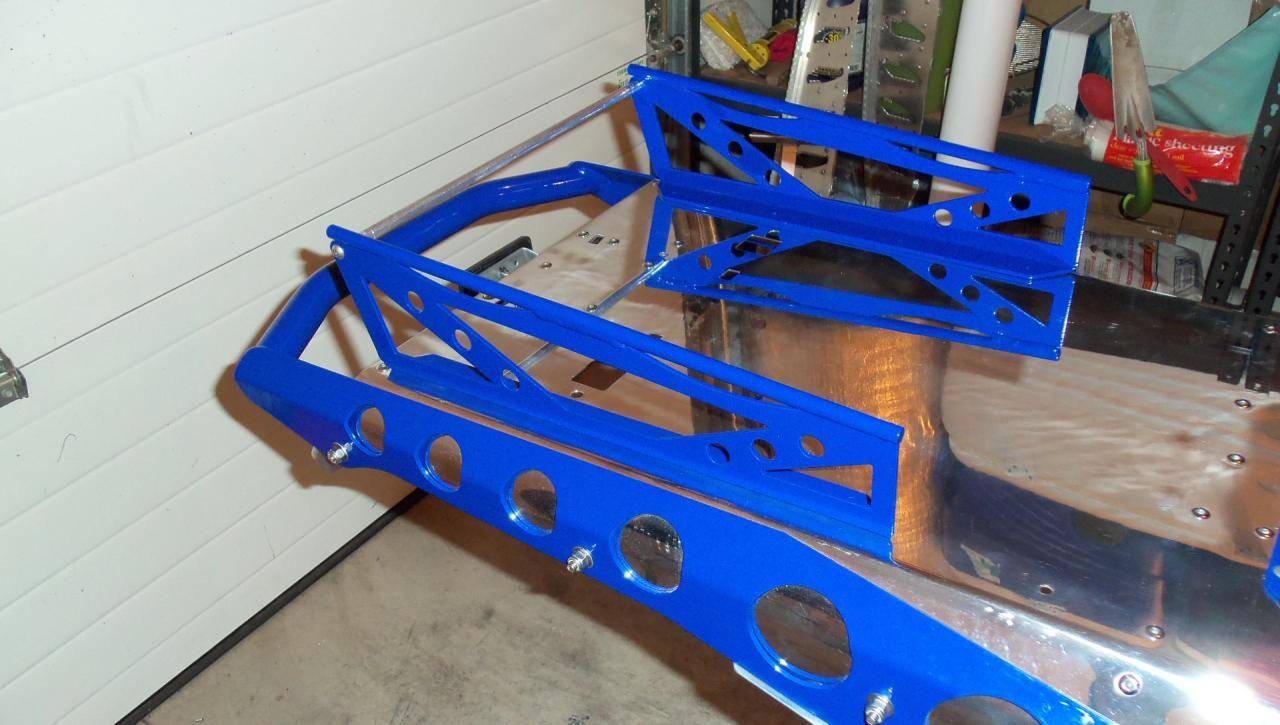
Like everything in this summer's project list this was also custom powdercoated Yamaha Blue to match the rest of the gear they made for me.

I unpacked it and set it on the tunnel just to get a feel for what it looks like.
Will do the install shortly.

picture.php


picture.php
 
rack

Christopher looks like you need a black grip matt in between that rack to cover your brake light holes and stop things from sliding around and damaging that shiny tunnel!
 
Last night I opened the package and just set the rails on the tunnel to see how it looks.

Tonight I will trim the crossbar to make it fit better, then drill and mount the rails, and THEN install the rubber traction mats that came with it.

Right now I am wondering if I want to order a 2nd rack.

Install one at the tail for the Tunnel Bag, and then flip it around the other direction and install it right behind the seat to put a 2.5 gallon fuel can in sitting up on the Exhaust plate cover.
 
I put one on the wife's Vector 2 seasons ago with their tunnel bag. Works well with lots of storage.

I do like your powder coated version better!

pictures 001.jpg
 
Just as soon as the Snow Show is over with, I hope to get his installed and ready to use for next weekend!
 
So, after playing with this a bit I decided to mount the pack at the rear of the tunnel and the rack in the front of the tunnel to hold a fuel can.

picture.php
 
The tunnel bag uses a combination of Velcro and Rivets to hold it in place.
There are two large self adhesive velcro patches underneath it.

picture.php
 
I choose to rivet it to the rear of the new bumper.
picture.php


The bag kit came with BLACK Rivets, which I thought I would use as they look SO much cleaner than the normal bright rivets.
picture.php
 
But once again I was confronted with the one thing I HATE about Skinz Products.

THE RIVETS ARE HORRIBLE.

Of the 4 Black rivets, THREE of them FAILED.
picture.php


And as the picture before showed, they leave a NASTY exposed casing unlike the Yamaha OEM Rivents.
 
Premium Features


Back
Top