
I
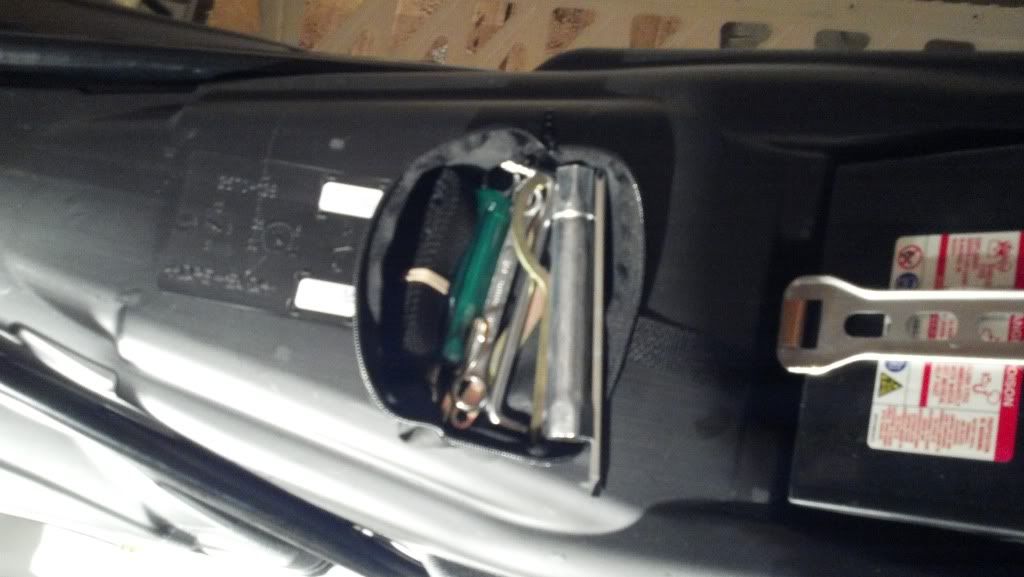
So I decided to clean my clutches tonight, and practice taking off the belt. I started by removing the side panels and hood. Once I had those out I pulled the two pins on the lower part of the cowling. I then pulled out the tool kit and took inventory. No 2 inch flat washer, but it did include one of the belt deflection ajustment washers:
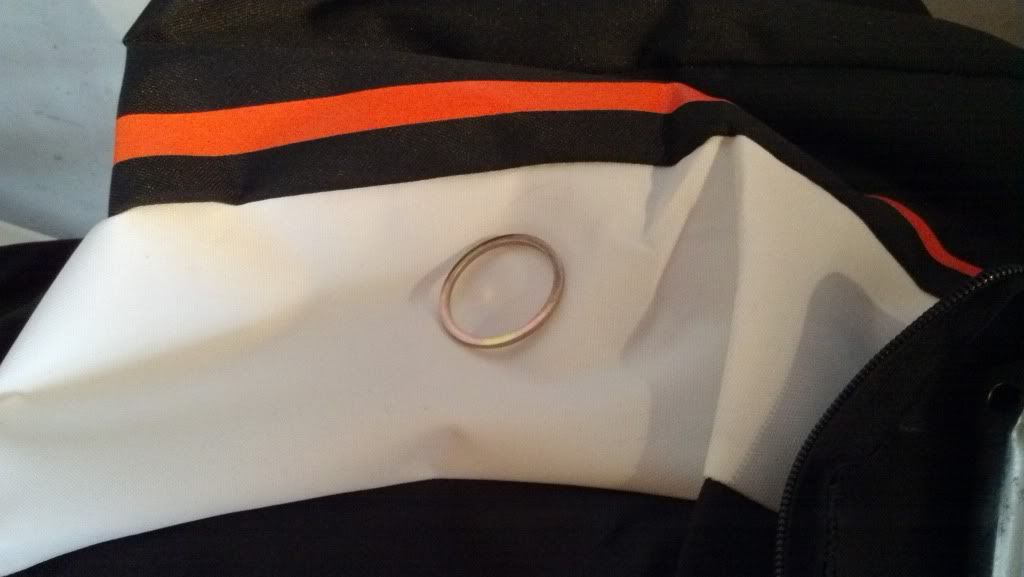
So apparently they think your going to be adjusting the belt deflection more often than changing a belt. Either that or the person on the assembly line read "2 inch washer" a grabbed one that looked about the right size, just not a flat washer. I suppose the dealer could of put it in there too, but that is a much less interesting story.
Before I started playing with the clutches I figured I would document that air filter vacum line a bit. As you can see below, it fits great with the hood off:
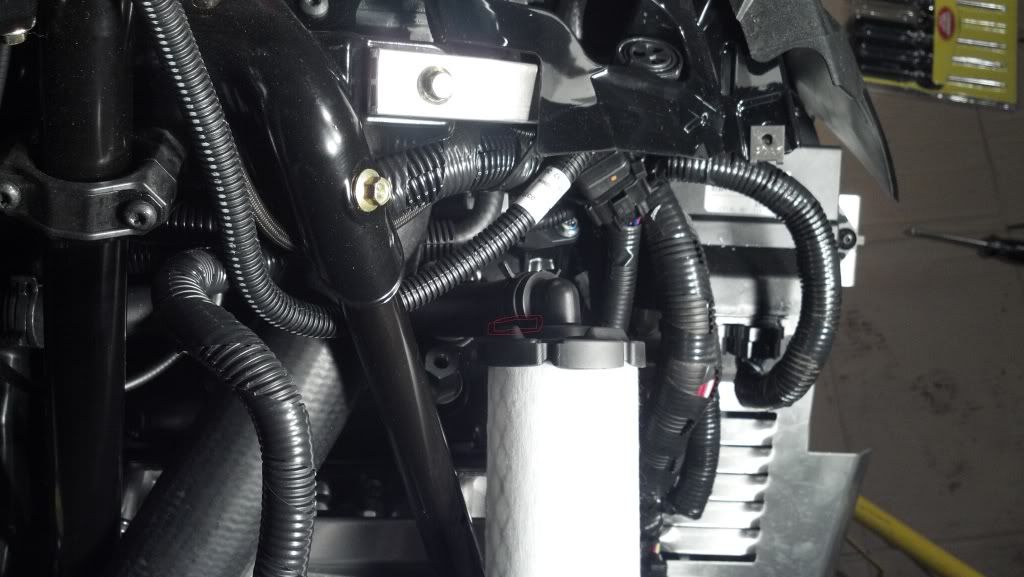
I've put a couple very hard to see red lines around what I think the problem is. As you can see, without the bottom part of the airfilter box the tee fits fine since the rubber hose can rest against the actual filter. In addition, I also rotated the air filter so that the rubber hose fits between those rubber tabs that stick out. I think that by rotating the air filter so that the hose is in between those rubber tabs it might actually fit when I put it together.
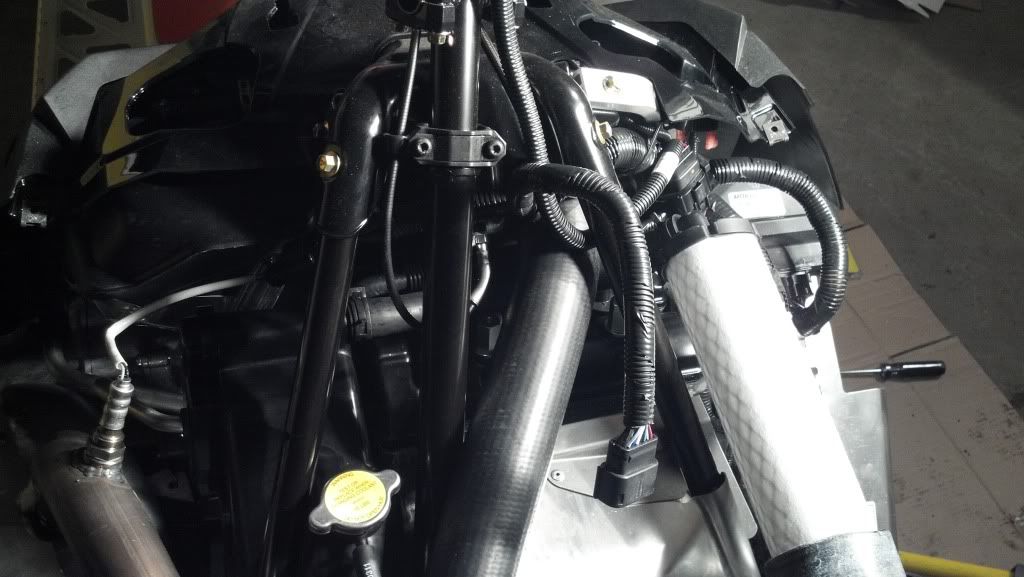
In addition, the hood pulls the filter upwards in general. The rubber hose is constrained halfway by the intake hose, preventing elbow from swinging upwards to meet the hood, further exacerbating the problem. The following picture you can see the intake tube, the very large rubber hose running bottom to top, constraining the vacum line that goes into the air filter:
I'm hoping that when I put her together tomorrow I'll find that rotating the air filter fixed the problem.
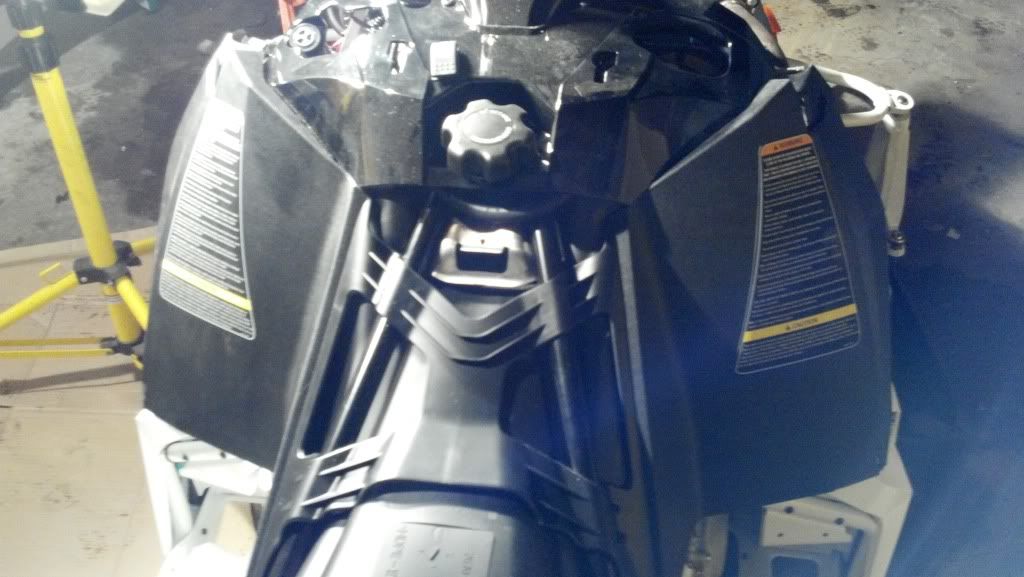
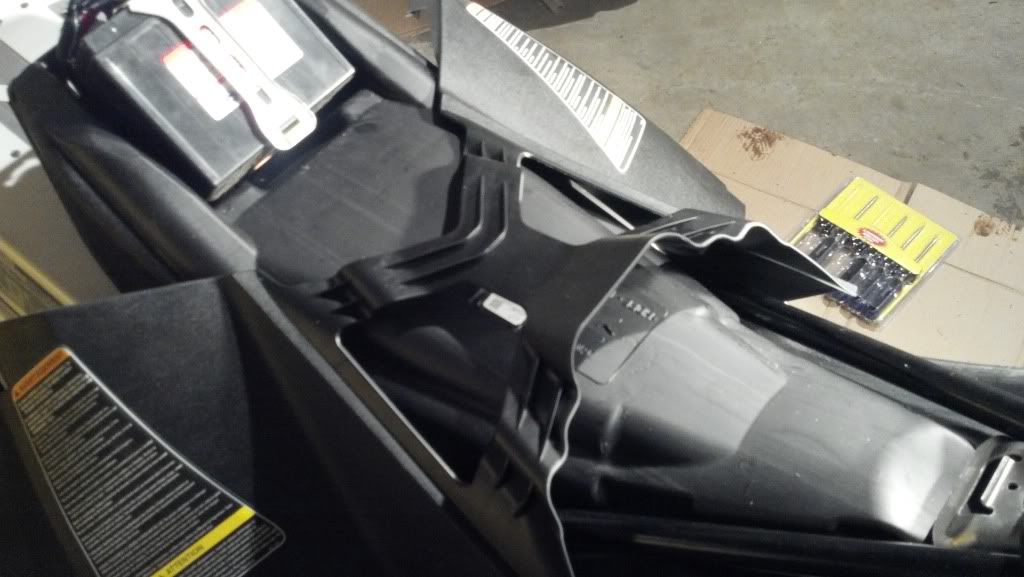
In anycase, I wanted to get good access to the clutch, so I wanted to get the plastic cowling off. The first thing I realized is that the cowling is one peice, it doesn't have a seperate left and right sides. Here's a picture of the center connecting part of the cowling with the seat off, which you normally can't see:
The cowling is held in place by the two pins that I already removed, the two screws that the hood attaches to, and a tab which fits into a slot on the upper shiny cowling. You can see the tab sort of in the following blurry picture:
With a little pulling the lower cowling comes off. Here it is sitting on the gas tank after I removed it:
The upper cowling, the shiny part that is, seems like it is pretty easy to remove. Looks like there are four screws and a couple connectors for switches to disconnnect before it pops off. The fuel pump is pretty damn easy to get to:

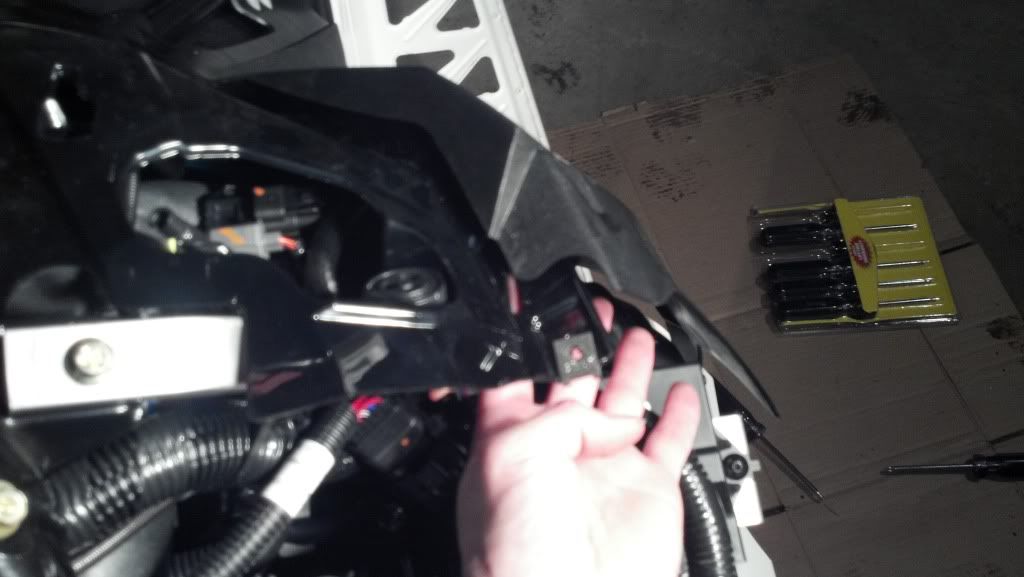
In anycase, I started working on removing the clutch guard. The ECU on top of it looks like it pops off, but it won't until you loosen and rotate the clutch guard. This is because the ECU doesn't have enough space between the engine and the clutch guard for the bracket to come off. To get the clutch guard to rotate up and out you need to unclip it from the footrest area, which you normally cannot see because the lower cowling covers it. With the lower cowling in place you can probably see do this by bending the cowling out of the way I would guess. Here's a picture looking up at the bottom of the clutch guard after I've partially rotated it up and out:
I found that the clutch guard wouldn't move very much with the ECU still connected to its very stiff wiring harnesses, so I disconnected both connectors. Once the clutch guard was partially rotated I was able to get the ECU off the clutch guard without a problem due to the addition clearance between the guard and the engine.
Here's a couple more pictures of the clutch guard partially rotated out:
This second one of the clutch guard partially rotated out at the bottom shows the metal tab that clips into the footrest:
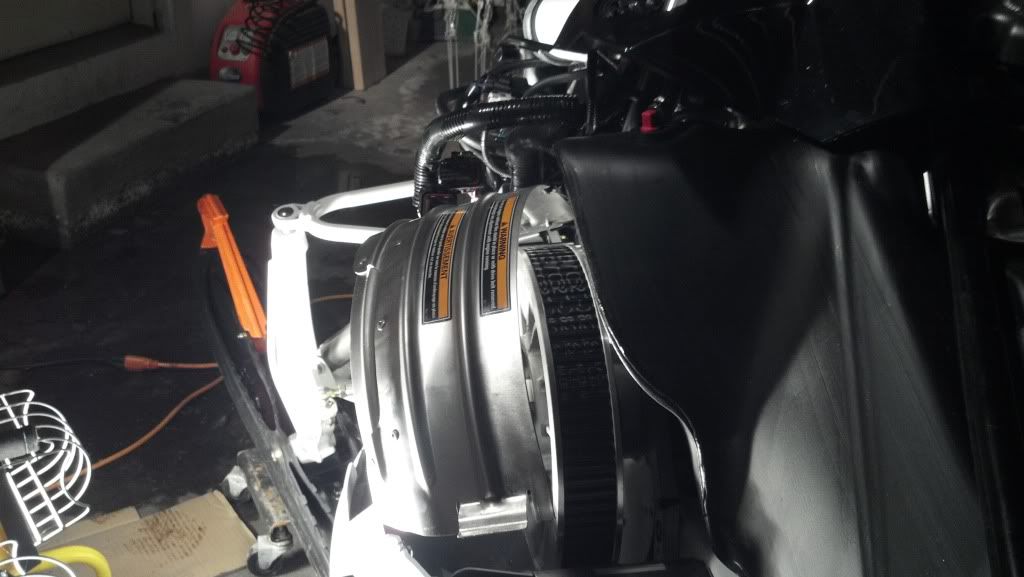
With the clutch guard and ECU removed I took a couple pictures from afar:

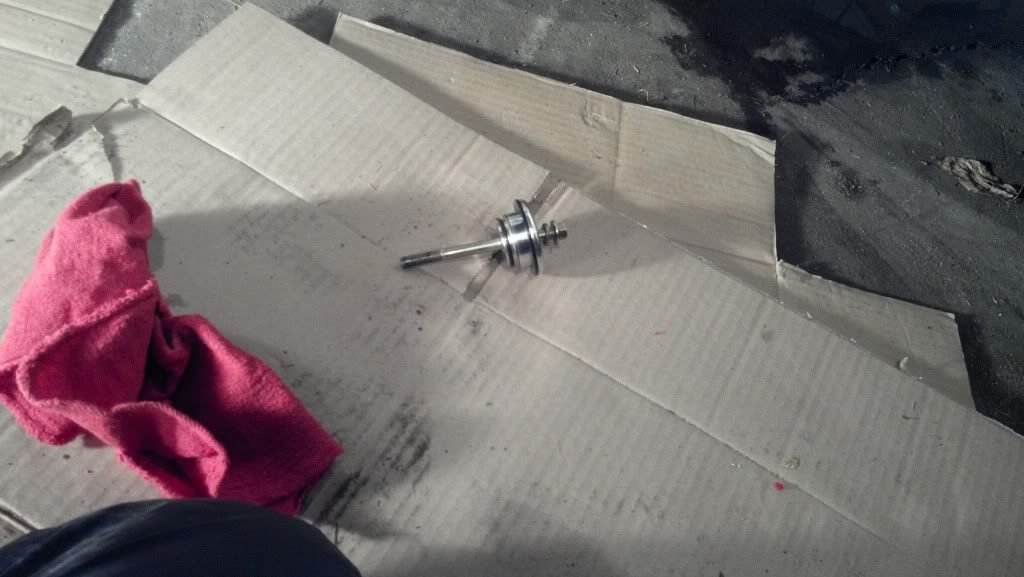
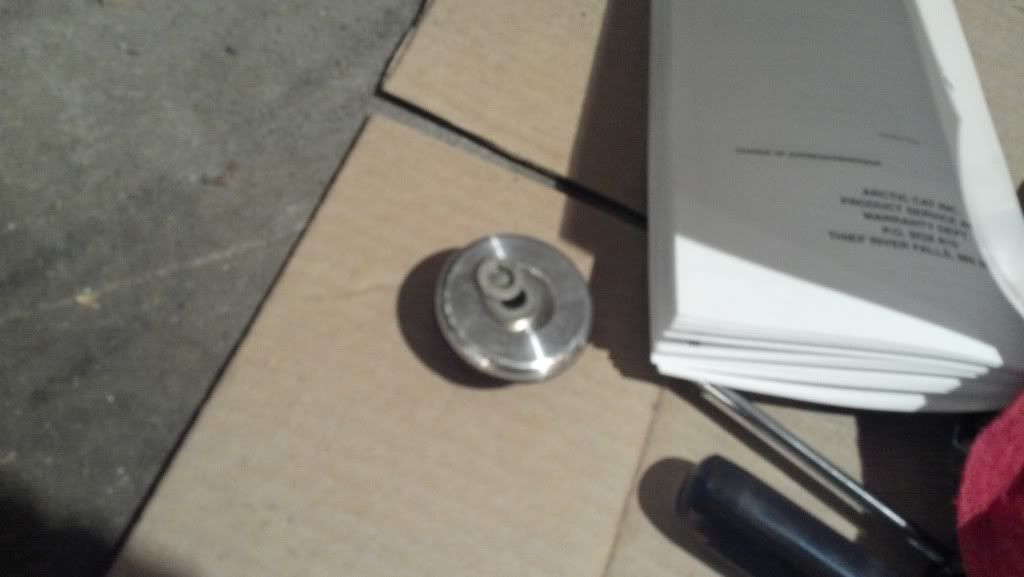
Next I removed the cap screw and adjuster thing a ma bobber:
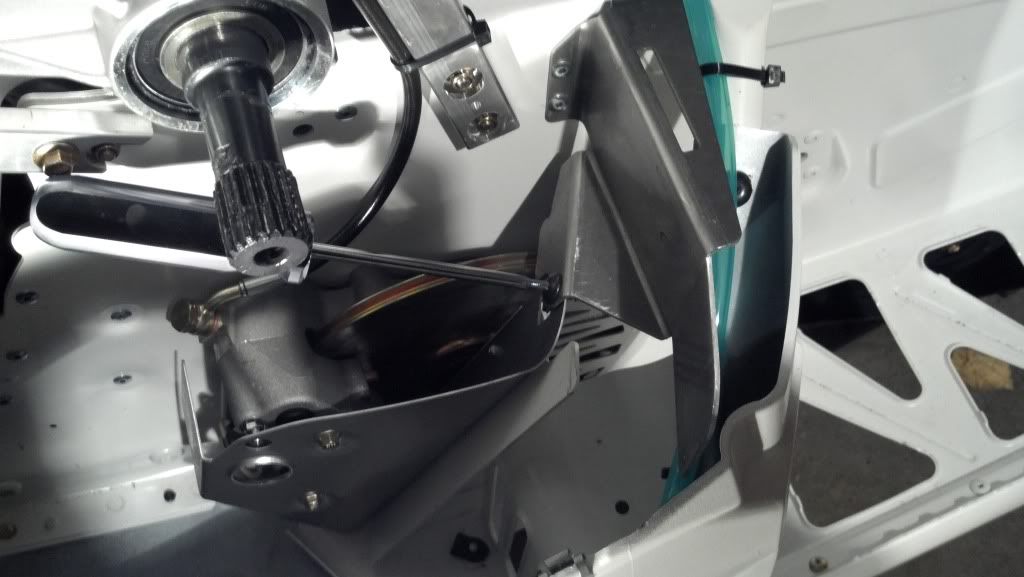
At this point I noticed a loose screw between the brake bracket and the foot rest!
Here's a blury picture of my toolkit with its lack of 2 inch washer:
I took the cap screw out of the adjuster thing a ma bob, leaving behind the washer and lock washer. I did this in preperation for using the cap screw to open up the secondary:
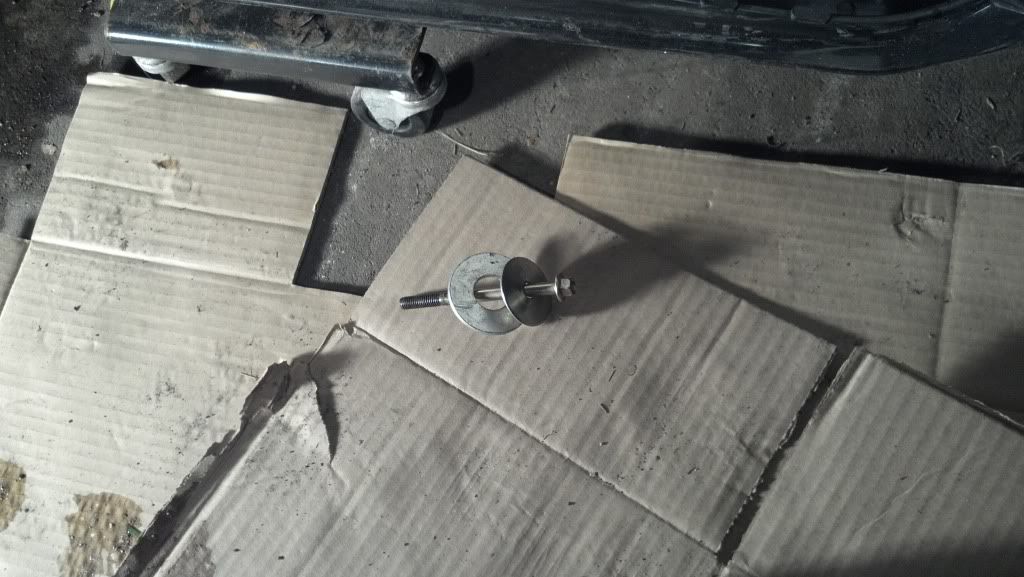
Here is my jury rigged 2 inch washer made out of two other washers:
I didn't have a problem at all getting the bolt to thread. In fact, I tried to get by with an inch and a half washer, with the washer pushing on an inner service, but the cap screw was actually too long for that to work and bottomed out.
Here's a picture of the washer setup I used to open the secondary:
The secondary actually opened really well. Slipping the belt over it didn't seem like much trouble either.
Here's a view of that fabled foam that people are removing to make the belt easier to get off:
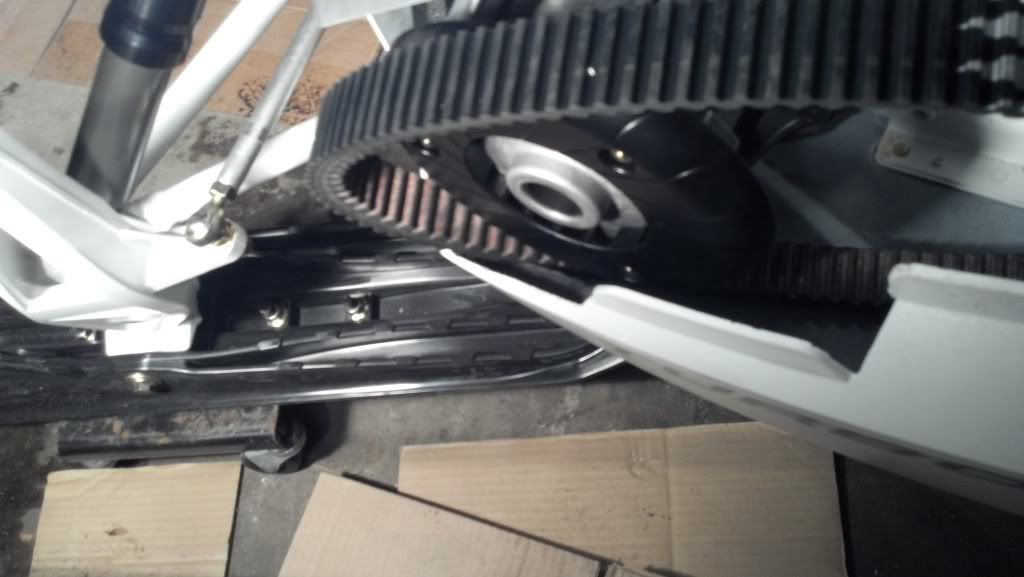
I found that foam to be a non-issue though. I just rotated the belt to the side and compressed the foam a bit. Keep in mind I removed the belt guard completely:
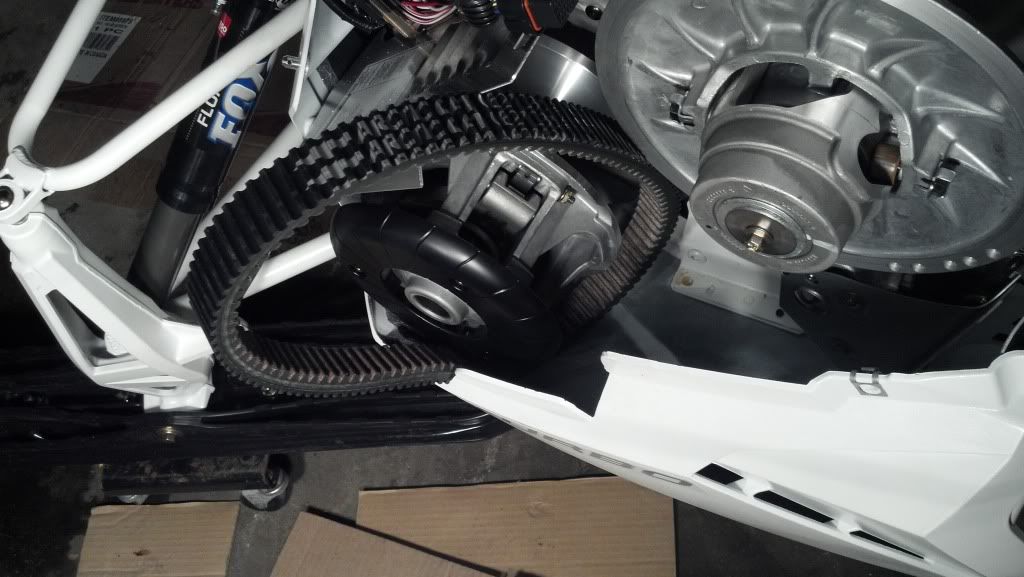
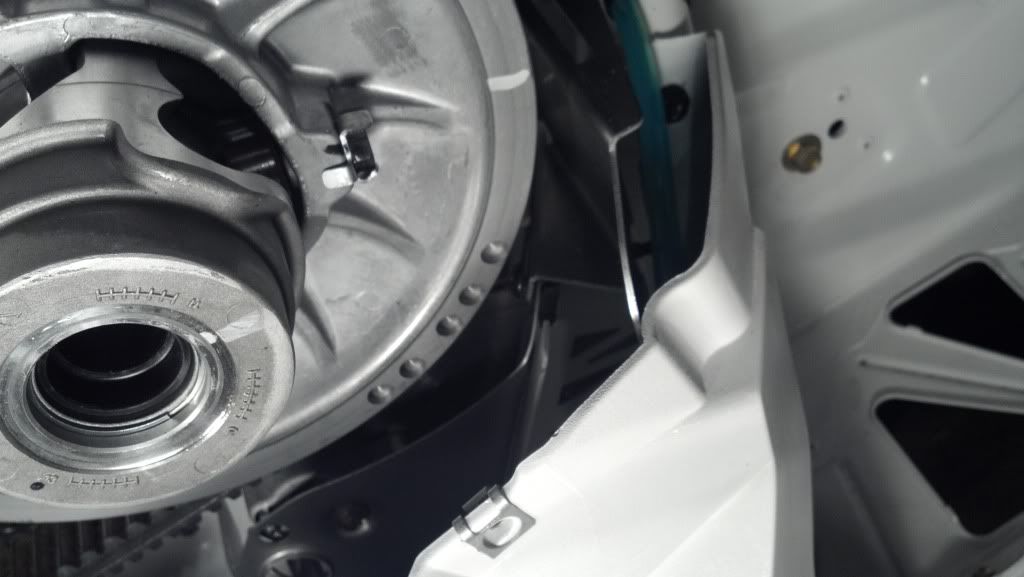
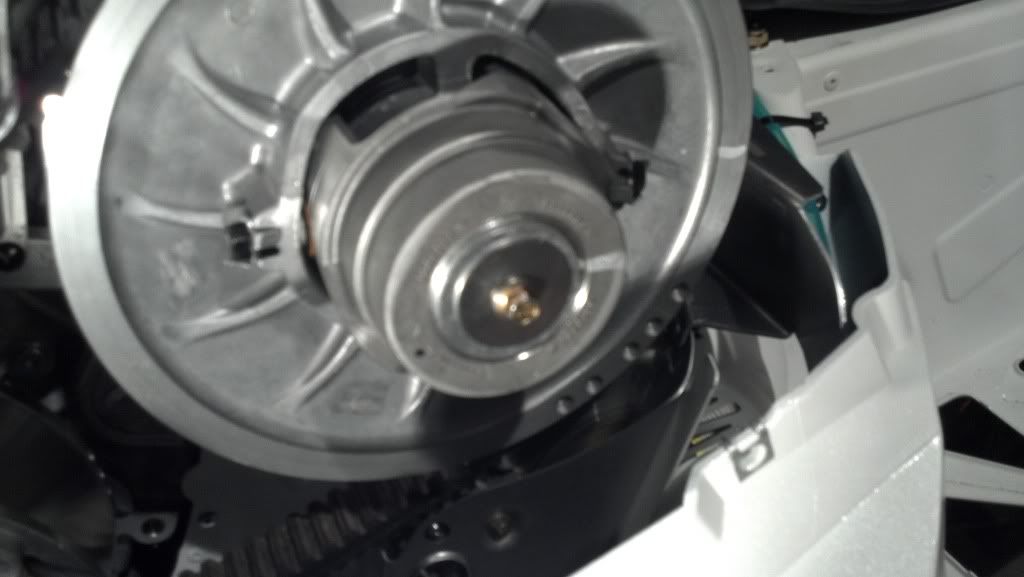
I found cleaning the oil that was all over that side of the sled much easier with the secondary out of the way:
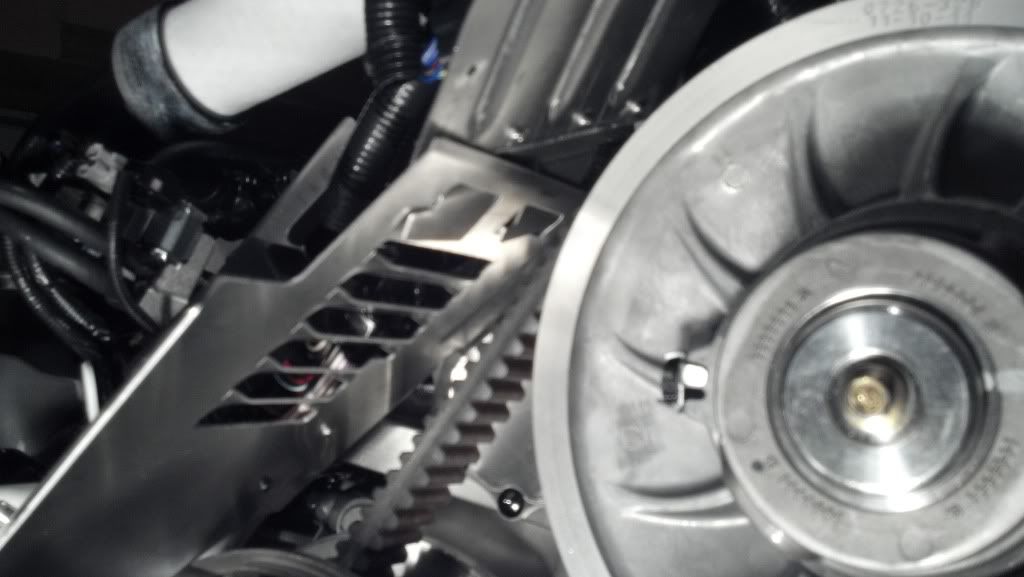
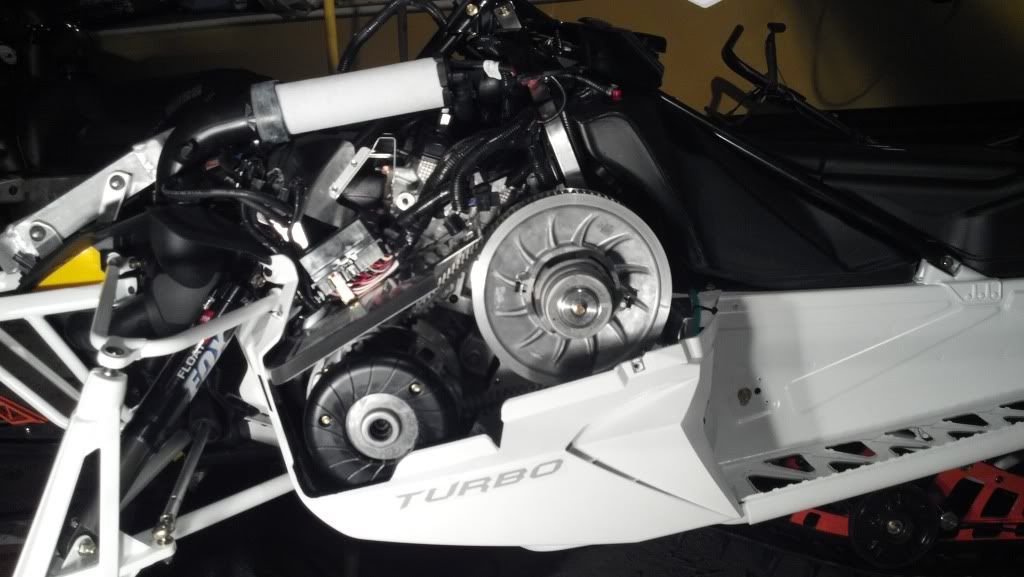
As you can see, there is actually quite a lot of room with that belt guard and ECU out of the way.
Here's the screwdriver fixing that loose screw:
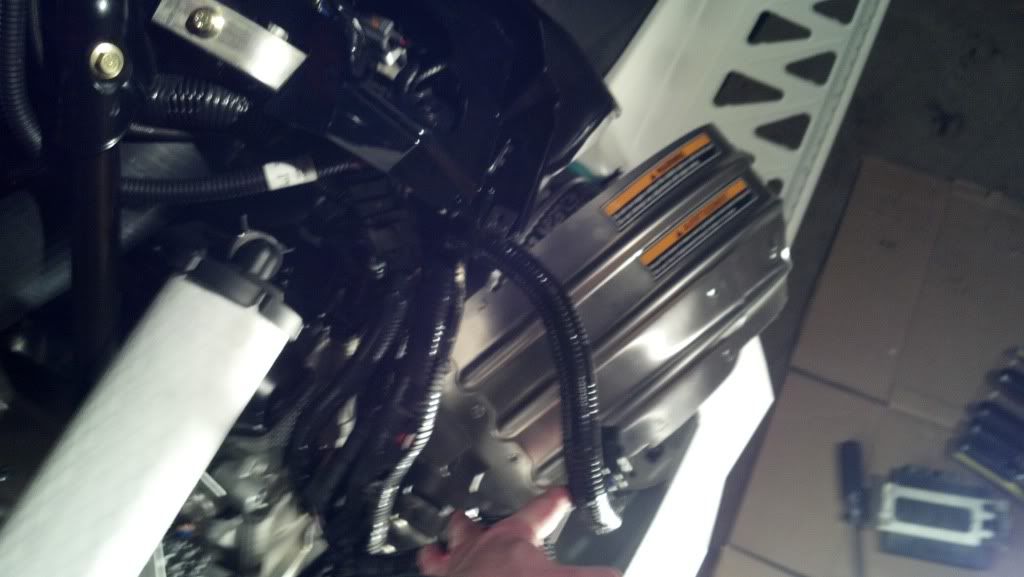
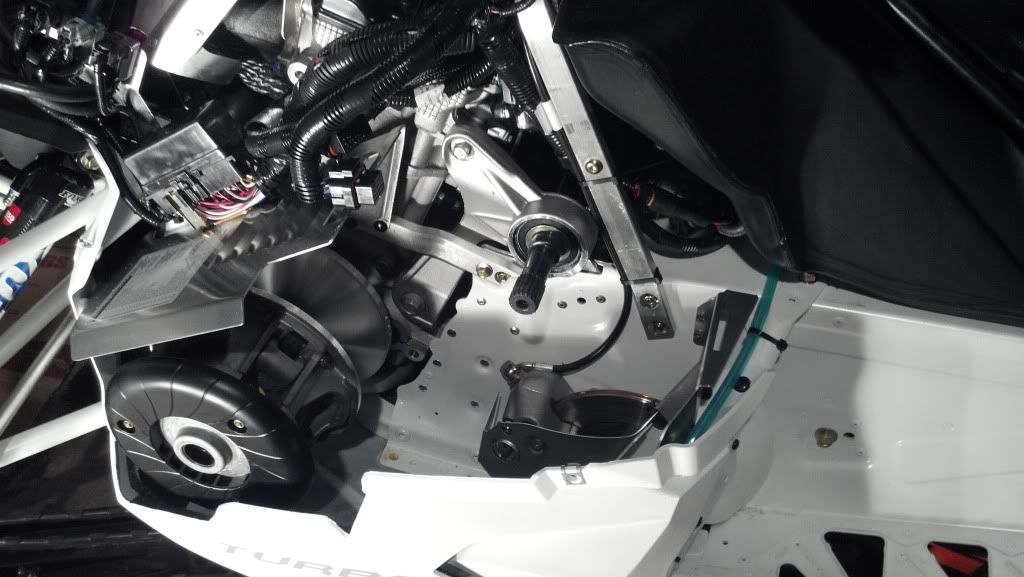
The torque control link on the 1100T looks hela different than it does on the 800:
If you look under the gas tank in the previous picture you will see the silver fuel filter.
Although I won't be changing weights because I have a turbo, you 800 folks should have pretty damn good access to the primary with the clutch guard out of the way:
After that I realized it was 9:30 at night and I should walk my dog. On the way back I took a picture of my house. I haven't finished putting up all the lights, but all of the ladder work is done. There is quite a bit of lights on bushes and such I need to do:
So apparently they think your going to be adjusting the belt deflection more often than changing a belt. Either that or the person on the assembly line read "2 inch washer" a grabbed one that looked about the right size, just not a flat washer. I suppose the dealer could of put it in there too, but that is a much less interesting story.
Before I started playing with the clutches I figured I would document that air filter vacum line a bit. As you can see below, it fits great with the hood off:
I've put a couple very hard to see red lines around what I think the problem is. As you can see, without the bottom part of the airfilter box the tee fits fine since the rubber hose can rest against the actual filter. In addition, I also rotated the air filter so that the rubber hose fits between those rubber tabs that stick out. I think that by rotating the air filter so that the hose is in between those rubber tabs it might actually fit when I put it together.
In addition, the hood pulls the filter upwards in general. The rubber hose is constrained halfway by the intake hose, preventing elbow from swinging upwards to meet the hood, further exacerbating the problem. The following picture you can see the intake tube, the very large rubber hose running bottom to top, constraining the vacum line that goes into the air filter:
I'm hoping that when I put her together tomorrow I'll find that rotating the air filter fixed the problem.
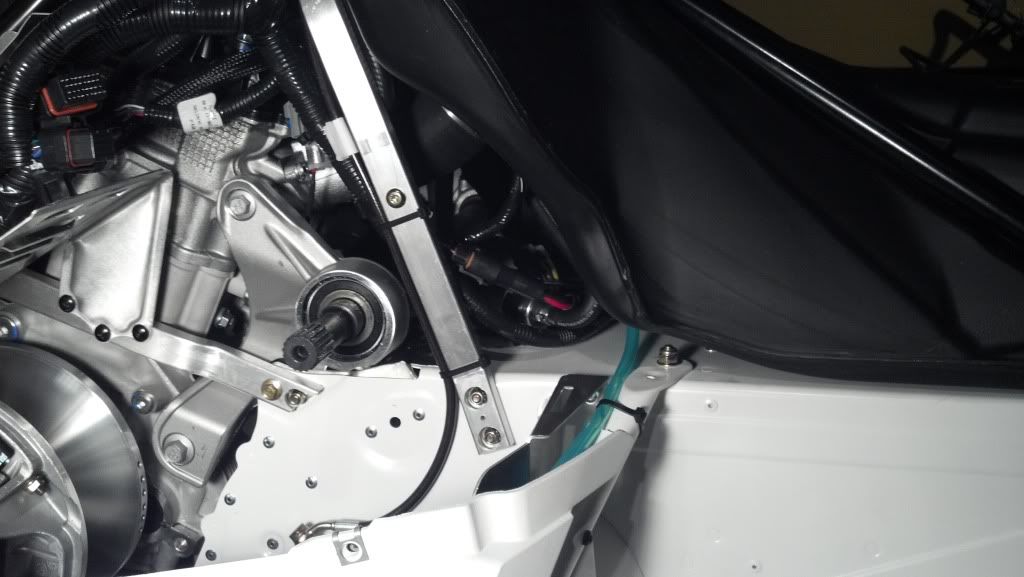
In anycase, I wanted to get good access to the clutch, so I wanted to get the plastic cowling off. The first thing I realized is that the cowling is one peice, it doesn't have a seperate left and right sides. Here's a picture of the center connecting part of the cowling with the seat off, which you normally can't see:
The cowling is held in place by the two pins that I already removed, the two screws that the hood attaches to, and a tab which fits into a slot on the upper shiny cowling. You can see the tab sort of in the following blurry picture:
With a little pulling the lower cowling comes off. Here it is sitting on the gas tank after I removed it:
The upper cowling, the shiny part that is, seems like it is pretty easy to remove. Looks like there are four screws and a couple connectors for switches to disconnnect before it pops off. The fuel pump is pretty damn easy to get to:
In anycase, I started working on removing the clutch guard. The ECU on top of it looks like it pops off, but it won't until you loosen and rotate the clutch guard. This is because the ECU doesn't have enough space between the engine and the clutch guard for the bracket to come off. To get the clutch guard to rotate up and out you need to unclip it from the footrest area, which you normally cannot see because the lower cowling covers it. With the lower cowling in place you can probably see do this by bending the cowling out of the way I would guess. Here's a picture looking up at the bottom of the clutch guard after I've partially rotated it up and out:
I found that the clutch guard wouldn't move very much with the ECU still connected to its very stiff wiring harnesses, so I disconnected both connectors. Once the clutch guard was partially rotated I was able to get the ECU off the clutch guard without a problem due to the addition clearance between the guard and the engine.
Here's a couple more pictures of the clutch guard partially rotated out:
This second one of the clutch guard partially rotated out at the bottom shows the metal tab that clips into the footrest:
With the clutch guard and ECU removed I took a couple pictures from afar:
Next I removed the cap screw and adjuster thing a ma bobber:
At this point I noticed a loose screw between the brake bracket and the foot rest!
Here's a blury picture of my toolkit with its lack of 2 inch washer:
I took the cap screw out of the adjuster thing a ma bob, leaving behind the washer and lock washer. I did this in preperation for using the cap screw to open up the secondary:
Here is my jury rigged 2 inch washer made out of two other washers:
I didn't have a problem at all getting the bolt to thread. In fact, I tried to get by with an inch and a half washer, with the washer pushing on an inner service, but the cap screw was actually too long for that to work and bottomed out.
Here's a picture of the washer setup I used to open the secondary:
The secondary actually opened really well. Slipping the belt over it didn't seem like much trouble either.
Here's a view of that fabled foam that people are removing to make the belt easier to get off:
I found that foam to be a non-issue though. I just rotated the belt to the side and compressed the foam a bit. Keep in mind I removed the belt guard completely:
I found cleaning the oil that was all over that side of the sled much easier with the secondary out of the way:
As you can see, there is actually quite a lot of room with that belt guard and ECU out of the way.
Here's the screwdriver fixing that loose screw:
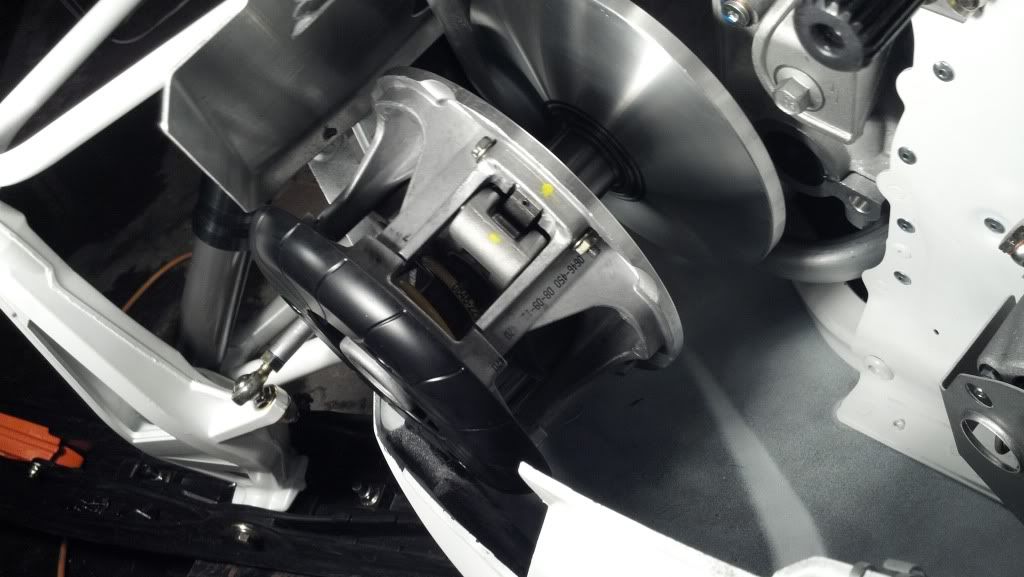
The torque control link on the 1100T looks hela different than it does on the 800:
If you look under the gas tank in the previous picture you will see the silver fuel filter.
Although I won't be changing weights because I have a turbo, you 800 folks should have pretty damn good access to the primary with the clutch guard out of the way:
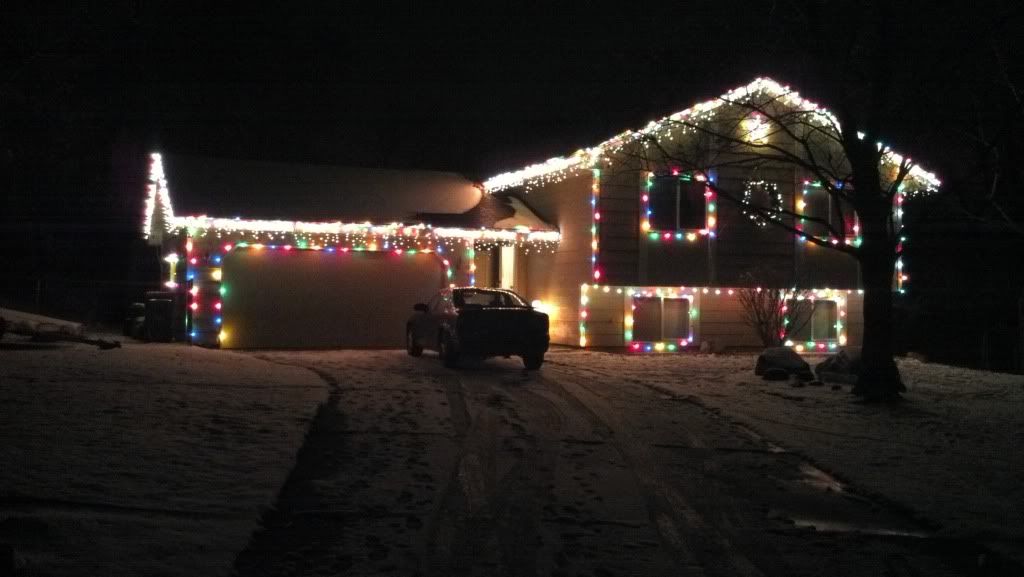
After that I realized it was 9:30 at night and I should walk my dog. On the way back I took a picture of my house. I haven't finished putting up all the lights, but all of the ladder work is done. There is quite a bit of lights on bushes and such I need to do:
Last edited: