Snowmobile manufacturers have gone to great lengths to streamline and simplify snowmobile designs. In the process they have sacrificed storage in order to minimize weight and decrease production expenses.
Although that’s a good thing, sometimes it’s nice to have a little more storage availability to tuck in an extra pair of gloves or goggles.
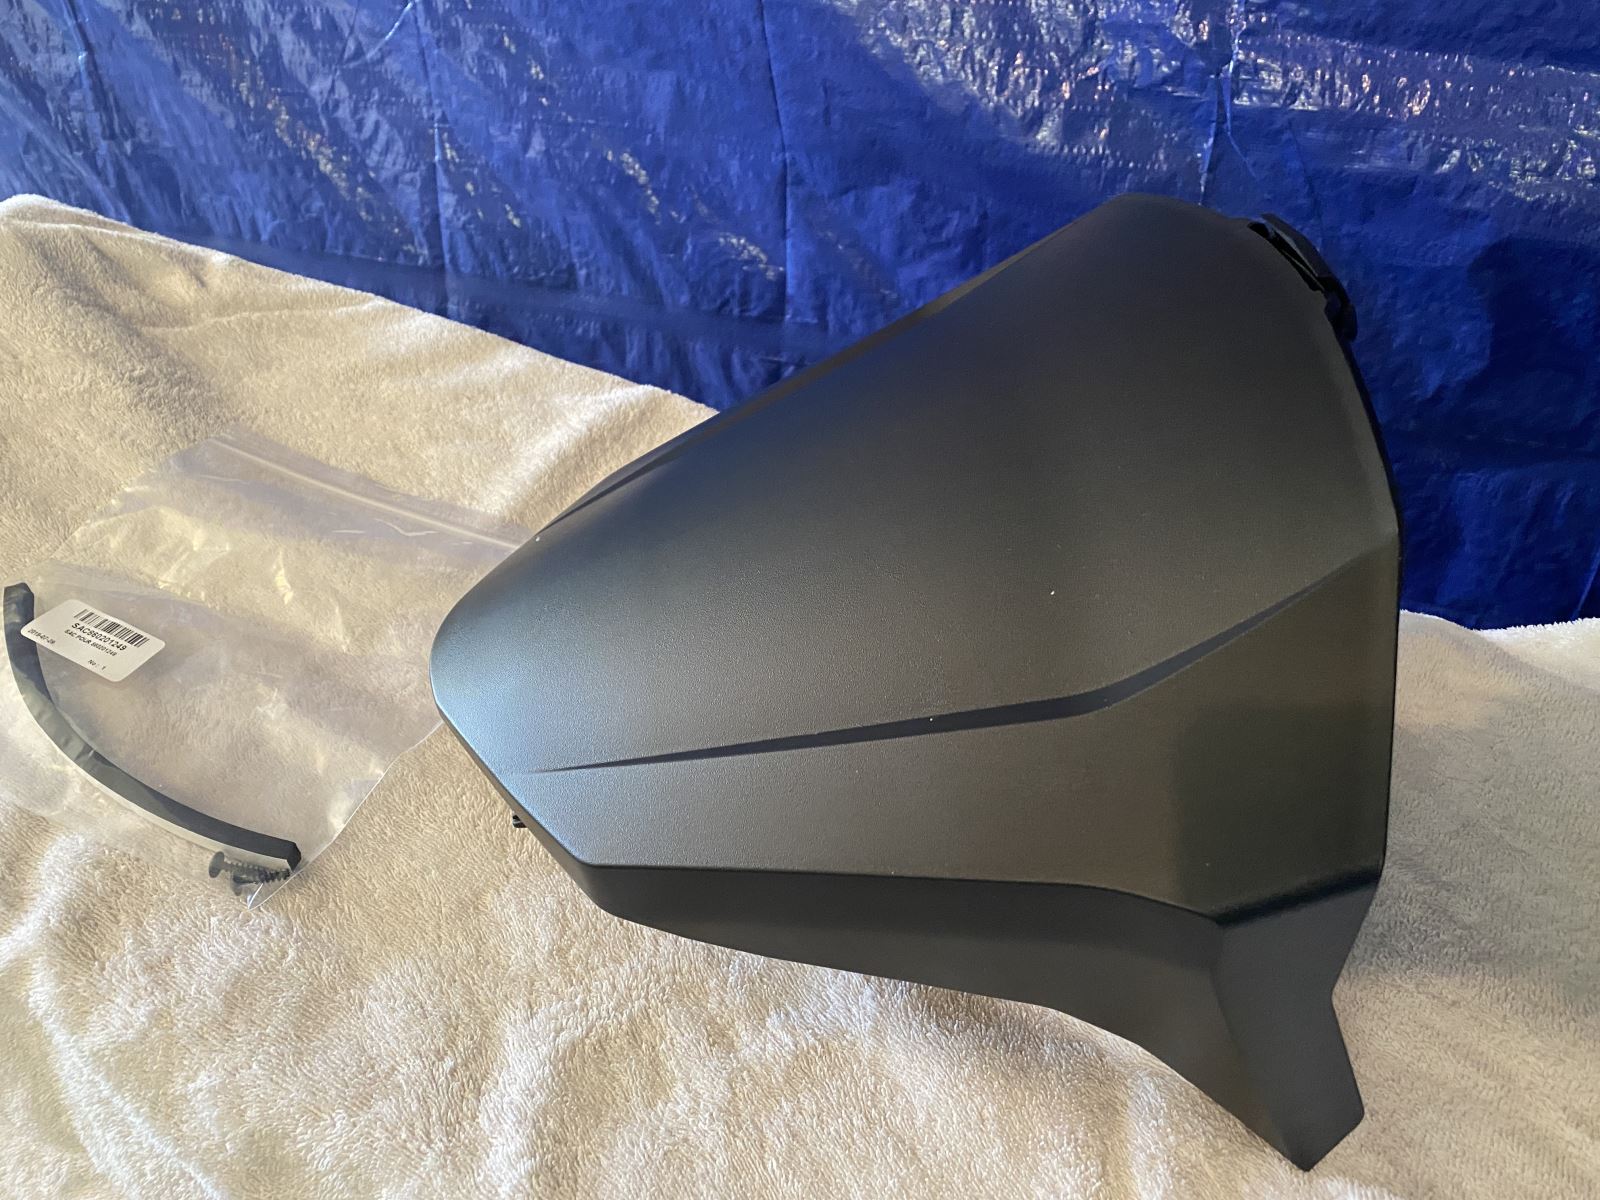
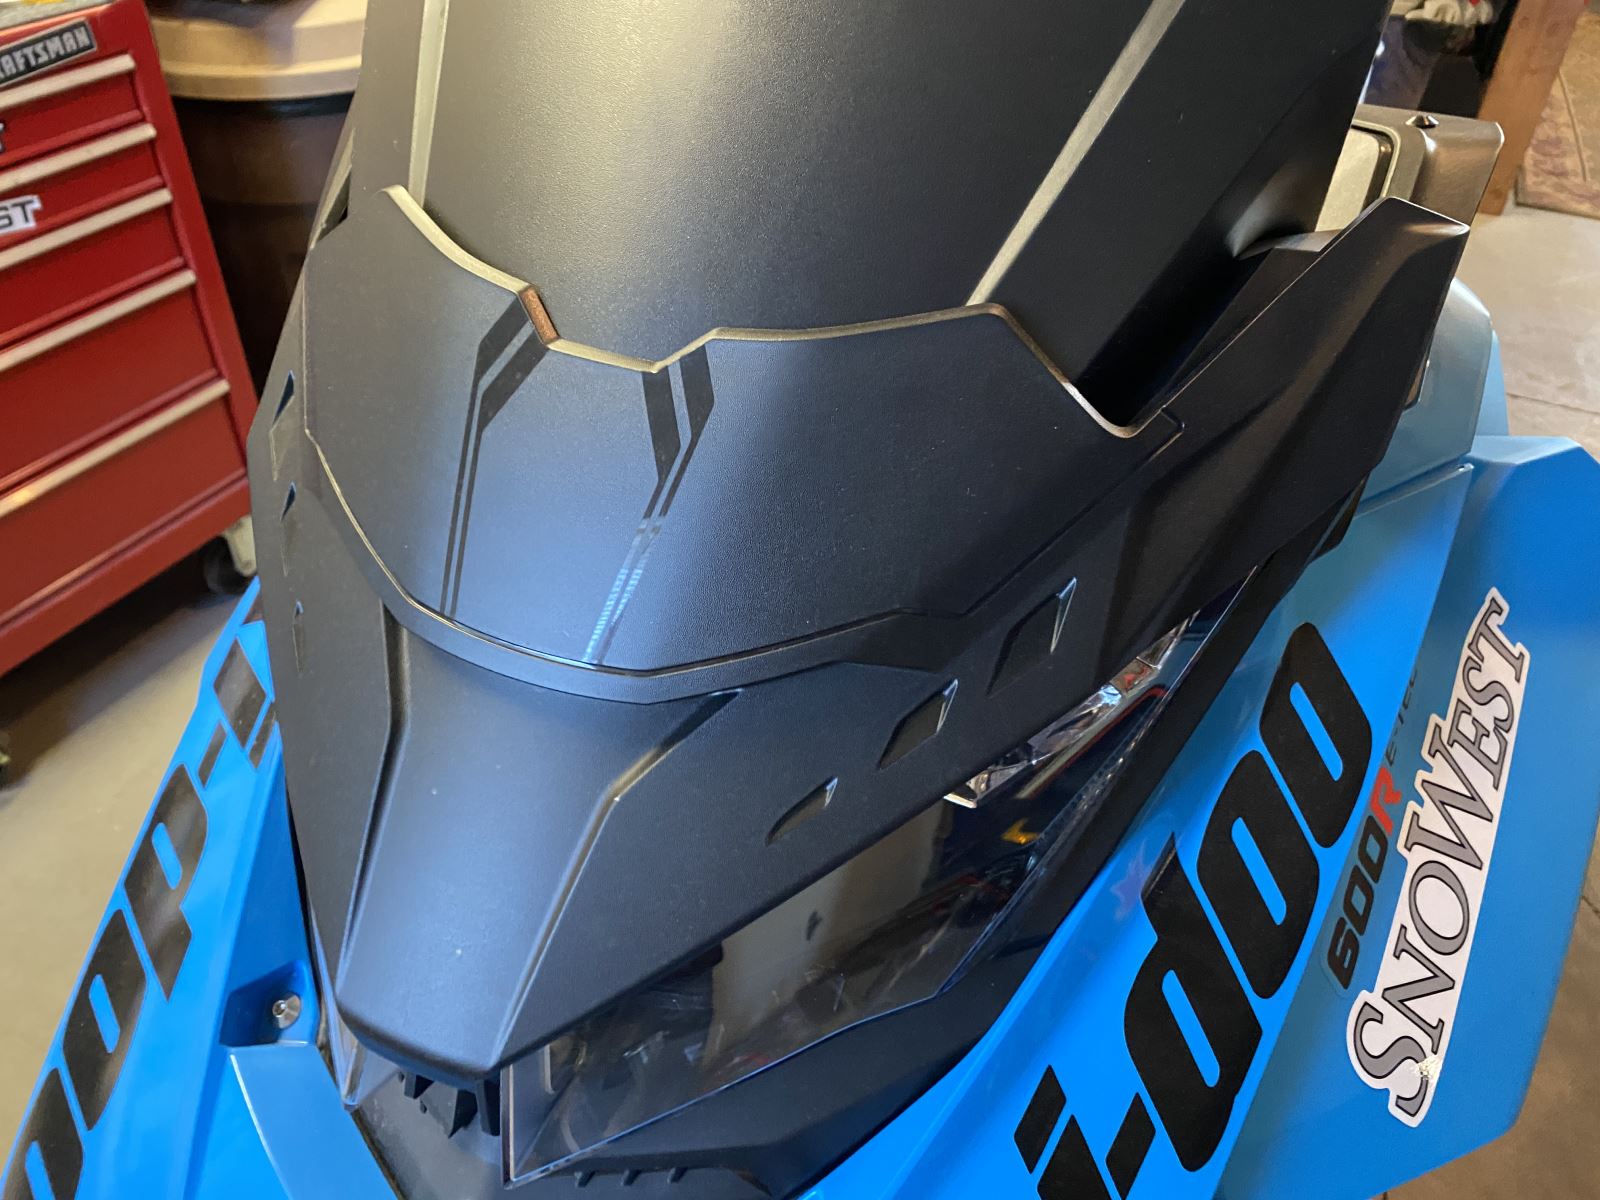
The Ski-Doo Glove Box Extension is practical storage at a reasonable price. And it doesn’t require a lot to install. For $104.99, you can add an additional 244 cubic inches of capacity (about the size of a gallon of milk) to that small area above your gauges. Another benefit is that it offers a little more wind protection for those cold mornings.
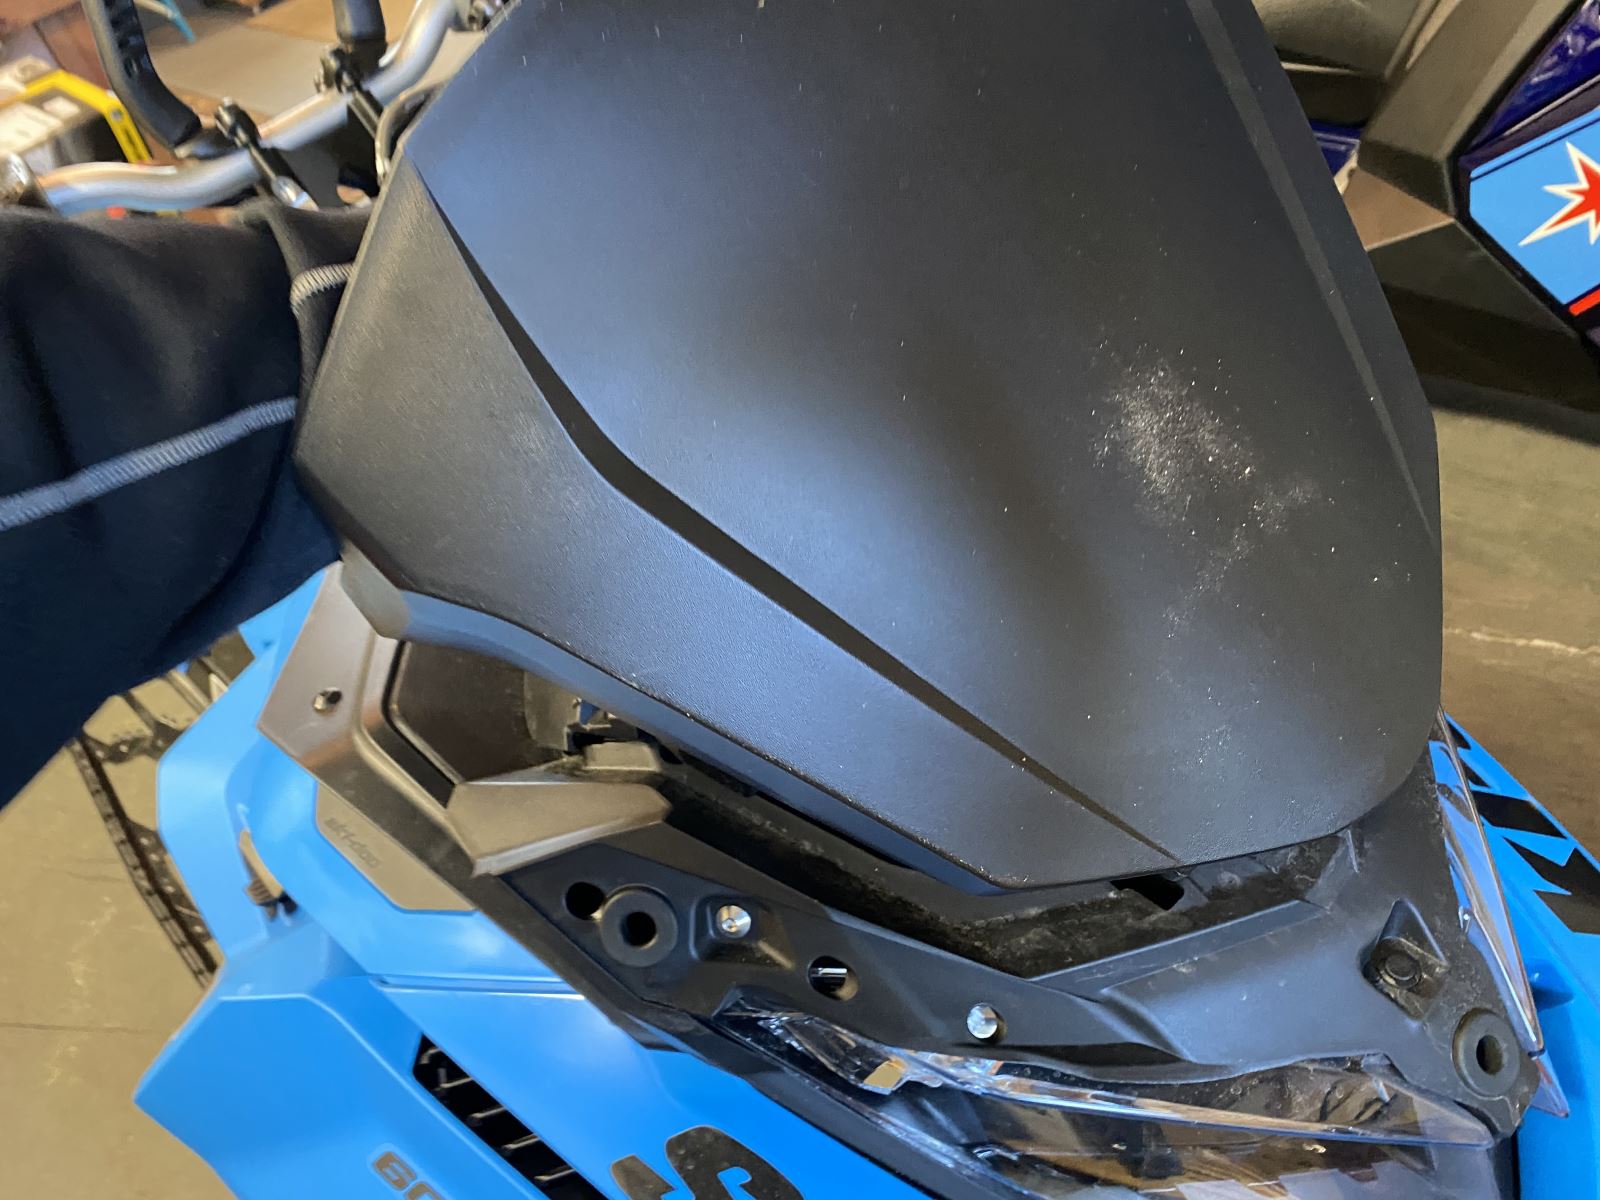
The Glove Box Extension can be used with or without the windshield (although we felt the windshield did give it a more complete look). It replaces/expands the stock storage compartment and provides plenty of room for goggles, gloves and even a stocking cap.
What we really enjoyed is the ease in accessibility where it only takes moments to change from our thicker gloves to our thinner gloves (you don’t have to go digging into your tunnel bag or backpack).
Installation takes about 15 minutes and requires minimal tools. You have to drill two small holes to insert screws to attach your Glove Box Extension to the existing glove box housing. The rest is done by removing and then re-attaching two existing bolts that secure the glove box housing and instrument gauge.
Installation
1) Remove windshield.

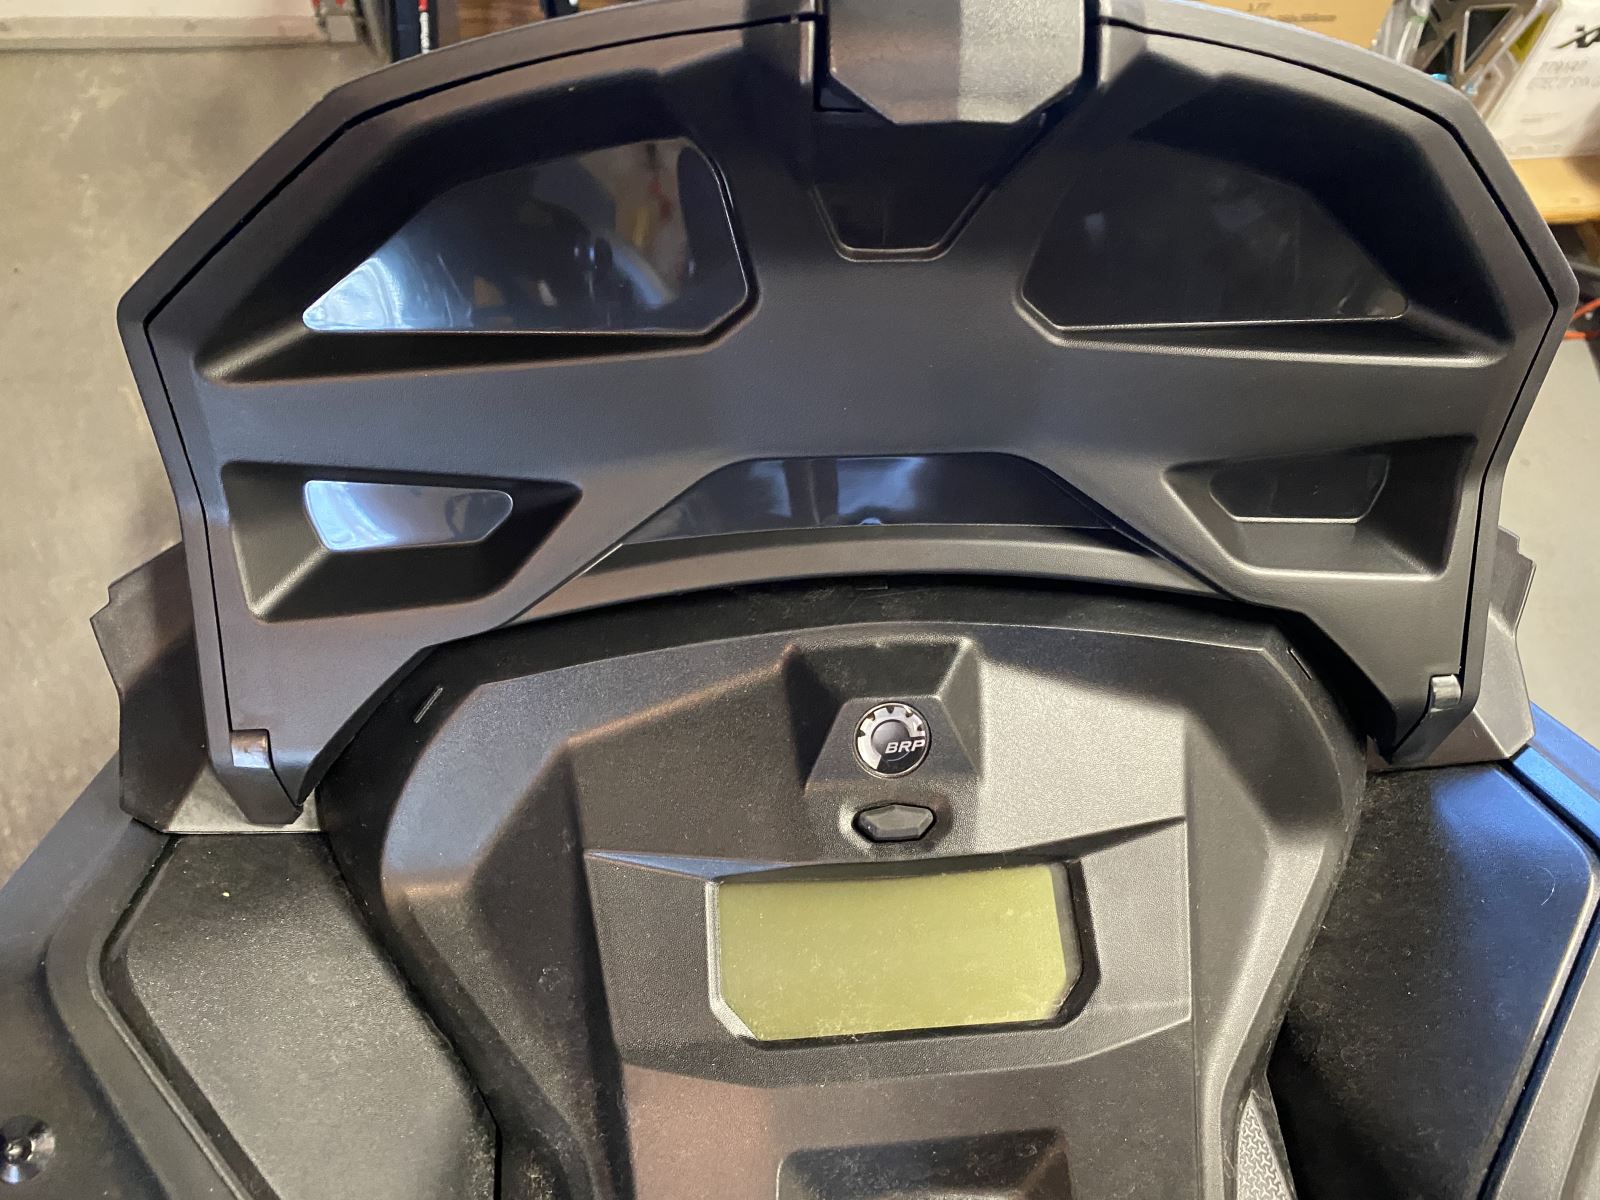
2) Remove the glove box lid (it just rotates out with a little effort). You will not use this lid.

3) Remove two screws that hold the gauge housing (and allow the glove box to pull out.

4) Remove the glove box (it will just rotate/wiggle out.
5) Drill two holes (where indicated on the glove box housing). We removed the lid to the housing to provide easier access and eliminate some of the bulk.
6) Attach the Glove Box Extension to the glove box housing by aligning the hinges and rotating into position. Then insert the two screws (provided in kit) and secure.
7) Insert the glove box/extension into location on hood. It will be lipped under the gauge housing.
8) Re-install the screws that secure the gauge housing. Re-install the lid to the housing.
9) Replace windshield. You are ready to ride.