• Don't miss out on all the fun! Register on our forums to post and have added features! Membership levels include a FREE membership tier.

My "adventure" with my 900 RMK

D
Dec 8, 2011
35
24
8
38
My "adventure" with the 900 RMK

Hello guys, so a short intro into what my plans are for this thread.
I have been a proud owner of my 2006 900 rmk 151 for about 4 seasons.
shortly after purchasing I found this forum dedicated to the 900 rmk's.
I have found tons of info on here, in fact every problem i needed an answer too i have found here, so thank you all for the amazing info and write ups on the experiences you all have had.
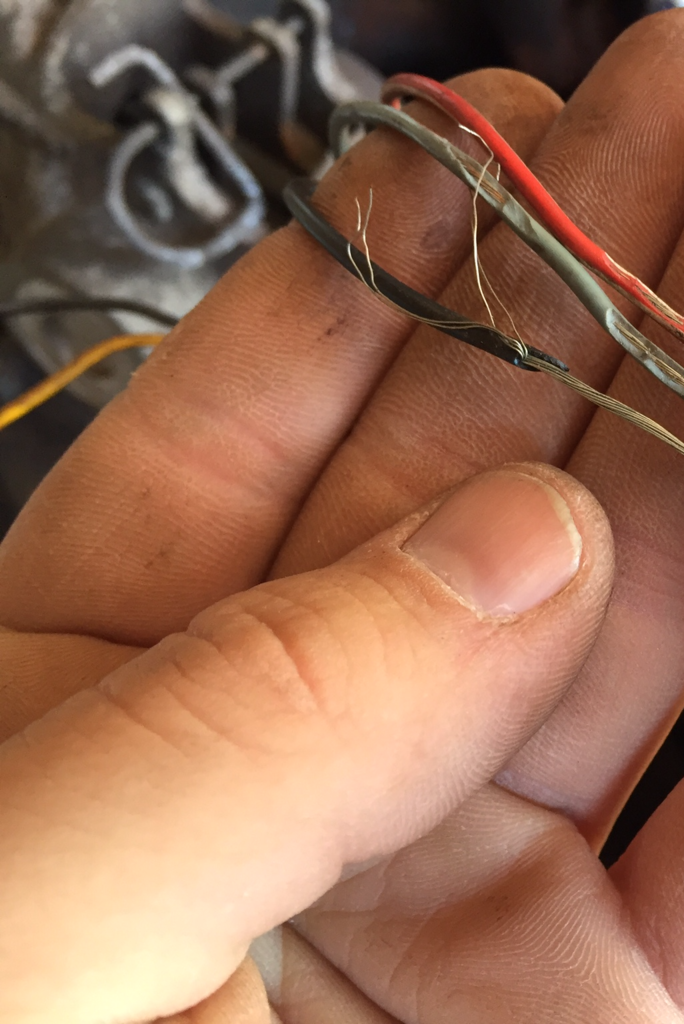
So, every year i seem to have one or more problems with the 900, mostly small items, Primary clutch spring/hi-fax/wiring issues, ecs.
I have also tried some cosmetic items such as vinyl wrap my tunnel, painting random parts, handle bars, HID lights, led tail light, seat.

All tho there are lots of write ups out there, sometimes a picture is worth a thousand words and there are times when i cannot figure out what someone is trying to say, I JUST WANT A PIC lol!! So that will be goal is to provide as many pictures as needed so that i might be able to help at least one person out there struggling.

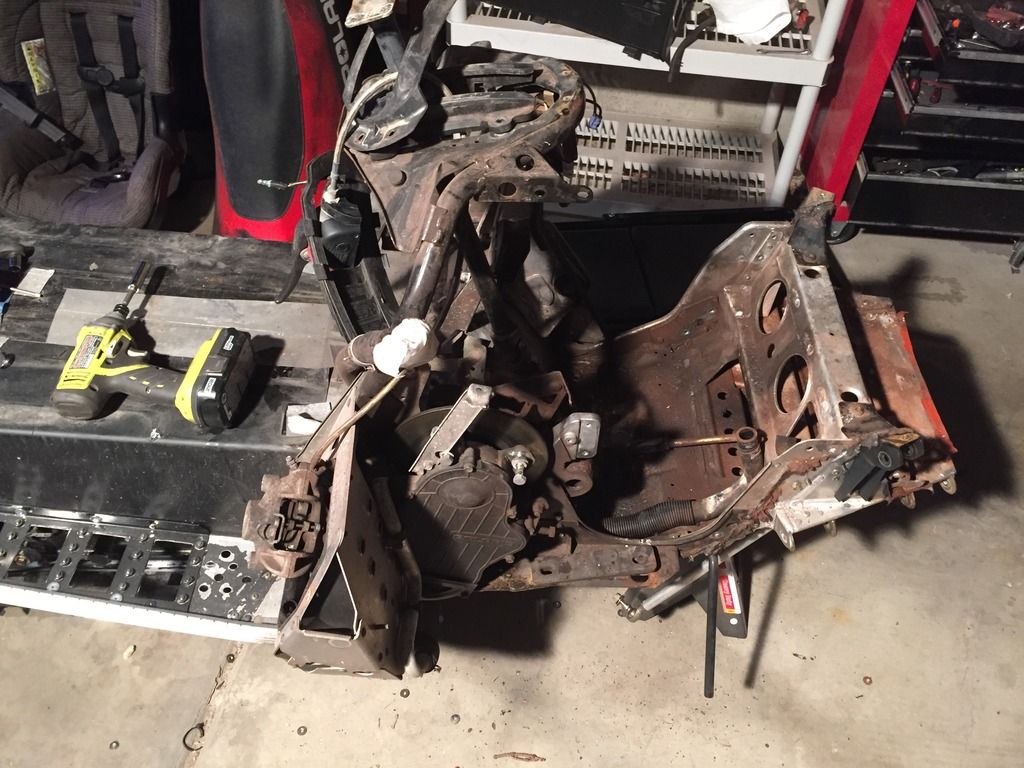
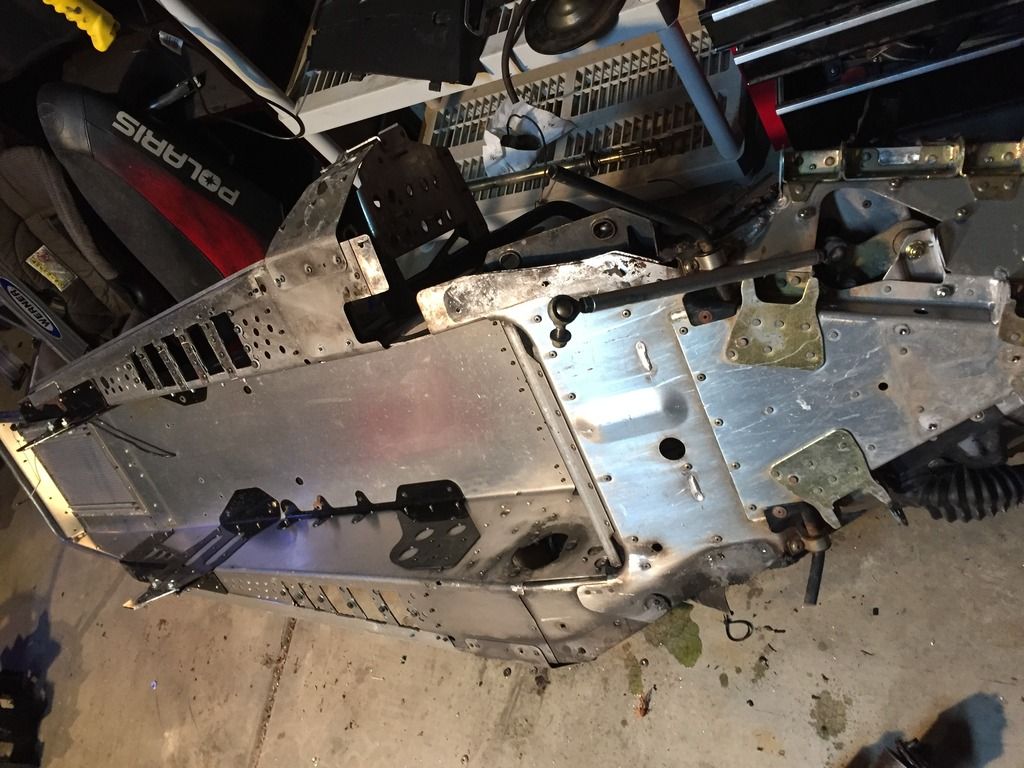
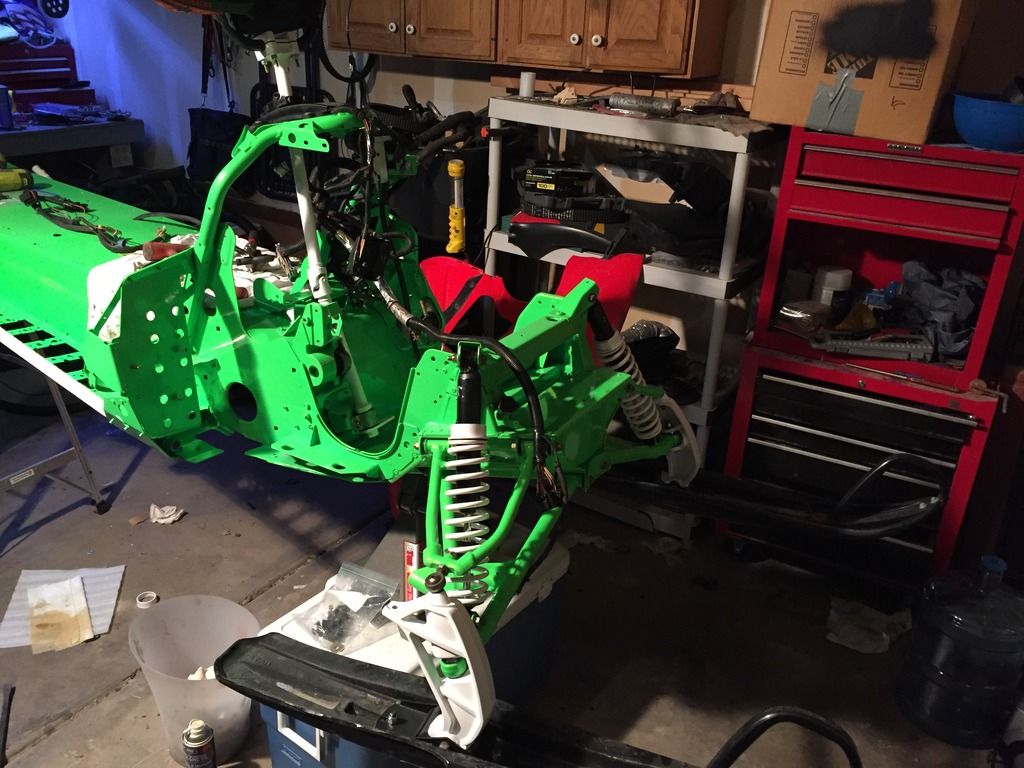
A few months ago i had come to a cross roads, the old 900 needed a major overhaul, at least to me it will be major, or to sell the tractor.... well i would cry if i got rid of her so.... i guess i will go elbows deep and try and restore her better than ever.

My plans include:
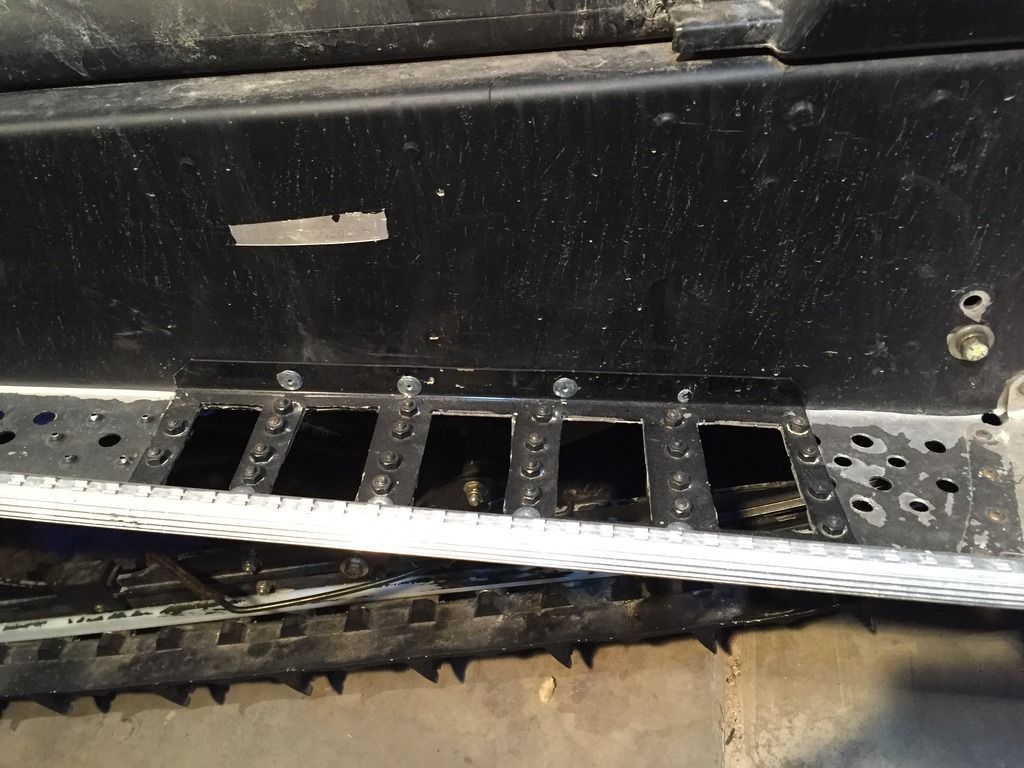
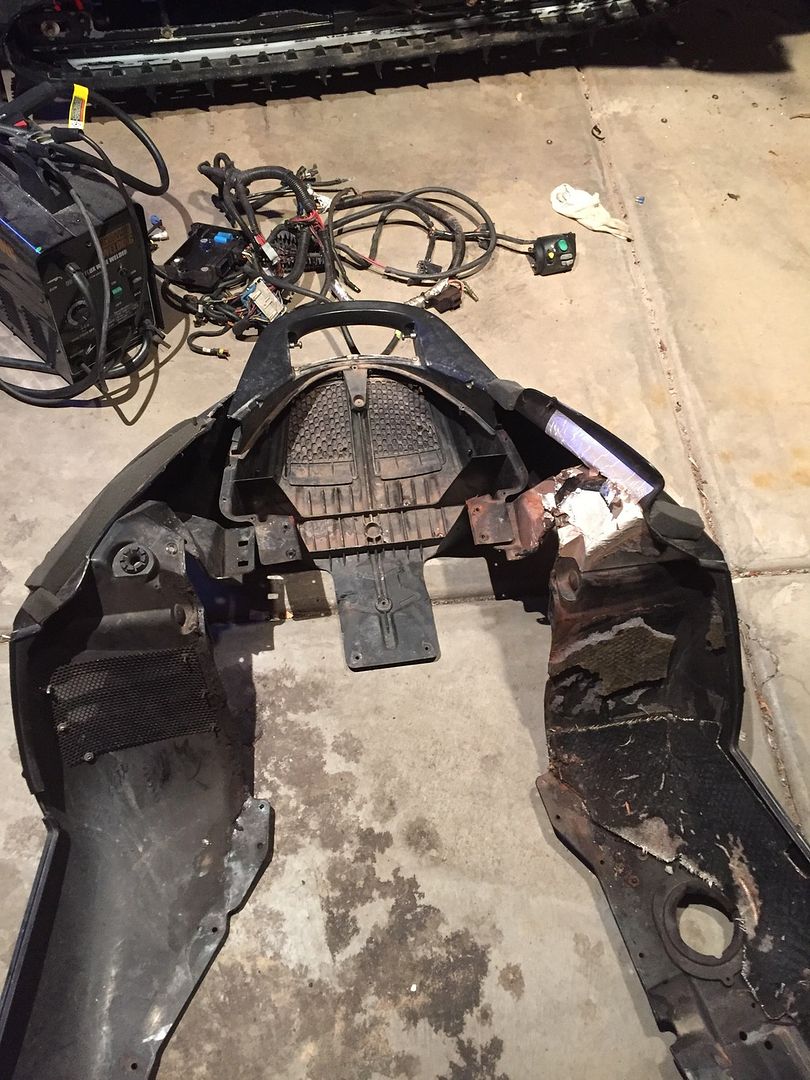
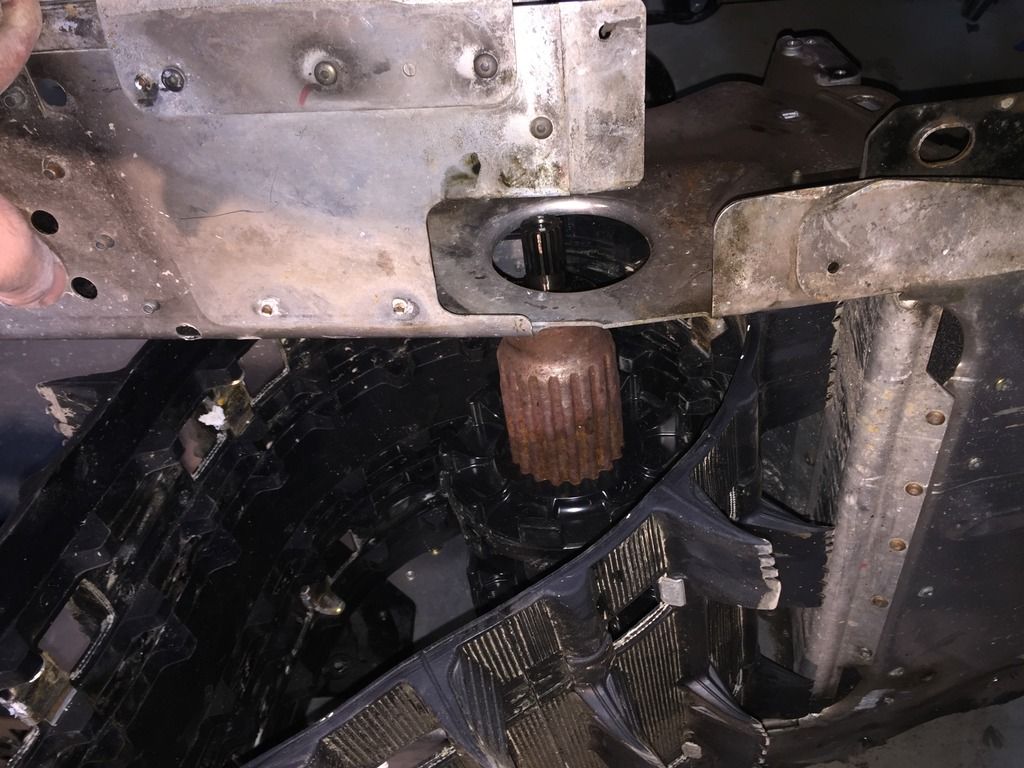
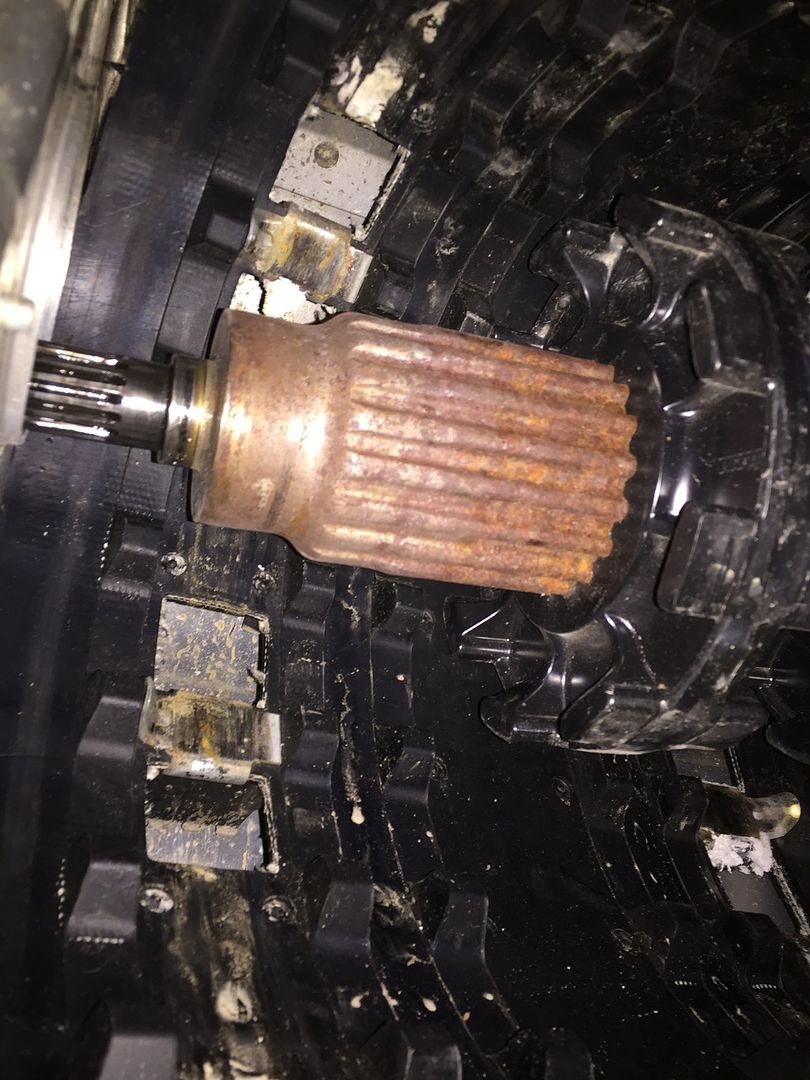
New track/mine is torn
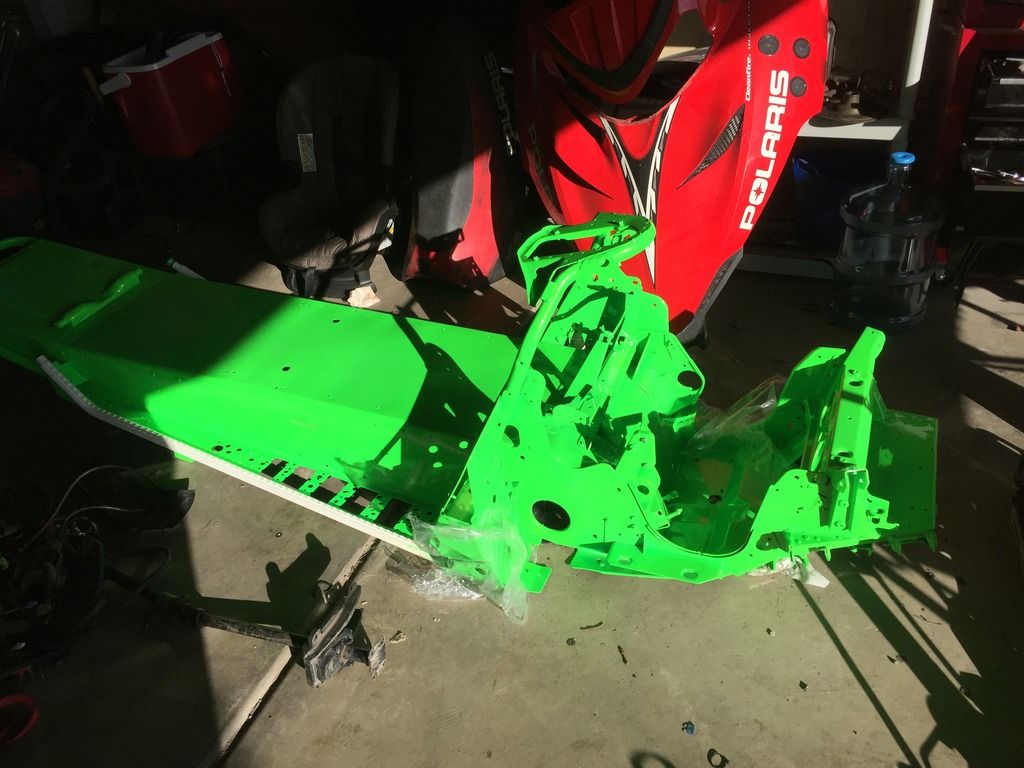
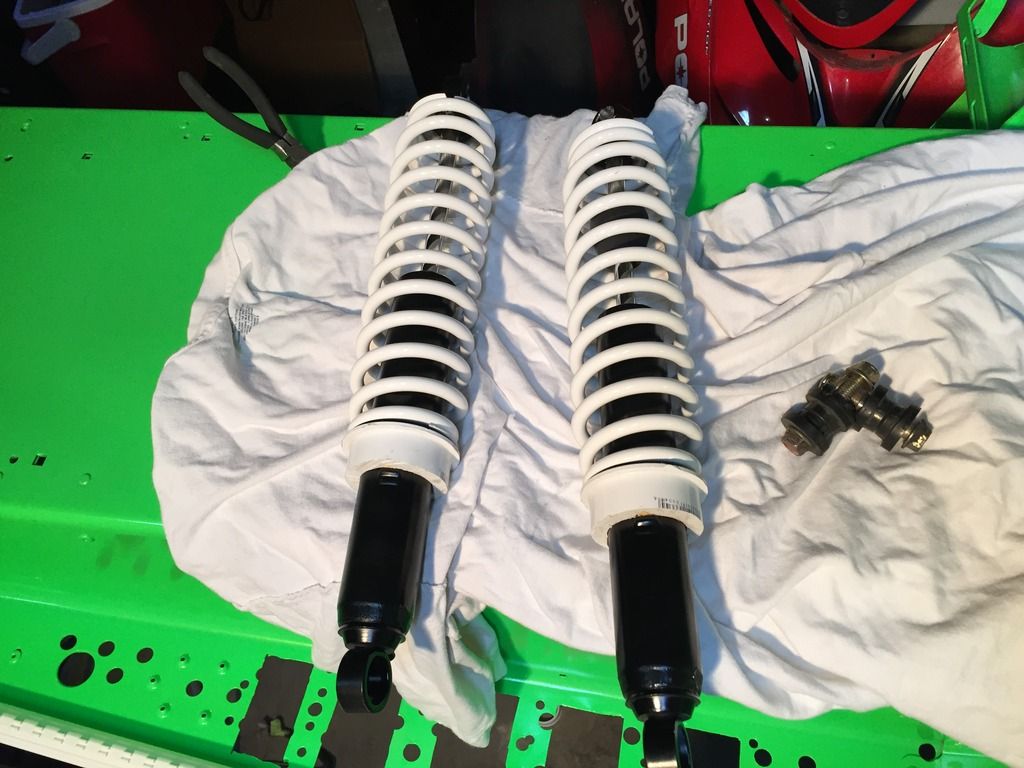
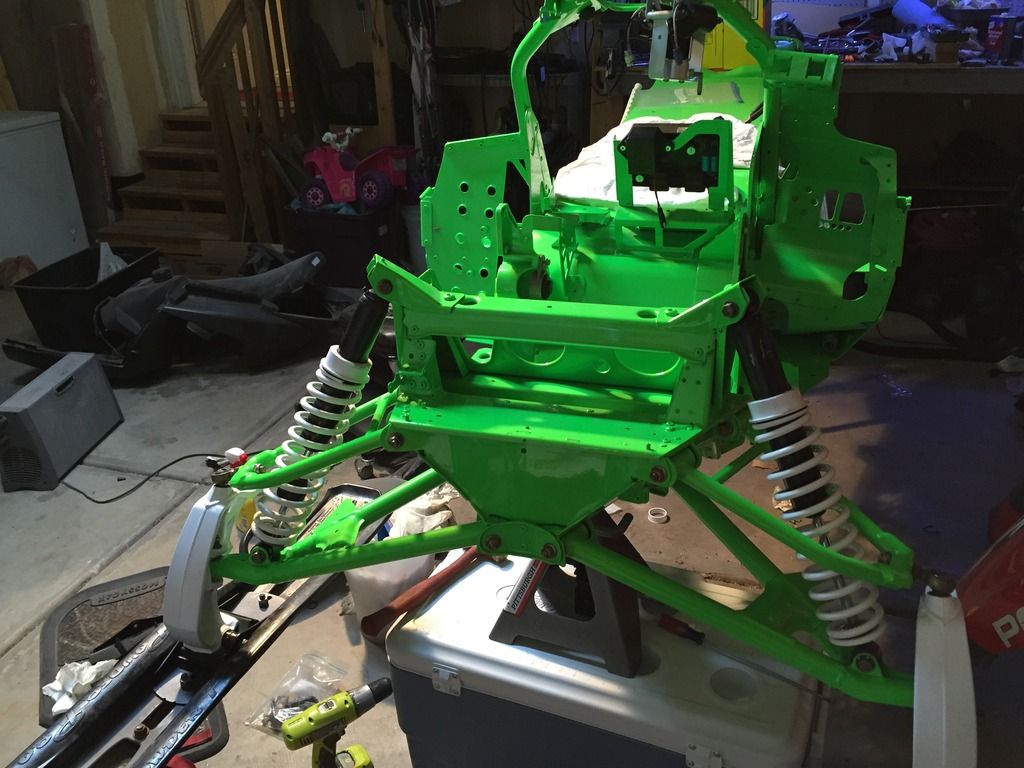
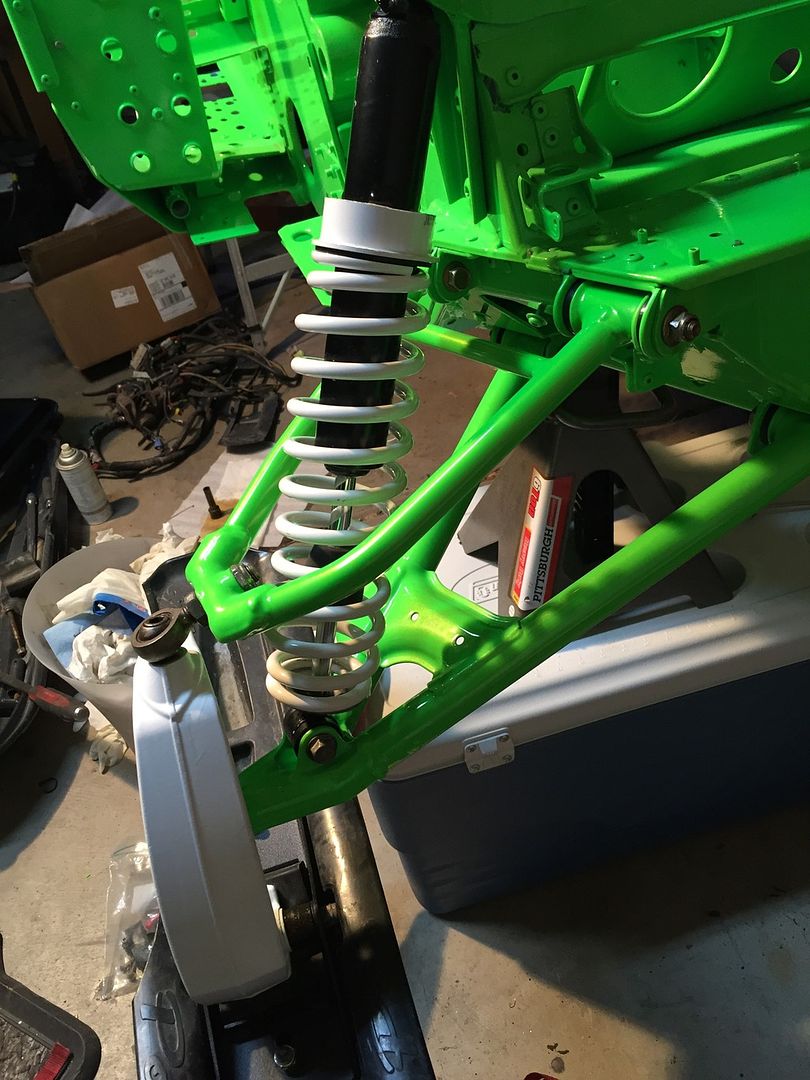
Powder coat everything i can, skid, tunnel,motor parts,clutch's,suspension parts.
also new paint for the hood and plastics that will be color matched to complement powder coat.
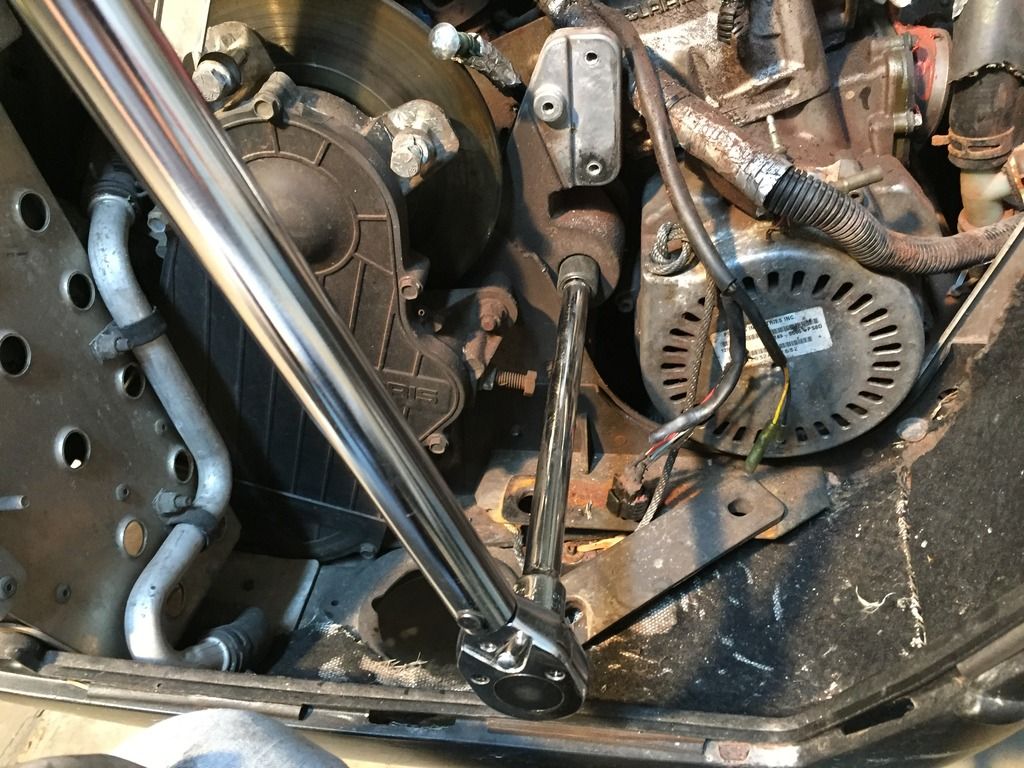
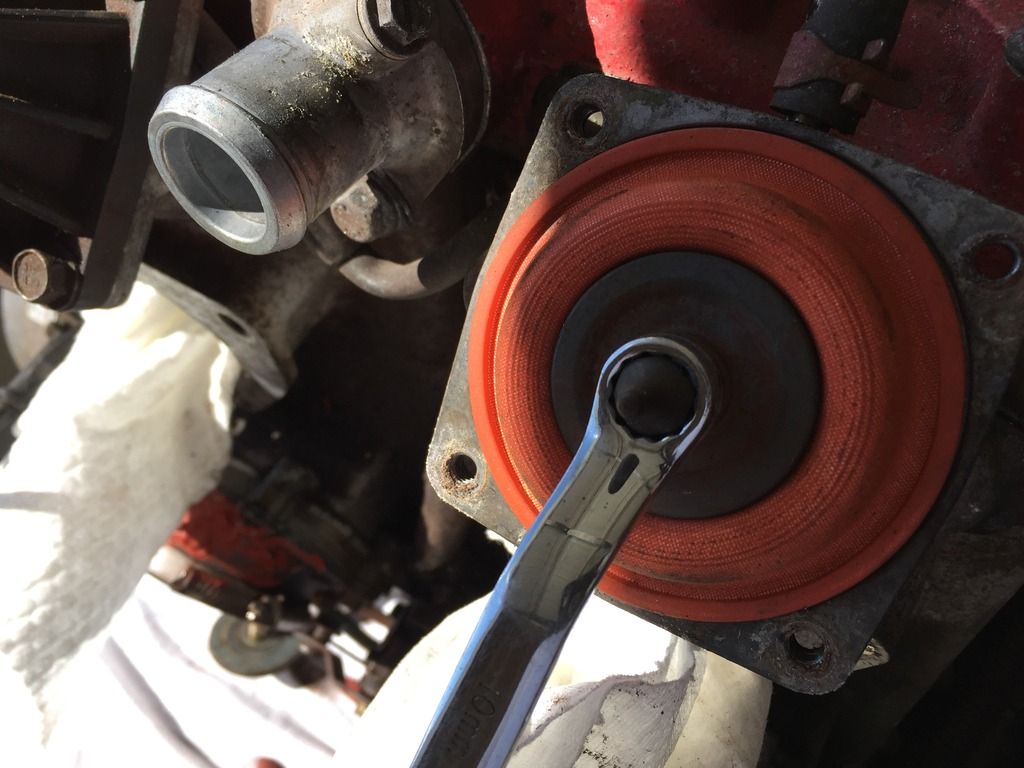
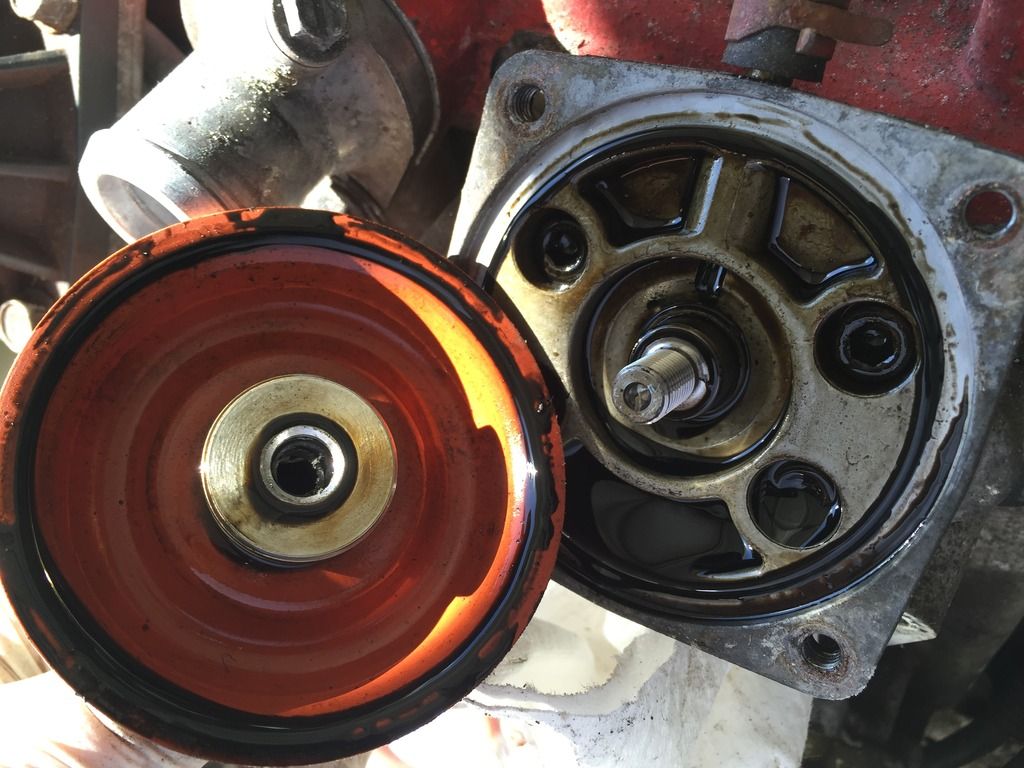
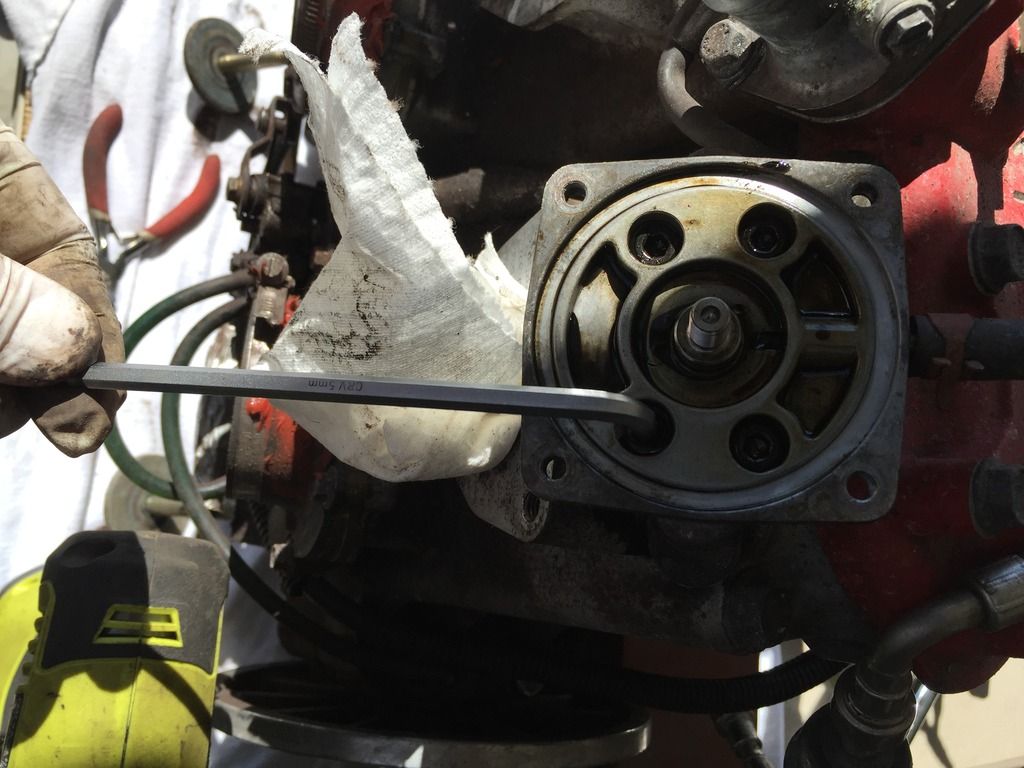
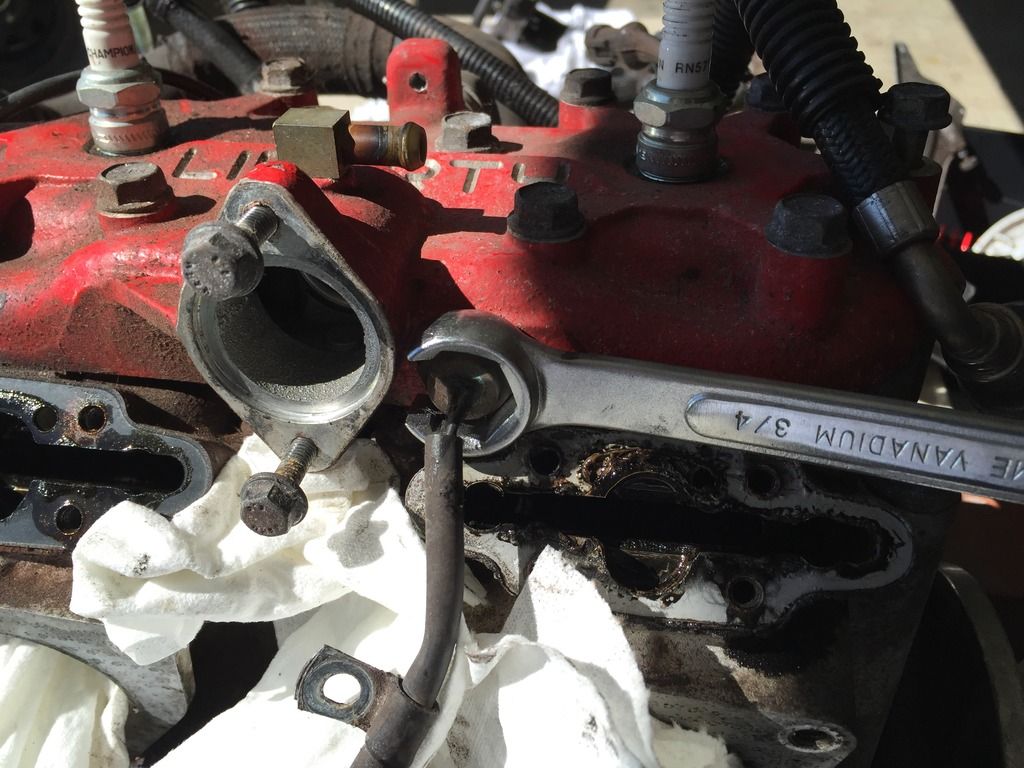
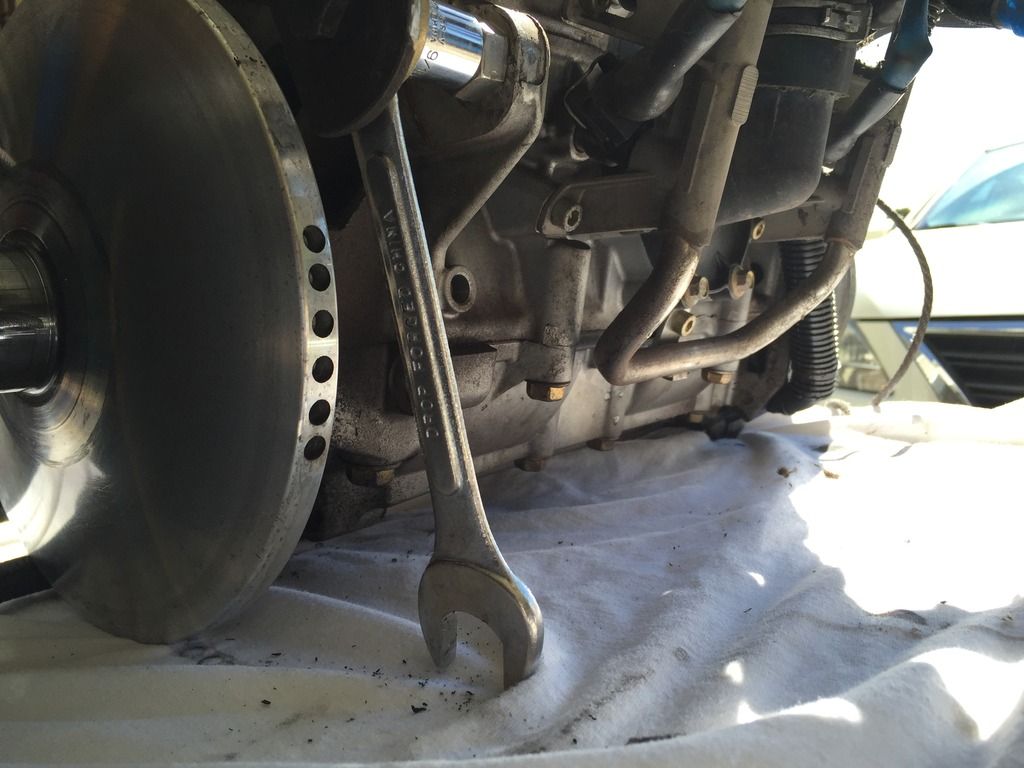
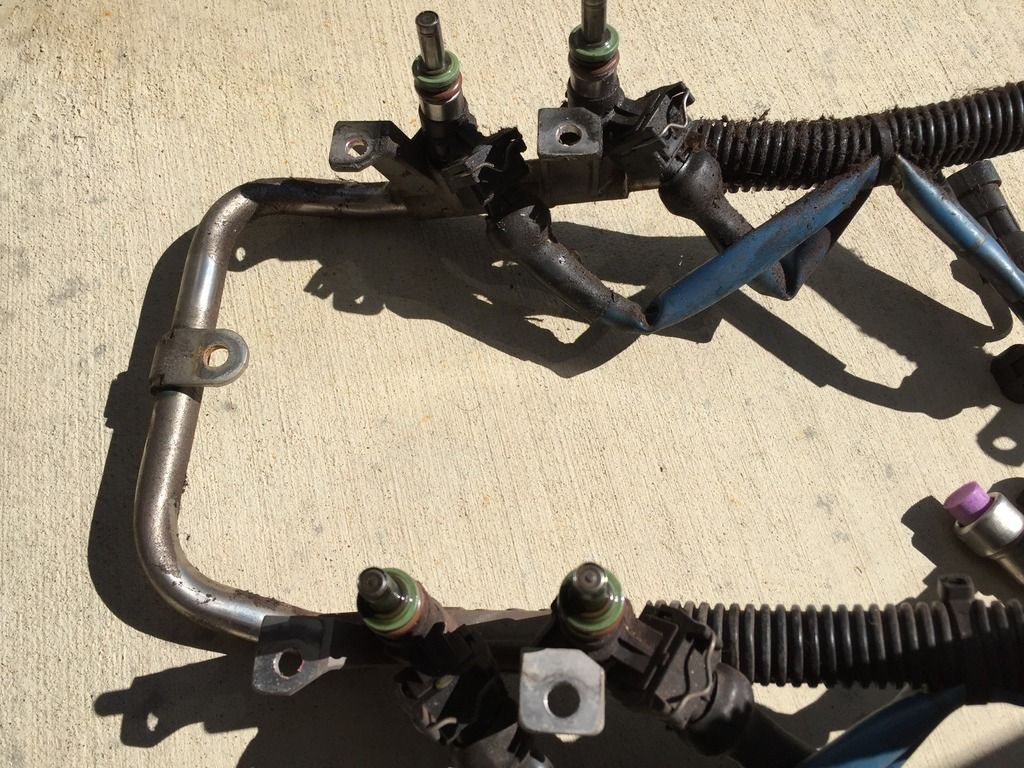
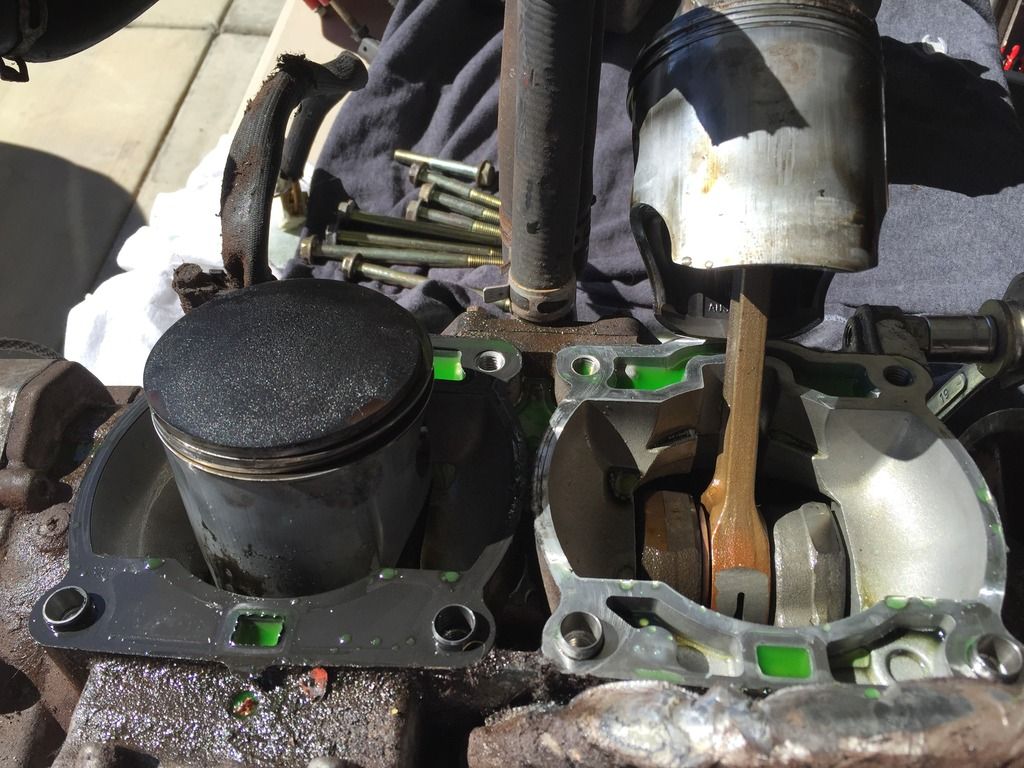
Tare motor apart and replace what is needed.
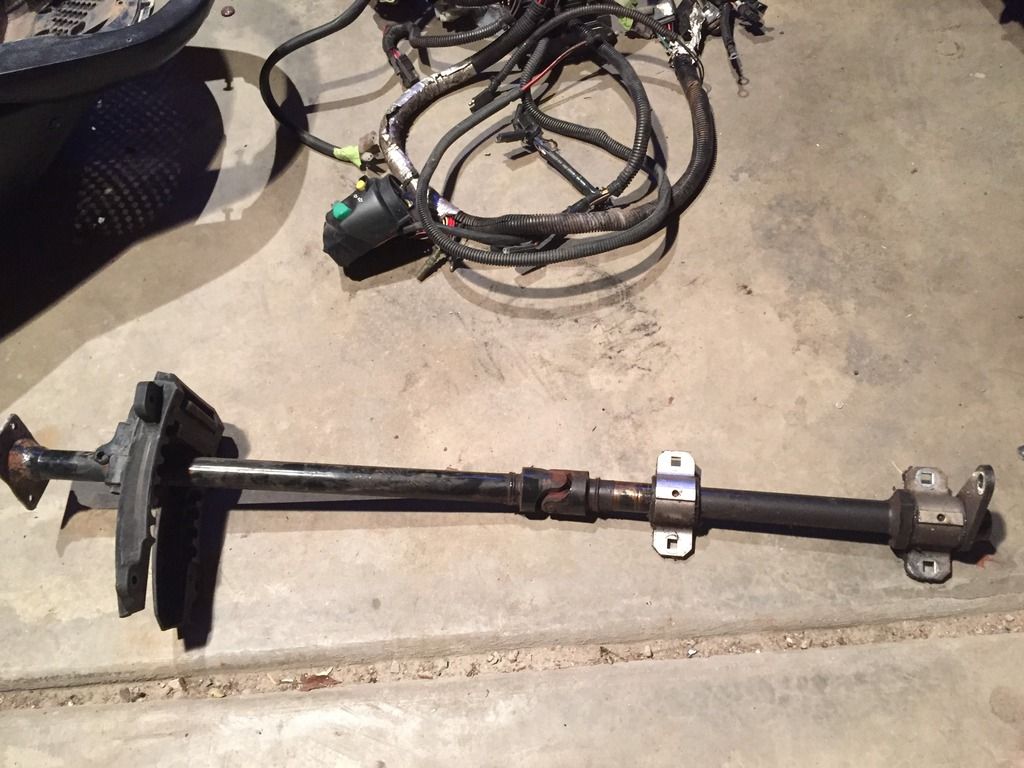
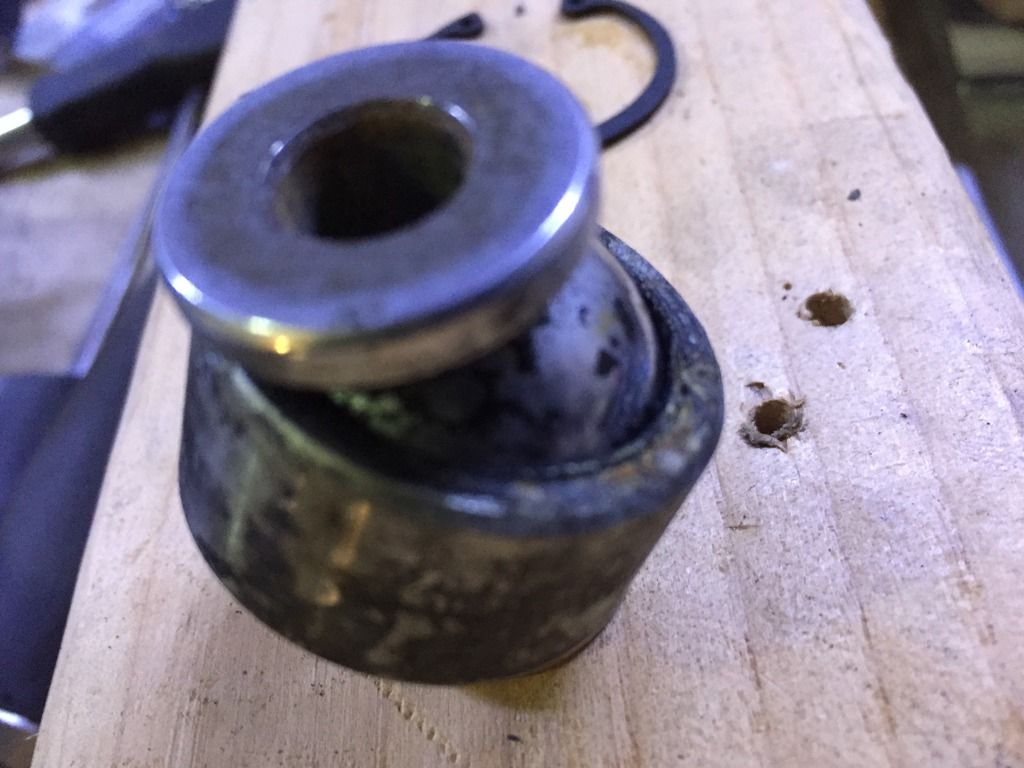
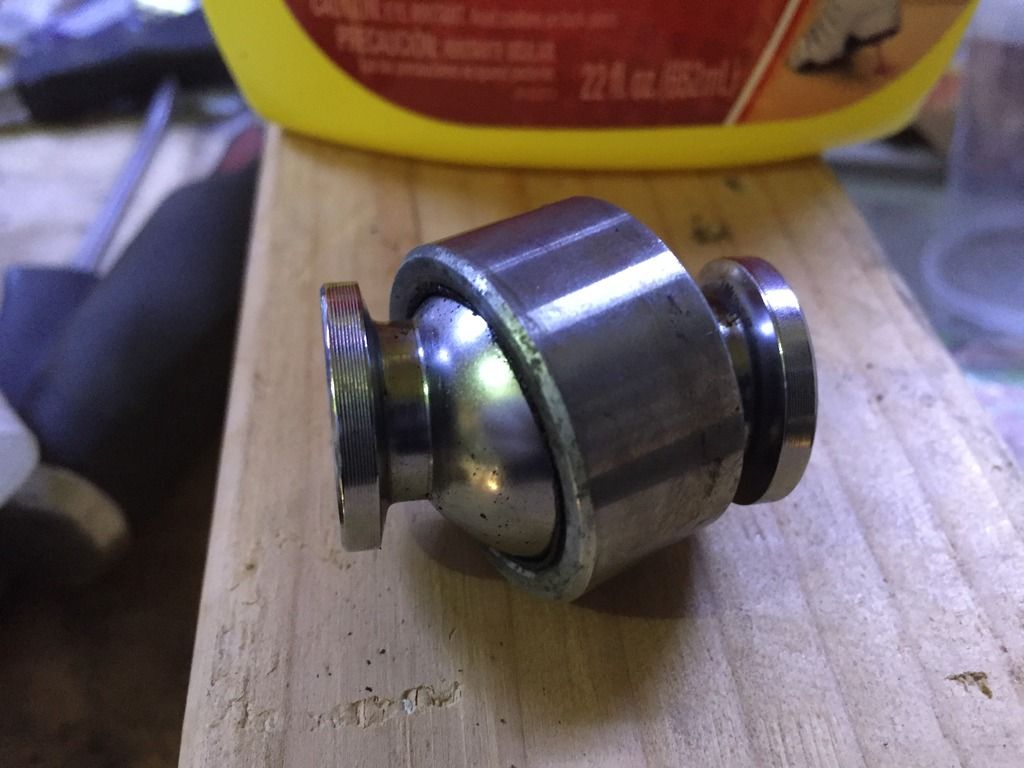
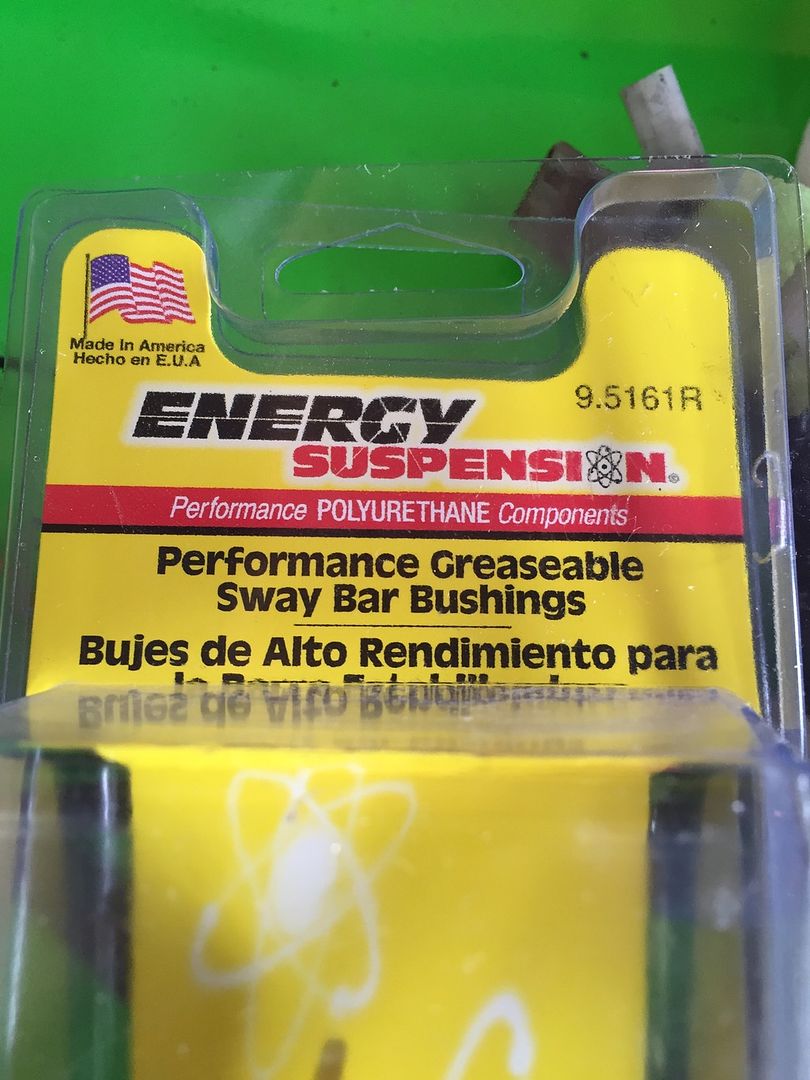
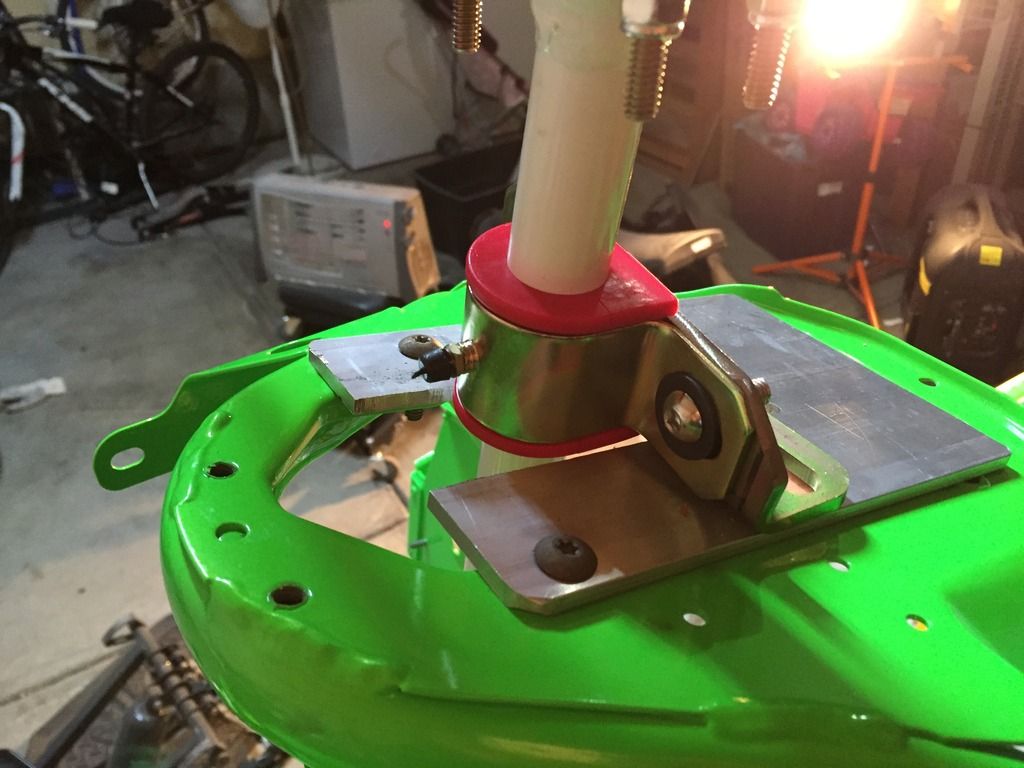
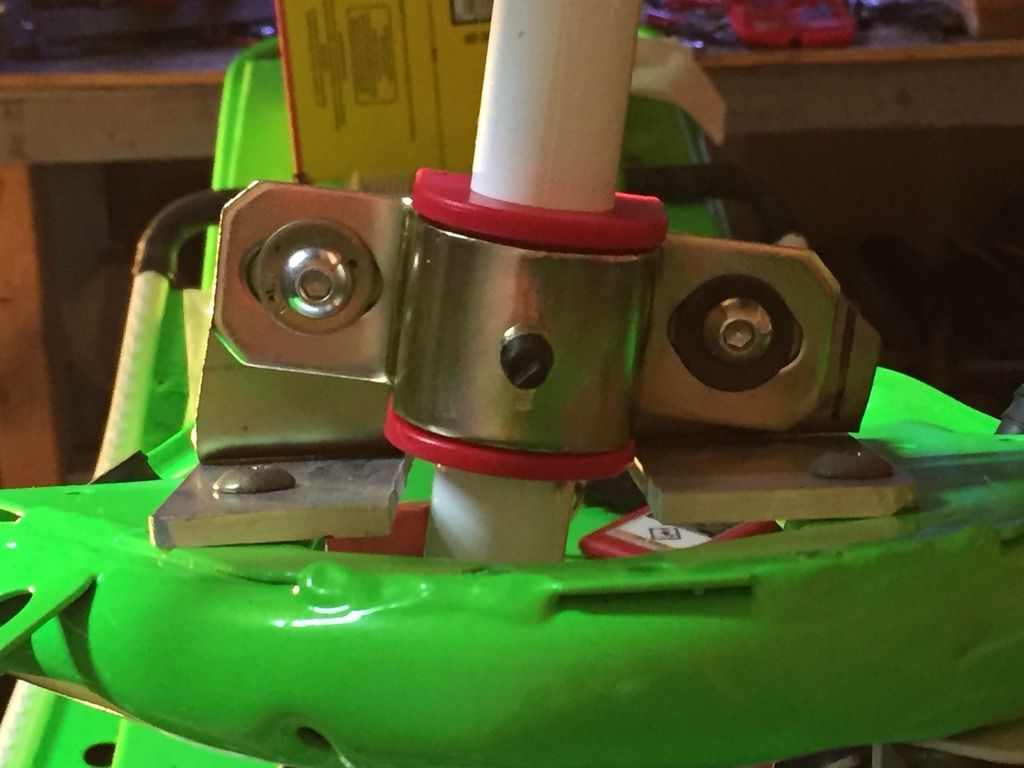
Rider select delete because i HATE all the slop in the steering.
Im sure there are other things that I am forgetting but you get the idea.

I will be uploading pics as i progress along with the project.
Please msg me if there is something that you would like to know or see.
 
Last edited:
D
Dec 8, 2011
35
24
8
38
1008866_10151655808156422_1446482662_o.jpg


This is the tunnel after wrap.
And it looks like all my pics have been deleted of old mods :(


time to replace harness for tps.
download%203_zpsmvbzooi3.png
 
Last edited:
D
Dec 8, 2011
35
24
8
38
So today's goal was to get the motor out, and after many hours and head scratching i finally yanked it outta there, props to anyone that has done that before, for me it was a pain in the butt.:face-icon-small-con
Images below show locations of nuts, bolts and screws that i had to remove.

Here is my attempt at a homemade set of snow eliminators... they work:face-icon-small-ton
IMG_1720_zpszvogpxqz.jpg


This is what happens when you have to much time on your hands... you start to make mods that make no sense...:face-icon-small-con
http://i781.photobucket.com/albums/yy94/findingthelimit/IMG_1721_zpsxbe0hy2y.jpg[/IMG


This has one season on it.... ugh
[IMG]http://i781.photobucket.com/albums/yy94/findingthelimit/IMG_1726_zpsn7qbldhj.jpg

Side plate removed, gain easier access to remove throttle and oil cables.
http://i781.photobucket.com/albums/yy94/findingthelimit/IMG_1727_zpsis8wdktk.jpg[/IMG

I chose to completely remove throttle cable, made it easier for me, and this is how anyone that put a handle bar riser on would want to gain a few more inches, you are able to re-route cable... make sure you don't lose the c clip... i dropped mine, and after a while of searching i found it stuck to my shoe...:tsk:
[IMG]http://i781.photobucket.com/albums/yy94/findingthelimit/IMG_1730_zps9ughvpyj.jpg


throttle body removed.

IMG_1735_zpsru8jnvlx.jpg


major oil leakage
IMG_1736_zpsozqczmoh.jpg


coolant line was starting to look a little scary
IMG_1737_zpsxagqwjeb.jpg


starting to remove bolts holding front motor plate on, this took the longest for me because i was lazy and didn't want to remove primary clutch, and the plastic is so close i had to get a screw driver and pry out of the way.

IMG_1741_zpssst86s3l.jpg


No power tools here :tsk:
IMG_1743_zpsyr2pr8ou.jpg


fuel tank removal was next.
IMG_1747_zpsvqibvxex.jpg


Not to difficult with the correct tools. remove both lines and power connector


a picture of what holds this thing on.

IMG_1749_zpsk0aekbjf.jpg


don't forget the breather
IMG_1750_zpsj6uoc3gl.jpg


gas tank removed, i forgot to empty mine so it was full... very heavy:face-icon-small-sad
IMG_1751_zpsbrprgxzb.jpg


next step for me was to unplug all censors and fuel injector wiring, make sure you note or mark which goes where, i do not know if it matters.
IMG_1752_zps7ethpm6o.jpg


Don't laugh but i did no have anyone that could help me remove the motor so i had to make my own engine lift to get the motor out.. it worked better than expected.

IMG_1764_zpsu9pbretn.jpg


motor is out!:face-icon-small-hap
IMG_1772_zpsrjzoozj3.jpg
 
Last edited:
D
Dec 8, 2011
35
24
8
38
Today's adventure

so as far as i know these are the original motor mounts, i have not had any belt heat issues, as you can see these have started to crack
IMG_1778_zpsme6fndub.jpg


since the very first ride out, the steering on my 900 as been sloppy, i could never figure out why until today!!!
just look at this crap.... this joint is soooo looose!!!!

IMG_1776_zpslgbxdfvy.jpg


removing exhaust valves.
IMG_1780_zpsry6yypqx.jpg


should there be that much oil???
IMG_1781_zpsmmxzouh5.jpg


IMG_1782_zpshkf6njpo.jpg


IMG_1784_zpsudxi3cxs.jpg


time to remove fuel rail and injectors.... do you like my wrench kick stand!:biggrin1::light:
IMG_1790_zpsk6gttido.jpg


assembly out.

IMG_1792_zpsazuxlqct.jpg


jugs off
IMG_1799_zpsfvx2xa9p.jpg


That's all i had time for today. tunnel dis-assembly will be next so that i can powder coat it.
 
Last edited:
D
Dec 8, 2011
35
24
8
38
Today's update.

Slow and steady progress.... i have been dreading removing the front plastics for a while now, but today was the day i had to suck it up and do it.
Removed plastic, steering post, wiring, caliper.
IMG_1814_zpskplsjmsb.jpg


IMG_1816_zpsaq7ktc16.jpg


IMG_1817_zpsdtnpor4p.jpg
 

94fordguy

Well-known member
Staff member
Lifetime Membership
Nov 26, 2007
14,576
5,244
113
38
Yakima, Wa.
Nice Progress! The 900 is not to be discounted when set up correctly! I once had the high mark in a group of 4 brand new Pro-Climbs last year... then I got stuck right at the top, haha!
 
D
Dec 8, 2011
35
24
8
38
OFF TO THE POWDER COATER

Final dissasembly of tunnel/frame... Mad props to the guys and gals out there that have removed/ replaced there track alone and the sled NOT tipped over.
After many 4 letter words of trying the get the chain case off and drive axle out with sled flat on the ground, i finally got smart and tipped the sled on its side and was able to remove the chain case, drive axle and track...
So off to sand blast tunnel and get it powder coated!! very exciting.

IMG_1824_zpsg3du8v0k.jpg

IMG_1825_zpsc7rpdo8t.jpg

IMG_1826_zps0mo6iea3.jpg
 
D
Dec 8, 2011
35
24
8
38
Re-assembly time!!!

Finally got the tunnel back from powder coater.
Don't give to much hate from picking the green color... it was better than all black... lol
IMG_19251_zpsdda3vdxs.jpg


Started putting suspention back together, now these barely moved before i cleaned them, as you can see i soaked them in goo gone and it worked great!

before
IMG_19261_zpsce68webj.jpg

after
IMG_19281_zpsrbvymmt4.jpg

IMG_19271_zpsjkpvyhsh.jpg


I used this T-9 cleaner/lube for all the bushings, I like this stuff because it is a dry lube/wax. and then i used some fogging oil on all the bolts as they got put in, just trying to keep rust and corrosion from building up, this was my solution.
IMG_19311_zpsuk2xw35a.jpg

IMG_19341_zps1hz5g5hg.jpg

Tomorrows plan is to get the shocks and steering installed.:eyebrows:
 
D
Dec 8, 2011
35
24
8
38
UPDATE

Today's update... still waiting for springs ans steering colum to get powder coated. I have been working on little items such as wiring harness, cleaning and painting some brackets, cleaned and tested solonoid for the exhaust valves. also waiting for new harness for the tps sensor.
IMG_19391_zpsocje3mf8.jpg
 
D
Dec 8, 2011
35
24
8
38
STEERING POST UPDATE

SO AFTER INSTALLING THE PLASTIC SELECTOR PIECE , I NOTICED A CRACK AROUND A MOUNTING SCREW, AND AS ALWAYS THE STEERING HAS A LOT OF PLAY, I HAD PLANNED ON REPLACING IT WITH A METAL KIT LATER BUT NOW I FELT I HAD NO CHOICE.
SO BECAUSE I'M A VERY IMPATIANT PERSON I DIDNT WANT TO WAIT TO ORDER A KIT, SO I DECIDED TO TRY AND BUILD MY OWN: THESE ARE MY RESULTS.
IMG_19551_zps1igmjydd.jpg

IMG_19561_zpsk1mdmzvc.jpg

IMG_19601_zpslp4lmuy1.jpg

IMG_19611_zpsd5bvkfgg.jpg

IMG_19621_zpsquplyrm3.jpg


OH AND MY ROD END BROKE OFF!@#$#@$ GRR THERE GOES MY BUDGET...LOL
IMG_19541_zpsvc8vvoyw.jpg
 
Premium Features