
So I figured I would start a build thread for my new 2014' Pro RMK 800 163". It was the snowcheck Turbo silver Matte color. Here is the build list of parts:
14' Pro RMK 163
Polaris Black Skid plate
Polaris Ultra Front Bumper
HFPP Rear Bumper
Polaris All Black Seat
Polaris Under Seat Bag
Mountain Fit Headlight Delete
WRP Side panel Vents
Mike Taylor Footwell Vents
Wildchild Gauge lifter with fan
VEI Belt Drive Skid Plate
Custom Matte/Gloss Black Tunnel Wrap
Custom Powder Coated parts
Raptor Triple Rate spring kit (firm)
Custom Shock Valving by AK IQ Pilot
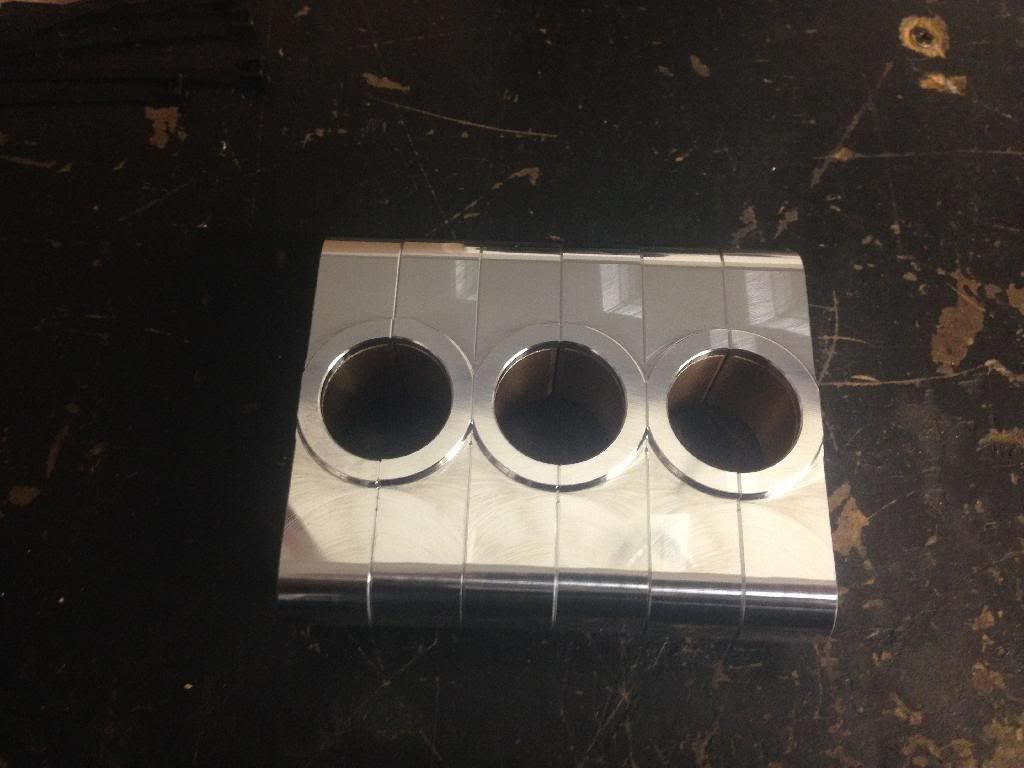
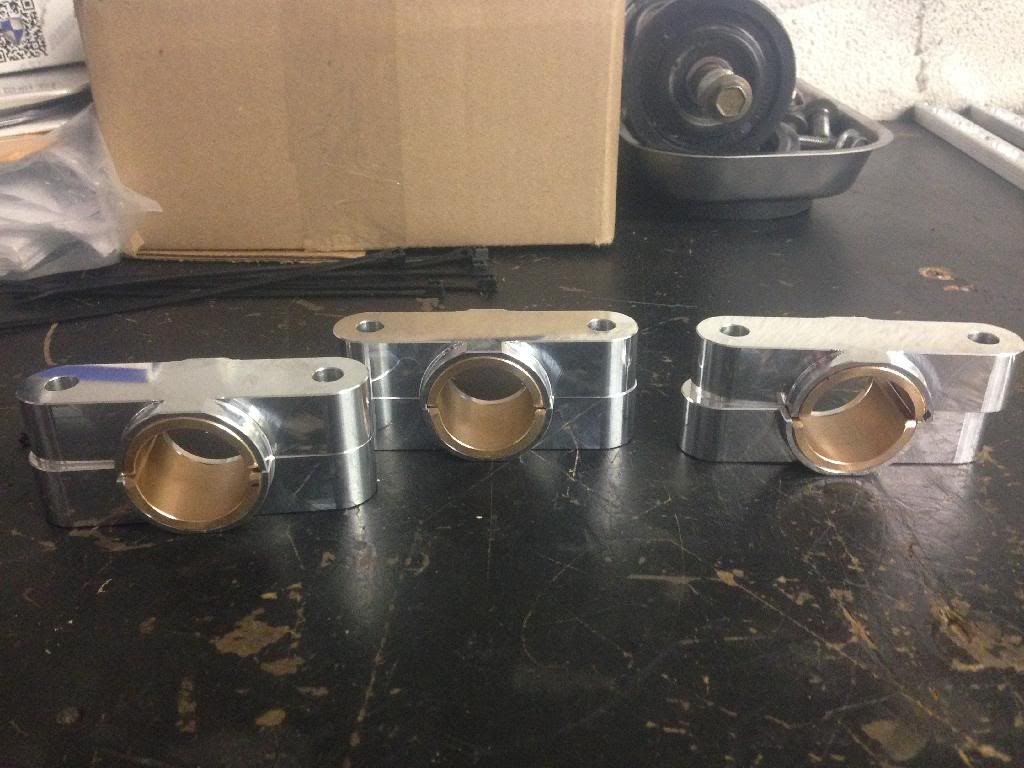
OFT Racing Billet Steering Blocks (all three)
OFT Racing Tether
SLP Engine Torque Arm
14' 2863 Silber Bullydog Turbo kit
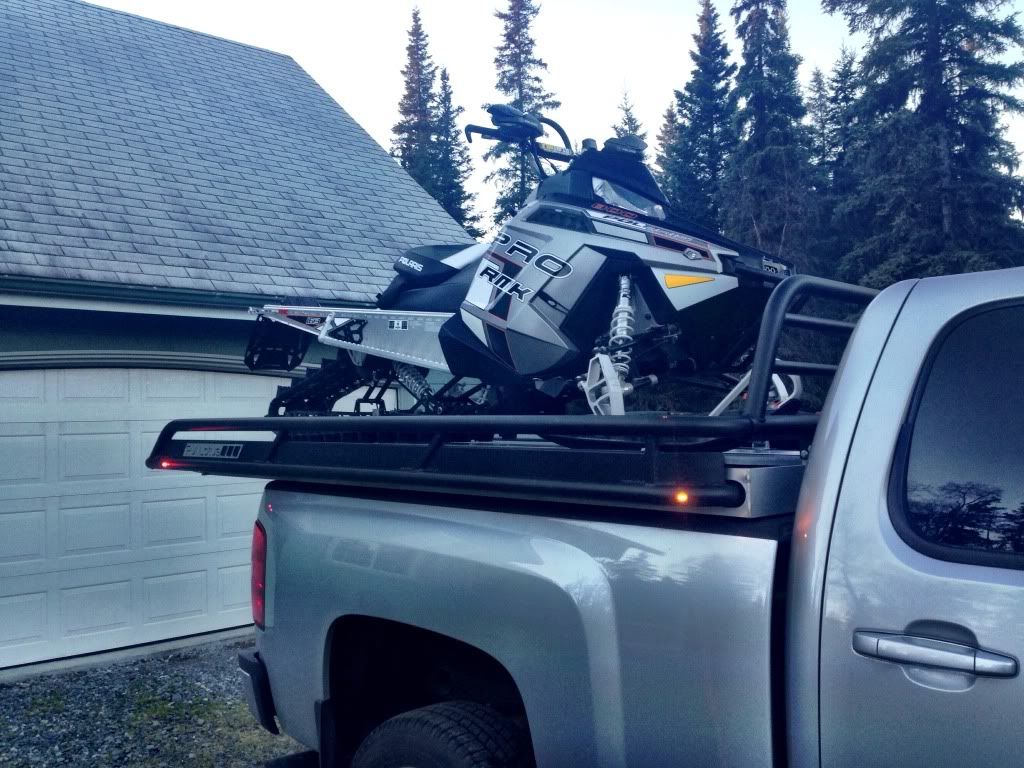
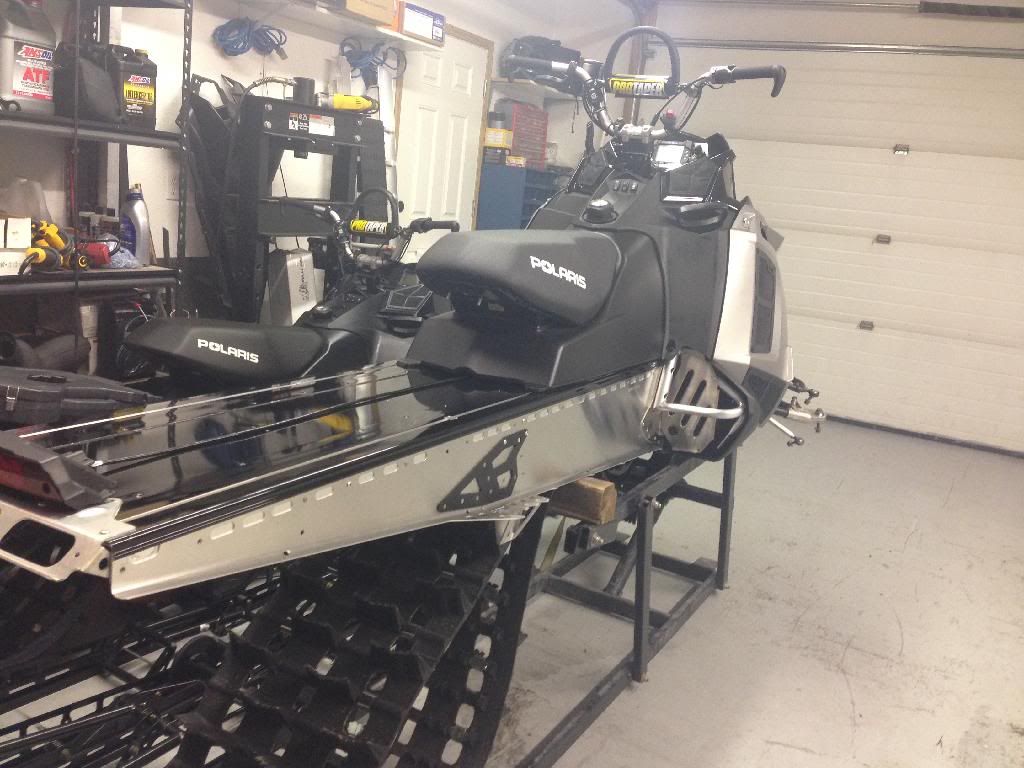
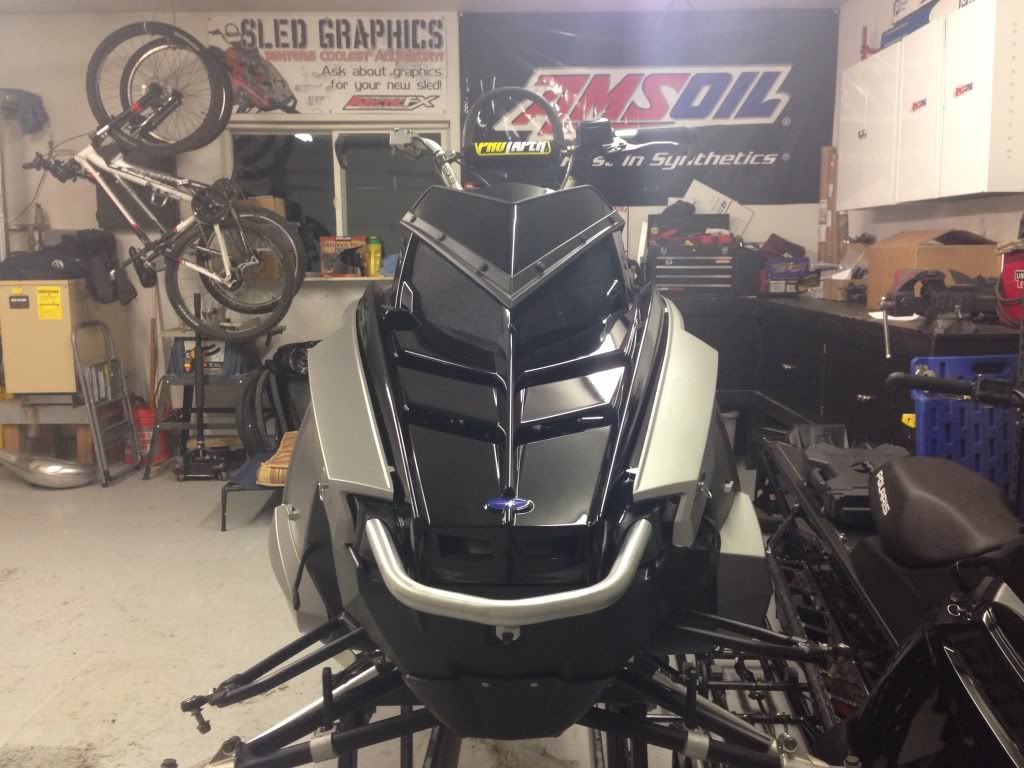
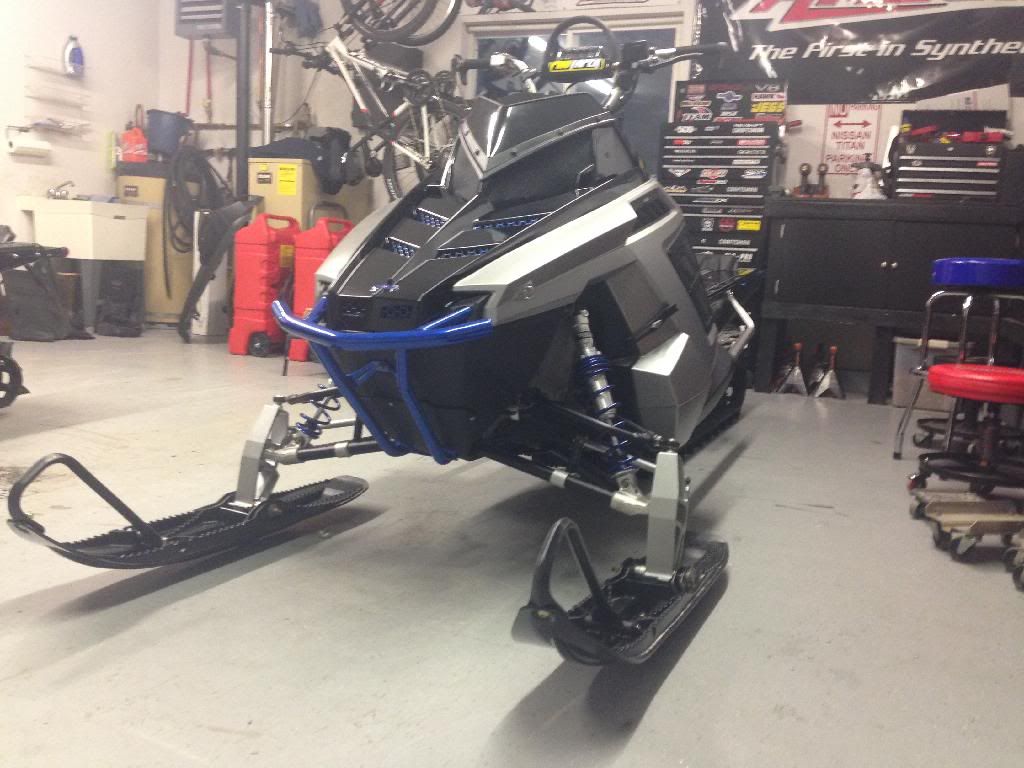
So here's the sled right after picking up the new sled from the dealer:
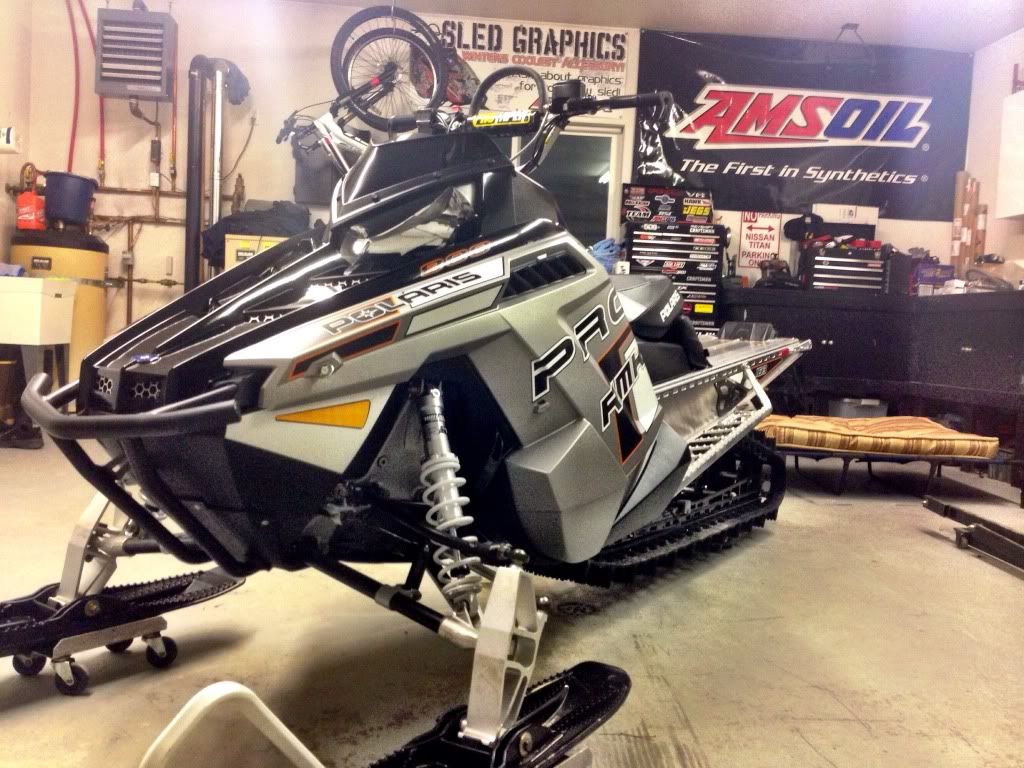
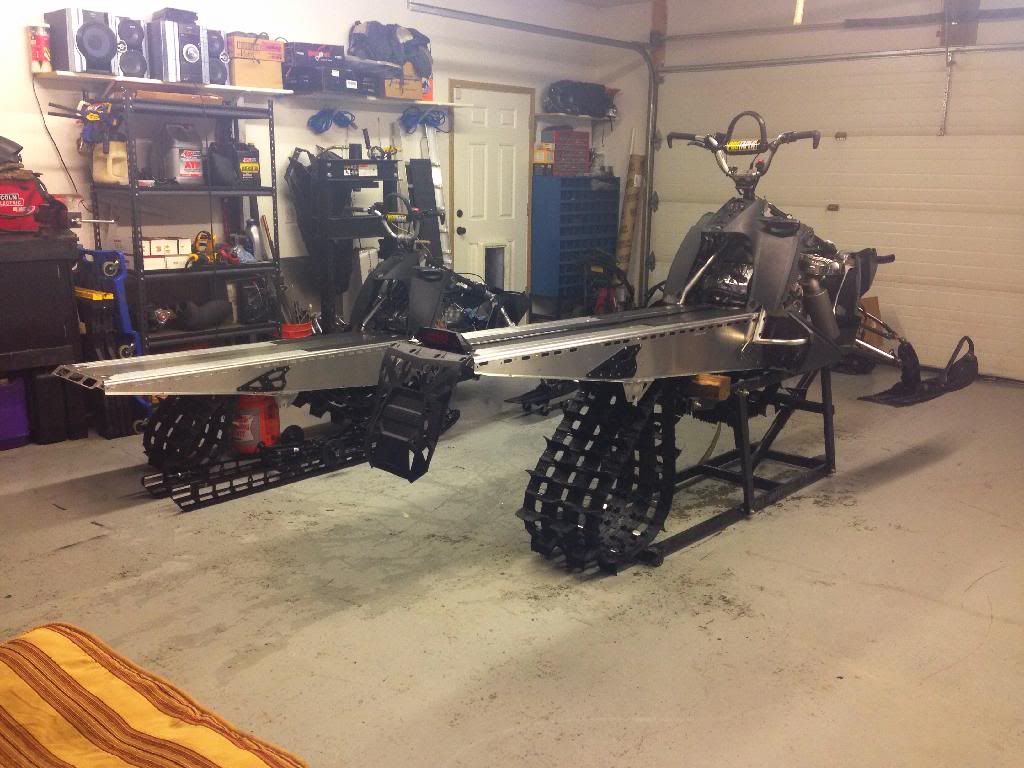
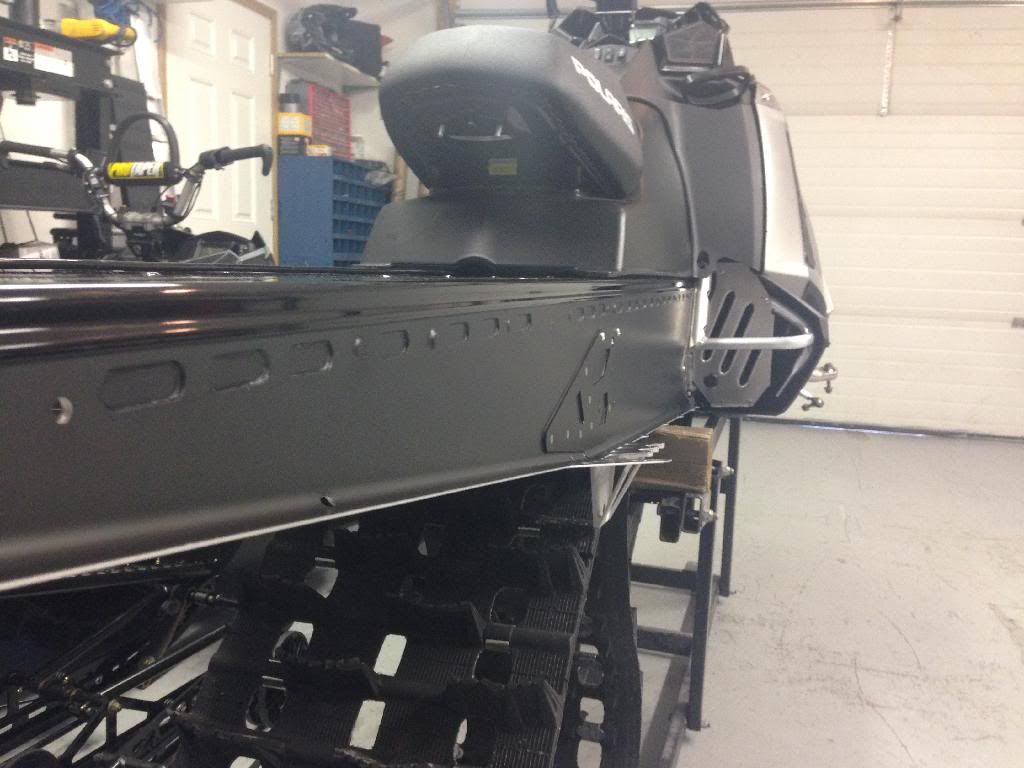
Next step is the tear down:
I actually was freshening up my wife's 13' Pro too in this pic.
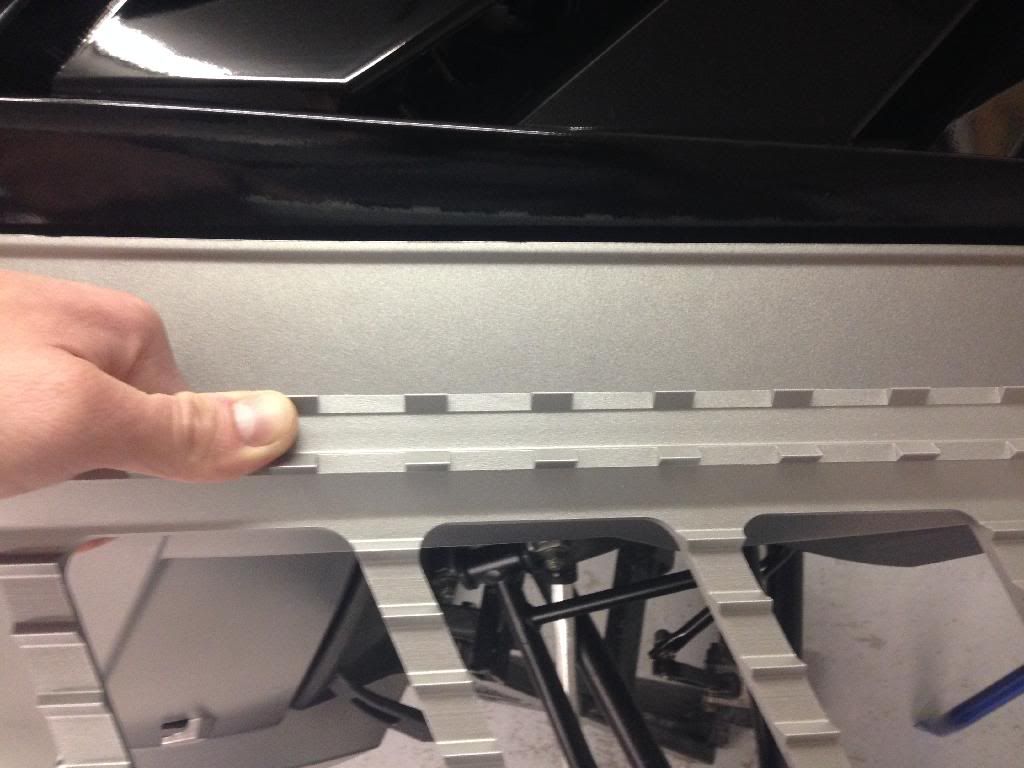
After the tear down for parts to get coated, the tunnel was wrapped. I attempted to find a vinyl that matched the unique side panel silver, but had no luck. So I decided to fall back to black. It goes with everything haha. So since the hood is gloss, I decided to do gloss on the top of the tunnel, then matte on the side to match the matte side panel. Note, gloss doesn't hold up nearly as well as the matte vinyl so it won't stay looking this good unfortunately.
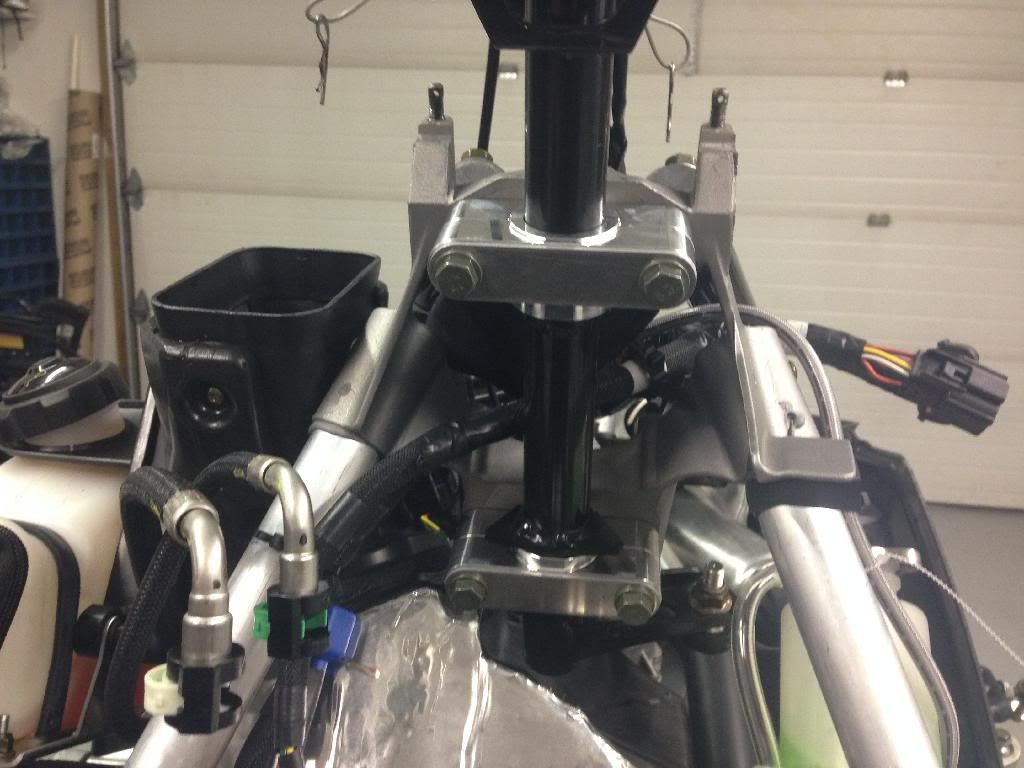
Then while waiting for parts to get coated, I proceeded with the install of the OFT Racing Billet steering blocks. These have a very high quality and fit great. They really tightened up the steering and took all the slop out of it. Highly recommended for the long haul durability.
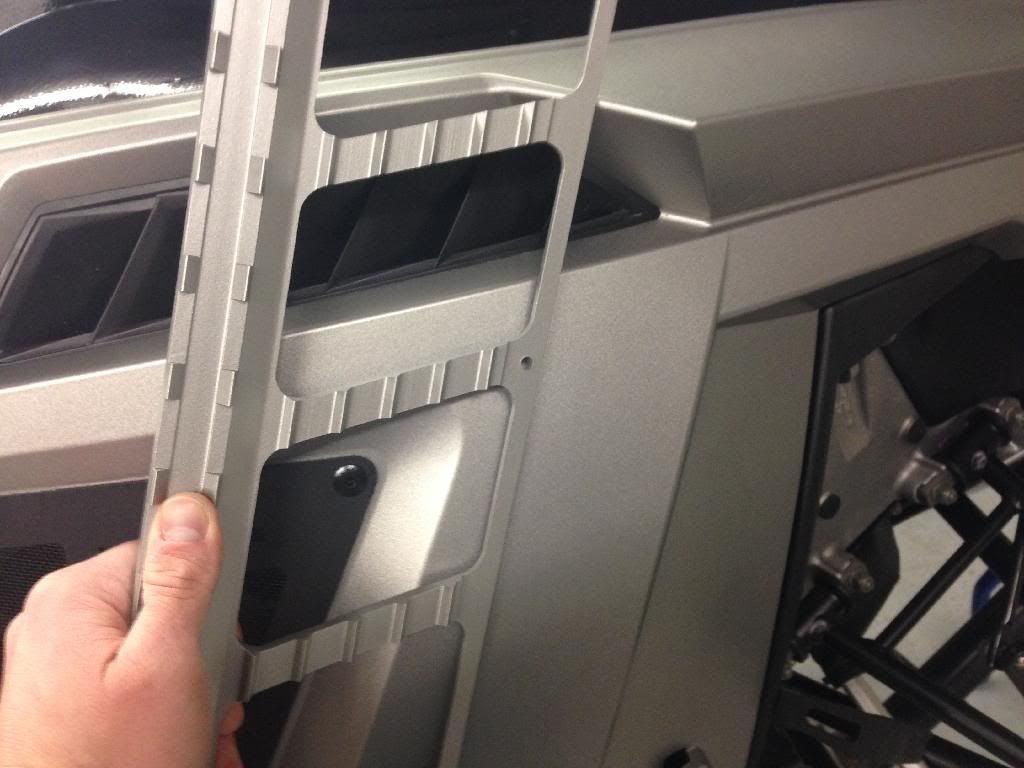
Next was the WRP side vents. I first set the vent on the panel, drill out the holes for the rivets, then I trace out some black vinyl to minimize the sight of the cut out holes. Then I drill out the holes for the vents in the panels. Once all drilled out, then I caulk the inside border of the vent and rivet it on. I prefer to use the ADP rivets with a washer on the inside to give more flange surface.
Next I installed the Mountain Fit Headlight delete. This delete works great as an easy way to drop a few lbs but mainly I did it to add an additional vent. Plus it looks cool. Install was pretty straight forward. I riveted the front center hole first, then installed a several rivets to hold in place.
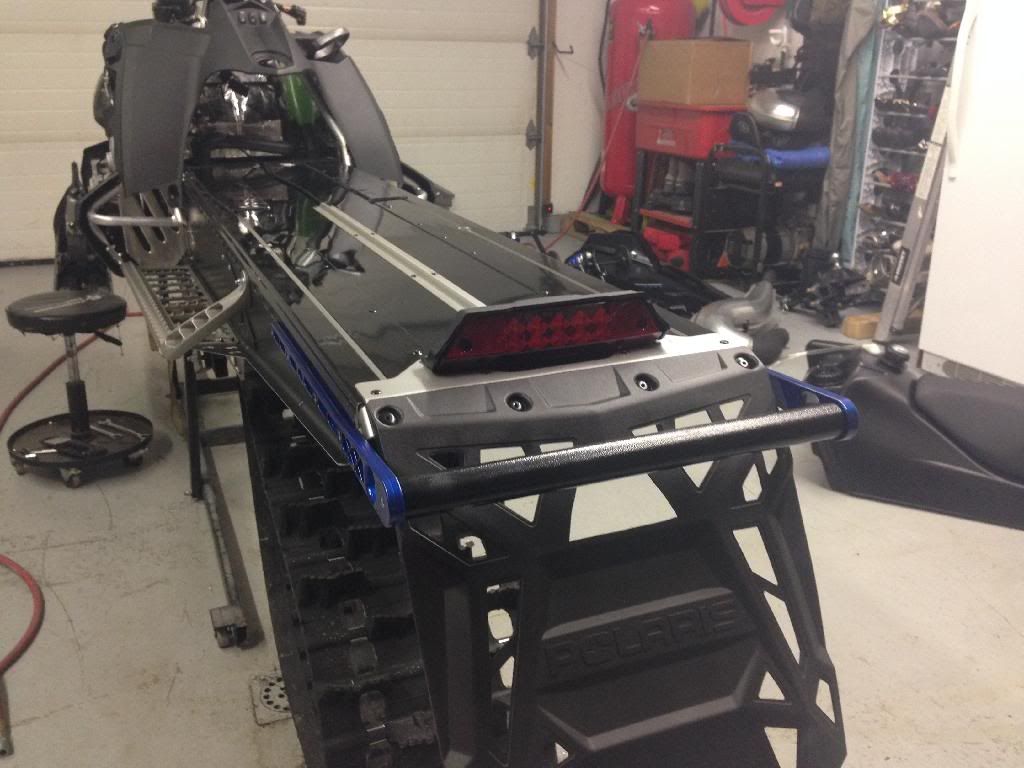
When the parts came back from the coater, then I reassembled the sled. My coater did a great job color matching my sled panel color:
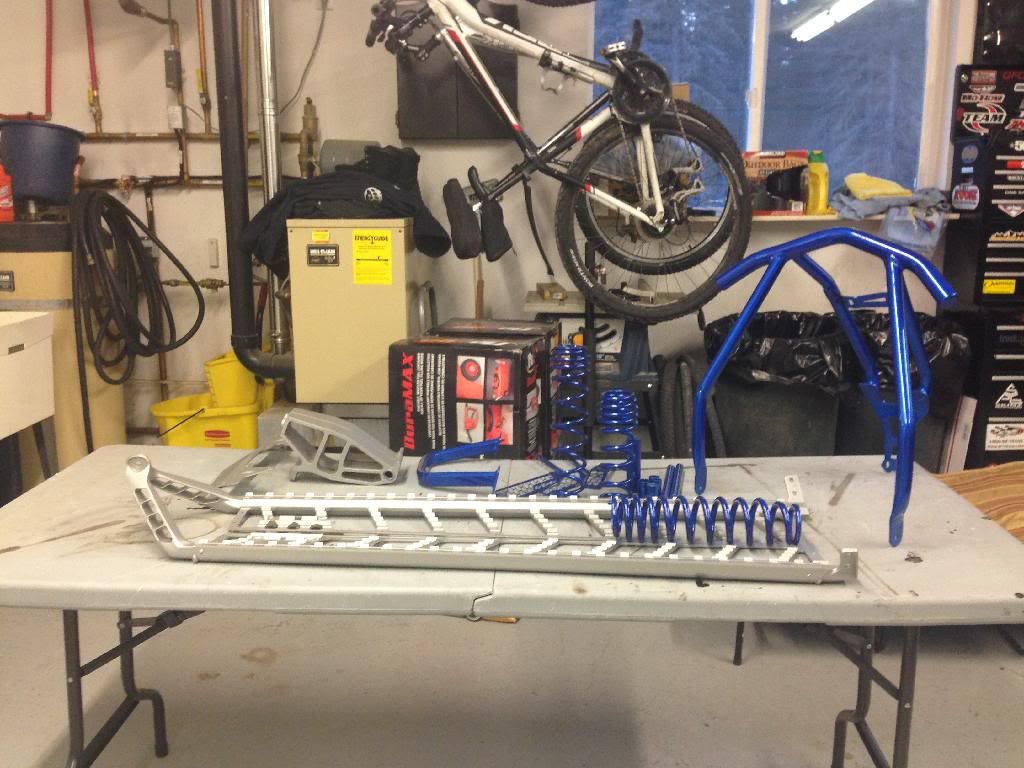
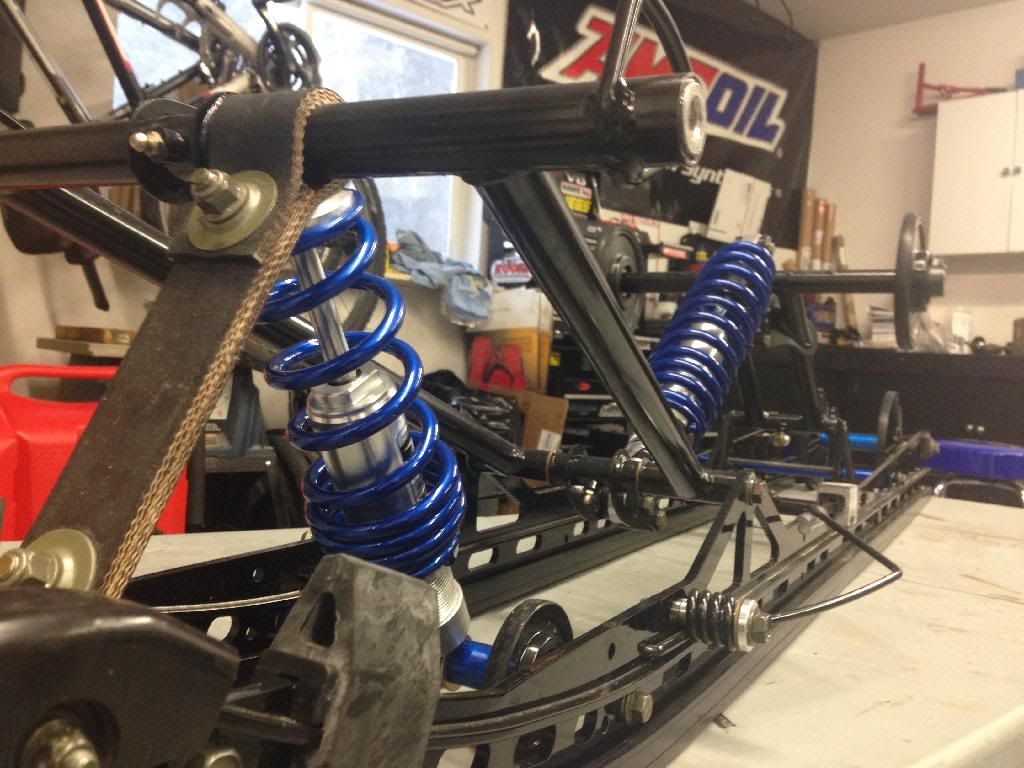
Here is the rear skid assembled with the raptor triple rate springs and candy blue translucent color:

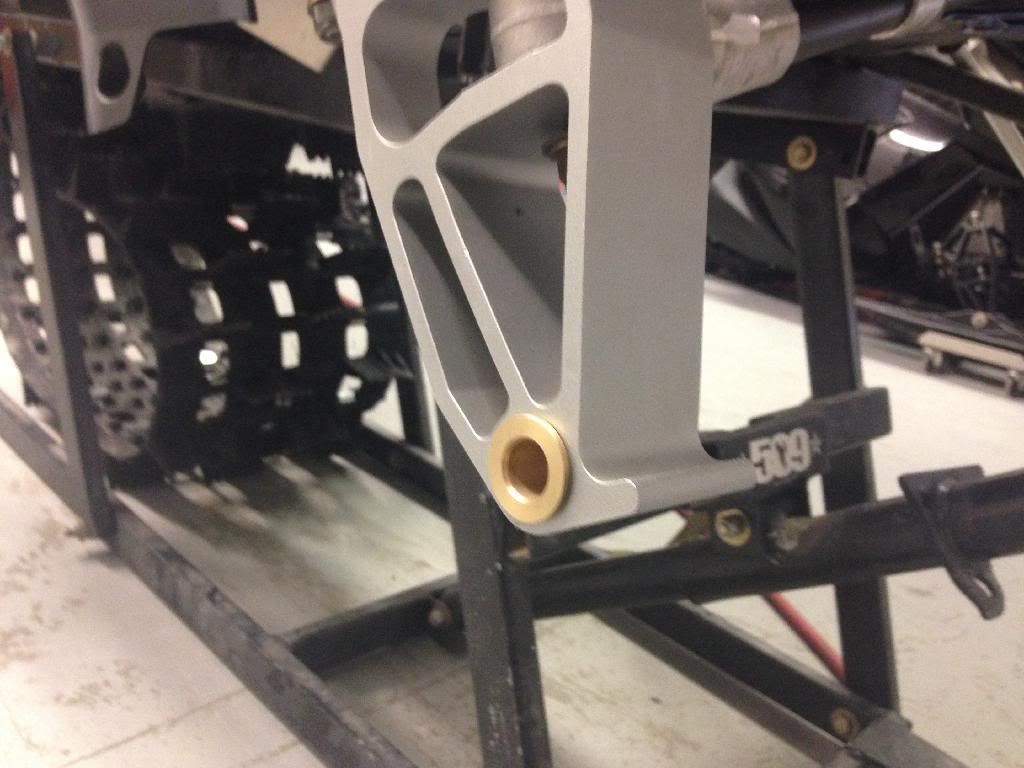
Next was installing the spindles. Well in 2013, polaris went to a plastic bushing for the ski bolt. Needless to say, they don't hold up to the abuse. And melt when getting coated. So I replaced them with the 11/12 polaris brass bushing. It does require drilling out the spindle hole to fit the slightly larger bushing, and trimming the spacers slightly due the thicker flange. But these will last the life of the sled and minimize slop:
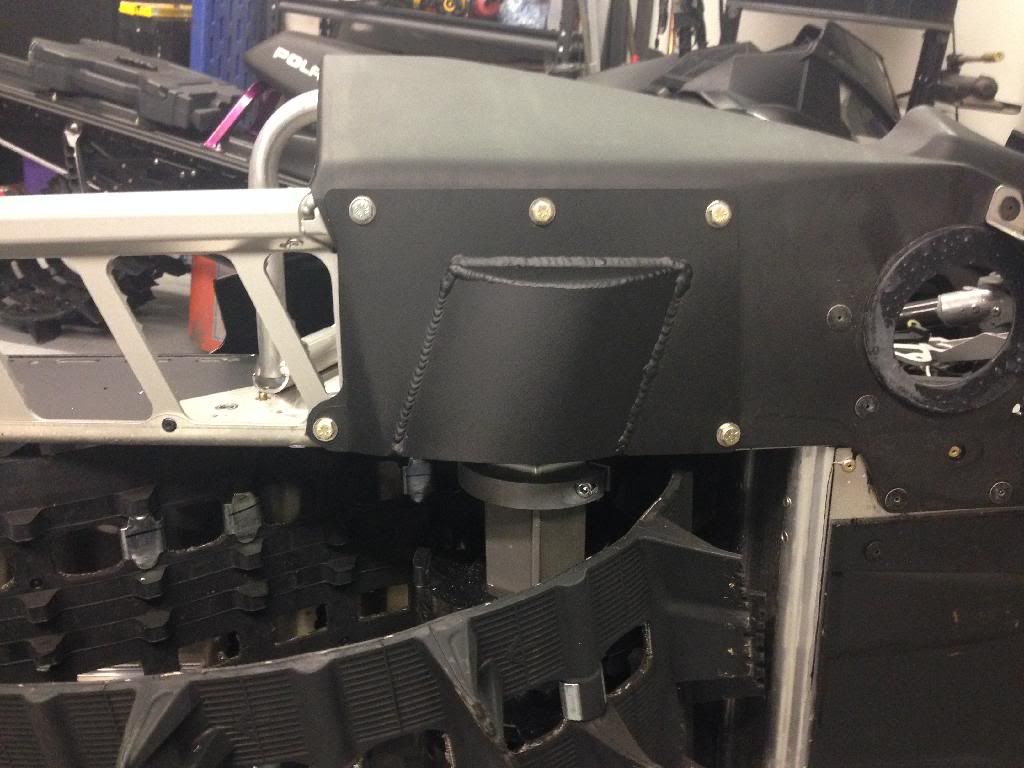
Next installed the running boards. While I was there I installed the VEI belt drive skid plate. I like their design because they don't have the cut out and come powder coated black. But I found that rivets don't really hold up securing it to the sled. So replaced them with 1/4" bolts:
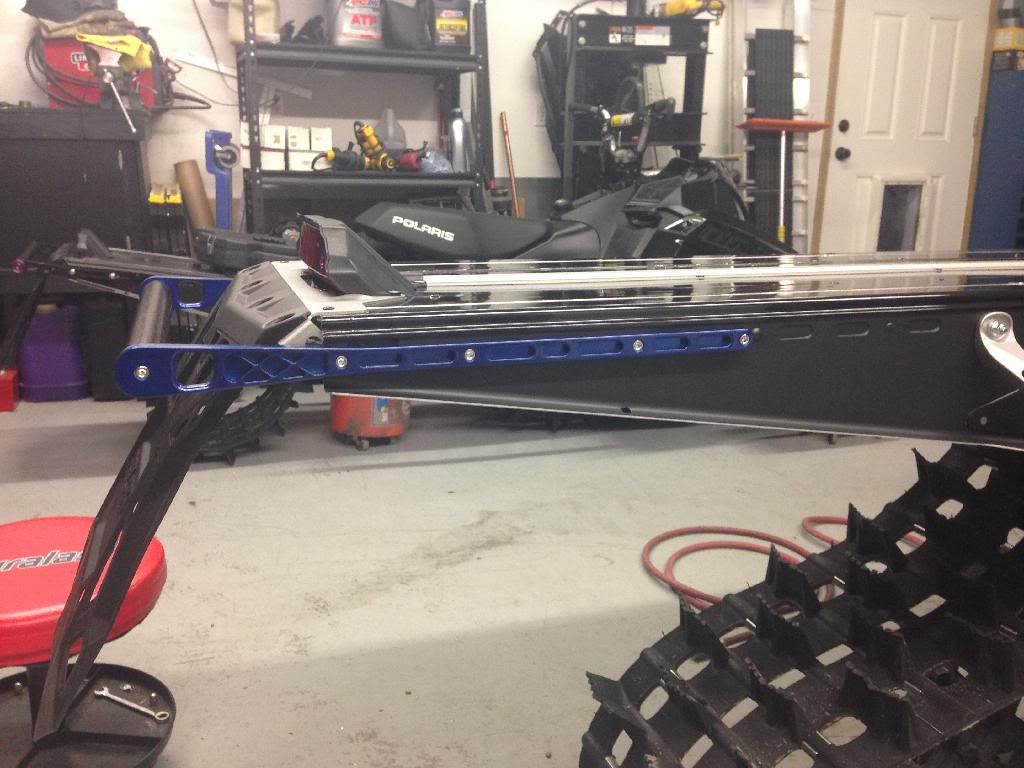
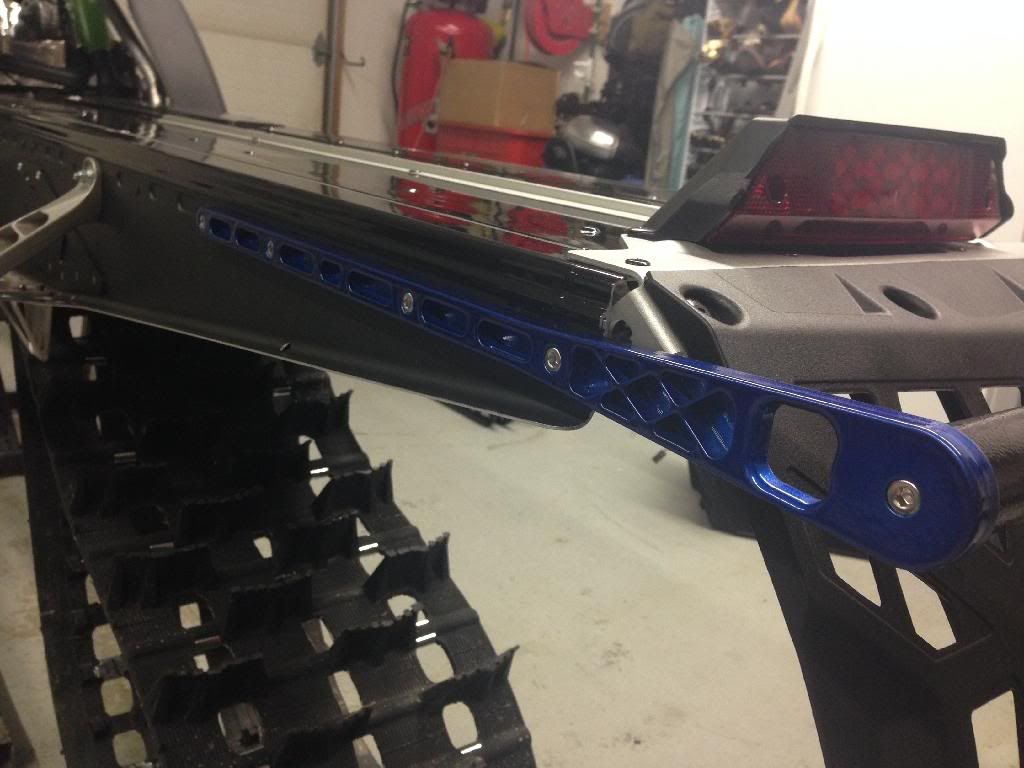
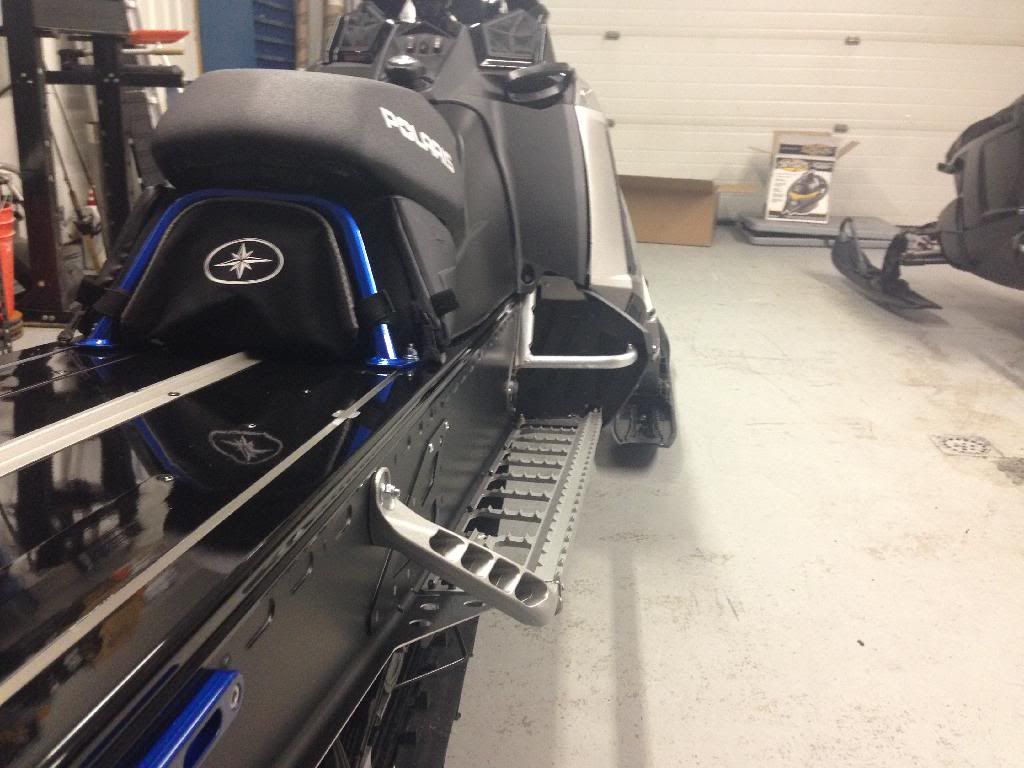
Next I installed the HFPP rear bumper. I went with their longer option since I have the 163. This product is true eye candy. They did an amazing job machining this bumper. And it is beefy! You do drill two additional holes on each side. They also use a machine allen bolt to secure the bumper. I was concerned for clearance on the inside of the tunnel with the track, so I cut the end of the bolt off after the nut to ensure I had clearance:
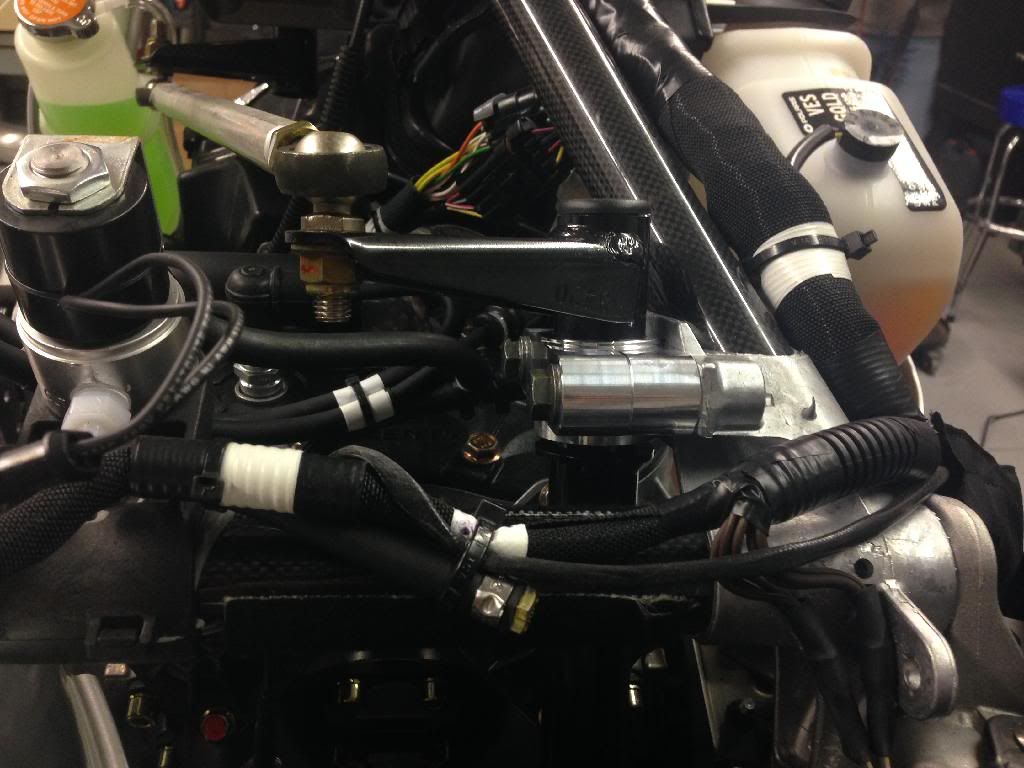
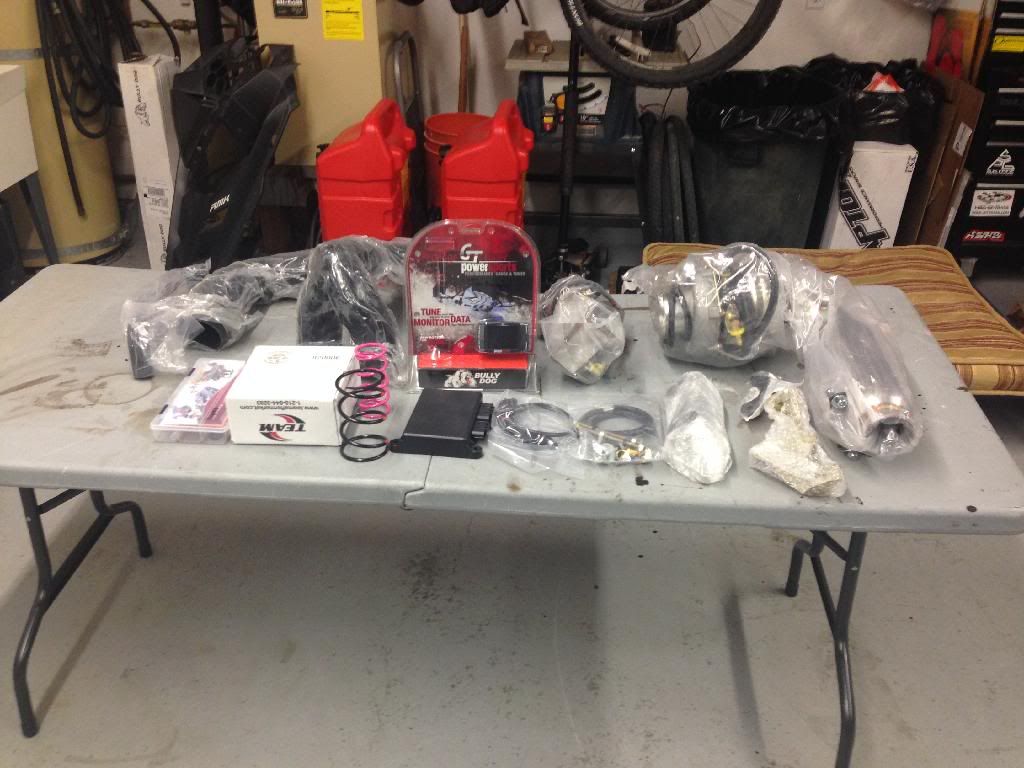
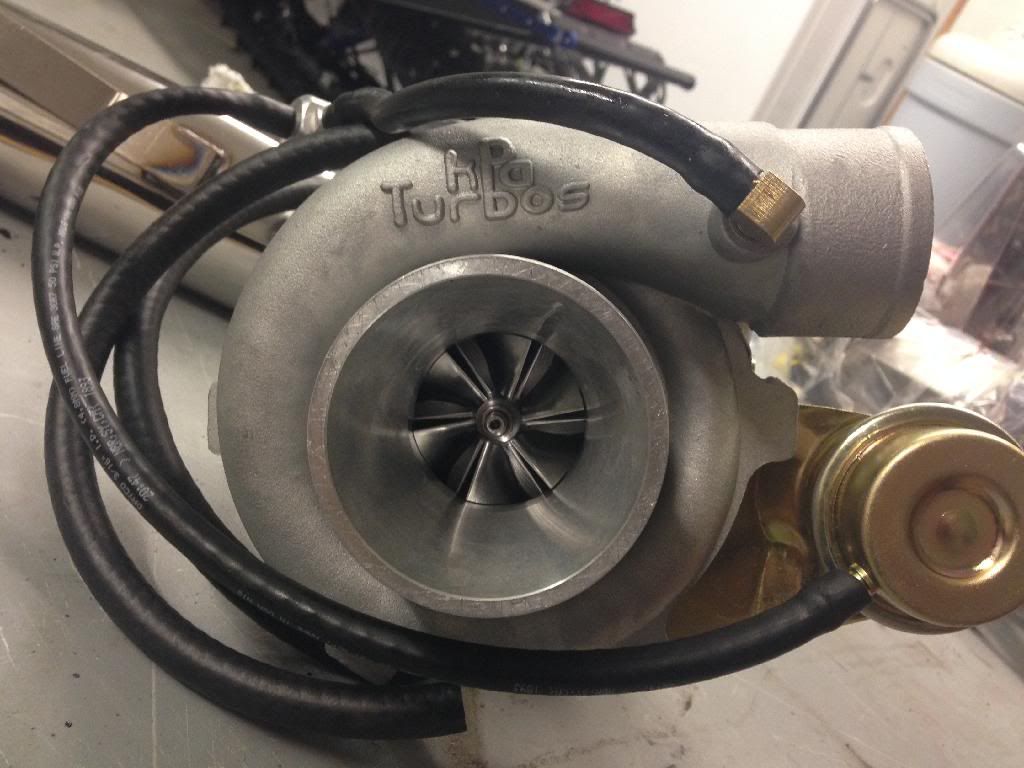
Next came the icing on the cake. The new 14' KPA 2863 Silber turbo kit with the Bullydog tuner. This kit is definitely a step up from the 12' kit I had. From the silicone charge and intake tubes, stainless oil tank with the better cap and sight glass, the KPA turbo, molded down pipe, billet tb adapter, and the bullydog tuner.
Here is the kit:
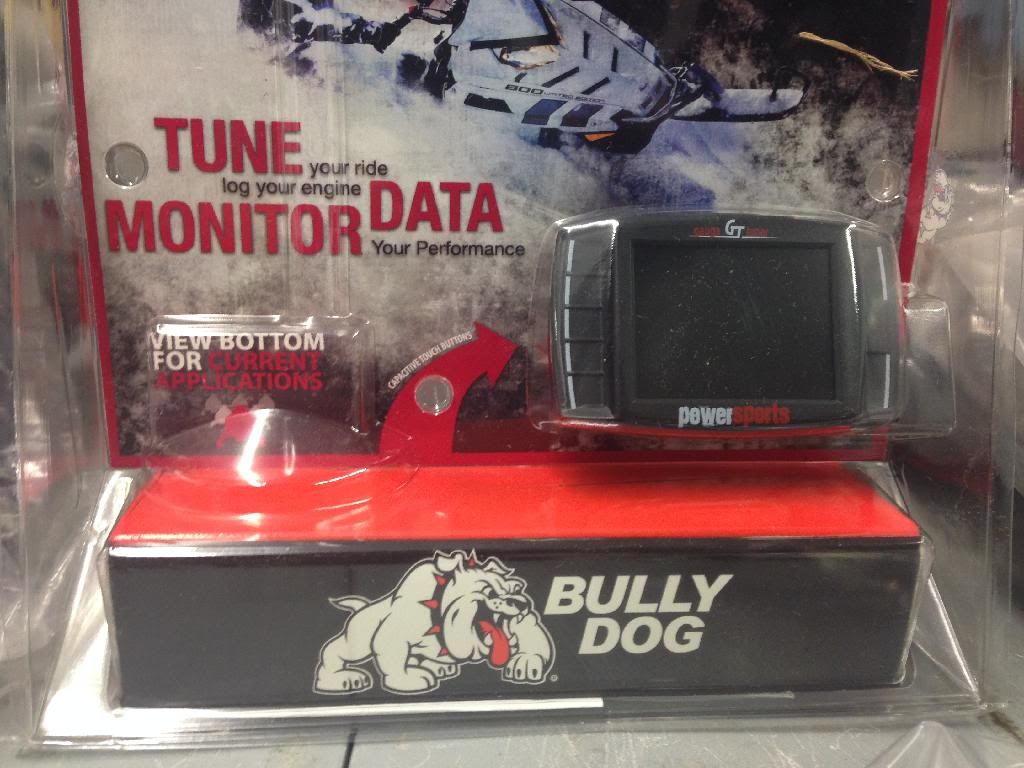
Bullydog head unit
KPA 2863 Billet compressor wheel ceramic ball bearing turbo
Stainless Oil tank with logo etched. Kind of a nice touch
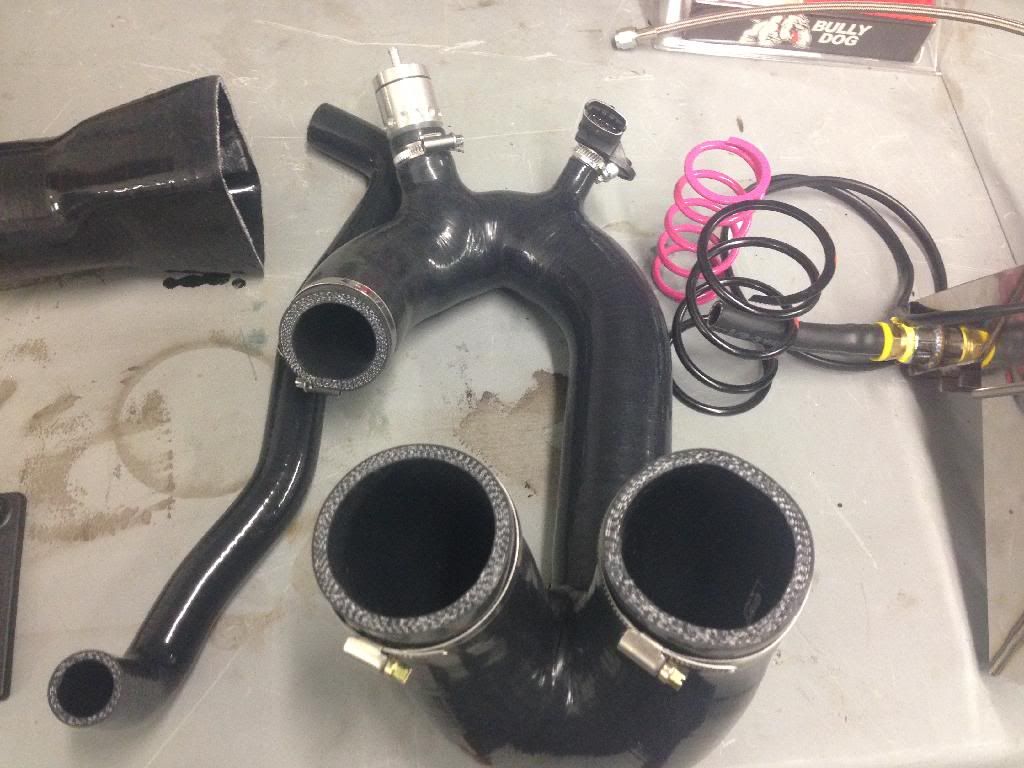
Nice one piece silicone charge tube.
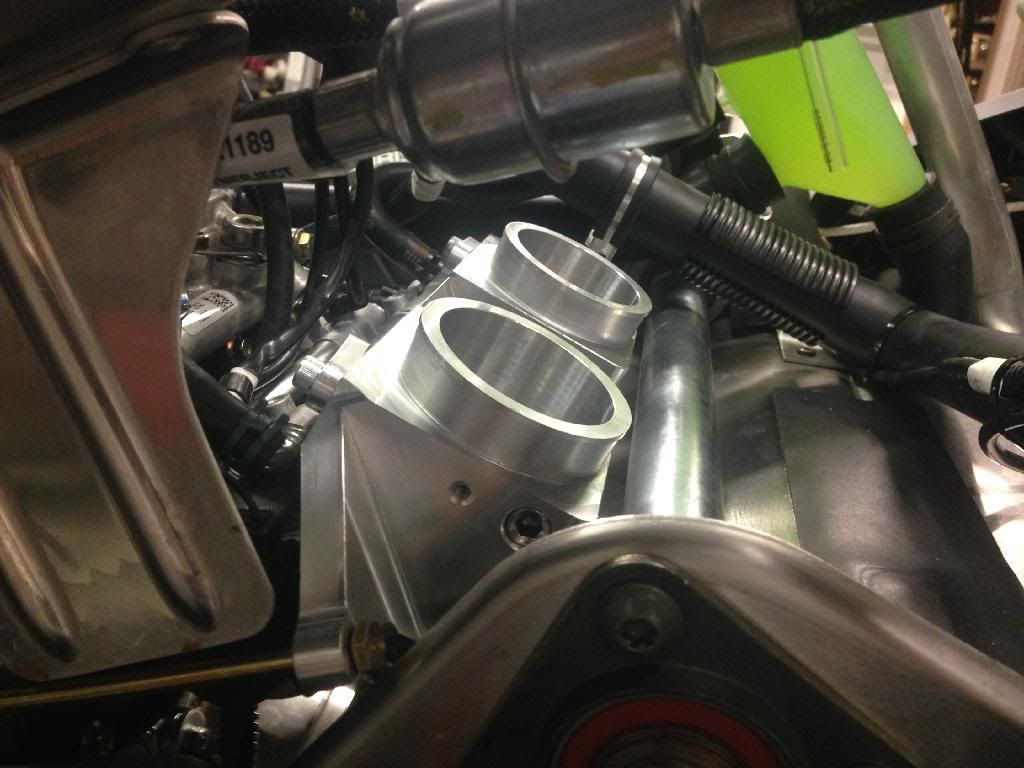
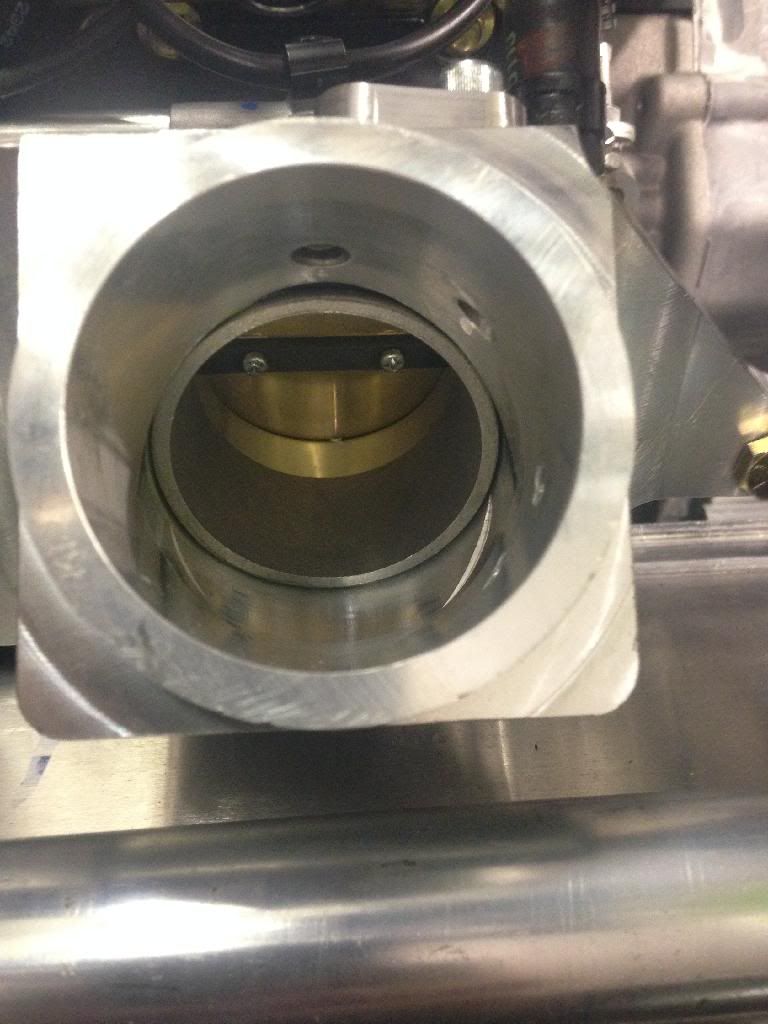
Billet TB adapter. Simple and great fit n finish
Here is the back side of the turbo kit installed
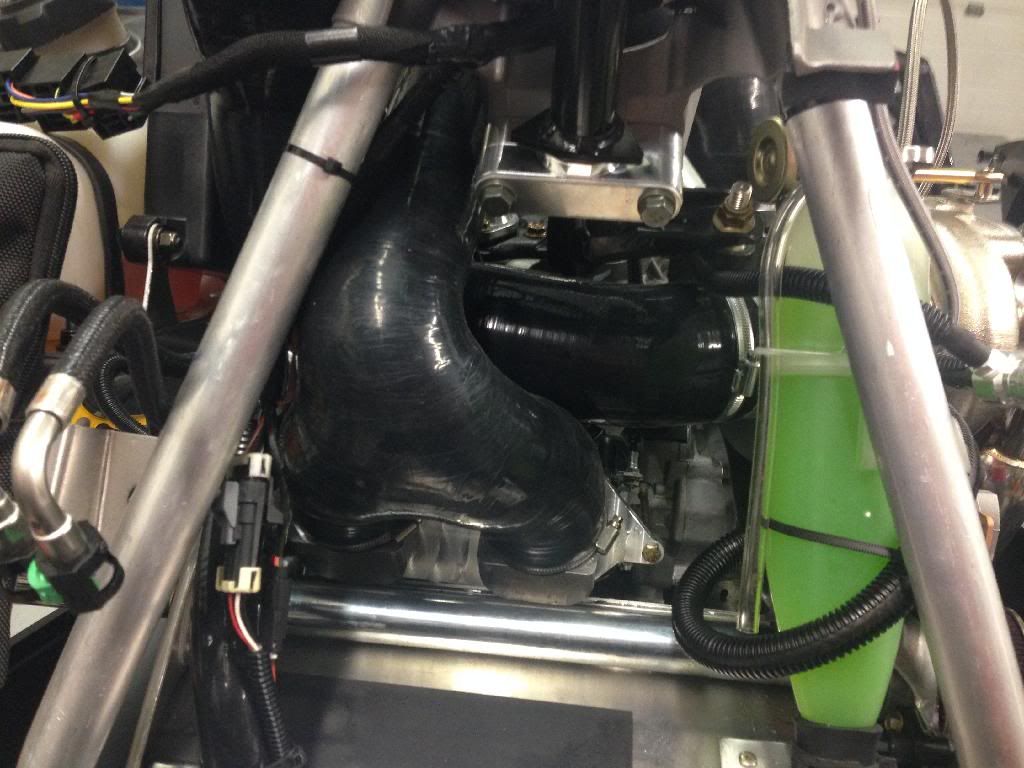
Still a lot of stuff jammed in there!
Sweet molded cold air intake
Turbo mounted with the oil tank. Hopefully KPA/Silber will have the oiless center section available later this season so I can drop the oil tank and 5lbs:
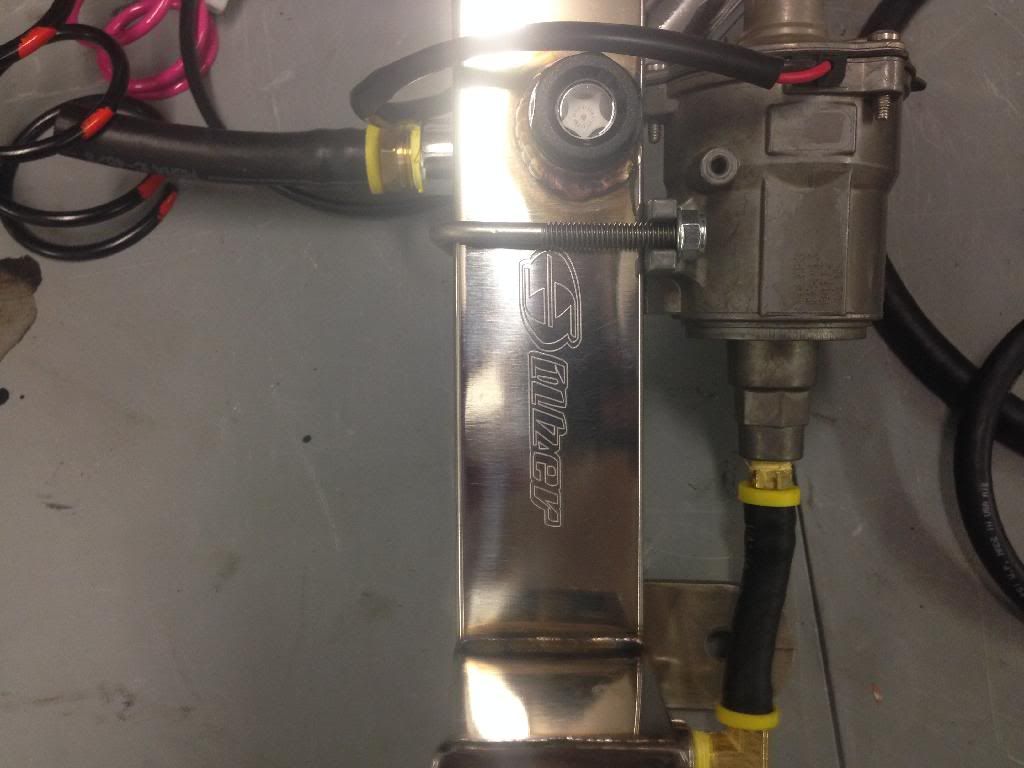
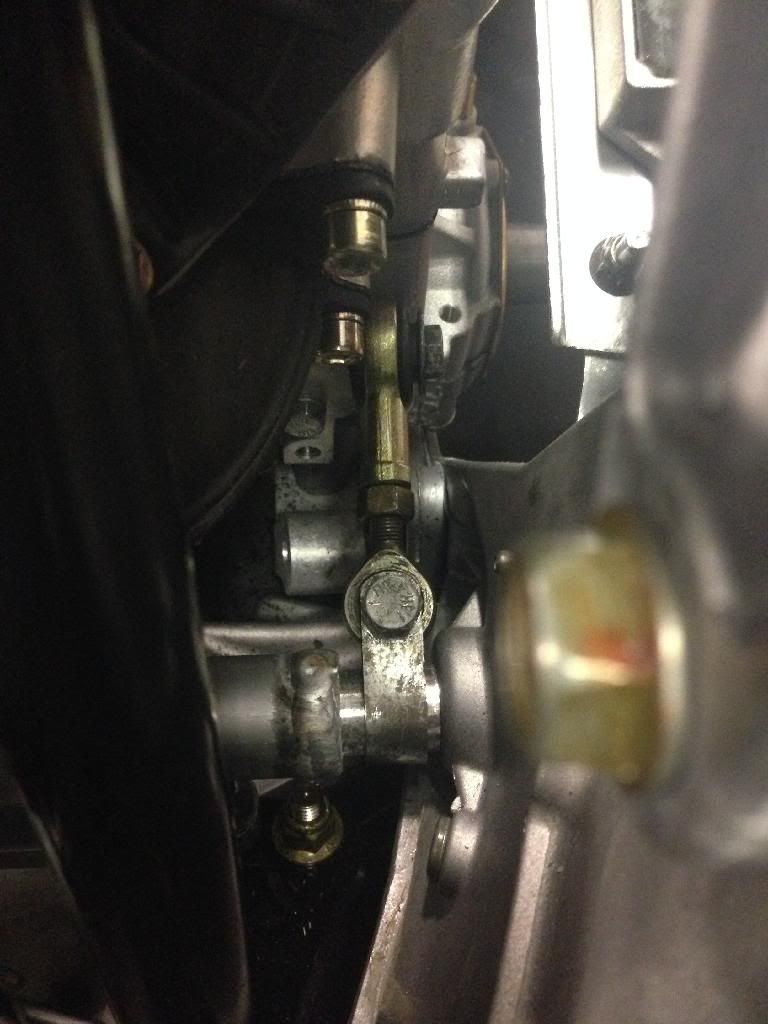
SLP Torque arm to help keep the motor inline:
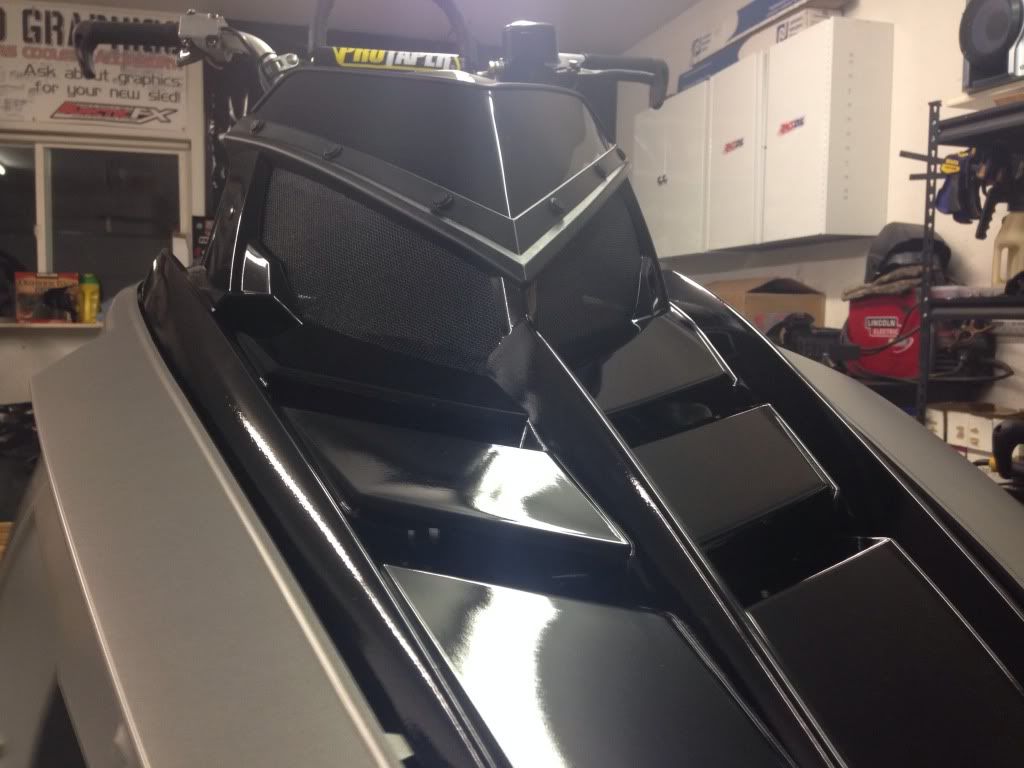
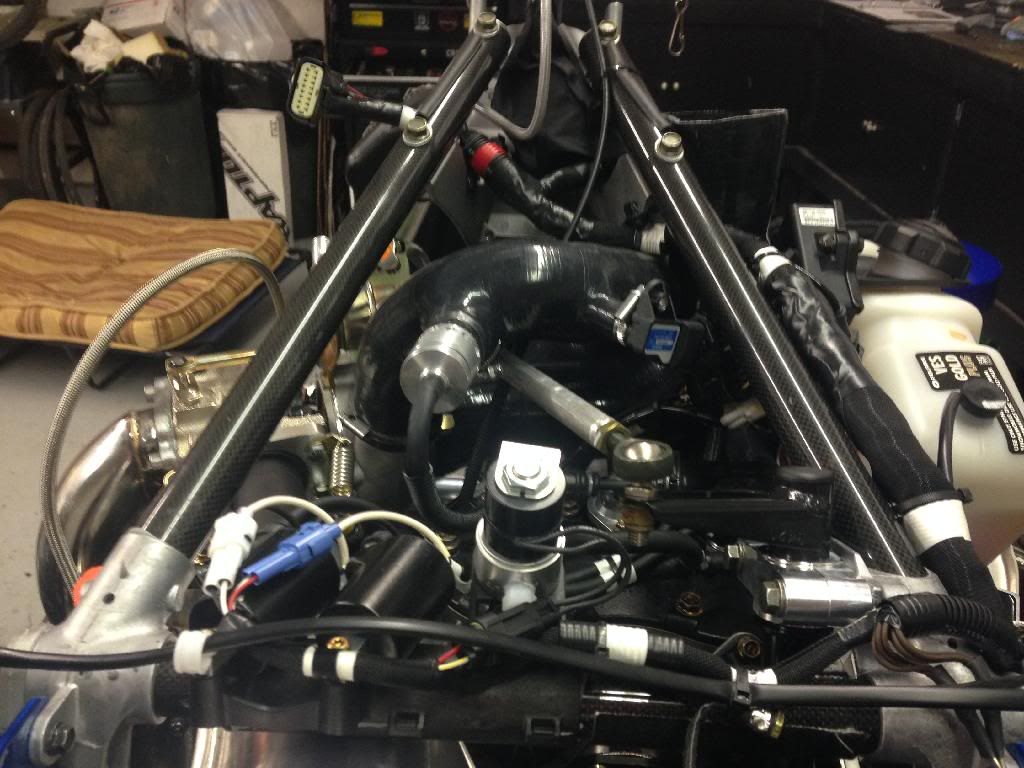
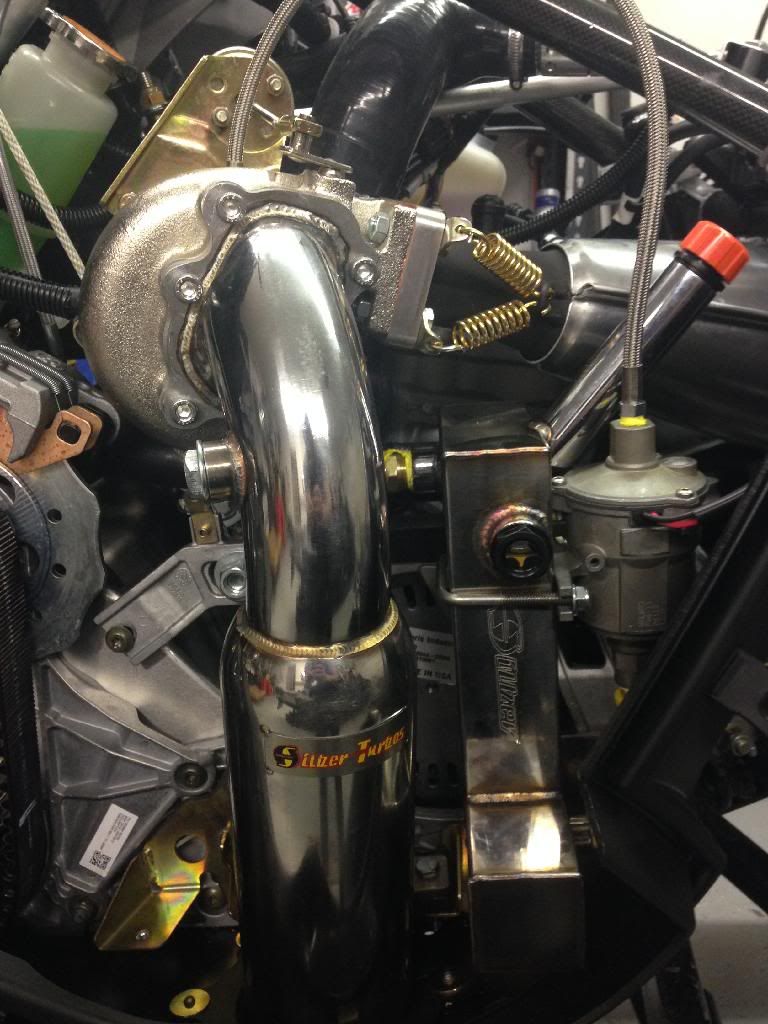
Finally fully installed

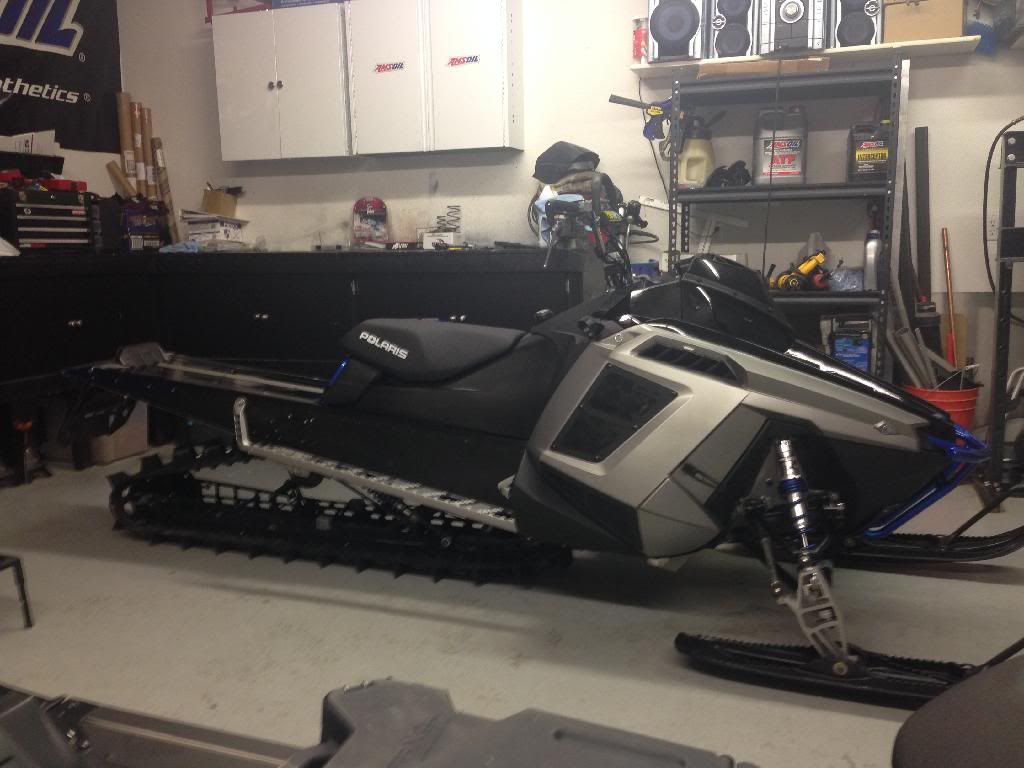
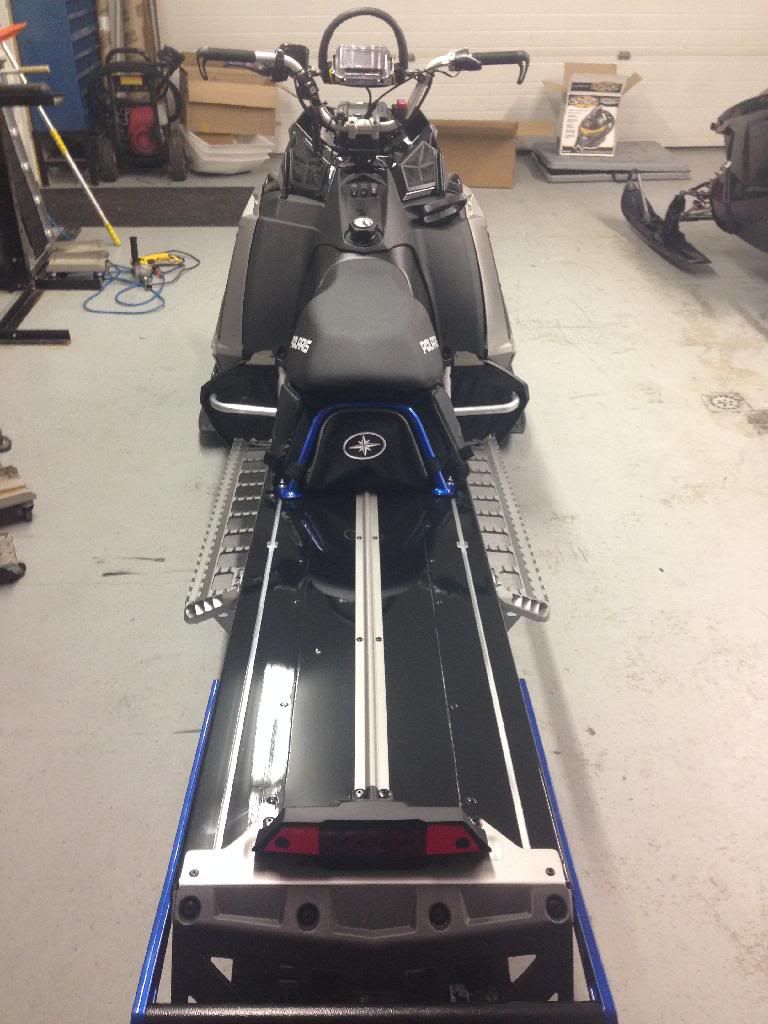
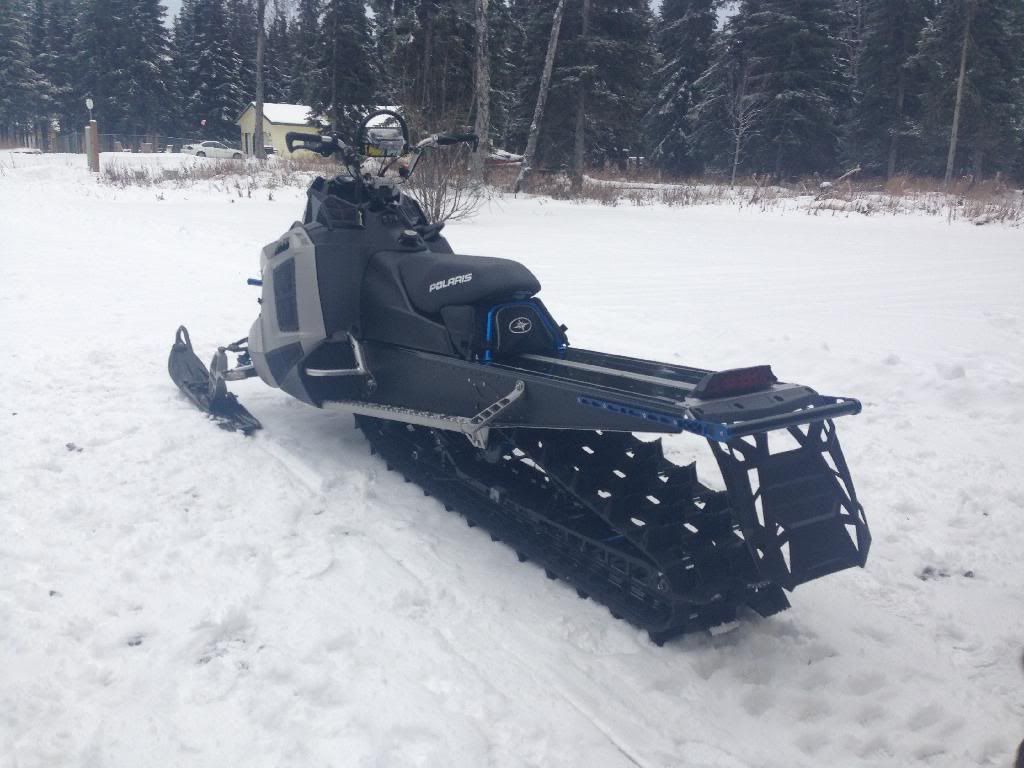
And here is the final product! I absolutely love how it turned out. The blue really pops!

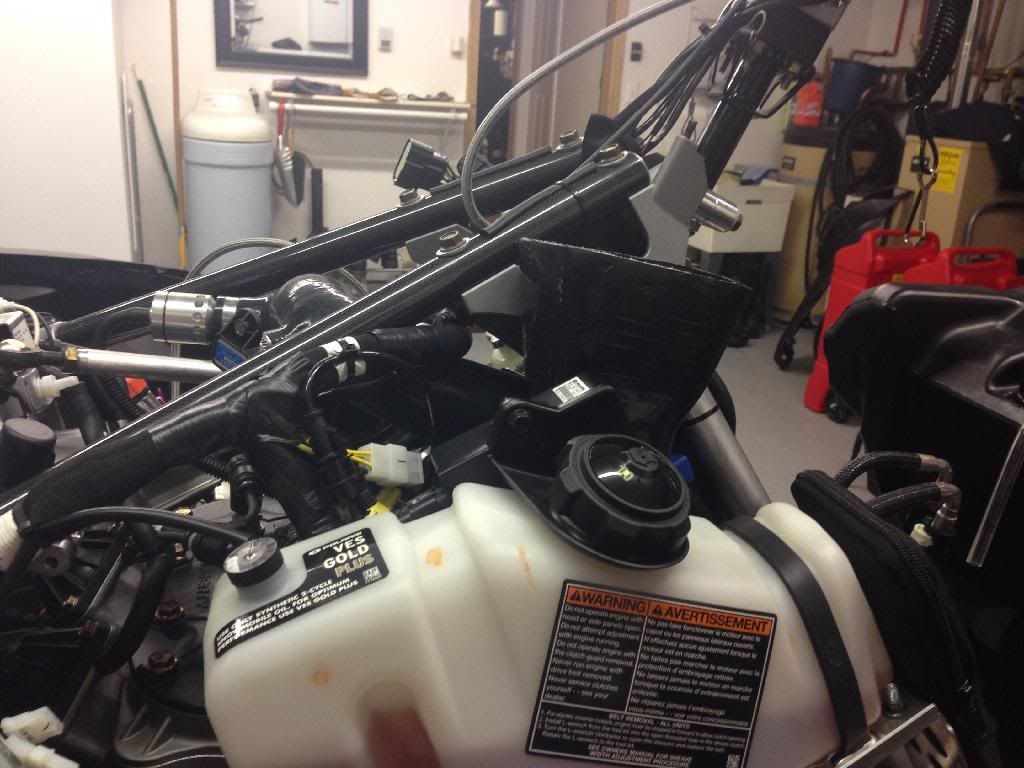
Let me know what you think, or if you got any questions. Hopefully after Thanksgiving I will be able to see how well it preforms. Oh and the Pelican zip tied to the handlebars is just my temporary mount for my bullydog until I hopefully get wildchild to build me a custom mount for it under my gauge lifter.
14' Pro RMK 163
Polaris Black Skid plate
Polaris Ultra Front Bumper
HFPP Rear Bumper
Polaris All Black Seat
Polaris Under Seat Bag
Mountain Fit Headlight Delete
WRP Side panel Vents
Mike Taylor Footwell Vents
Wildchild Gauge lifter with fan
VEI Belt Drive Skid Plate
Custom Matte/Gloss Black Tunnel Wrap
Custom Powder Coated parts
Raptor Triple Rate spring kit (firm)
Custom Shock Valving by AK IQ Pilot
OFT Racing Billet Steering Blocks (all three)
OFT Racing Tether
SLP Engine Torque Arm
14' 2863 Silber Bullydog Turbo kit
So here's the sled right after picking up the new sled from the dealer:


Next step is the tear down:

I actually was freshening up my wife's 13' Pro too in this pic.
After the tear down for parts to get coated, the tunnel was wrapped. I attempted to find a vinyl that matched the unique side panel silver, but had no luck. So I decided to fall back to black. It goes with everything haha. So since the hood is gloss, I decided to do gloss on the top of the tunnel, then matte on the side to match the matte side panel. Note, gloss doesn't hold up nearly as well as the matte vinyl so it won't stay looking this good unfortunately.


Then while waiting for parts to get coated, I proceeded with the install of the OFT Racing Billet steering blocks. These have a very high quality and fit great. They really tightened up the steering and took all the slop out of it. Highly recommended for the long haul durability.


Next was the WRP side vents. I first set the vent on the panel, drill out the holes for the rivets, then I trace out some black vinyl to minimize the sight of the cut out holes. Then I drill out the holes for the vents in the panels. Once all drilled out, then I caulk the inside border of the vent and rivet it on. I prefer to use the ADP rivets with a washer on the inside to give more flange surface.

Next I installed the Mountain Fit Headlight delete. This delete works great as an easy way to drop a few lbs but mainly I did it to add an additional vent. Plus it looks cool. Install was pretty straight forward. I riveted the front center hole first, then installed a several rivets to hold in place.


When the parts came back from the coater, then I reassembled the sled. My coater did a great job color matching my sled panel color:


Here is the rear skid assembled with the raptor triple rate springs and candy blue translucent color:


Next was installing the spindles. Well in 2013, polaris went to a plastic bushing for the ski bolt. Needless to say, they don't hold up to the abuse. And melt when getting coated. So I replaced them with the 11/12 polaris brass bushing. It does require drilling out the spindle hole to fit the slightly larger bushing, and trimming the spacers slightly due the thicker flange. But these will last the life of the sled and minimize slop:

Next installed the running boards. While I was there I installed the VEI belt drive skid plate. I like their design because they don't have the cut out and come powder coated black. But I found that rivets don't really hold up securing it to the sled. So replaced them with 1/4" bolts:

Next I installed the HFPP rear bumper. I went with their longer option since I have the 163. This product is true eye candy. They did an amazing job machining this bumper. And it is beefy! You do drill two additional holes on each side. They also use a machine allen bolt to secure the bumper. I was concerned for clearance on the inside of the tunnel with the track, so I cut the end of the bolt off after the nut to ensure I had clearance:


Next came the icing on the cake. The new 14' KPA 2863 Silber turbo kit with the Bullydog tuner. This kit is definitely a step up from the 12' kit I had. From the silicone charge and intake tubes, stainless oil tank with the better cap and sight glass, the KPA turbo, molded down pipe, billet tb adapter, and the bullydog tuner.
Here is the kit:

Bullydog head unit

KPA 2863 Billet compressor wheel ceramic ball bearing turbo

Stainless Oil tank with logo etched. Kind of a nice touch

Nice one piece silicone charge tube.

Billet TB adapter. Simple and great fit n finish


Here is the back side of the turbo kit installed

Still a lot of stuff jammed in there!

Sweet molded cold air intake

Turbo mounted with the oil tank. Hopefully KPA/Silber will have the oiless center section available later this season so I can drop the oil tank and 5lbs:

SLP Torque arm to help keep the motor inline:

Finally fully installed

And here is the final product! I absolutely love how it turned out. The blue really pops!


Let me know what you think, or if you got any questions. Hopefully after Thanksgiving I will be able to see how well it preforms. Oh and the Pelican zip tied to the handlebars is just my temporary mount for my bullydog until I hopefully get wildchild to build me a custom mount for it under my gauge lifter.
Last edited:

