• Don't miss out on all the fun! Register on our forums to post and have added features! Membership levels include a FREE membership tier.

'09 Dragon 800 Silber Turbo install

J
Dec 2, 2002
1,047
247
63
Monticello, MN
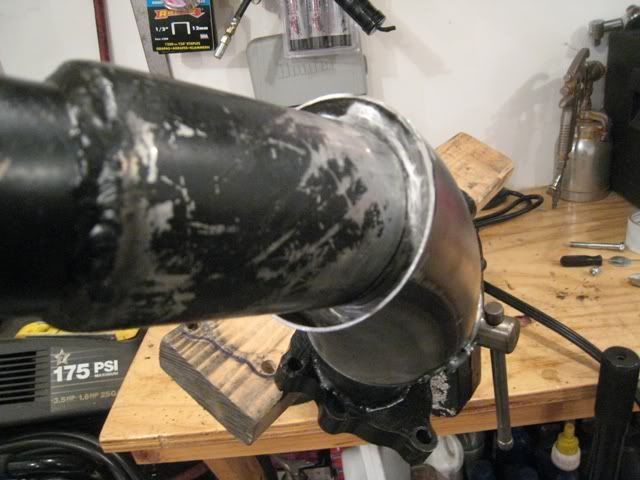
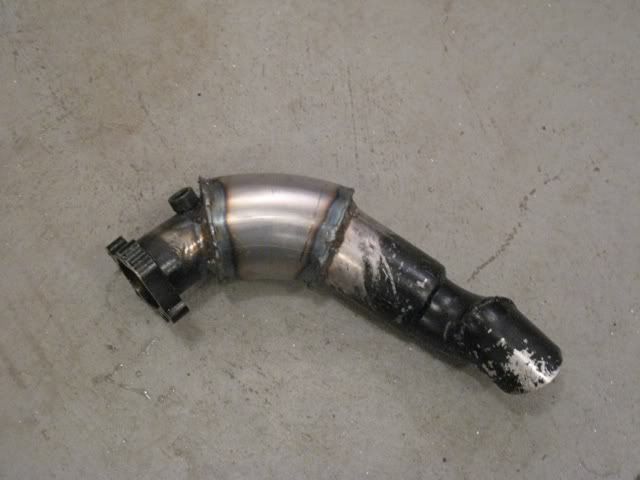
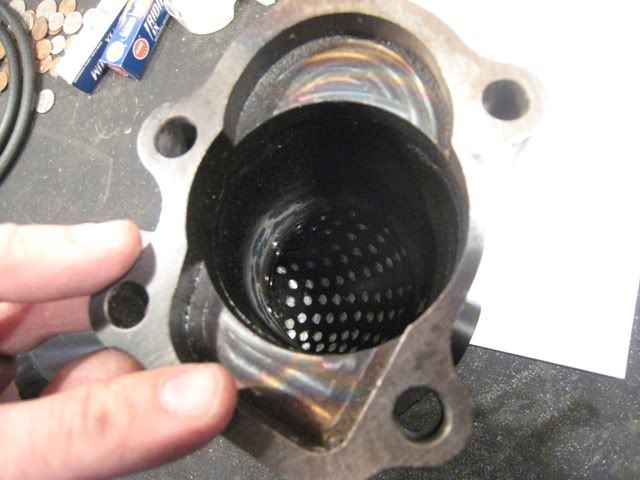
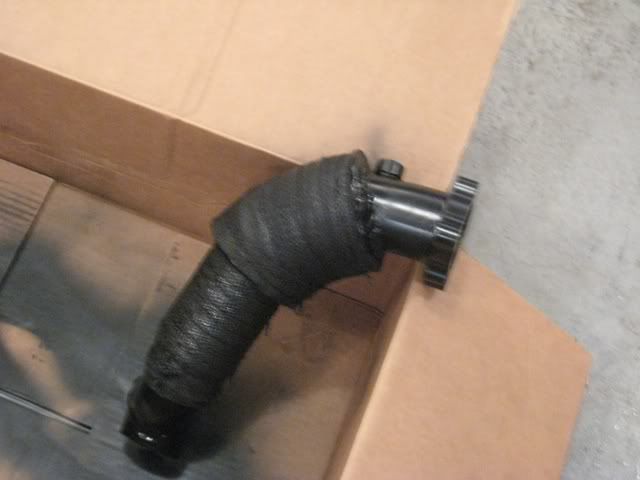
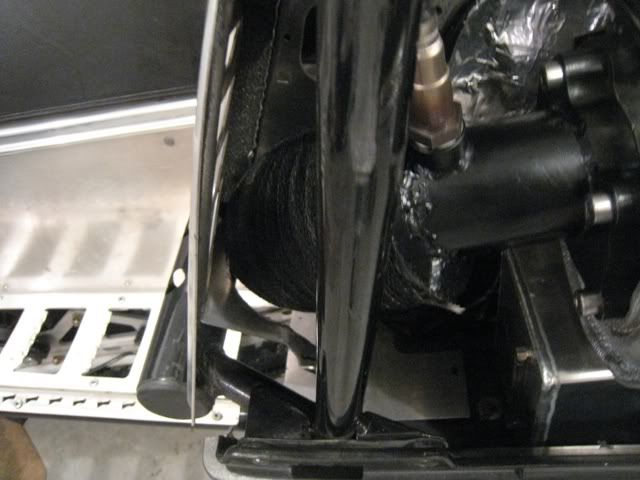
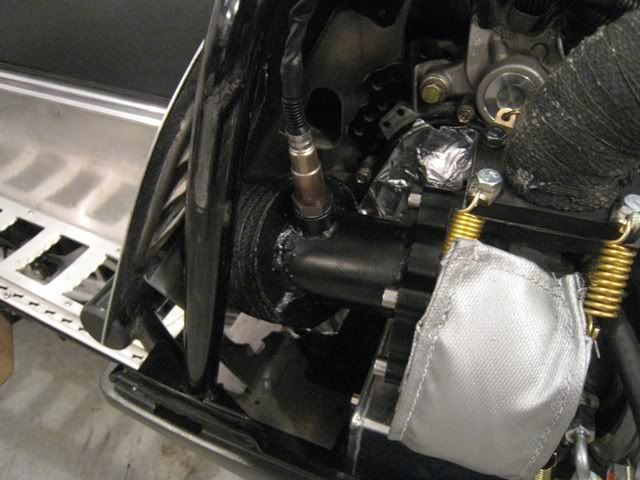
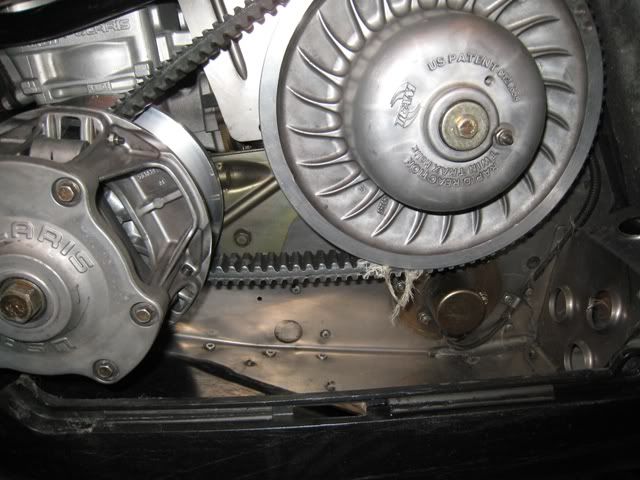
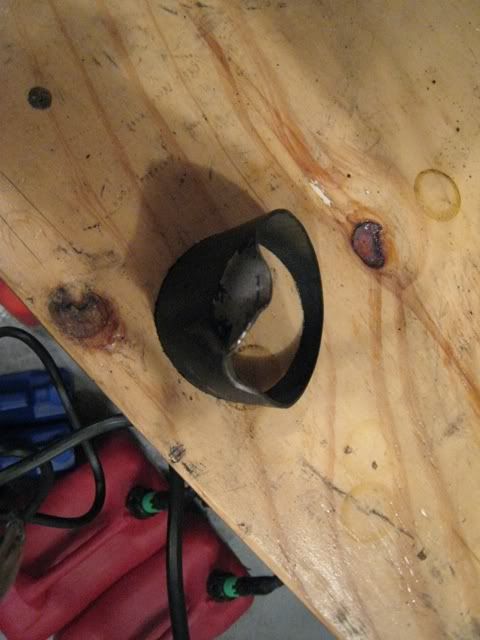
Received my billet throttle body boot, not sure how it will work. I need to figure out how to fasten the throttle body to the billet boot so it doesn't blow off under boost. That's another day's project. I might tackle that on Saturday, we'll see.

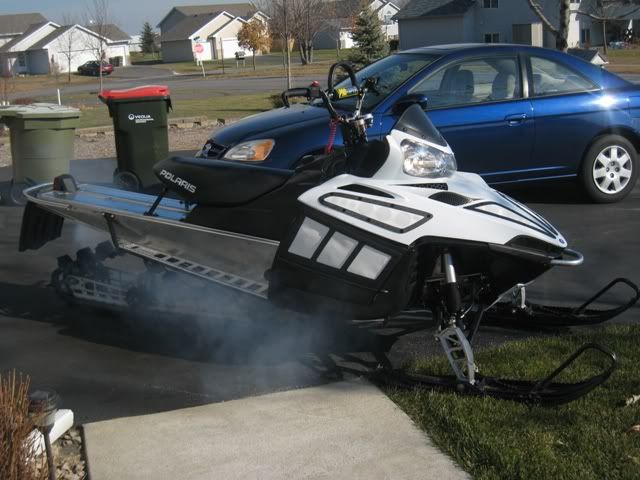
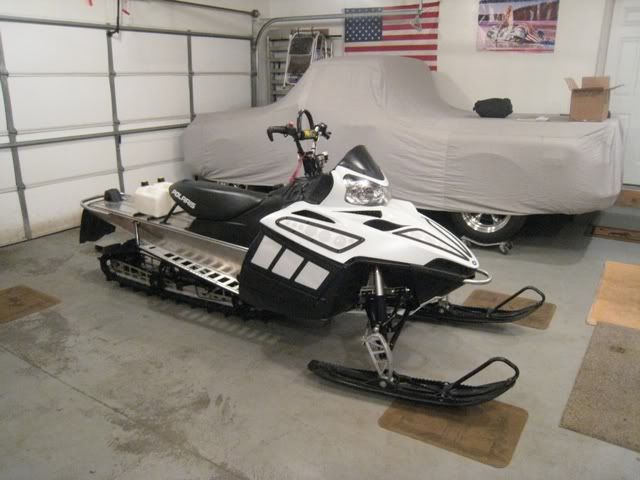
Started the sled up since it was nice out. I will be doing a db sound test this weekend to see what it registers at 4k rpm's.
http://s92.photobucket.com/albums/l...n 800 Turbo/?action=view&current=MVI_4113.mp4

IMG_4114.jpg


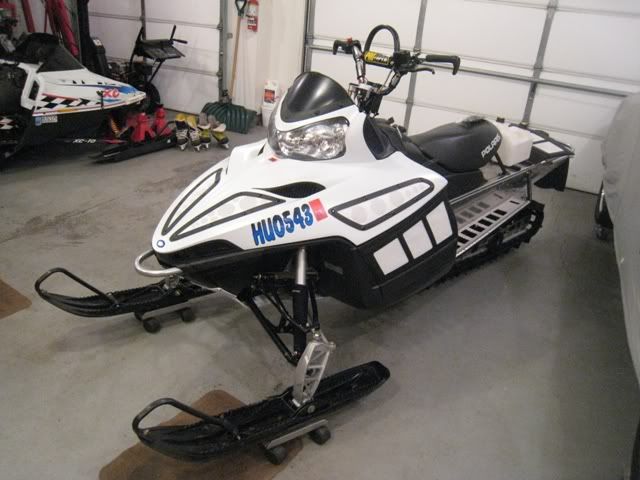
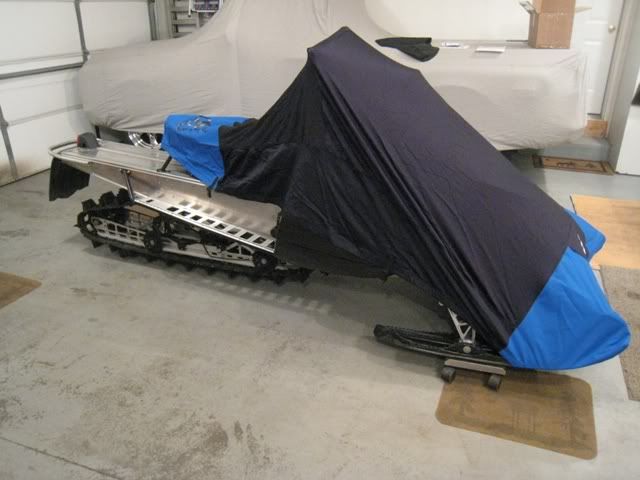
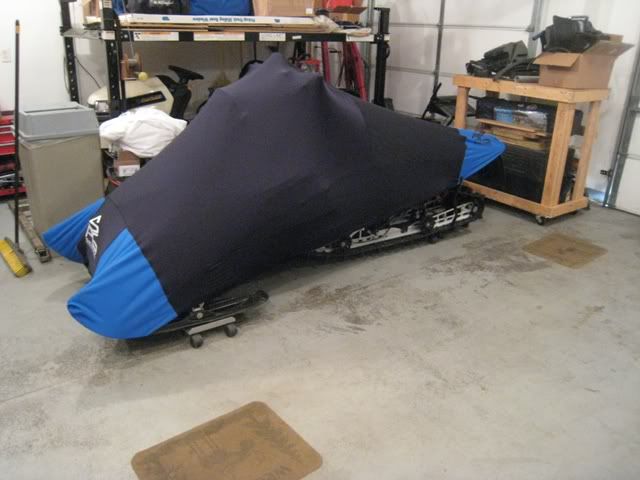
Got my Skinz cover in the mail. At first I thought this was for a short track sled but Paul from Sled Solutions guaranteed me that it needs to stretch out. He wasn't kidding, I did fit after stretching the heck out of it. Sled Solutions has great customer service.
IMG_4121.jpg


IMG_4142.jpg


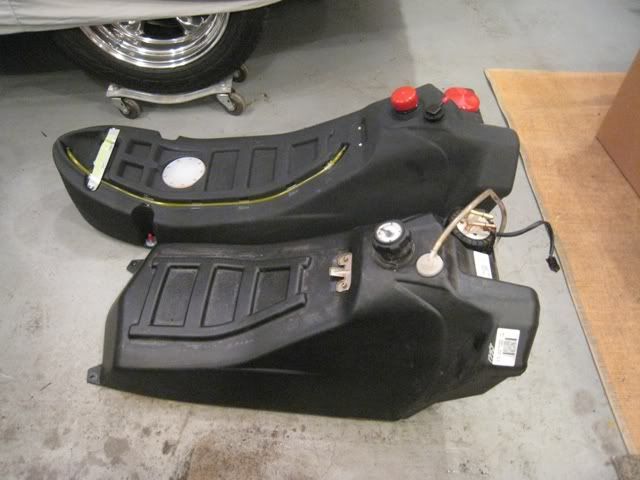
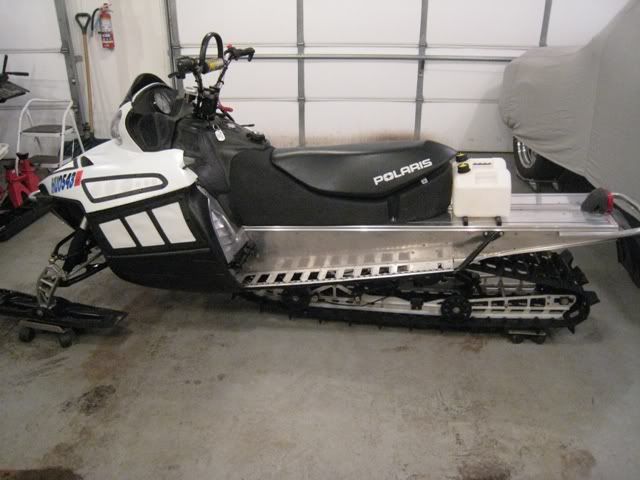
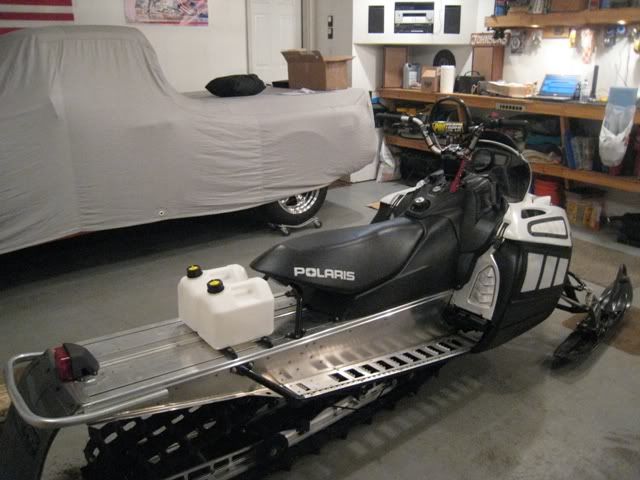
Installed my Mountain Addiction gas tanks. By far one of the easiest things to install, it took 5 minutes from start to finish.
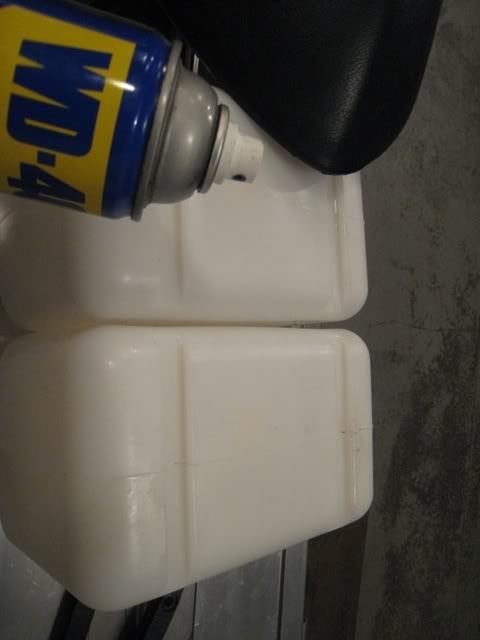
WD40 the gas tank tracks.
IMG_4122.jpg


Slide the rails into the gas tanks. Both rails should have the tapered end on the same side.
IMG_4124.jpg


IMG_4125.jpg


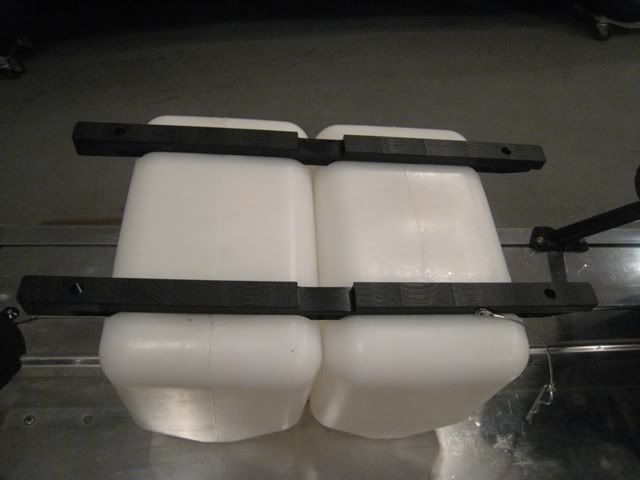
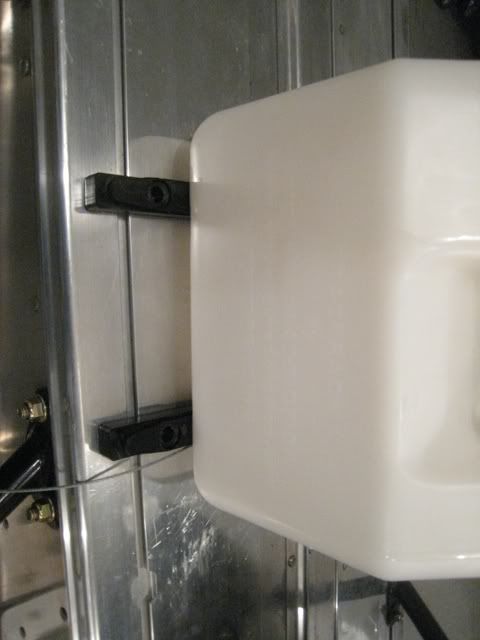
Put the screws in the tunnel tracks (similar to the seat post screws). Place the gas tanks on the tunnel and put the nuts into the rails. Use a 5mm allen wrench to tighten the nuts.
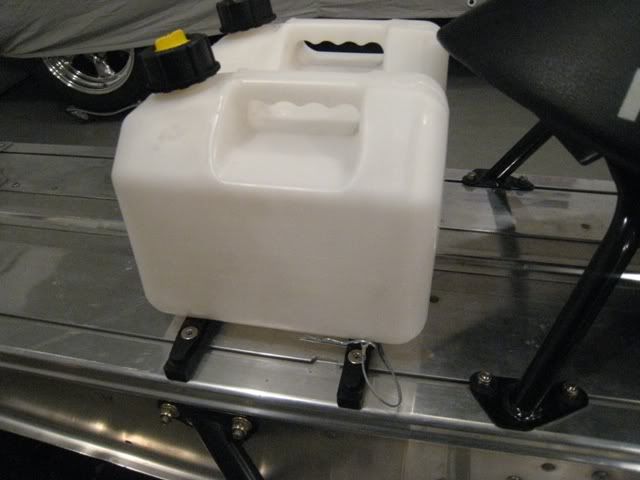
IMG_4126.jpg


IMG_4127.jpg


Installed
IMG_4139.jpg


IMG_4140.jpg


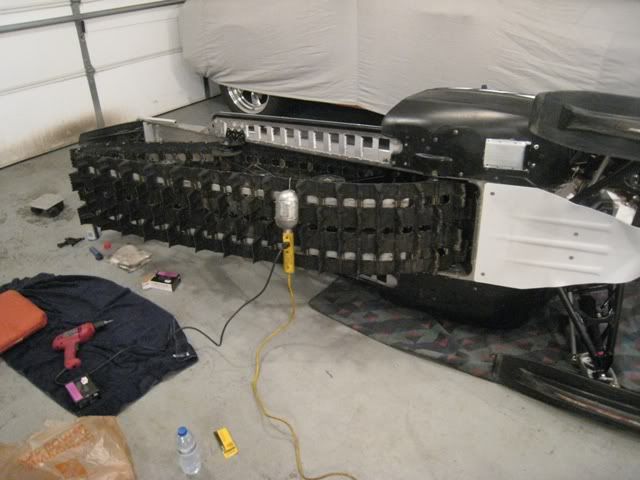
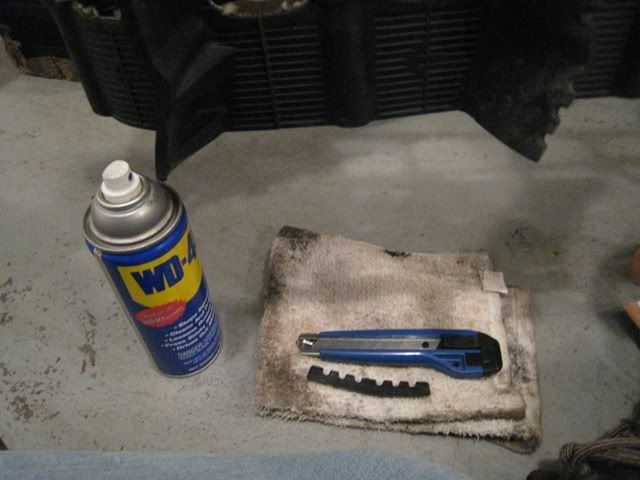
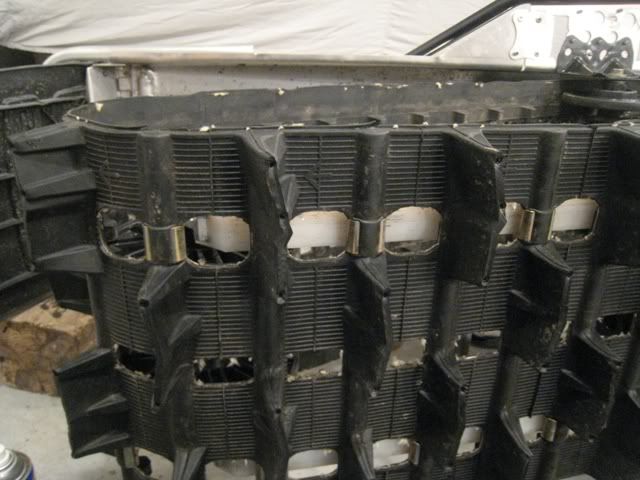
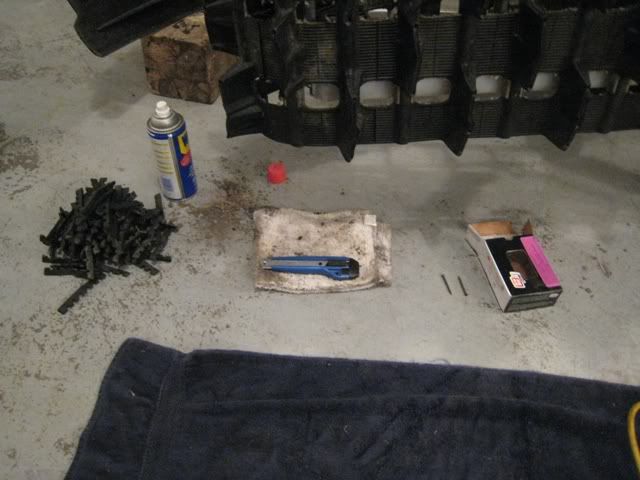
I then worked on the F-Bomb track mod. Cut the tips of the paddles off with a razor blade (use WD40 on the blade to help with friction). Then screw the tall lugs. I did 3 screws per outer paddle (i.e. 3 tall lugs). I did 2 screws per inner paddle (i.e. 2 tall lugs and 1 short lug). It took about 2 hours to complete. I used small trim screws 1.625" in length with a small head on it. I used a 1 lbs box and it was just enough with 2 left over screws.
IMG_4131.jpg


IMG_4132.jpg


IMG_4136.jpg


IMG_4137.jpg
 
J
Dec 2, 2002
1,047
247
63
Monticello, MN
I did a sound test in 3-4" of wet snow yesterday with an analog db tester. I was the one on the sled and my friend read the db gauge. At 4k rpm's, it read 89-90 db's at 13' away.

In comparison, my friends sled with the same setup and no 45* turn down, it bounced between 90-92 db's.

We'll have to do another test once we get into a wide open field with no houses or trees around. Regardless, it's pretty close.
 
Last edited:
J
Dec 2, 2002
1,047
247
63
Monticello, MN
I finally got around to making an additional muffler for my tunnel dump setup. I bought a 4" u-bend from Jegs. I also bought a few hole saws to make the end caps: 4", 3", and 2.5". It seems quieter but I won't know until I do the db test this weekend.

U-bend
IMG_4153.jpg


End cap welded
IMG_4154.jpg


Drill a bunch of holes. I used a punch and hammer to make it easier for this process and layout.
IMG_4158.jpg


4" tacked in place
IMG_4161.jpg


Silent Sport packing wrapped around the pipe
IMG_4163.jpg


Welded in place.
IMG_4164.jpg


IMG_4167.jpg


Wrapped and painted
IMG_4168.jpg


All buttoned up. The only mod I had to do was oblong the tunnel dump a little bit to get it to fit and I had to cut about 1/4" off the end of a allen wrench in order to tighten up one bolt.
IMG_4172.jpg


IMG_4171.jpg


IMG_4176.jpg


Just waiting for the fuel controller and clutch weights now.
IMG_4150.jpg


One thing I might do is mount the AFR and Boost gauge to the gas tank shroud mounting plate. Doing this will keep it stationary and it won't try and pull out the plugs, light for boost gauge, or the boost line by steering to the right and left. I'm still waiting for my gauge pod lift console as well, hopefully that would interfere with this relocation plan.
 
Last edited:
J
Dec 2, 2002
1,047
247
63
Monticello, MN
Hey guys,
Thats a nice sled man. But what are you going to do with all that power and that long track in Minisodie.

There's plenty of snowbanks to highmark here in the midwest :D

I wish I could move out West and ride every weekend but that's not feasible at this time. I will have to settle for vacations during the winter time.

Next on the list, new seat cover. I had the Skinz seat cover on my last RMK and it was night and day difference compared to the slippery stock cover. Instead of paying the $200 price tag for the Skinz seat cover, I'm going to try and recover it myself with some 4 way high tack stretch vinyl. http://www.yourautotrim.com/alhbl.html We'll see how that works once it shows up.

Update:
Sound test came back at ~90 db on average. It was bouncing between 89-91 db's. We'll see if it changes once I get some miles on it. I did what I could to quiet it down so I think I'm pretty much done working on that issue.

I picked up some 4" foam, I think I might add some height to the seat when I recover it.
 
Last edited:
J
Dec 2, 2002
1,047
247
63
Monticello, MN
Today's progress: Installed Trail Tank and made a fuel controller bracket.


Switching over the fuel pump, front seat bracket, and vent hose.
IMG_4179.jpg


Getting ready to install the Trail Tank
IMG_4188.jpg


Installed. Overall, very easy install.
IMG_4196.jpg


Next up was to make a new bracket for the fuel controller.
I cut 3 pieces of aluminum - two angled pieces and one flat stock piece.
IMG_4197.jpg


IMG_4200.jpg


IMG_4201.jpg


IMG_4202.jpg


IMG_4208-1.jpg


IMG_4211.jpg


IMG_4218.jpg


Painted and installed
IMG_4223.jpg


IMG_4221.jpg


IMG_4219.jpg


I will be installing velcro on the back of the fuel controller and also on the fuel controller mount.
IMG_4226.jpg


I plan on running the fuel controller wires and boost reference line through the gauge pod bracket. I plan on drilling a 1/2" or so hole and put a rubber grommet to avoid wires rubbing on sharp edges.


Update on the seat fabric:
I got it today from UPS and it appears to be very similar to the 2008 and 2009 Polaris seat covers. I think I need to find a "non slip" rubber type of fabric. I might hit up a local upholstery store and see what I can find. I might need to get something sewn into the seat cover. Something like this might work: http://www.ahh.biz/products/rubberized_materials/toughtek_mini_pique.htm
 
Last edited:

RIDECATS

Well-known member
Premium Member
Sep 24, 2002
345
64
28
MN
Jonce - if your looking for source for you seat material - try Canvas Plus right by Veit in Rogers - he has lots to choose from and he let me "touch an feel" it. I was looking for mesh material and I think he has vinyl
 
J
Dec 2, 2002
1,047
247
63
Monticello, MN
Jonce - if your looking for source for you seat material - try Canvas Plus right by Veit in Rogers - he has lots to choose from and he let me "touch an feel" it. I was looking for mesh material and I think he has vinyl


Thanks, I drive by there twice a day (work in St. Paul and live in Monticello) so maybe I will stop in and see what they have.

I put about 20-25 miles on my sled today :D
 
J
Dec 2, 2002
1,047
247
63
Monticello, MN
Interactive Demo

I just found a cool interactive demo on how the fuel controller box works, check this out: http://www.electronicjetkit.com/

On the bottom right hand side where the fuel controller is, you can mouse click the Mode and -/+ to adjust for the fuel and curve.

I have 25 miles on the sled, hopefully going out tomorrow to do some more tuning.
 
J
Dec 2, 2002
1,047
247
63
Monticello, MN
Here's an update, I have 250 miles on the sled all at low elevation and its running great. I blew a belt today and it sounds like something rattling around under the hood. I think the cords were hitting the stirrup vents causing the rattling sound. I'm planning on pulling it down to the reeds this weekend to verify. I'm not looking forward to the extra work but it will pay off for the piece of mind. I have new throttle body boots to install anyways.
IMG_4321.jpg


I had to cut off the tunnel dump right angle today after noticing that the front rails tips bent it.
IMG_4313.jpg


I put a new set of MODS Skis on the sled, they work great. http://www.modsskis.com/
IMG_4311.jpg


Attention for anyone that has a Garrett 2860 turbo. If you suspect that your wastegate is getting stuck open, you will need to check this out. With my down pipe off and the wastegate linkage disconnected, you can move the wastegate lever back and forth. My wastegate valve was getting caught on the top edge of the casting. This is the position that it was getting stuck at 30% of the time.
IMG_4305.jpg


I taped off the hot side of the turbo and proved my theory, no more sticky wastegate valve.
IMG_4309.jpg


Solution: Round off the edge all the way around on the wastegate valve. I used a Dremel with a sanding disc.
IMG_4314.jpg


You can see the profile of the bottom edge is rounded off. It used to be a 90* right angle edge but not its rounded off and doesn't catch at all. I moved the flapper valve about 50 times and not one catch.
IMG_4319.jpg
 
Last edited:
Premium Features