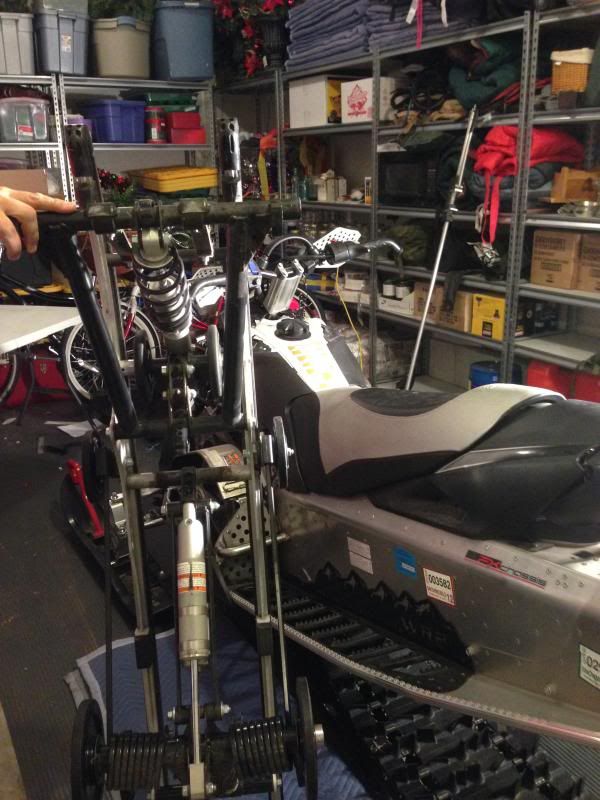
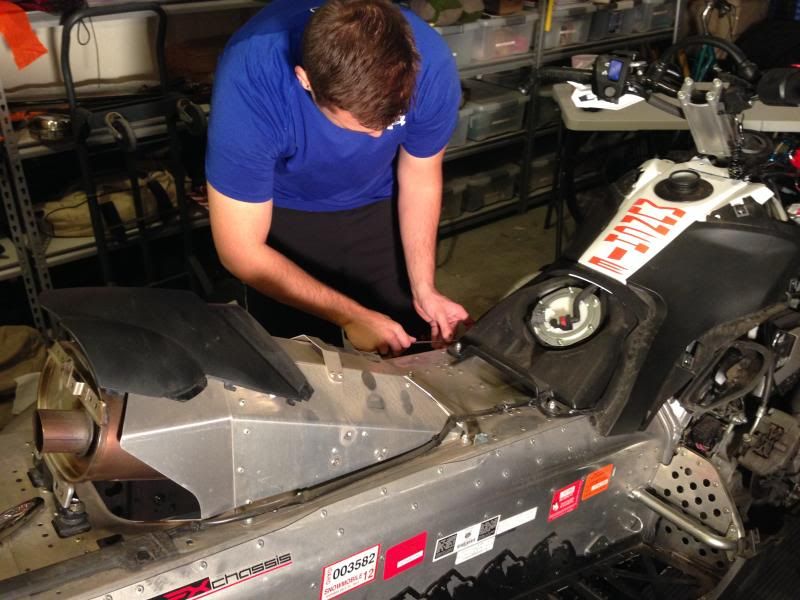
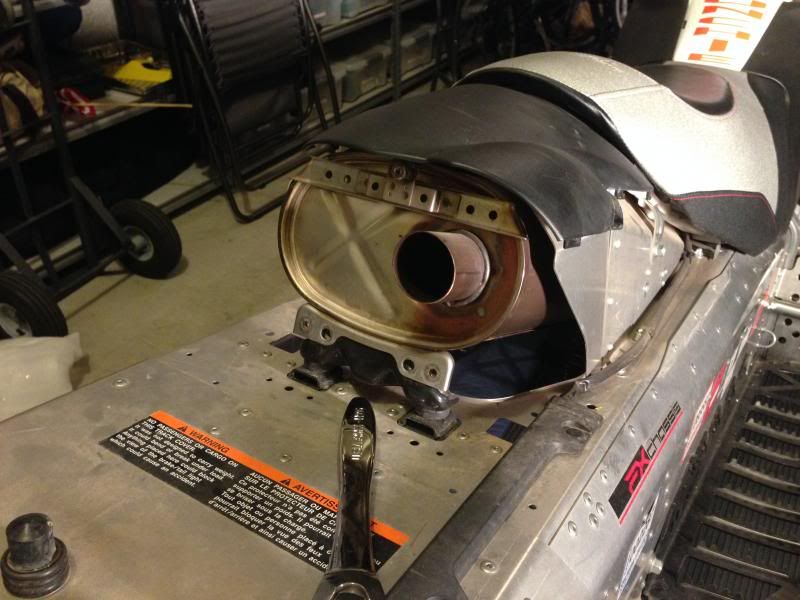
• Don't miss out on all the fun! Register on our forums to post and have added features! Membership levels include a FREE membership tier.

Installation & Review: Yamaha OEM Turbo & MPI Stage One Upgrade

T

Turbo11T

Well-known member
Nov 26, 2007
3,062
751
113
Lake Crystal, MN
Christopher here is what I mean you can see it in this pic.

http://www.skinzprotectivegear.com/images/735_New_Image.JPG
735_New_Image.JPG
 
Last edited by a moderator:

2Huskies

Well-known member
Lifetime Membership
Jul 19, 2009
581
206
43
Rigby, Idaho
So here we have the suspension out. It took some wiggling and had to jack up the back end pretty high but we got it. Hmm who knows, maybe ill replace that while im at it.

Iphone948.jpg


From there we just tucked the track under the front of the sled.

Iphone951.jpg


Onto the next step!
 

2Huskies

Well-known member
Lifetime Membership
Jul 19, 2009
581
206
43
Rigby, Idaho
Step G

Remove the side pods on each side of the seat. Unfortunately I didnt get a picture of them. Only advice, when trying to get them off, be really careful, I about snapped mine. Just jimmy them forward and backward and they will pop off

Step H
Remove the Seat
Iphone958.jpg


The seat really is just held on by two bolts, and a quick tug up and toward the rear of the sled and off she came.

Iphone960.jpg


And voila no more seat!
 

2Huskies

Well-known member
Lifetime Membership
Jul 19, 2009
581
206
43
Rigby, Idaho
Step I
Remove the gas tank plastic covering. Keep the three pieces together to be reused later.

There are two plastic pops at the bottom of each black piece, haha that took me a second to figure out.

Iphone961.jpg


Then two catch inserts at the top on the while piece, just gotta pull and they slip out.

Iphone962.jpg
Off comes the plastic and away with her old name!

Iphone963.jpg
 

2Huskies

Well-known member
Lifetime Membership
Jul 19, 2009
581
206
43
Rigby, Idaho
Step J&K

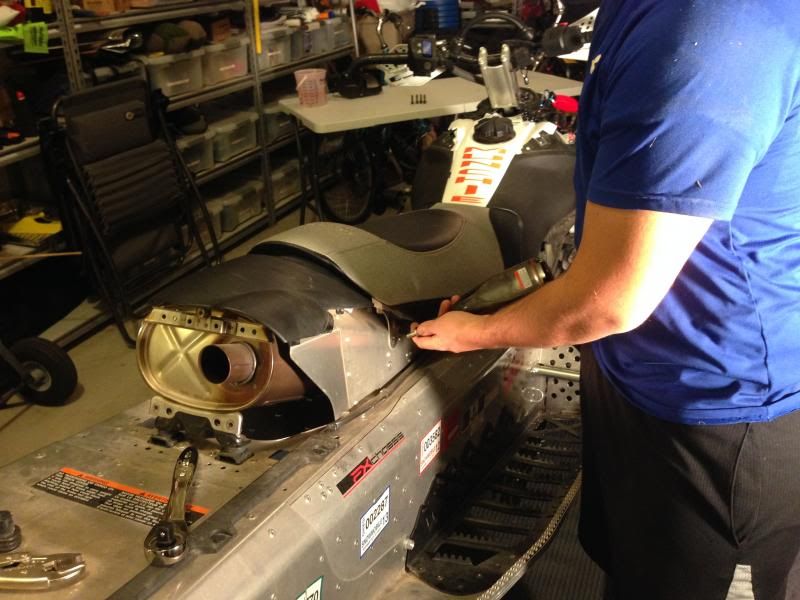
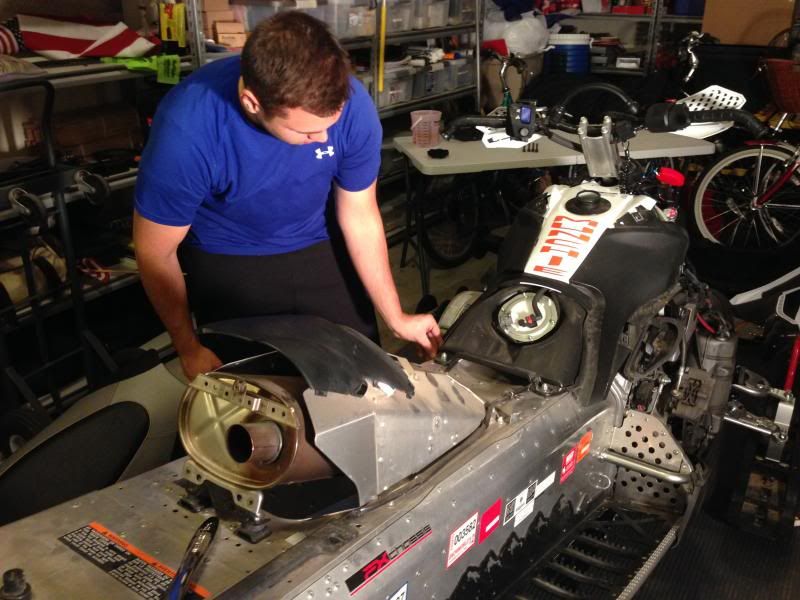
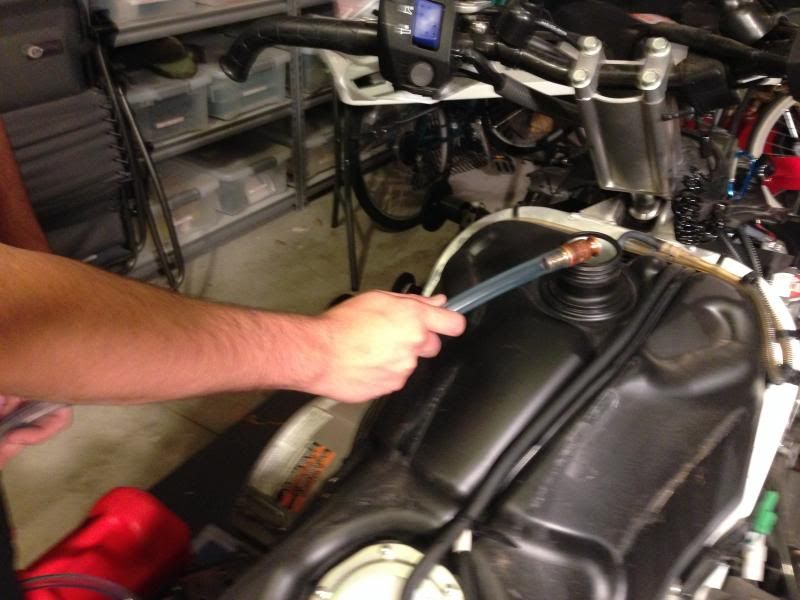
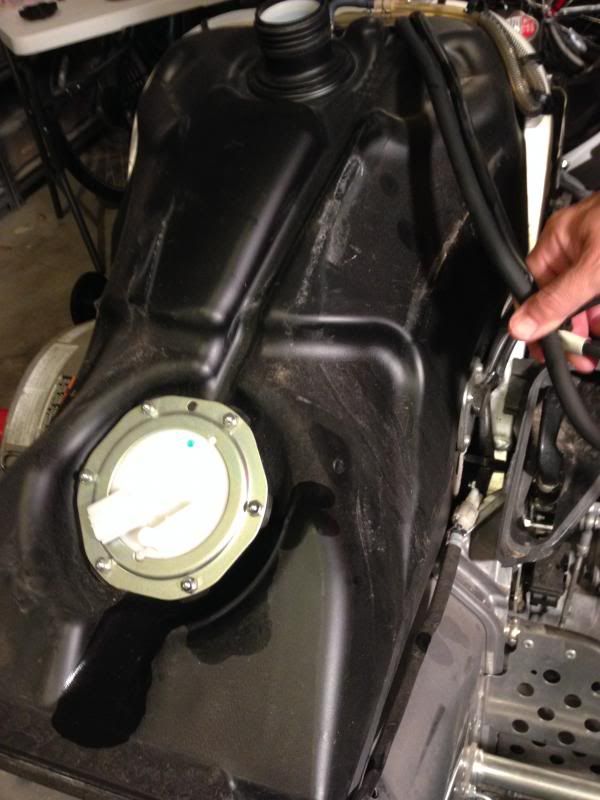
Alright time to get rid of that pesky gas tank. A Word to wise.... Make sure your gas tank is empty before you try and disconnect it. I almost made the mistake of disconnecting it and loosing fuel everywhere! Thank goodness for a siphon.

Iphone966.jpg


Alright then with an empty tank, disconnect both lines to fuel tank its self. The clips are a wee bit tricky but nothing to bad.

Iphone968.jpg


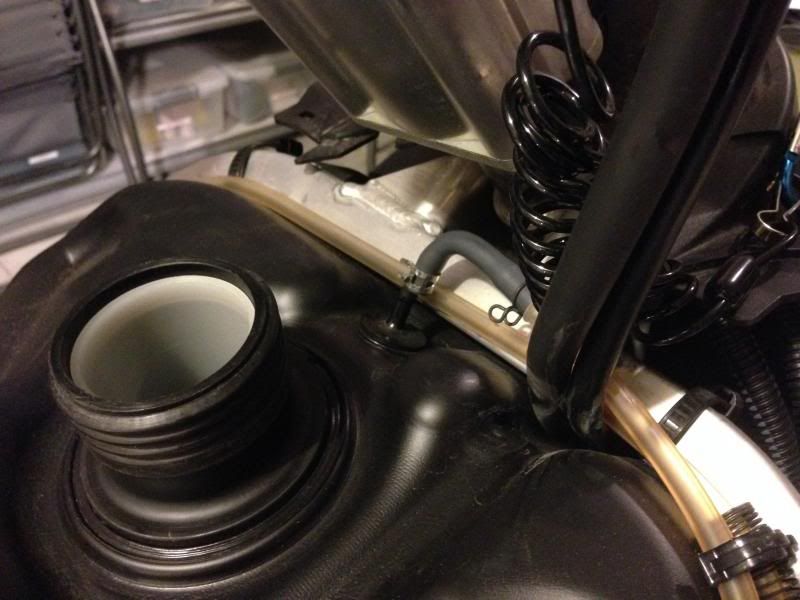
Lastly undo the Line at the very top, its one you have to pinch open.

Iphone977.jpg


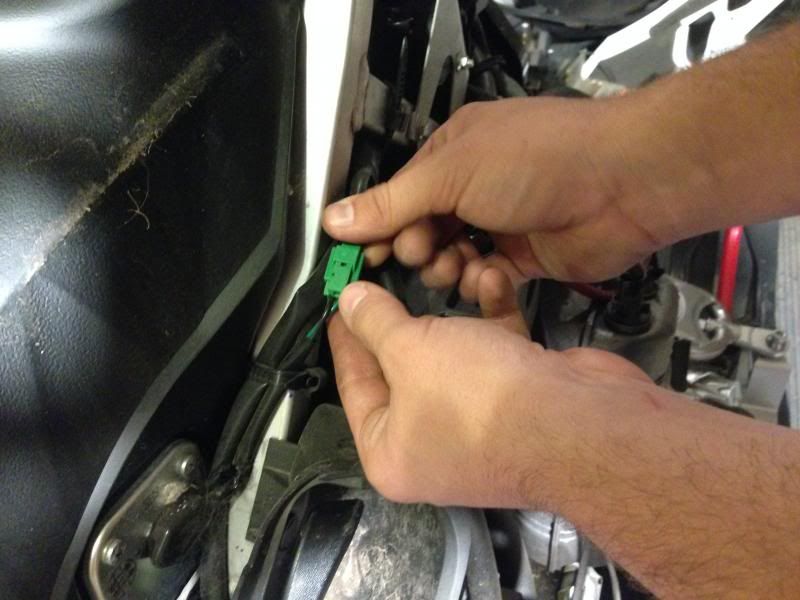
And the Green fuel sensor on the far right of the tank.

Iphone978.jpg


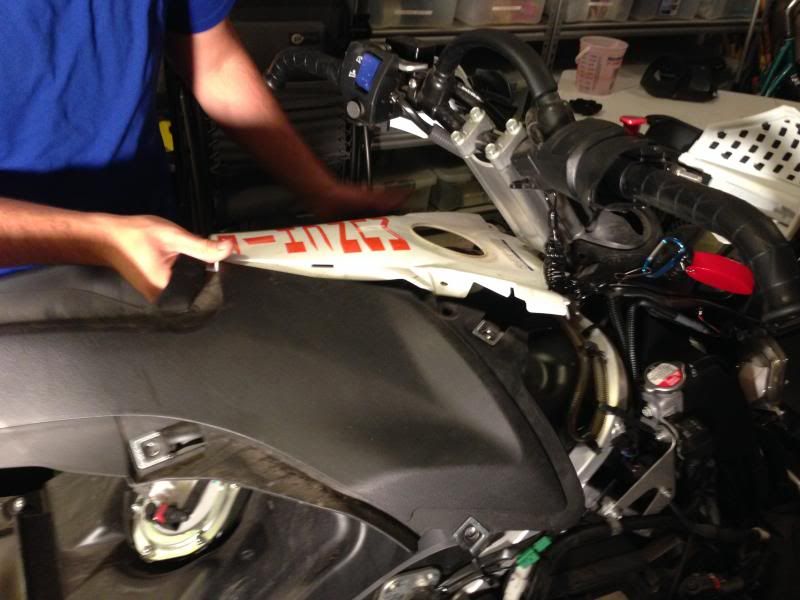
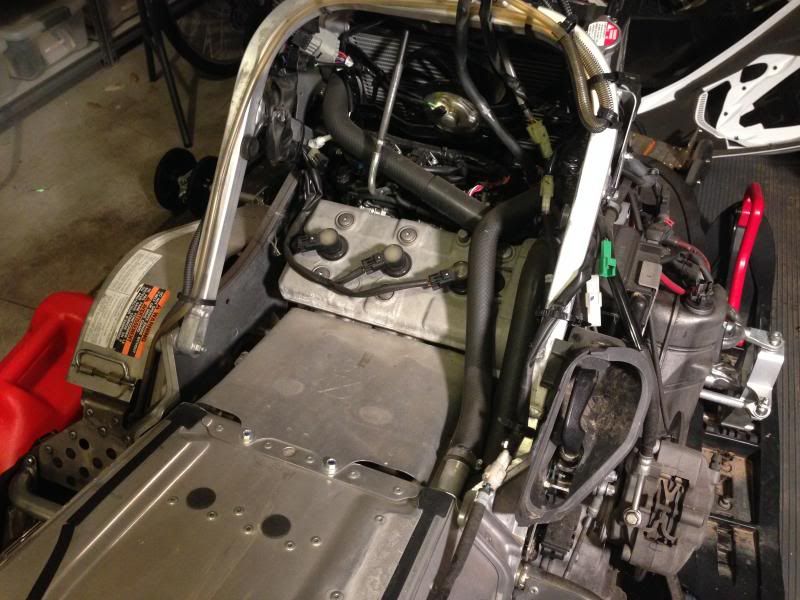
And you just take the tank off! No more fuel for this baby.

Iphone979.jpg


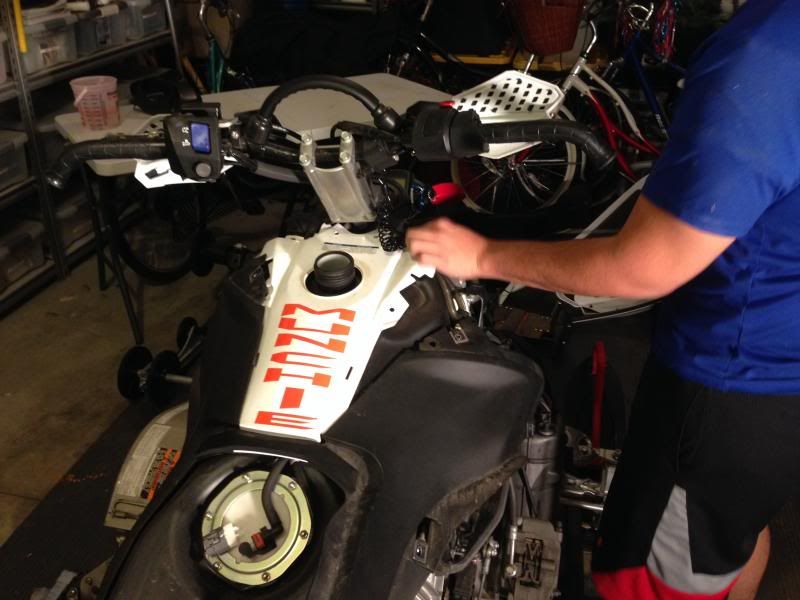
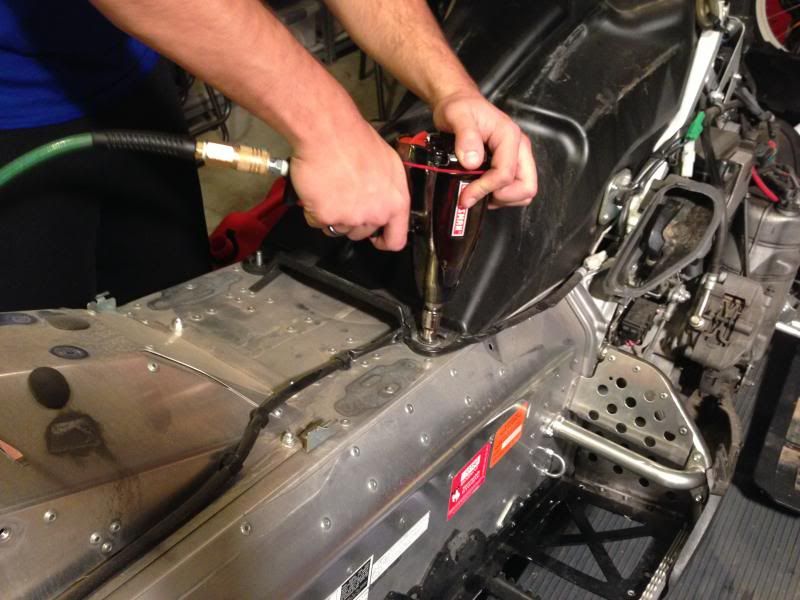
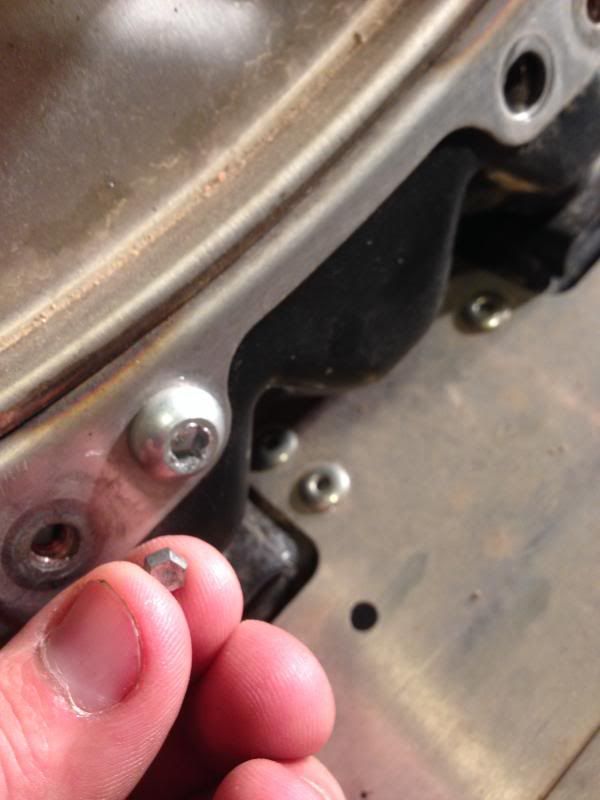
Then undo both bolts at the bottom of the gas tank

Iphone972.jpg
 

2Huskies

Well-known member
Lifetime Membership
Jul 19, 2009
581
206
43
Rigby, Idaho
Step M

Now the Exhaust cone cover came off without a hitch. Just three bolts and it popped right off.

But getting the two mounting bolts off is a different story
For anyone who has ever snapped a ball nosed alen key off inside a bolt you know my pain.
Iphone952.jpg

Iphone953.jpg


Took some work but finally with a hammer and punch it came out. Hit each corner of it until it just loosened up and fell out.

Iphone954.jpg


Then a few moments later, (Once i used a craftsman key this time) they two bolts came right out.

Iphone956.jpg
 

2Huskies

Well-known member
Lifetime Membership
Jul 19, 2009
581
206
43
Rigby, Idaho
I C dad stuck you in the little shop


Yea I have not been promoted. But I did get to steal tables, the impact wrench, and lights. Im making it work! He says he needs the room to work on his sled...

Not like he ever does anything to his sled right? haha
 

slash

Parts Moderator & Chat Box Cop
Staff member
Lifetime Membership
Jul 22, 2008
3,060
1,224
113
64
IDAHO FALLS 83404
do you kneed to use a lift ? too bad I sold yer dads track his skid is leanin on the wall a 163 would have been a nice up grade ,oh no impact on cheep ball allens they snap rt off
 

2Huskies

Well-known member
Lifetime Membership
Jul 19, 2009
581
206
43
Rigby, Idaho
Not the full body lift, I don't see a need for it yet. Just a tail lift. Hmm that may yet happen....
 
T

TRUEBLUEMAX

Well-known member
Aug 4, 2010
751
280
63
Hooper, Utah
Btw. Fuel will not leak out of your tank when you disconnect the lines. The fuel that is in the line will leak out but nothing out of the pump. Electric fuel pumps have a check valve in them so that the fuel lines always stay primed when the pump is not running.

Nice documentation. When I did mine I was so stoked there was no time for things like taking pictures. That thing was torn down to nothing quick.

When pulling the skid in the future before you jack it up compress down the rear if the sled as far as you can then use a ratchet strap to hold it closed and tighten it up the rest if the way. With the skid collapsed its much easier to slide out if the track and tunnel. Anything with a float shock is easy cause you just let the air out:)


Sent from my iPhone using Tapatalk - now Free
 

2Huskies

Well-known member
Lifetime Membership
Jul 19, 2009
581
206
43
Rigby, Idaho
Thanks true blue! Yea I honestly thought I was about to leak fuel everywhere. Good to know that wouldn't have happened. And ratcheting it down, I'm sure would have been easier. Haha I'm glad you guys know all the tricks
 
T

Turbo11T

Well-known member
Nov 26, 2007
3,062
751
113
Lake Crystal, MN
oh no impact on cheep ball allens they snap rt off

I would say. . . No impact on allens ever. . . LOL those buggers

Here is the Skinz Diagonal braces for shortening the running boards and narrowing the rear of the tunnel. If I was you I would get a cat rear bumper to add strength to the rear tunnel portion after narrowing it. The cat bumper is surprisingly strong for this purpose. If you need on I have a used one I will sell you and I can cut it to the length you need before sending it.

http://www.skinzprotectivegear.com/snowmobileproducttz/tunnelkits.html
 
Last edited:

2Huskies

Well-known member
Lifetime Membership
Jul 19, 2009
581
206
43
Rigby, Idaho
Well back at it! Here is step N

Removing the metal heat shield over the exhaust pipe. Now this is held down by two bolts that are actually under the shield. There are three plastic inserts to cover the holes that give you access. SO just pop those out and rachet away. I did have to get out an extender on my impact gun to reach them.
Iphone981.jpg
Iphone983.jpg


Iphone985.jpg


Once both sides are done. Then undo the middle bolt. Which is the exhaust clamp on the exhaust pipe. (Three in total) we are almost ready to pull off the exhaust.
 

2Huskies

Well-known member
Lifetime Membership
Jul 19, 2009
581
206
43
Rigby, Idaho
From here we skipped to step Q. The two steps before it apply to 2008 nytros depending on where your rear light is.

Now for Q and R.

Just pull on the exhaust pipe and it literally just pops off.

Iphone987.jpg


Then once it is out, undo the 8 castle nuts around the heat shield. Undo the tail tight cable fasteners (I recommend needle nose pliers as i sliced my finger on one of them). Then just lift straight up and the heat shield comes right off.

Iphone989.jpg
 
Premium Features