
C
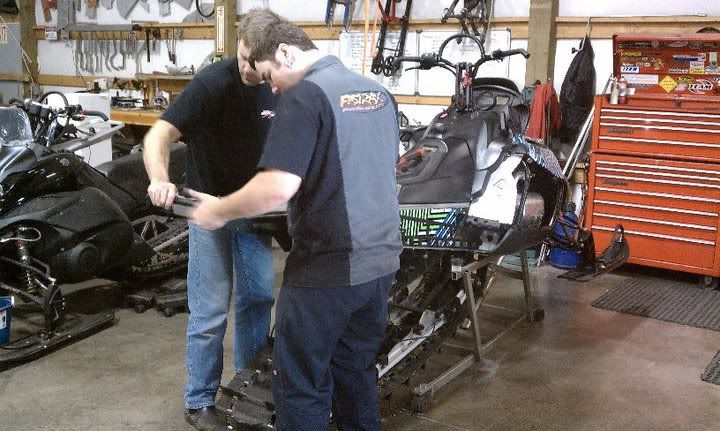
The reason I went with the VanAmburg Boondocker Bumper kit is that I had bent running boards and bent outer running board bars. When I stood on my running boards I could feel it flex and give under my feet! While talking with Mike VanAmburg, he explained the significant increase in strength, flex elimination, and the ease of installation of the kit. Of course I could see how NICE it looked, so I decided to get it. You get the look of the Boondock tunnel with 1/3 the installation labor. We went with a satin black powdercoating to help with snow build up issues and again to look nice! Mike had my kit to me in about 2 weeks; however now that fall is upon us the turn around time is 4 weeks. Off to Fastrax we went to install which took a total of 6 hours. We did not rush the process and in fact we put the kit on and took it off 3 times to make sure everything was just right. HUGE thanks to Brent and Fastrax for all the help!! ")
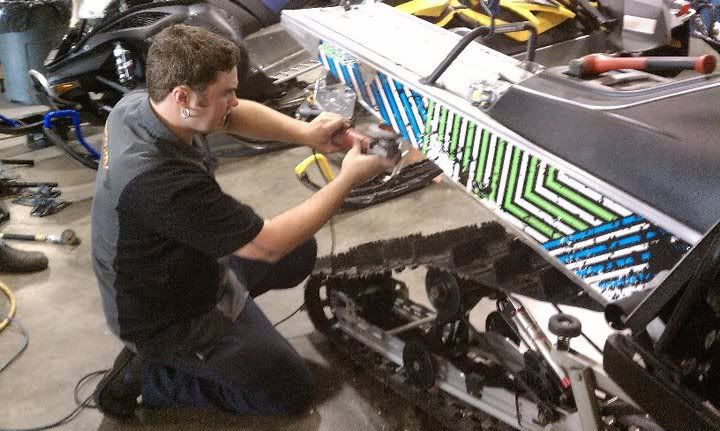
Here's a step by step look at the installation process.
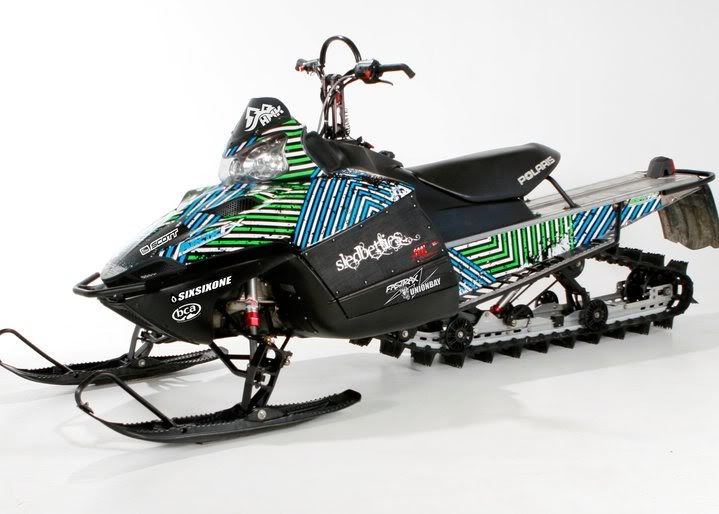
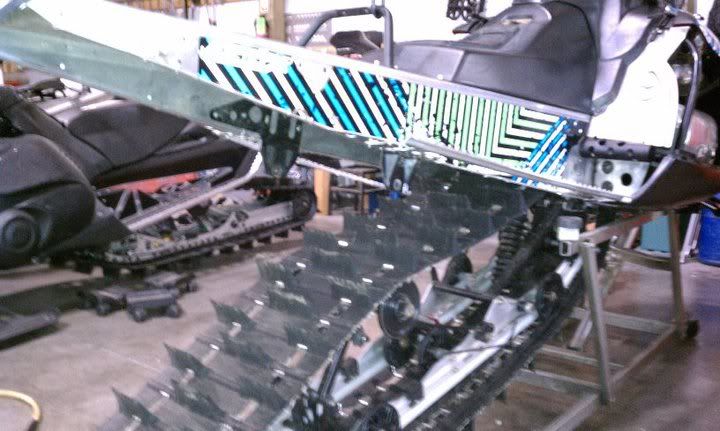
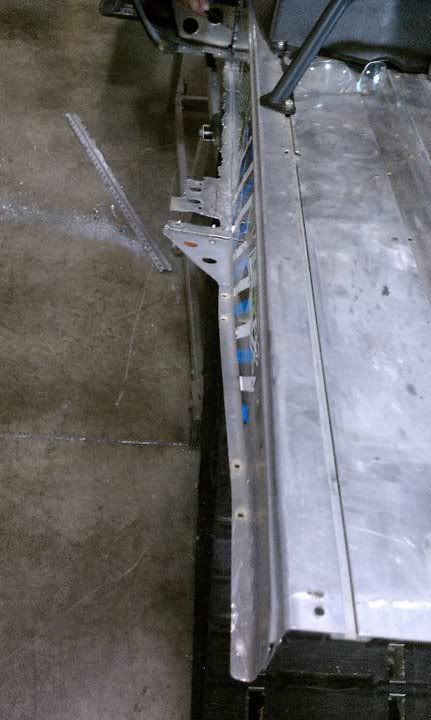
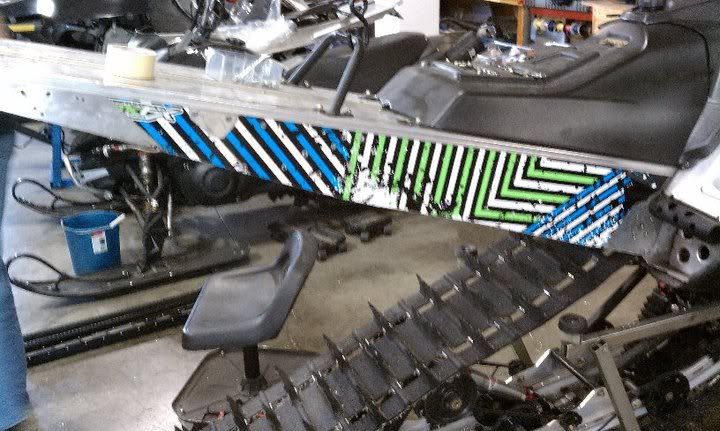
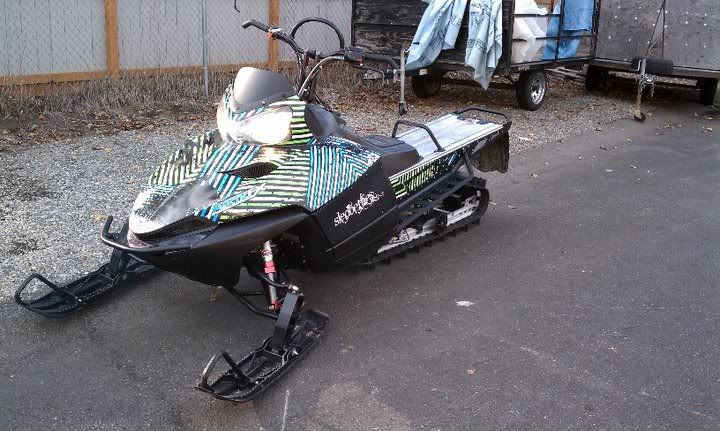
The start, what she looked like before.
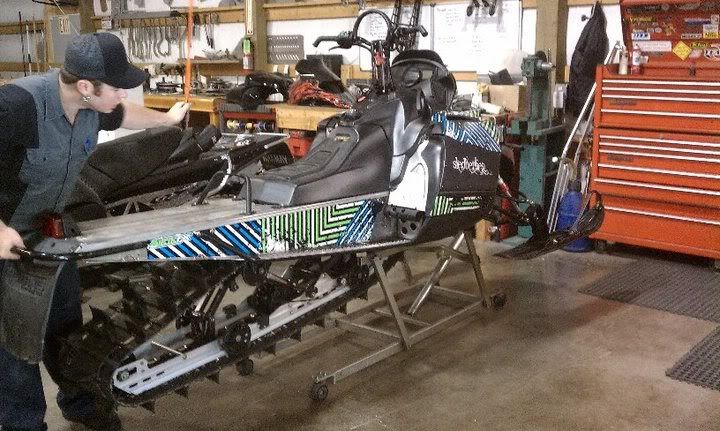
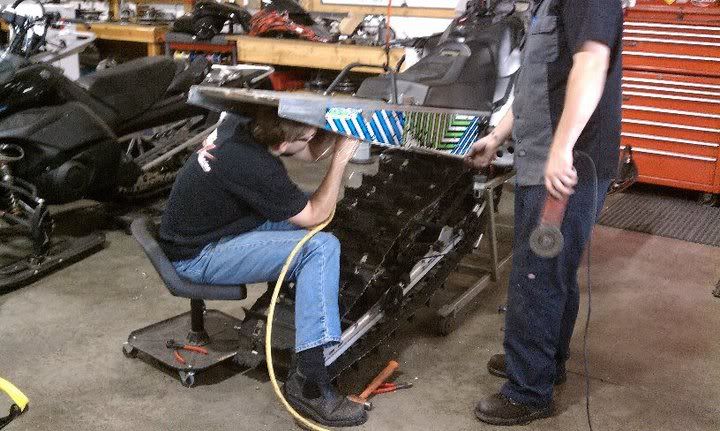
Remove rear bumper and tail light assembly, and remove side panels so you can get to the 2 bolts up front that hold on the steel bars.
Remove the steel running board bars.
Drop rear suspension, both front and back bolts.
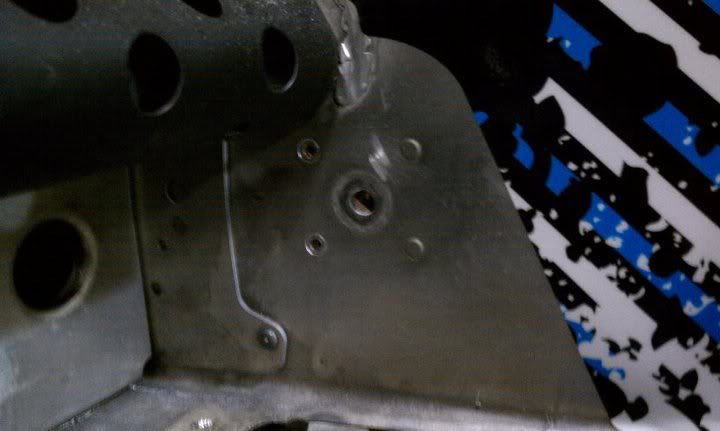
Remove stock rear drop bracket. But before you do, measure center to center from the front mount hole, and height from the top/inside of the tunnel, so you know where to drill your hole on the new kit!
Polaris rivets have to be ground off…WEAR YOUR SAFETY GOGGLES!!
Remove all 4 rivets on the front plate of the rear suspension
I had previously installed running board inserts, so we had to remove those.
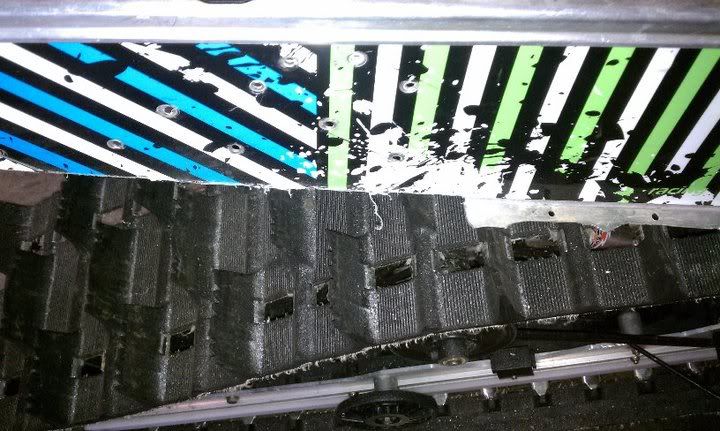
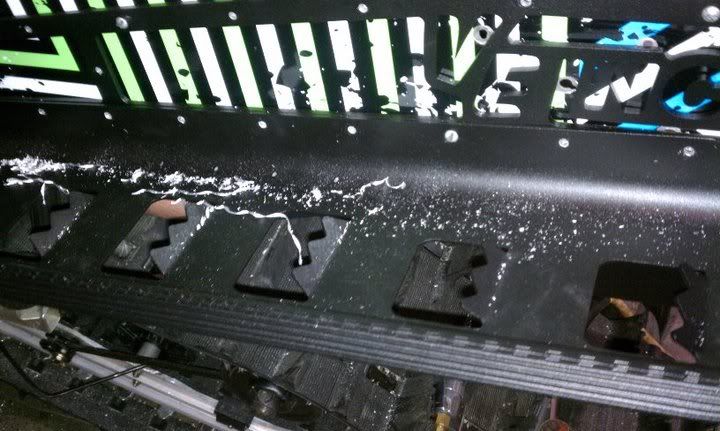
The kit says to leave 1 ¼ inch of the running board. If you have already cut your boards for inserts like me, you can go ahead and cut the outer edge off.
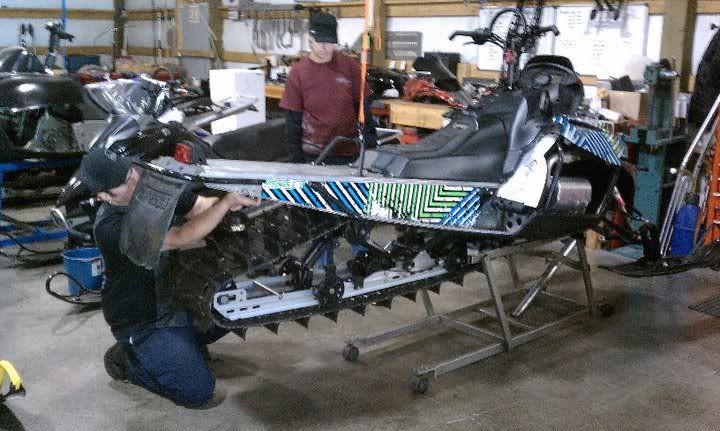
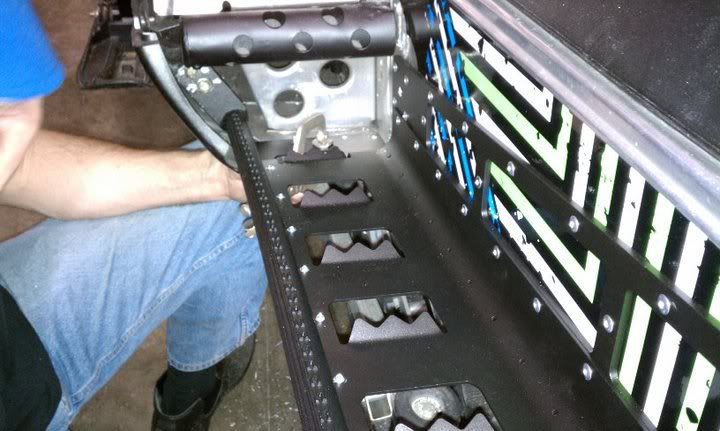
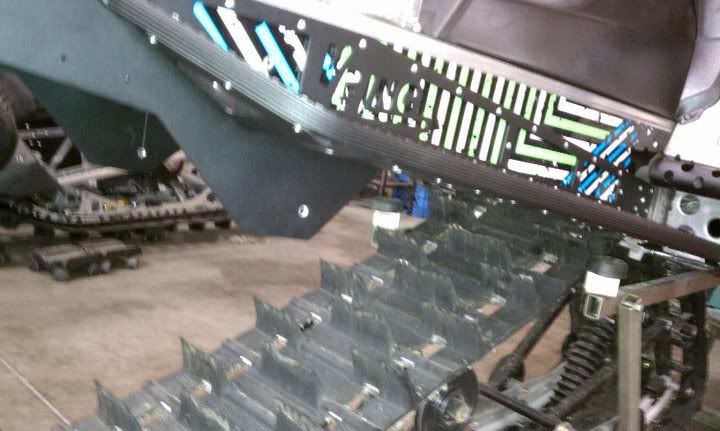
We slid the kit on to start drilling holes for installation.
As you can see with the kit flush to the top the running board is still showing below. We cut the remainder of this off. Normally, you would slide the footboard section of the new kit down to rest on the old running board lip.
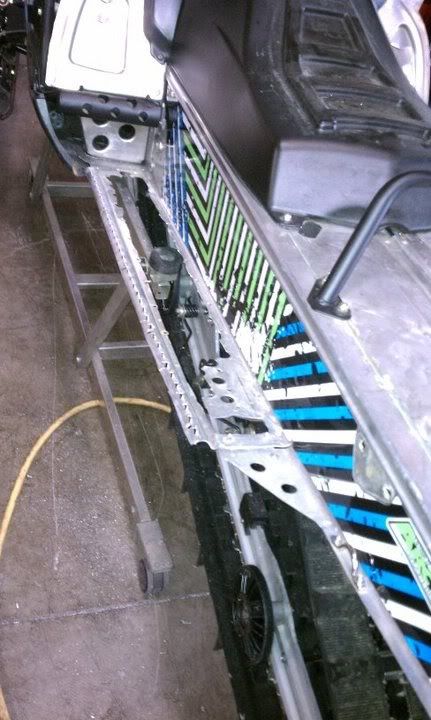
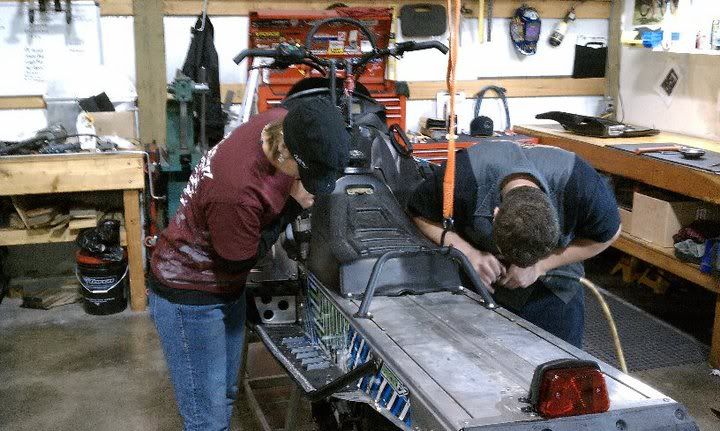
We started in the back and worked our way forward with drilling holes, placing screws to hold it in place. We started with the piece that fits against the tunnel, then the outer bar, then the running board insert last.
Once all the holes were drilled we realized that the running board portion did not lay flat with the front of the foot-well…this is because we had removed what was left of the stock running board lip. Normally, the new running board insert would sit about ½” lower that ours. Justin put 2 bends in the front portion to get it to line up.

Once all the holes were drilled, we removed all the screws and the kit to do clean up, de-burring all the holes and removing all shavings so that the kit will fit flush.
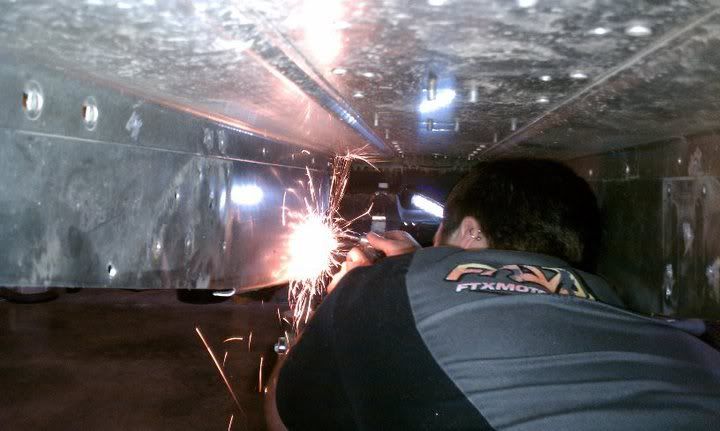
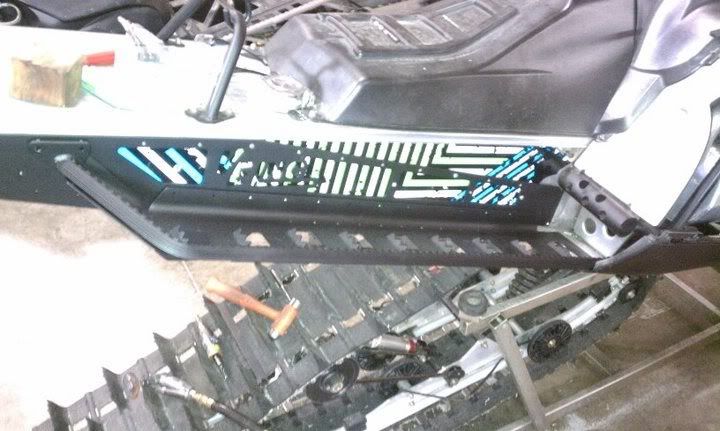
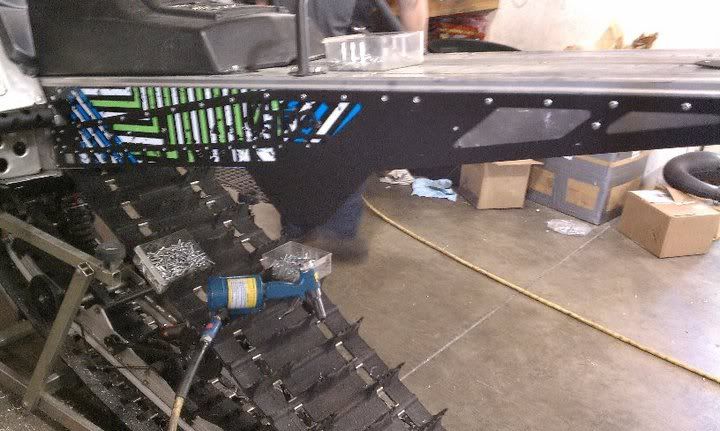
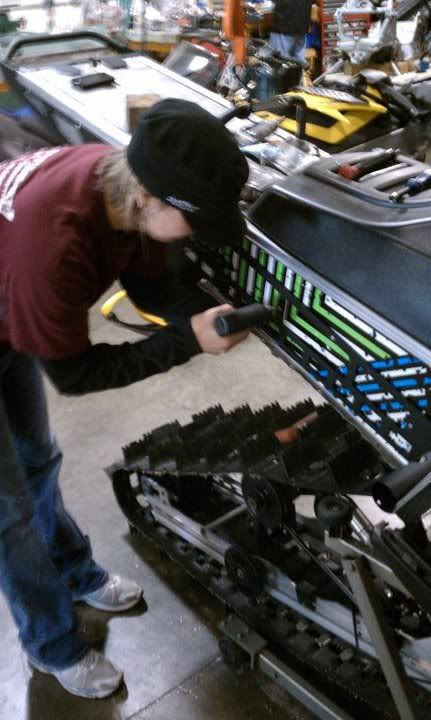
It was now time to put the kit on for the final installation. We put a few screws in to hold it in proper place, and started riveting using avdel q-rivets! solid mandrel-hard on rivet guns but hold up great!
The kit comes predrilled on the running board portion to be able to rivet the inner part to the stock running board lip. I did not have enough material left to line up with these holes and upon testing the kit we decided that it would be MORE than strong enough even without this step.
Again, we started with the tunnel piece, then the running board outer bars, then the running board insert. Use clamps along the way to help hold everything tight.
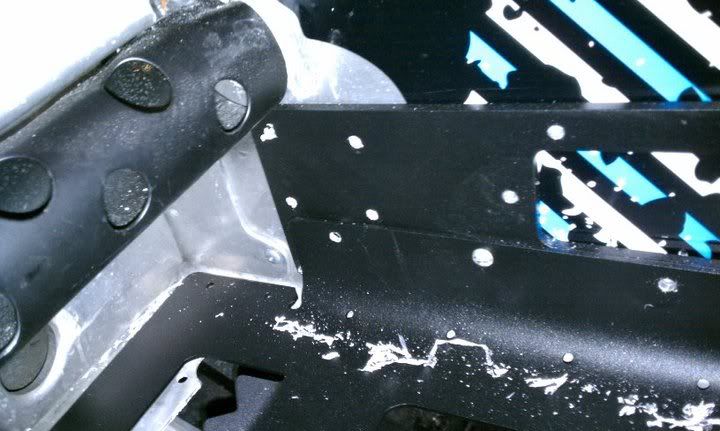
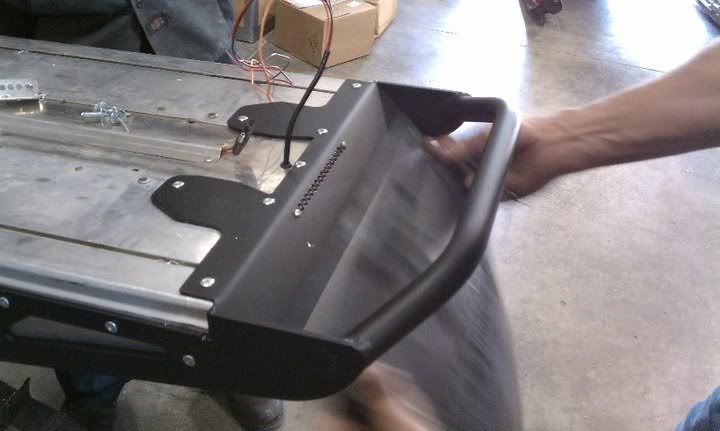
Measure and drill the hole for the rear drop bracket.
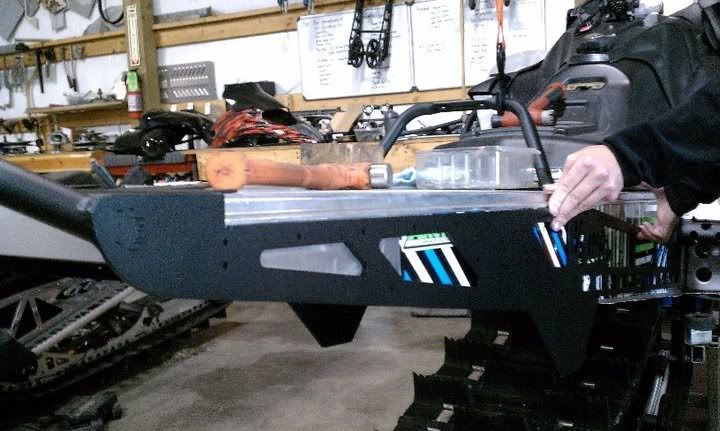
I decided that the stock brake light assembly would no longer look cool, so we installed an LCD light from WPS. Very clean look to match the new bumper/tunnel!!
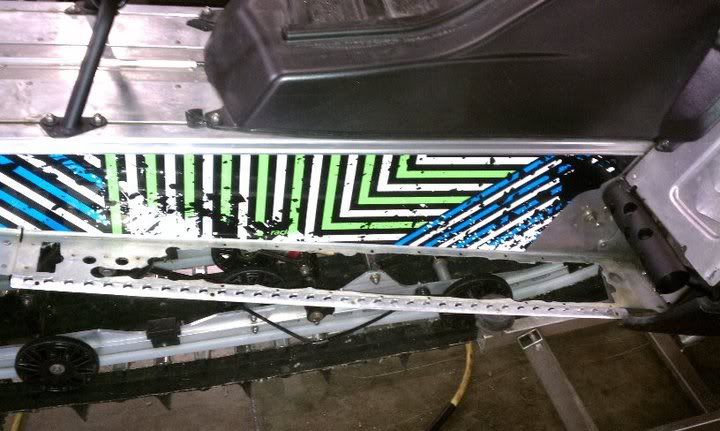
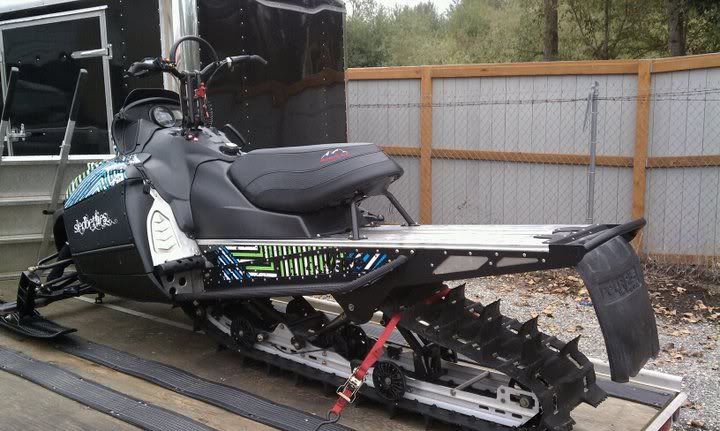
All done!
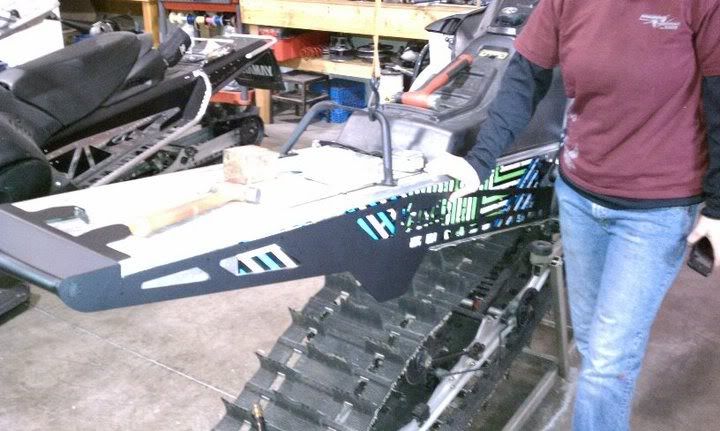
With my new WRP seat on!
And only one busted knuckle!
Here's a step by step look at the installation process.
The start, what she looked like before.
Remove rear bumper and tail light assembly, and remove side panels so you can get to the 2 bolts up front that hold on the steel bars.
Remove the steel running board bars.
Drop rear suspension, both front and back bolts.
Remove stock rear drop bracket. But before you do, measure center to center from the front mount hole, and height from the top/inside of the tunnel, so you know where to drill your hole on the new kit!
Polaris rivets have to be ground off…WEAR YOUR SAFETY GOGGLES!!
Remove all 4 rivets on the front plate of the rear suspension
I had previously installed running board inserts, so we had to remove those.
The kit says to leave 1 ¼ inch of the running board. If you have already cut your boards for inserts like me, you can go ahead and cut the outer edge off.
We slid the kit on to start drilling holes for installation.
As you can see with the kit flush to the top the running board is still showing below. We cut the remainder of this off. Normally, you would slide the footboard section of the new kit down to rest on the old running board lip.
We started in the back and worked our way forward with drilling holes, placing screws to hold it in place. We started with the piece that fits against the tunnel, then the outer bar, then the running board insert last.
Once all the holes were drilled we realized that the running board portion did not lay flat with the front of the foot-well…this is because we had removed what was left of the stock running board lip. Normally, the new running board insert would sit about ½” lower that ours. Justin put 2 bends in the front portion to get it to line up.
Once all the holes were drilled, we removed all the screws and the kit to do clean up, de-burring all the holes and removing all shavings so that the kit will fit flush.
It was now time to put the kit on for the final installation. We put a few screws in to hold it in proper place, and started riveting using avdel q-rivets! solid mandrel-hard on rivet guns but hold up great!
The kit comes predrilled on the running board portion to be able to rivet the inner part to the stock running board lip. I did not have enough material left to line up with these holes and upon testing the kit we decided that it would be MORE than strong enough even without this step.
Again, we started with the tunnel piece, then the running board outer bars, then the running board insert. Use clamps along the way to help hold everything tight.
Measure and drill the hole for the rear drop bracket.
I decided that the stock brake light assembly would no longer look cool, so we installed an LCD light from WPS. Very clean look to match the new bumper/tunnel!!
All done!
With my new WRP seat on!
And only one busted knuckle!