• Don't miss out on all the fun! Register on our forums to post and have added features! Membership levels include a FREE membership tier.

Installation & Review: Yamaha OEM Turbo & MPI Stage One Upgrade

2Huskies

Well-known member
Lifetime Membership
Jul 19, 2009
581
206
43
Rigby, Idaho
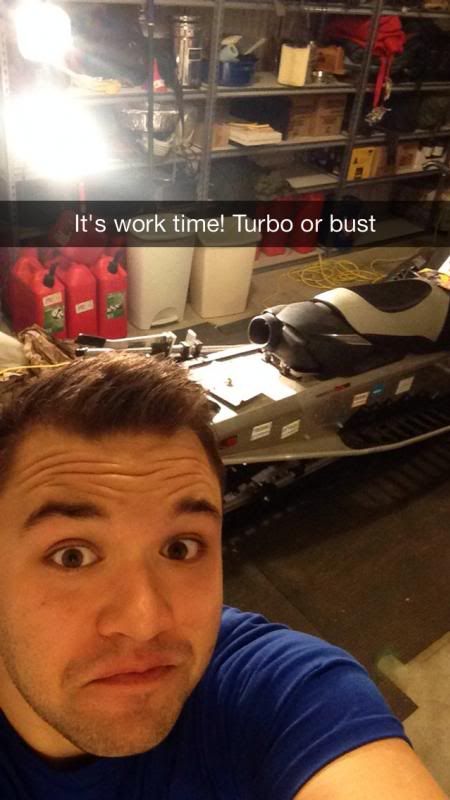
Alright guys this is my first real thread on Snowest.

Let me give you a little bit of background on me first. I live up in the Idaho Falls, Idaho area. I am 21 years old currently attending college and riding in my free time. I have been riding sleds since 2009, I have ridden a touch on a skidoo but almost all my time has been riding my Nytro. I have been out every winter but i have never ridden a boosted sled. So I decided to to take the plunge.

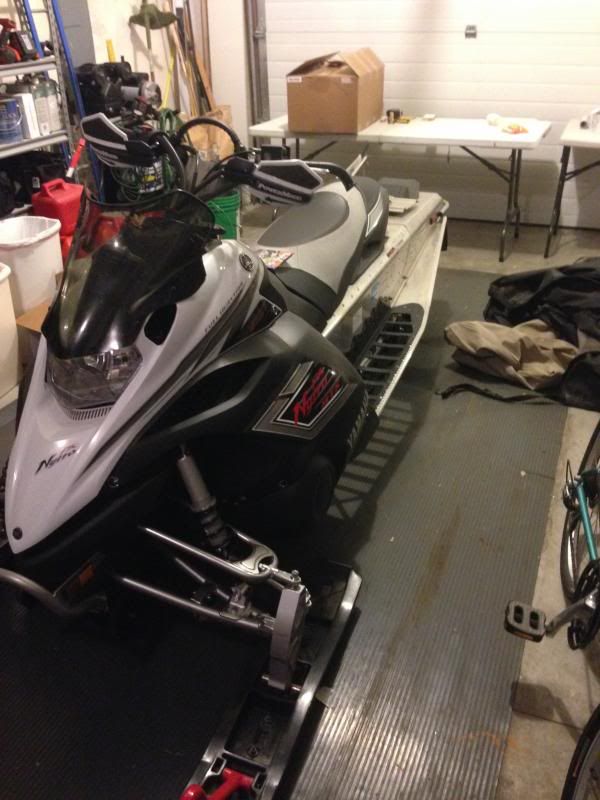
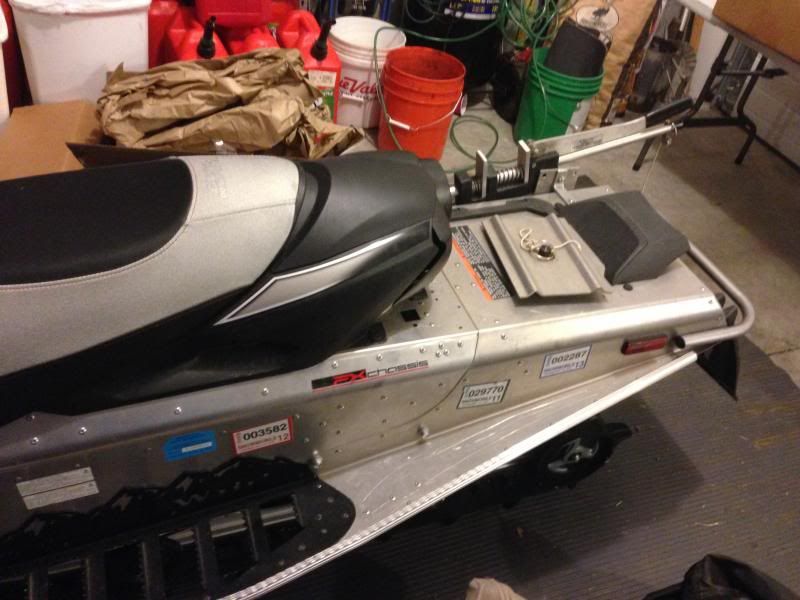
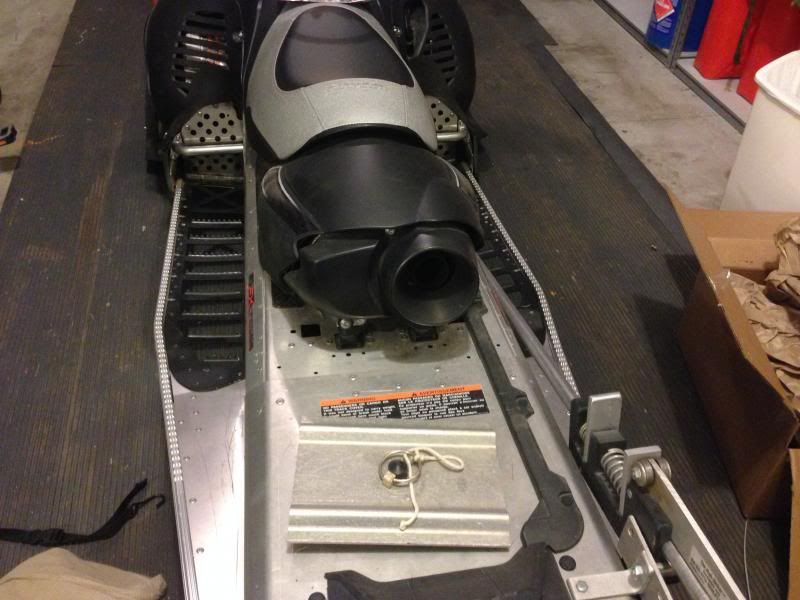
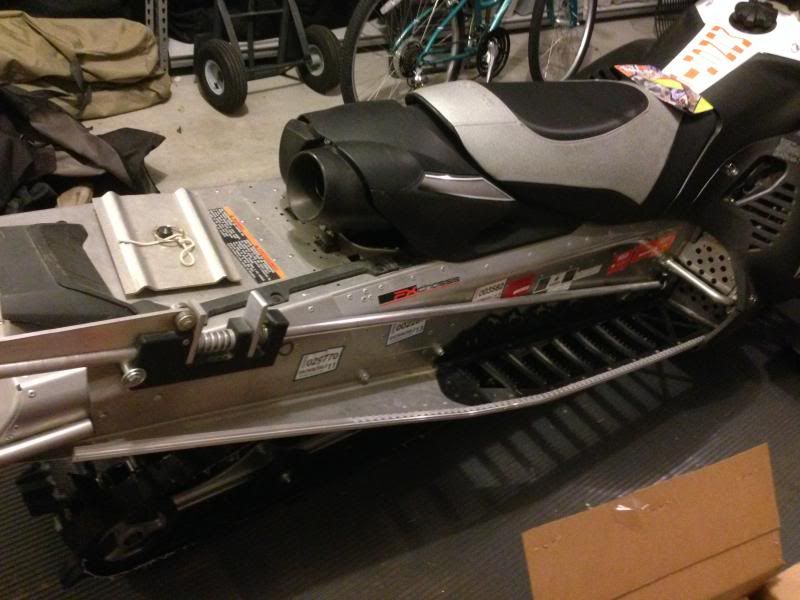
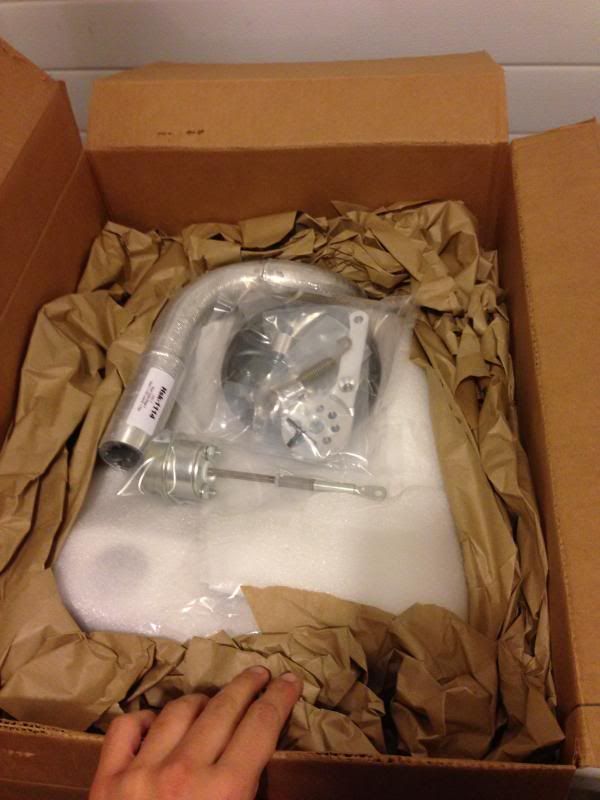
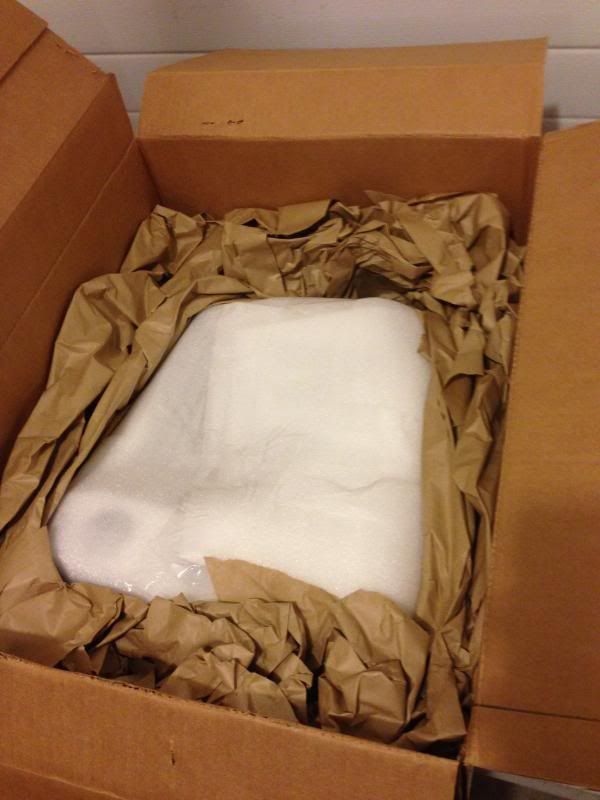
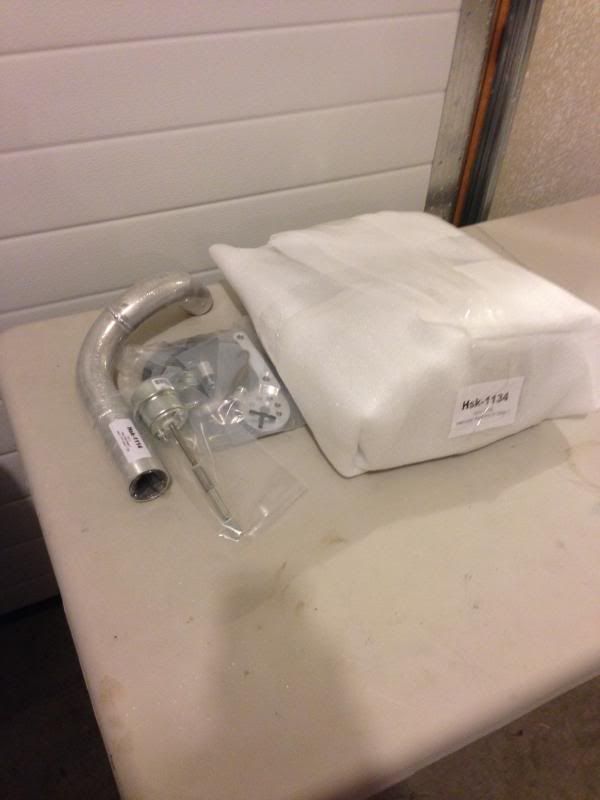
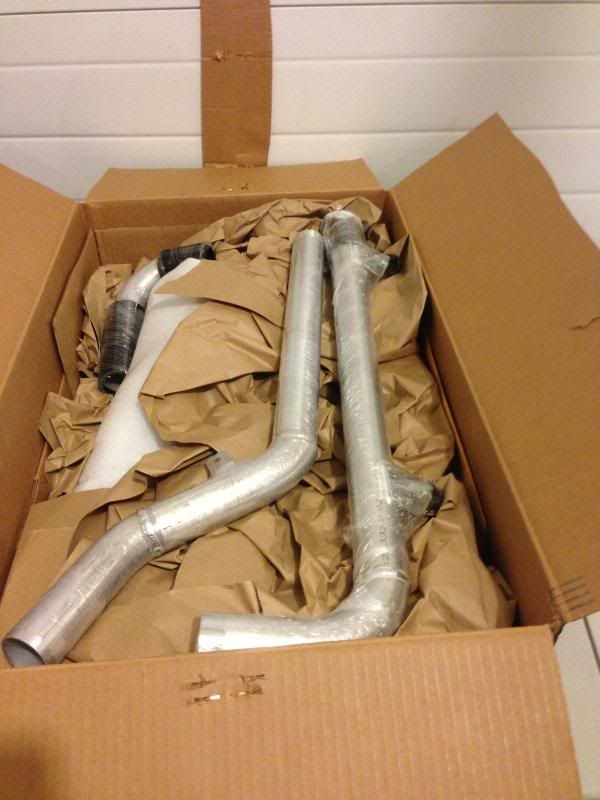
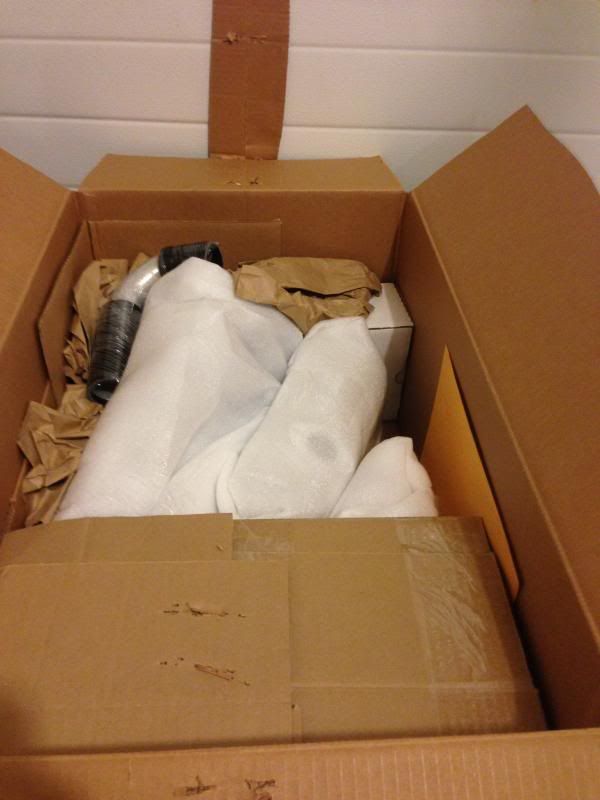
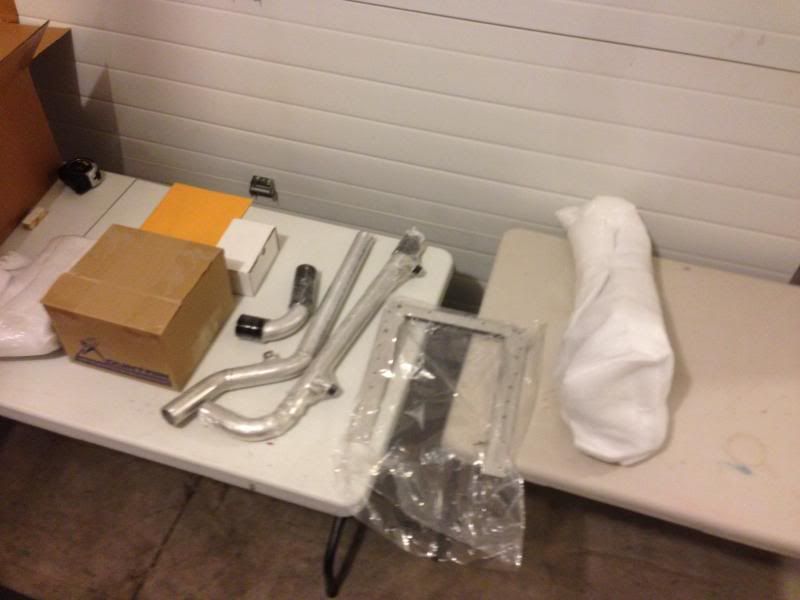
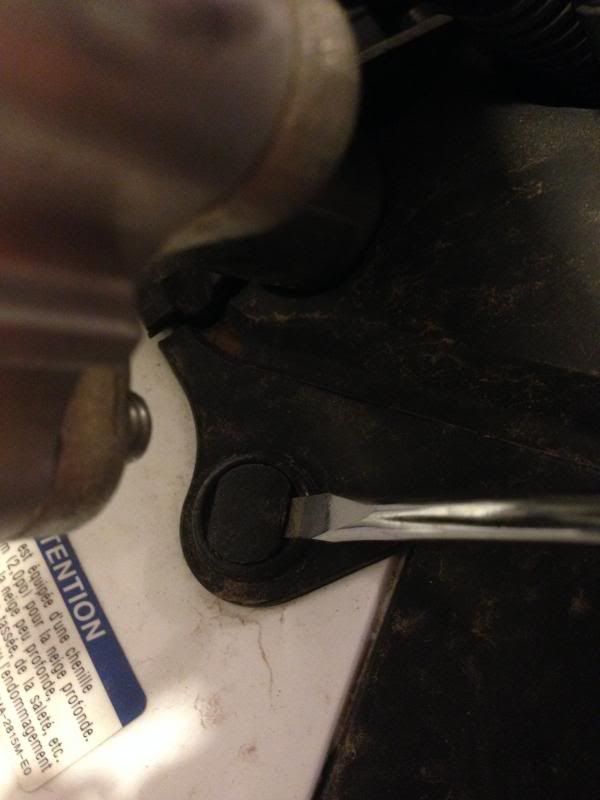
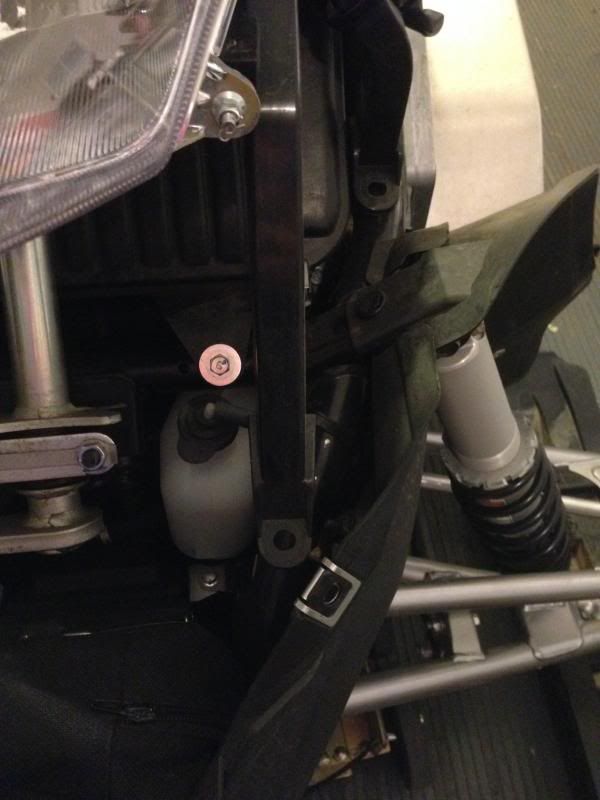
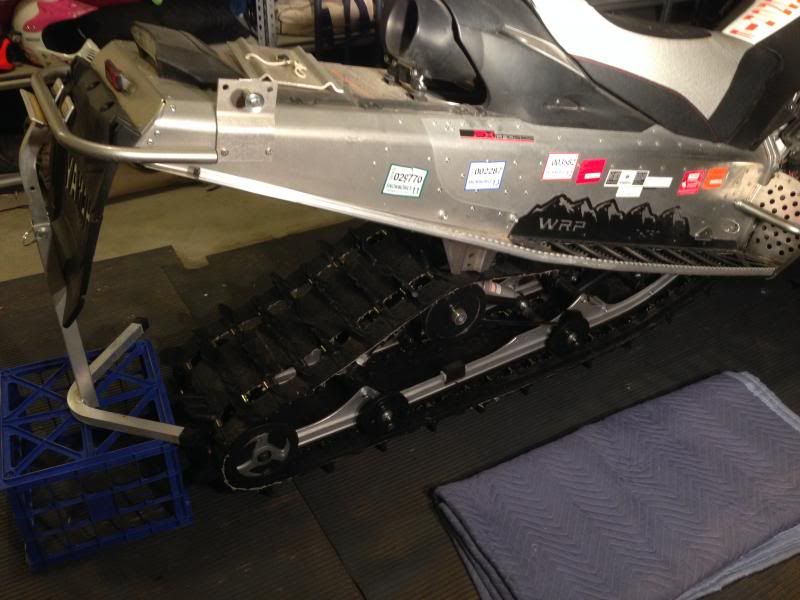
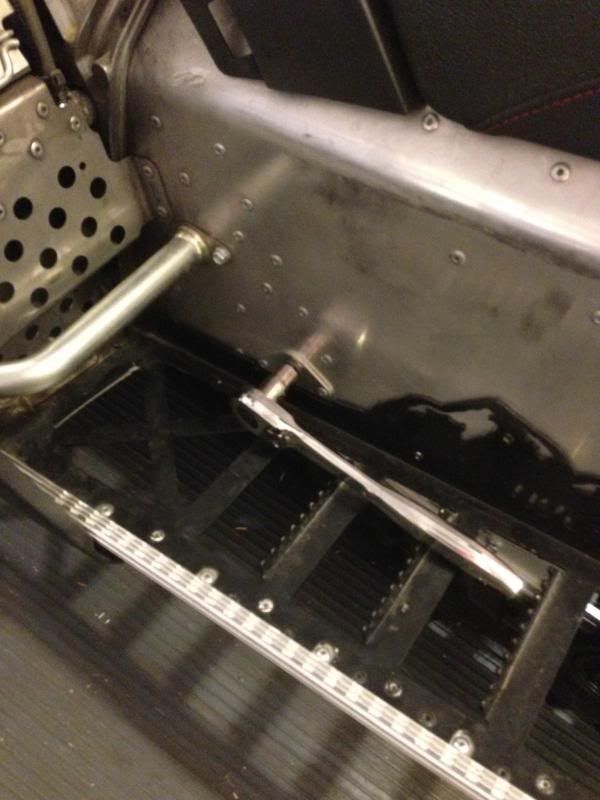
Starting next week I will begin a Yamaha OEM turbo install on a 2009 Nytro 153 track. It has only two aftermarket parts on the sled as it sits now, new running boards and a tether.

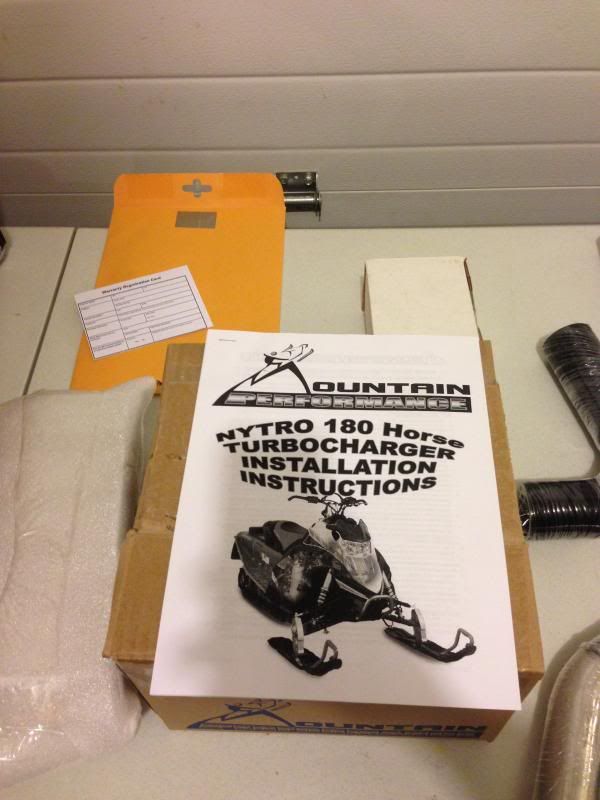
Once the OEM has been installed on the Nytro, i'm going to be taking it out, playing on it and seeing how it works. After that I have MPI's stage one kit, so that's gonna get slapped onto my sled and then see the difference.

After both of those are done, we will see what i scrounge up next to install on the sled. I think there are plenty of options!

I hope you guys will enjoy this as much as i plan to!

=====

This is an ad I came across for the kit I will be installing...

Yamaha%20MPI%20Turbo%20Kit%20for%20FX%20Nytro%20FX(5).gif


166478_10150123823721955_5649157_n.jpg 169873_10150123823591955_4422090_o.jpg
 
Last edited by a moderator:
T

TRUEBLUEMAX

Well-known member
Aug 4, 2010
751
280
63
Hooper, Utah
Good luck and have fun installing. You should really find some extra cash to at least get a new track. So much of that extra power will be lost on that maverick track.


Sent from my iPhone using Tapatalk - now Free
 

2Huskies

Well-known member
Lifetime Membership
Jul 19, 2009
581
206
43
Rigby, Idaho
Thank you!

And please feel free to leave all advice or things you want to see done. I appreciate all of it!
 

YAMA S

Well-known member
Lifetime Membership
May 16, 2012
469
325
63
W. Wa.
Good luck and have fun installing. You should really find some extra cash to at least get a new track. So much of that extra power will be lost on that maverick track.

First would get vertical aka rider forward steering done, it's a much better "feel" when riding. X2 on the track( sledtrack.com ) great place to find the cheapest new tracks if you can't find a good used one. For you I'd stay away from 3" being your probably on a student budget & it takes a few mods to fit it into a Nytro. Next I'd go with a narrow front end that's a plus 3" to fix some of the scary handling. If you have any money left after that I'd look for a rear skid. Not only does it drop weight but ANY aftermarket skid is lots better than OEM. That's most likely your budget for the next 2yrs. being a student!!!
 

YAMA S

Well-known member
Lifetime Membership
May 16, 2012
469
325
63
W. Wa.
Forgot one VERY important thing!! Make 100% sure you've got the clutch done right for the turbo. Not only can you get huge performance gains by getting the power to the the track but also increases your belt life.
 

2Huskies

Well-known member
Lifetime Membership
Jul 19, 2009
581
206
43
Rigby, Idaho
ClimbMax- I can be honest and say that I do not have any avalanche training or an ABS bag. But I always run a beacon and carry a probe. This is also on my list to be accomplished this year.

Now onto the photos!
 

2Huskies

Well-known member
Lifetime Membership
Jul 19, 2009
581
206
43
Rigby, Idaho
To start off with to make it clear that I am riding a near stock 2009 Nytro MTX 153 track.
Iphone919.jpg


Iphone920.jpg


Iphone921.jpg


Iphone922.jpg


Just a few pictures of the girl before we get started. Her name was munchie, but that is also going to be changed. Well without further ado lets get started.
 
Last edited by a moderator:

2Huskies

Well-known member
Lifetime Membership
Jul 19, 2009
581
206
43
Rigby, Idaho
Well as I posted earlier when you decide to get the OEM Yamaha Turbo along with Mountain Performance Inc's (MPI) Stage one upgrade you get two boxes. Lets see what was in them!

We have box one just opened up
Iphone915.jpg

Layer Two
Iphone916.jpg


Here is everything that was in Box Number One
Iphone917.jpg


Onto Box Two!

Top Layer of Box Number Two
Iphone923.jpg


Second Layer
Iphone924.jpg


Box Number two Unloaded
Iphone926.jpg

That far right white wrapped object is the Beautiful Turbo that will soon be attached to my sled:face-icon-small-hap

Now for the first few months of this thread I will be only using Box TWO and then I will install the MPI upgrade to Stage One.

The Two most important parts of this Install
Iphone927.jpg
Iphone929.jpg
 

2Huskies

Well-known member
Lifetime Membership
Jul 19, 2009
581
206
43
Rigby, Idaho
Well before I got started Sunday night I sent this off to all my friends. This is who will be walking you through the install!
Iphone928.jpg


So to start with I will be removing all required stock parts. Today's walk through will go until letter S is completed.
Iphone930.jpg


To start with I had to take off all the plastic covers. Steps A-B
Side Panels
Iphone931.jpg
Iphone932.jpg
 
T

Turbo11T

Well-known member
Nov 26, 2007
3,062
751
113
Lake Crystal, MN
Something you may want to consider when you finish your turbo kit is chopping the running boards shorter. Then running a gusset up to the top of the tunnel like Cat and Polaris do now as awell as yamaha. This will help keep the tunnel from becoming hung up when that track is trenching. You will likely be making deeper ruts now with the increase in track speed!

I look forward to following your post. The nice thing about the forum it that there are many here to help out. The key to getting this done right is that if there is any doubt in your mind about if you are doing something right that you ask the question. Once you get the kit installed correctly you will have a very trouble free very fun machine!!!
 

christopher

Well-known member
Staff member
Lifetime Membership
Nov 1, 2008
81,509
27,372
113
Rigby, Idaho
Something you may want to consider when you finish your turbo kit is chopping the running boards shorter. Then running a gusset up to the top of the tunnel like Cat and Polaris do now as awell as yamaha. This will help keep the tunnel from becoming hung up when that track is trenching.

Have a photo to share of what your suggesting??
 

2Huskies

Well-known member
Lifetime Membership
Jul 19, 2009
581
206
43
Rigby, Idaho
Steps C-D
Remove the Dash Panel and head light assembly. At this point I didnt disconnect the wires I just pulled all the push pins.

Iphone933.jpg


Iphone936.jpg
Iphone939.jpg


With that done, both the Dash Board and the Head light Assembly is free.

Onto the Back end of the sled.
 

2Huskies

Well-known member
Lifetime Membership
Jul 19, 2009
581
206
43
Rigby, Idaho
Step E- Remove the Rear Suspension
There are four main bolts to remove. Two in the back and two in the front. They are all pretty easy to find but the front two can be tricky
Iphone945.jpg


Here we have the back two bolts removed. Crack the seal on both the bolts before you attempt to remove either one. Do not try and pull one bolt out before loosening them both or when you go to the second one it will just spin.

This is especially true with the front two bolts. I would recommend two people for this. My father and I loosened each individually, then after that we were able to unscrew each one. While one person is loosening the bolt the other needs to hold the opposite bolt in place. Get each front bolt out by half until trying to remove it all the way.

Iphone943.jpg
 
Premium Features