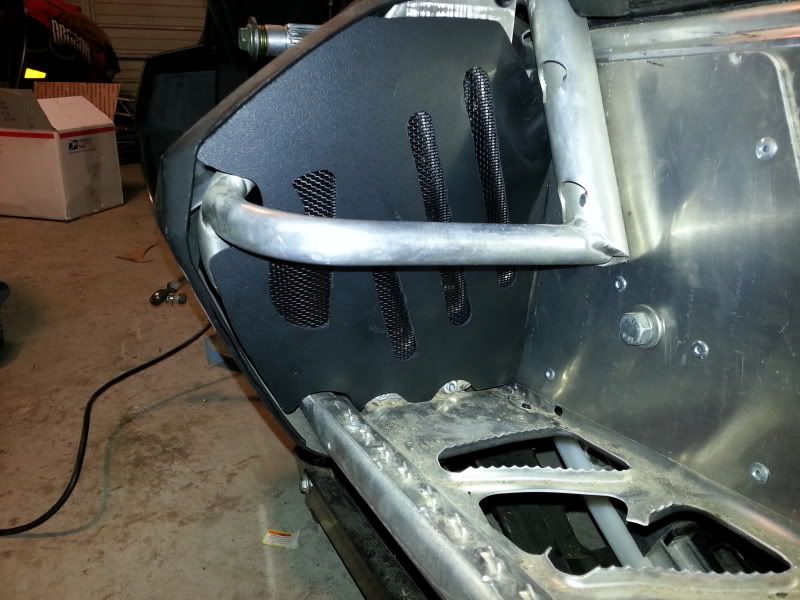
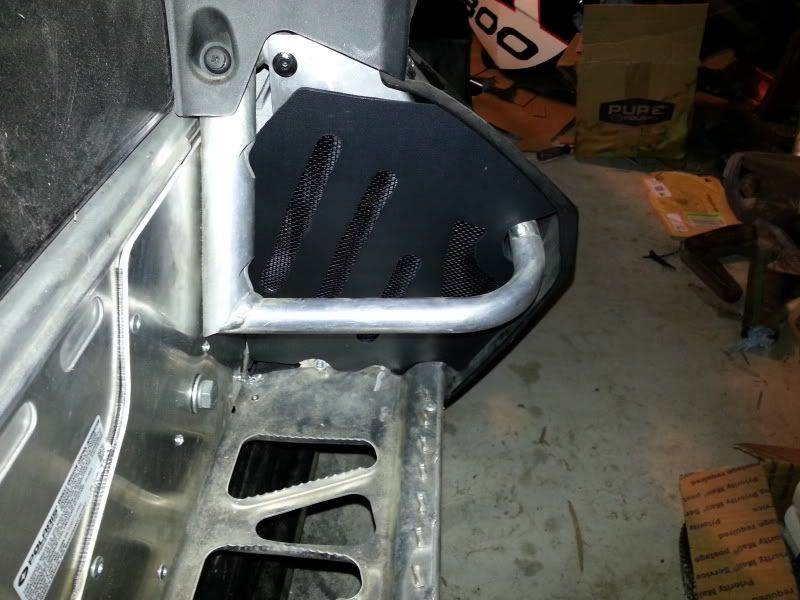
I cant answer for YZ...but as far as how far you need to tear one down..if you pull the skid, drag the track out under the frt of the sled between the ski's, remove the bolts 1 side at a time holding the steering hoop(I use a prybar to move the hoop off the tunnel and place a 1/2"-3/4' spacer between it and the top of the tunnel to hold it while I work),and then remove the bolt holding the plastic tub at the foot stirup, and finally remove the aluminum blockoff plate in the stirup, it will allow you access to install on the clutch side..same basic deal on the clutch side but you do need to remove the secondary and get it out of your way...driveshaft,chaincase seat, tank , console can all stay in place...I would install rivits from inside the tunnel outward to attach new braces(keeps track from rubbing on them) at least on the ones toward the frt of the tunnel, the ones that are out on the open area of the tunnel I install from the outside inward(paying attention to where the track is....)you need to test fit everything, drill all holes, then clean and glue as you do final assembly...as for the brace kits..you need the chaincase/frt tunnel kit and the clutch/frt. tunnel kit..ea kit is 100.00 but right now if you get both at the same time I drop the price 20 bucks (shipping is extra),I recommend sloid aircraft rivits..but good pop rivits do work)I dont include them but they are cheap...mike