My 670 Summit sat way too low, and I was always getting stuck because of the running boards hanging up. I decided to make some extensions for the stock drop brackets before a trip to the Snowies last winter.
I drew up the extensions in SolidWorks, and got a drawing sheet all made up with the dimensions I needed. I bought a 12"x12"x1/4" piece of 6061-T651 aluminum off of Ebay for $31 shipped to make them out of. When the aluminum showed up I laid everything out and cut the pieces out on the band saw. Then I put the main pieces in the mill and programmed it to cut the pockets where they would fit over the stock drop brackets.
The rear mount is dropped 5" from stock, and the front is dropped 1.5". I went from a 136 to a 144 a few years ago, and set the suspension back 2" and down 1" then. So the rear mounting point is actually 4" down from where it was.
The stock drop brackets
My SW model
First one done, I had one little screw up where I had a tool offset to the right instead of the left...its covered though so oh well.
Once I got everything milled out, I finished cutting the main pieces on the band saw and polished all the pieces up on the buffing wheel.
I had one of my buddies give me a quick lesson in TIG welding aluminum since I had only ever done steel before. Then I welded everything up...not bad for my first time.
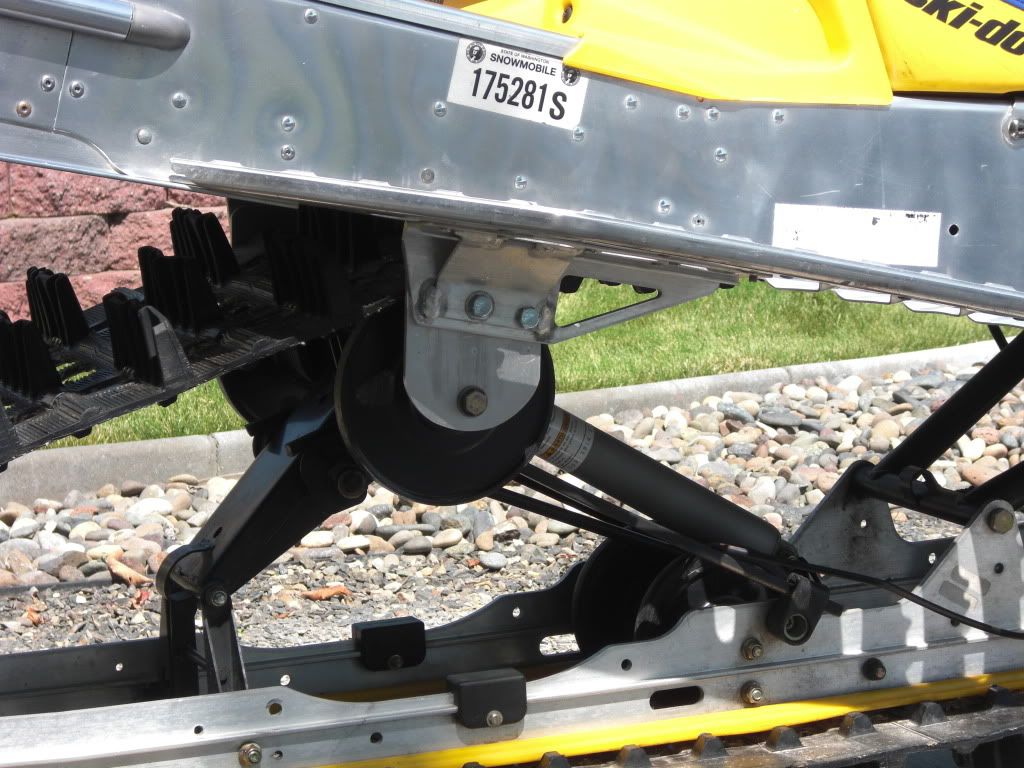
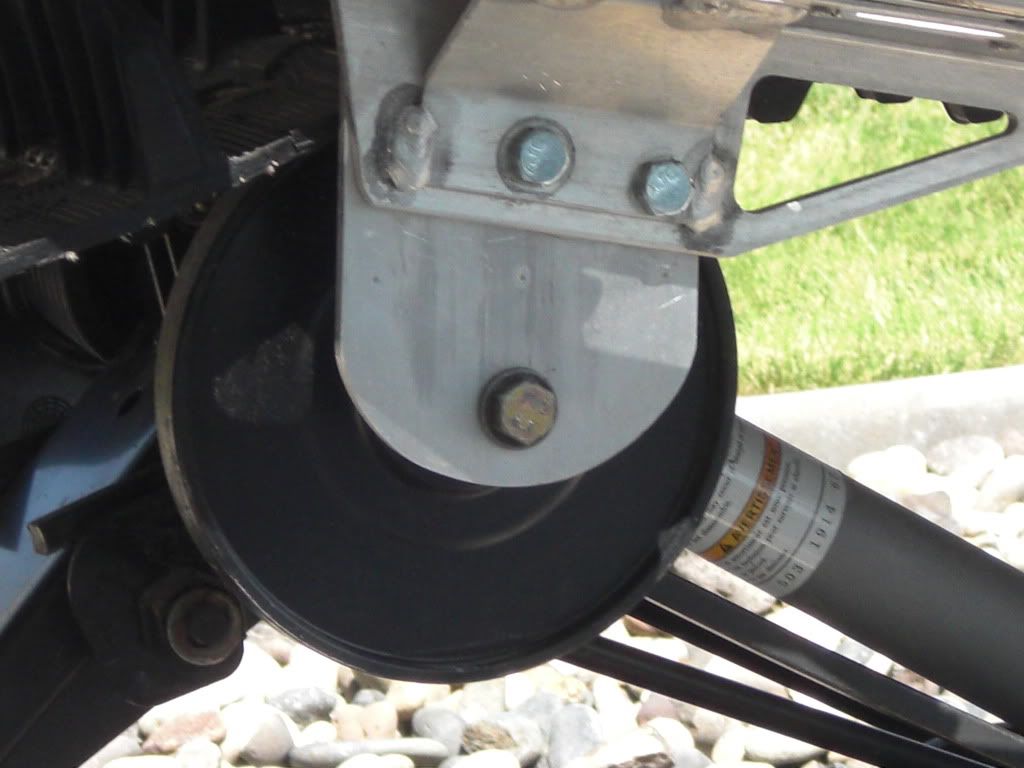
Then it was just a matter of fitting them on the sled.
Done!
Before...compared to an 800 Mt. Cat
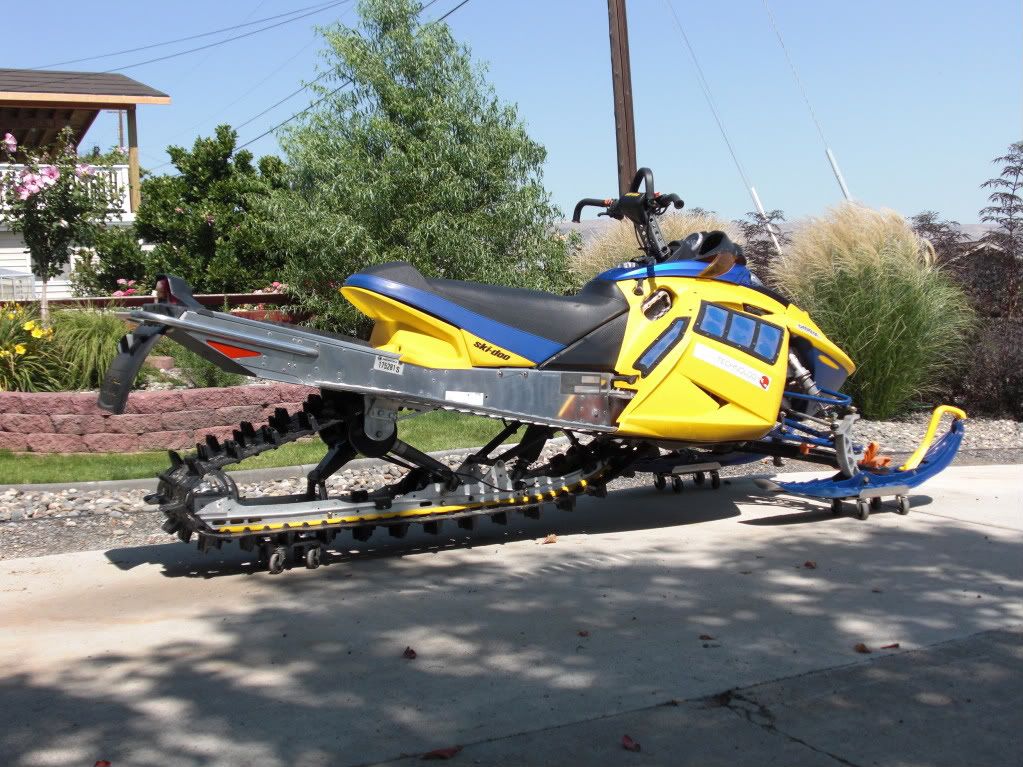
After...compared to same sled again
The full sled shot...
Dimensions
Durability testing