• Don't miss out on all the fun! Register on our forums to post and have added features! Membership levels include a FREE membership tier.

B&M Fab Skinny Board install. #1 Mod for the Pro Climb

WyoBoy1000

Well-known member
Lifetime Membership
Nov 27, 2007
11,213
3,928
113
Red Lodge MT to North, CO
Boards wind up 30" total width and 1" higher. But with a round tube it acts the same as being closer to 29" wide and 1.5" higher. This is the equalizer for backcountry riders above any other mod you can do.

Done at "Front Range Arctic Cat" In FORT COLLINS, CO

Thanks BMFAB for being the guys to change the game with production.

Not the best videos but it works

Part 1
https://www.youtube.com/watch?v=B4cjaR_5pRI


Part 2

https://www.youtube.com/watch?v=eJ7ixTVTVOc

Part 3

https://www.youtube.com/watch?v=0DDPHo1noew

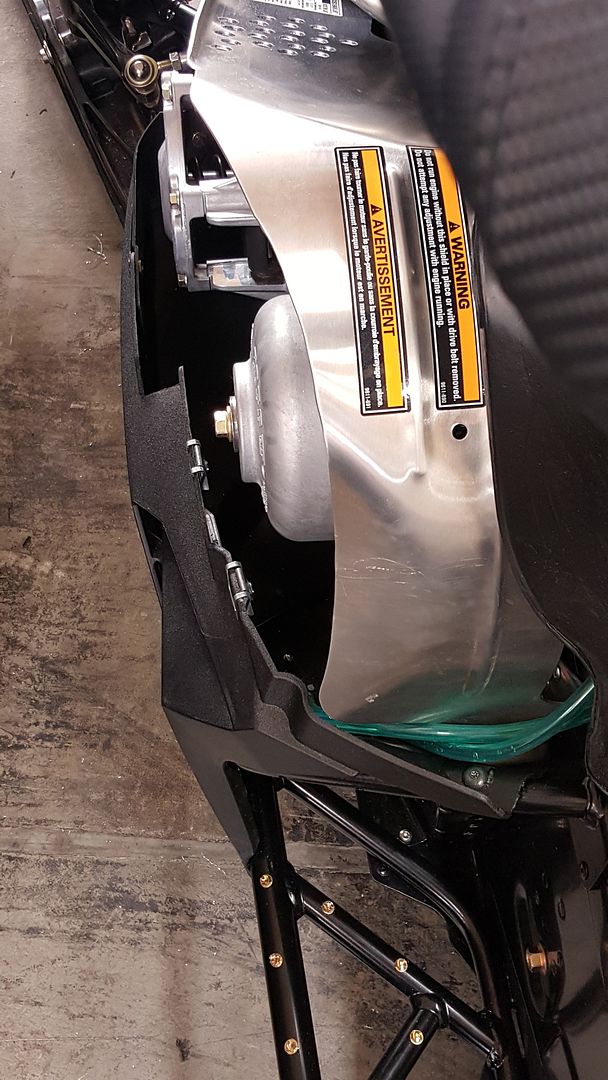
12191640_10208189395236070_7290999026569712811_n.jpg


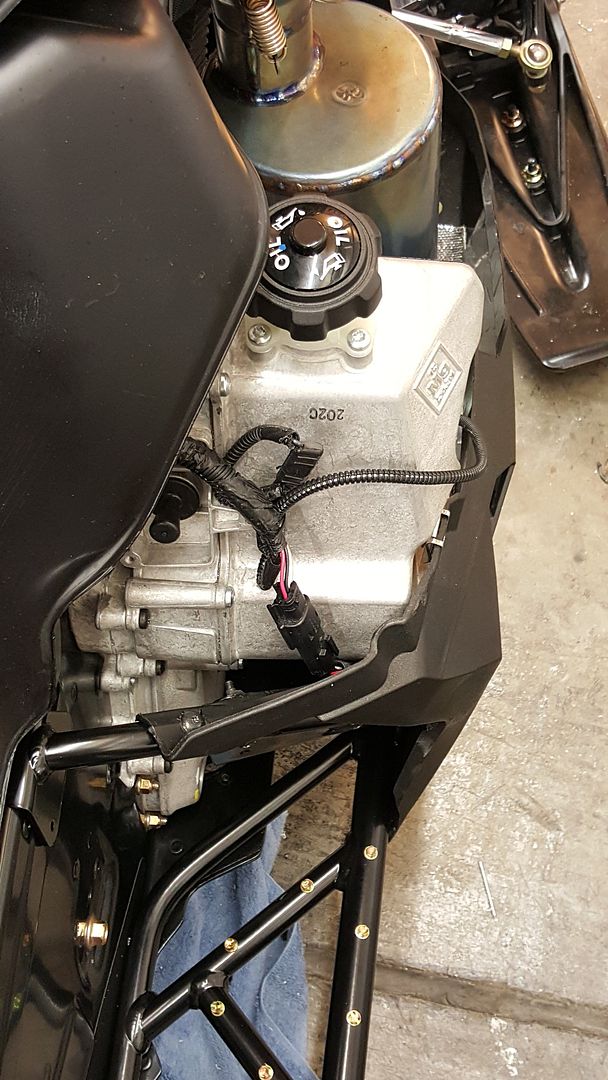
12239496_10208189395676081_4982833999169171035_n.jpg


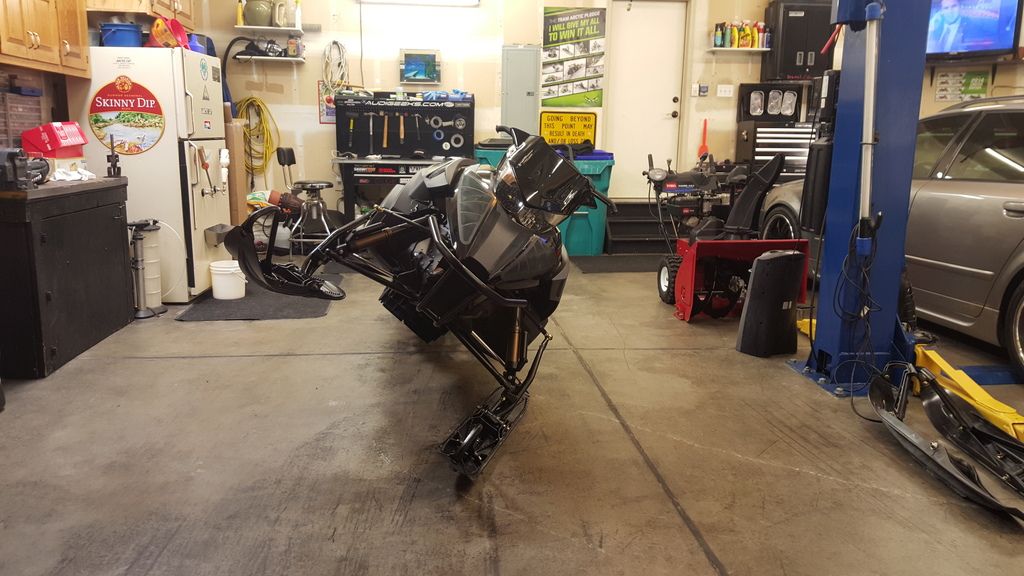
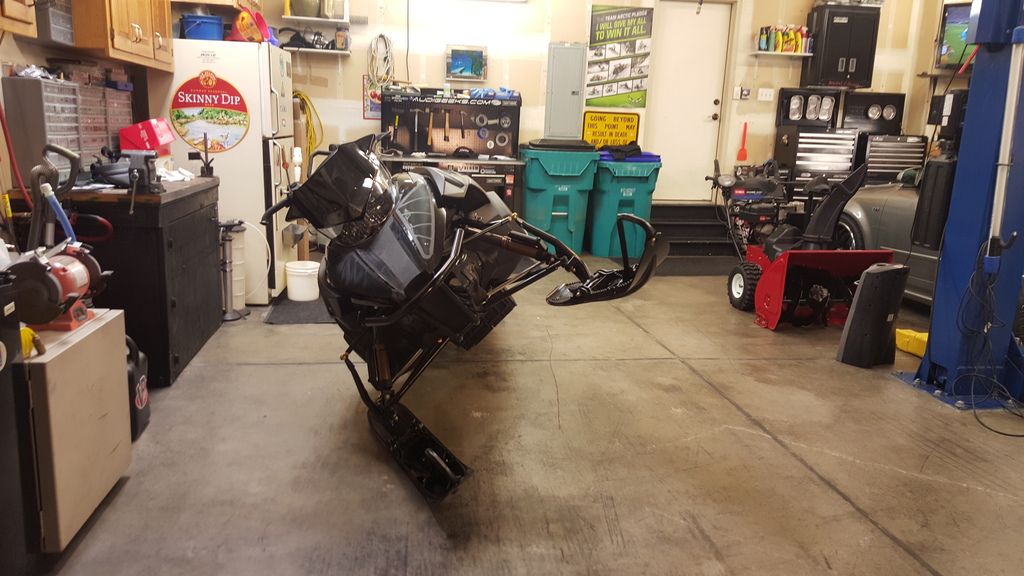
12107174_10208189395916087_1690984714154125378_n.jpg
 
Last edited:
F
Apr 5, 2009
717
47
28
Installing mine now. Watch these videos will help with where and how much to trim. Seams like getting the panels tightened back up is taking twice as long as putting the boards on.
 

CO 2.0

Well-known member
Lifetime Membership
Nov 26, 2007
4,470
2,994
113
44
Fort Collins, CO
Got the boards on mine done last night. Had BM do a custom semi gloss black powdercoat on them. Perfectly match to the stock Cat powdercoat. Sucked in the clutch side a little bit further than the set Mac and I did, took a bit more shaving of plastic and grinding down the clutch guard a bit. Oil tank side though you are limited by the oil tank itself. Could go further in with a belt drive.


scratley

Well-known member
Premium Member
Dec 13, 2007
885
325
63
50
Star Valley WY
My 911 kit actually was rubbing bad, had to pull plastic insert out and move side panel out almost an in. Took some plastic by rubber weather stripping and closed the gap between panels. Also stuck a small square piece of tin on the inside to keep from poking through the frog skin, Should be all good now. Always something! I am running a belt drive with injection delete so pulled panels way in. Had to redo bracket for the can also.
 
Last edited:
F
Apr 5, 2009
717
47
28
Got the boards on mine done last night. Had BM do a custom semi gloss black powdercoat on them. Perfectly match to the stock Cat powdercoat. Sucked in the clutch side a little bit further than the set Mac and I did, took a bit more shaving of plastic and grinding down the clutch guard a bit. Oil tank side though you are limited by the oil tank itself. Could go further in with a belt drive.


hey I tought mine the same trick lol
 

Chewy22

Well-known member
Lifetime Membership
Oct 17, 2009
1,993
1,369
113
Montana
Installed my boards (still need to add the traction screws).


Wyo - the videos were very helpful!!


CO2.0 - all the little tips and pics you posted up were very helpful also!!


A huge thank you to the both of you, made the entire process that much smoother.


Wyo you don't get the credit deserved for the videos.


Boards look awesome. If you follow the steps outlined by these two, it looks clean/factory.


Awesome job on the build quality BMFab. Thank you for stepping up. The boards lined up perfectly.


The install seems a little intimidating and a few people thought I was crazy taking a sawzall to a brand new machine (especially the guy I borrowed the saw from). However, if you take your time and use a little common sense it's a very smooth/easy install.


I will post up pixs once I have the traction screws added..........
 

backcountryislife

Well-known member
Lifetime Membership
Nov 26, 2007
10,893
7,413
113
Dumont/Breckenridge, CO
Had a lot of folks buying these lately, one even removed skinz boards I sold them to put these on!

Not a single person with complaints about install... pretty happy about that... we all know it works otherwise!
 
G
Jan 18, 2012
460
89
28
34
im waiting for mine to arrive... anxious how much different this will be than the Rasmussen Boards I just removed that I have been running for 3 season.. they were officially past their life cycle cracked in 4 places for the 2nd time and BOWED. hoping these B&M are as superior to the Skinz boards as they claim.
 

CO 2.0

Well-known member
Lifetime Membership
Nov 26, 2007
4,470
2,994
113
44
Fort Collins, CO
I had the Rasmussen boards on my 14. These are way better. Traction screws don't strip out in the middle bars like the skinz did cause BM uses thicker tubing there. Having no toe hooks like the Rasmussen boards is better. Those things were so low on the skinz boards you couldn't get your feet all the way forward on the boards. And the BMfab boards are obviously a lot skinnier.

I finally got on some steep sidehills last Sat on the skinny BMfab boards and panels. Wow, what a difference from both my 14 with skinz ras boards, and my 15 with BDX/Cat boards. The 16 held the sidehill great in comparison. Didn't wash out or try to climb back up hill. Was able to modulate up/down on the sidehill better with throttle control. And I don't even have the Wyo/kmod steering bracket on my 16, which would make it even better. Had the bracket on my 15 with skinz front end. Gripper skis on all of them.
 

Rinker

Well-known member
Premium Member
Nov 27, 2007
180
67
28
CO
How long has the install been taking most guys doing it the first time? I have watched WYO's videos three times so far and pretty comfortable on what to do. Just wondering how much time i have to get these done when mama is out shopping!
 

Chewy22

Well-known member
Lifetime Membership
Oct 17, 2009
1,993
1,369
113
Montana
How long has the install been taking most guys doing it the first time? I have watched WYO's videos three times so far and pretty comfortable on what to do. Just wondering how much time i have to get these done when mama is out shopping!


Wish I could give you a good answer but I worked on mine off and on both Saturday and Sunday. Plus I took my time, trying not to make a major fubar. I still have traction screws and side panel fitment work; I did finish pushing/riveting in the lower panels. Cutting the old boards off went quick. Finish work on the cuts, took a little extra time there. I spent a lot of time fabbing the toe kicks. My cuts were spot on with Wyo's. An air powered rivet gun is a great tool to have.
 

cpa

Well-known member
Lifetime Membership
Aug 28, 2001
806
539
93
Utah
I've always been a believer in skid plates after I ran across a metal fence post just under the snow. Has anyone tried to fab the skid plate to work after installing these boards?
 

backcountryislife

Well-known member
Lifetime Membership
Nov 26, 2007
10,893
7,413
113
Dumont/Breckenridge, CO
How long has the install been taking most guys doing it the first time? I have watched WYO's videos three times so far and pretty comfortable on what to do. Just wondering how much time i have to get these done when mama is out shopping!

if it's your first set of boards I'd say 3-4 hours. I had never done boards before & had Bparks help with mine & it took us 2 with a lot of dorking around in between (weighing parts to get a comparison & crap like that)
 

dgibbons

Well-known member
Lifetime Membership
Jan 23, 2012
459
185
43
Cheyenne, WY
Agreed with all of the comments above - this was my first time doing boards and Wyo's videos were an absolute life saver, prepped by watching once or twice over the last few months and still used the videos to stop and reference a few times for toe kick cuts, etc. They were simple too - I actually just used a cutting edge on my grinder and the 60 grit wheel to do all the fab on those. As for shop time, not really sure as I coupled the boards with 3" track and driver swap, regearing/warranty chain case cover replacement and wyo steering bracket. It's still not put back together :face-icon-small-dis (I kept getting interrupted). Hopefully will wrap up steering bracket tonight and put everything back together. I'll do traction screws last. As Wyo says, Sawzall is a little jumpy, I ended up using the grinder on most of the detail work around the tunnel bump outs. The boards fit perfect though and look pretty damn good - a rivet gun was killer as well.

IMG_1392.jpg
 

dgibbons

Well-known member
Lifetime Membership
Jan 23, 2012
459
185
43
Cheyenne, WY
I've always been a believer in skid plates after I ran across a metal fence post just under the snow. Has anyone tried to fab the skid plate to work after installing these boards?

I never needed one on my old M, but in just the one year I've owned my proclimb, I absolutely f***ed up my lower side panels - ripped off a couple rivets on both sides along with cracking the bottom plastics on rocks and trees. Guess that's what a low snow year does - and that was by February. I installed a skid plate last year when country cat had them on sale for about $100 and plan to try to cut out part of the inside corners at the inside of each wing to try to keep the middle of the skid from bowing. Once I get to it and (hopefully) get it to work, I will post the result
 

B&M Fabrications

SnoWest Sponsor
Lifetime Membership
Aug 3, 2011
800
803
93
North Branch, MN
www.bmfabrications.com
Are any of you guys going to be riding Togwotee in early January by chance with these boards? We're not big cat guys right now so our ride time is almost nothing on this chassis. Would love to throw a leg over one and compare it to a stock boarded one and maybe my turbo axys just for fun.

Bryan.

Sent from my SM-G928V using Tapatalk
 

B&M Fabrications

SnoWest Sponsor
Lifetime Membership
Aug 3, 2011
800
803
93
North Branch, MN
www.bmfabrications.com
And another question. The two holes we drill in the foot hoop tube were put in there with the plans on putting the toe plates in a certain way. On the sled I had in the shop it worked good but I wasn't overly impressed by the plastic fitment on the bottom. However our way attaches the plastics in the stock location on top of the footwell and then sucks them in underneath. Is the way Mac described in his videos have the panels fit up better? I can move those holes around if need be so your not guessing on a location to put them in. Want to make the install the easiest for you guys since I've already spent some time on the phone trying to describe how to do it with a few guys that can't seem to get it put together from our pro climb directions and Mac's videos. I will have directions done after we can get the fitment of the plastics nailed down, much easier to describe that way.

Sent from my SM-G928V using Tapatalk
 

Chewy22

Well-known member
Lifetime Membership
Oct 17, 2009
1,993
1,369
113
Montana
I'm going to attempt to explain what I did without it being to confusing.
1. I attached the plastic and cut the toe plates exactly like Wyo shows. With the upper hole drilled about 2 1/2 inches straight out from the tunnel side, exactly like Wyo did.


2. I used both holes you predrilled on the footloop.
- On the clutch side, the two bottom holes and the upper right (closet to the tunnel) holes lined up with the existing holes in the toe plate. I then used your predrilled holes as a guide to drill a new hole in the toe plate for the left upper bolt (upper predrilled hole furthest from the tunnel).
- On the can side, I had to drill two new holes for the bottom and the upper right foot loop predrilled hole (furthest from the tunnel) lined up with the existing toe plate hole. I then used your predrilled holes as a guide to drill a new hole in the toe plate for the left upper bolt (upper predrilled hole closest to the tunnel).
- The only thing wyo did different was he drilled new holes in the foot loop that lined up with the existing upper holes in the toe plate. Different means to the same ending result!!


Hopefully all that makes sense.


I don't think Wyo's way or your way will have the side panels fit any better. Once you suck in that lower plastic the side panels do not fit all that well. It will take adding some additional 1/2 turn screws as CO2.0 shows in some of his pictures to suck those side panels in. I don't really see any other way around that.


The advantage of the narrower boards and sucking in the lower panels out ways the little hassle having to deal with the side panel fitment.


Hopefully CO2.0 and Wyo can chime in some more on the panel fitment. I haven't finished mine yet but know I'll end up doing what they did.


I will post pictures once I'm finished.
 
Last edited:
Premium Features