• Don't miss out on all the fun! Register on our forums to post and have added features! Membership levels include a FREE membership tier.

Installation and Review: Mountain Performance Inc, Stage 1 & 2 Supercharger

Thread Rating
5.00 star(s)

christopher

Well-known member
Staff member
Lifetime Membership
Nov 1, 2008
81,508
27,371
113
Rigby, Idaho
This is one of the HUGE advantages the forum has over the magazine.
We can post an unlimited number of Hi-Res photos here
 
M

merlin2569

Well-known member
Jan 13, 2008
252
46
28
Clarkfield, MN
Chris- The install will go fine. I finished up the install of my MPI Turbo kit on wednesday of last week. With the instructions that come with it it is no problem. And the few questions that I had I called Matt and he was able to answer them right then. Just be sure to take your time. I'm guessing by the time i was done i had about 20 hours into my install. Some of the time was spent running around getting tools that i didn't have. Overall i was very pleased with the fit and finish of the turbo. Look forward to seeing yours as you progress with it. Best of luck.
 

christopher

Well-known member
Staff member
Lifetime Membership
Nov 1, 2008
81,508
27,371
113
Rigby, Idaho
Thanks.
I am looking forward to diving into this project in the next couple days now.
Just as soon as I have cleaned the place up from the 4th of July Party and have my garage back in ship shape to begin.
 
Y
Sep 6, 2008
514
46
28
WORLD
www.brani.org
i like that oil cooler. looks really good

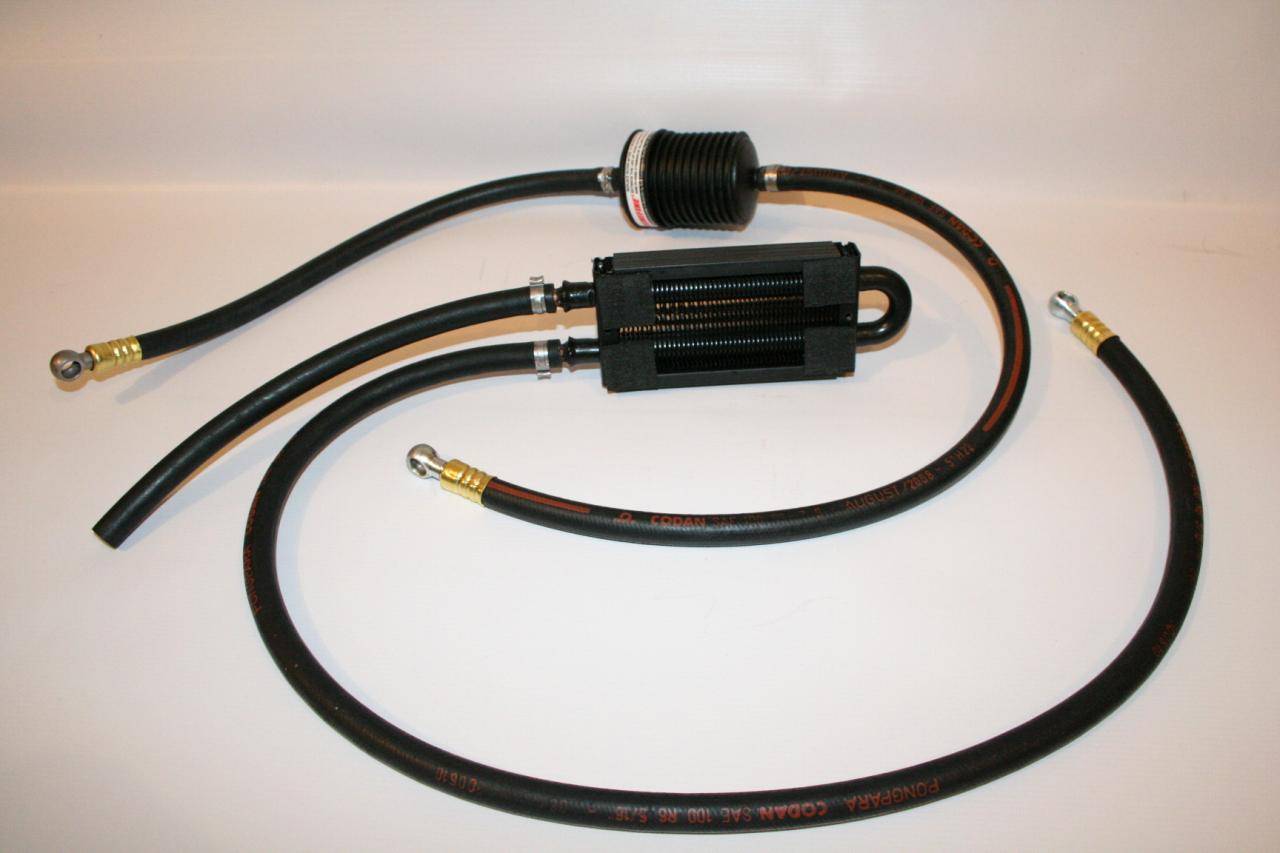
The oil cooler and filter.
picture.php
 
T

TRUEBLUEMAX

Well-known member
Aug 4, 2010
751
280
63
Hooper, Utah
That oil cooler is very much needed. My buddy's blower oil temps would get a little over 200 even with the cooler. It is interesting though that all of the automotive applications that I have seen never run a cooler. I am not sure what it is about the snowmobile that it needs it. Higher, sustained rpm I guess. I don't like how you have to put the pump up front where the bag with the spare belt and tools normally sits. That is a nice handy place for that stuff.
 

christopher

Well-known member
Staff member
Lifetime Membership
Nov 1, 2008
81,508
27,371
113
Rigby, Idaho
I suppose there is no way around the fact that you are ADDING extra gear to your sled and that gear is going to take up some space somewhere...
 

christopher

Well-known member
Staff member
Lifetime Membership
Nov 1, 2008
81,508
27,371
113
Rigby, Idaho
EXACTLY!
This is one of those RARE mods where ADDING weight is massively overcome by the addition of pure power!:face-icon-small-hap:face-icon-small-hap:face-icon-small-hap
 
W

wilmot

Well-known member
Feb 3, 2010
508
101
28
Clearfield, UT
Chris are you still playing with that RZR? You better put it away before you cut yourself. How is the S/C build going??????
 

christopher

Well-known member
Staff member
Lifetime Membership
Nov 1, 2008
81,508
27,371
113
Rigby, Idaho
Spent a couple hours in the garage cleaning it up after the 4th of July party.
Its pretty well ready now for me to begin the tear down of the sled in earnest.

Slash says he is bored to death, so I might have him come over and help me with the project.
 

Fireman35

Well-known member
Lifetime Membership
Aug 11, 2009
370
79
28
Burlington,WI
Get to it Man, It will go by pretty fast. One learning experience i had was be careful putting the fancy zip ties thru the radiator, i put two holes in mine. If i were you i would just zip it to the directional fins on the front of the radiator. thats the safe route cause after the second ride it wore another hole in the fins, i was in the snowies and had to rig up a bypass to keep ridin. just some things. Any problems with the install went away with a phone call to Matt. Good luck and we'll keep an eye on ya.
 
Last edited:

christopher

Well-known member
Staff member
Lifetime Membership
Nov 1, 2008
81,508
27,371
113
Rigby, Idaho
OK.
Got started last night.
Took off the skis and removed the shocks.
Will be removing the front suspension and then will begin the tear down for the Super Charger this afternoon!
 

christopher

Well-known member
Staff member
Lifetime Membership
Nov 1, 2008
81,508
27,371
113
Rigby, Idaho
So, last night we dove into this project in earnest!.

Slash925 came over to lend me a hand.
Not sure if this was a blessing or a curse.
The man is a machine and tore my sled apart faster than I could get decent photos. I thought he was going to come and wank me through the tear-down, but he isn't one to sit idly by and watch. So I ended up with the camera and he "Slashed" my sled apart in no time at all.

===

PREPARATION TO INSTALLATION.


The following major components of the sled have to be REMOVED before the installation can begin.

Hood
Side Panels
Dash
Headlight Assembly
Lower Side Panels
Front Bumper
Air Box
Rear Seat Shrouds
Tank Shrouds
Fuel Tank
Battery
Steering Column
Drain Coolant
Drain Oil
Radiator and Fan Assembly
Reservoir Tank
Oil Tank
Throttle Bodies.


So, our journey begins with tearing the sled apart!
 

christopher

Well-known member
Staff member
Lifetime Membership
Nov 1, 2008
81,508
27,371
113
Rigby, Idaho
I had already removed the skis, front bumper, and upper pannels prior to beginning.
picture.php


Unpinning the lower panels which were caught on my lift.
picture.php


With the sled up on the lift we inserted that stick to raise up the side just enough to let the lower pannel come loose and slide out from under the sled.
picture.php


ALL the body panels are off, save only the tank panel.
picture.php
 

christopher

Well-known member
Staff member
Lifetime Membership
Nov 1, 2008
81,508
27,371
113
Rigby, Idaho
Tank panels have to come off.
Ignition key has to come out, and my OFT Rollover kit has to be disconnected as well.
picture.php


My Front Vent Kit from OFT has to be removed as well.
picture.php


The two wires on the left are part of the LED system on the Rollover kit that had to be cut to allow the dash to come off the sled.
picture.php
 
Premium Features