
OH MAN GOOD THING IT'S NOT YELLOW !!
Install the app
How to install the app on iOS
Follow along with the video below to see how to install our site as a web app on your home screen.
Note: this_feature_currently_may_not_be_available_in_some_browsers
You are using an out of date browser. It may not display this or other websites correctly.
You should upgrade or use an alternative browser.
You should upgrade or use an alternative browser.
Well the Weekend was good to me! I was able to get the front end disassembled, take out the throttle bodies, and re install them. Here is Part three of the Turbo Install!
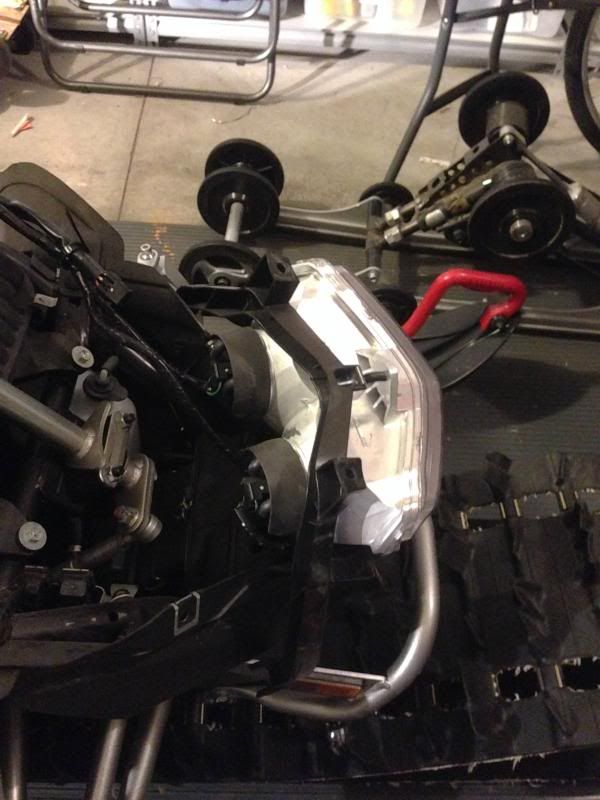
I started by taking off the Head light
Followed by the Display panel.
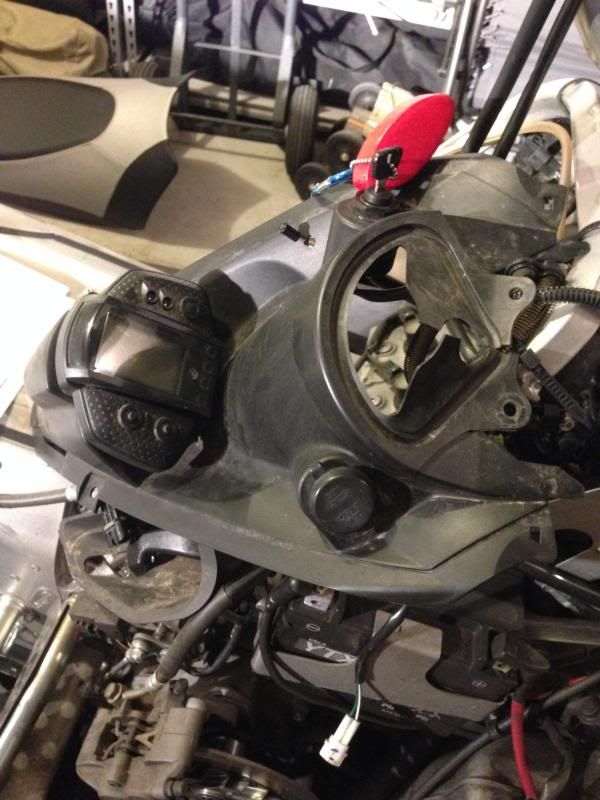
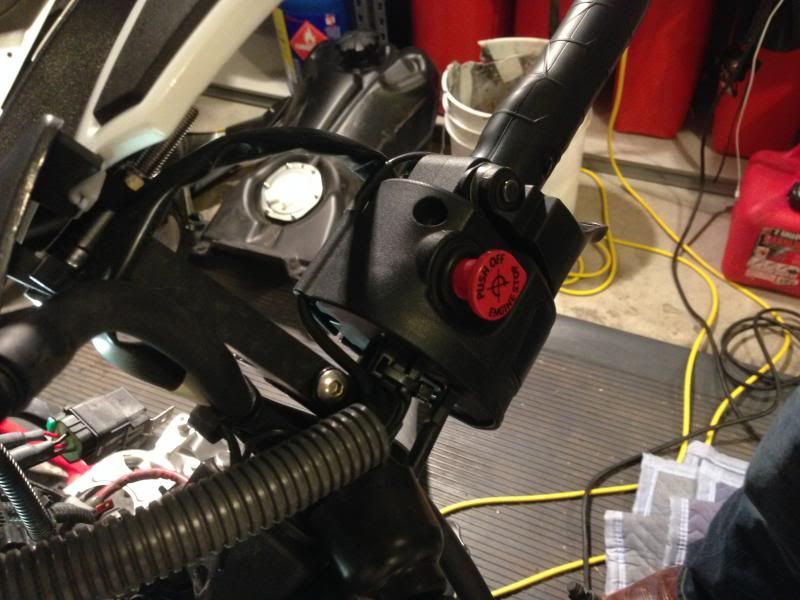
But I did run into an interesting problem. When I installed by tether release for my sled they installed this red light on my sled to show when the tether was attached or not.

We ended up having to cut the wire because there is no way to detach it. When we put everything back together i will end up wiring that back together.
Followed by the Display panel.
But I did run into an interesting problem. When I installed by tether release for my sled they installed this red light on my sled to show when the tether was attached or not.
We ended up having to cut the wire because there is no way to detach it. When we put everything back together i will end up wiring that back together.
Now it is time for the Airbox to go!
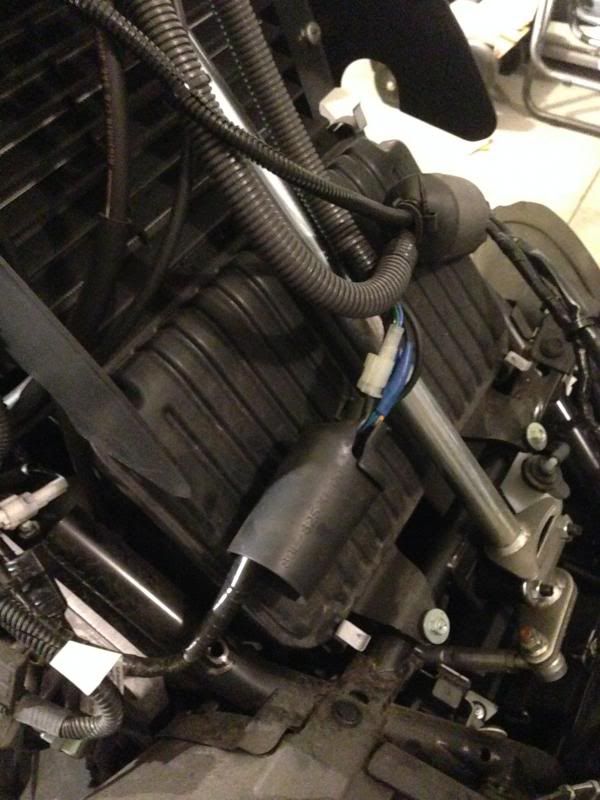
But gotta get rid of the steering column first. That was a fun time...
I thought once I undid the nut here it would just pop out, I could not have been more wrong. I had to take a metal hammer and wail on the left side of the flat plate until the screw literally was jarred out.
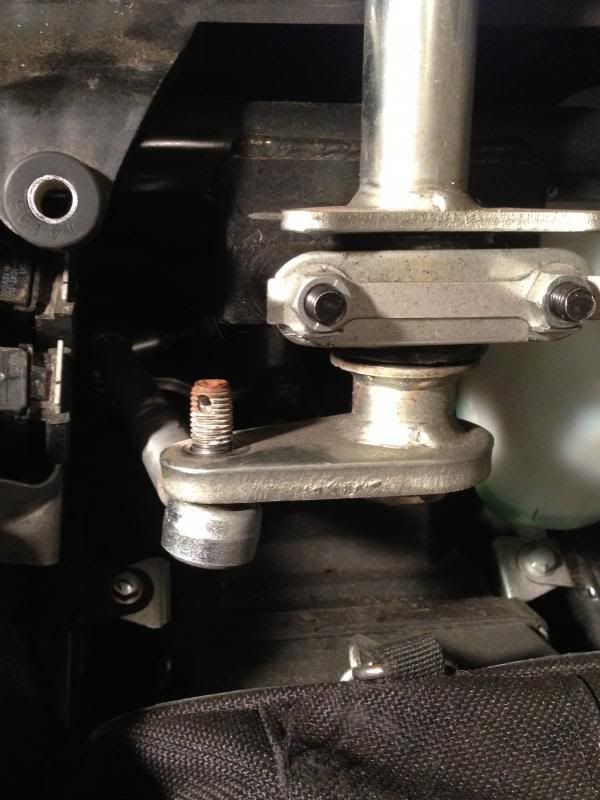
But gotta get rid of the steering column first. That was a fun time...
I thought once I undid the nut here it would just pop out, I could not have been more wrong. I had to take a metal hammer and wail on the left side of the flat plate until the screw literally was jarred out.
This is how the plate looked after I was done hitting it....
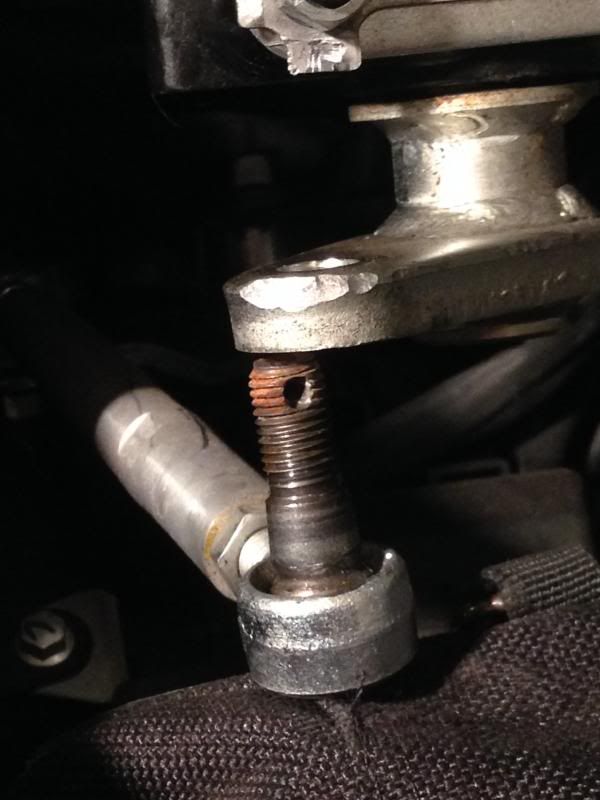
B
small tip, just turn the nut off till no threads show,then wack the top of the nut,usually comes first try.:face-icon-small-coo
What would you use to grip the nut to turn it? Without damaging the threading?
Then Step V
Remove the 4 M12 bolts that hold the handlebars on. Once that was done I was able to remove the steering column.
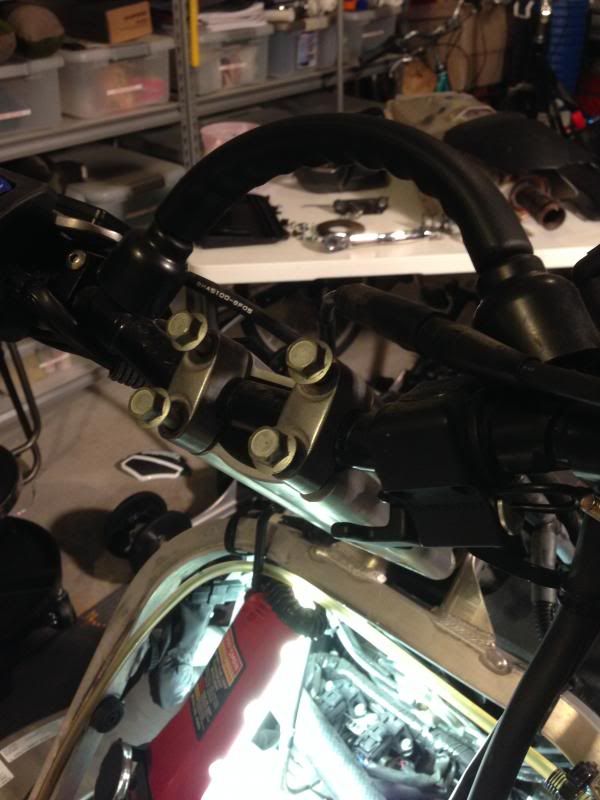
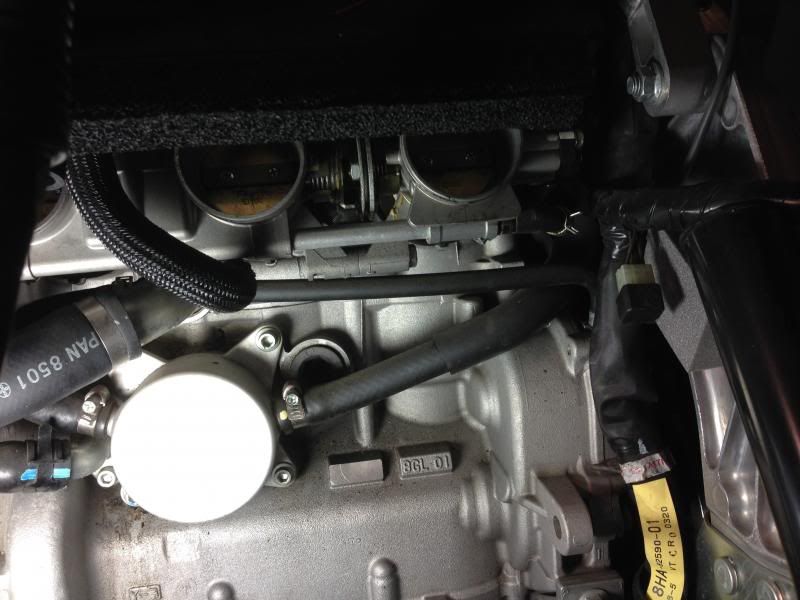
Once was that, I moved onto loosening the clamps around the throttle bodies.
Where the flash hits is the nut i was working on.
Yet it did get far more difficult the further I went back.
Remove the 4 M12 bolts that hold the handlebars on. Once that was done I was able to remove the steering column.
Once was that, I moved onto loosening the clamps around the throttle bodies.
Where the flash hits is the nut i was working on.
Yet it did get far more difficult the further I went back.
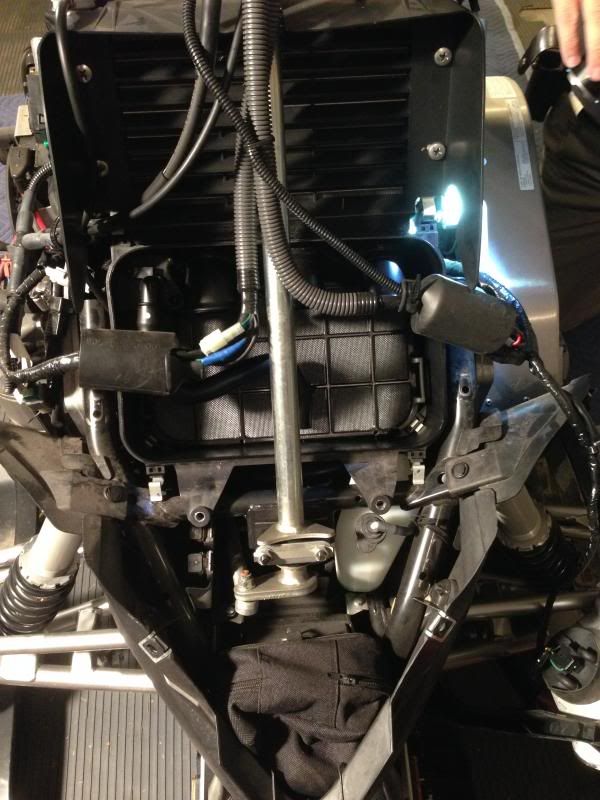
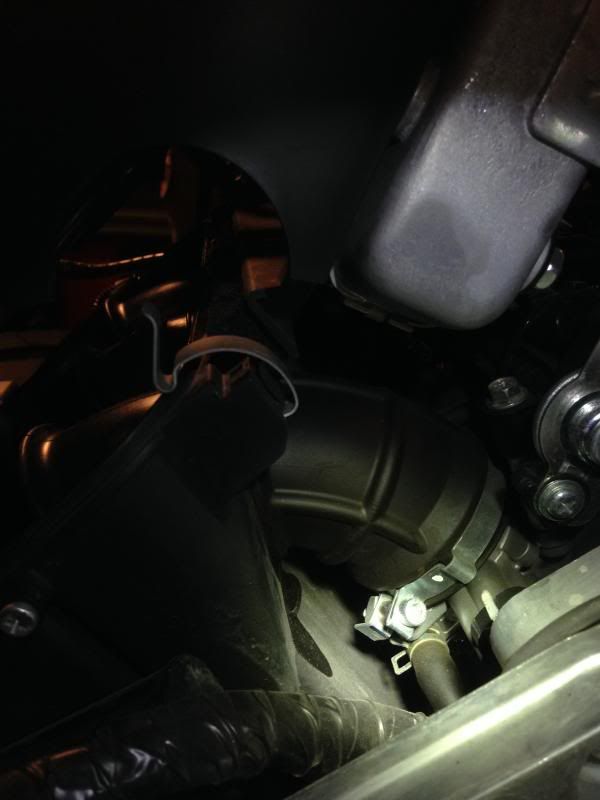
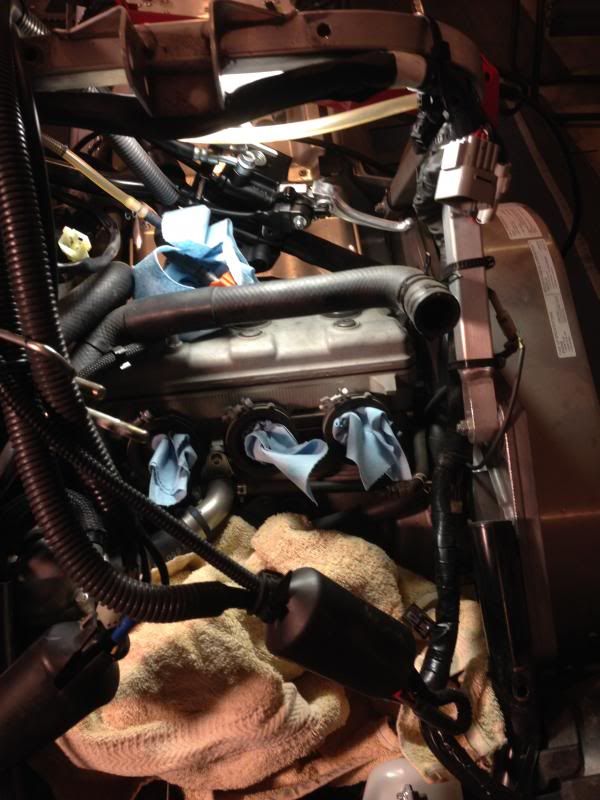
Now with the clamps loosened, the steering column removed, and the riser column removed its time to move onto removing the airbox.
I regret to say that I am lacking pictures of the airbox removal, it was pretty straight forward. Remove all of the sensors, along with 5 bolts
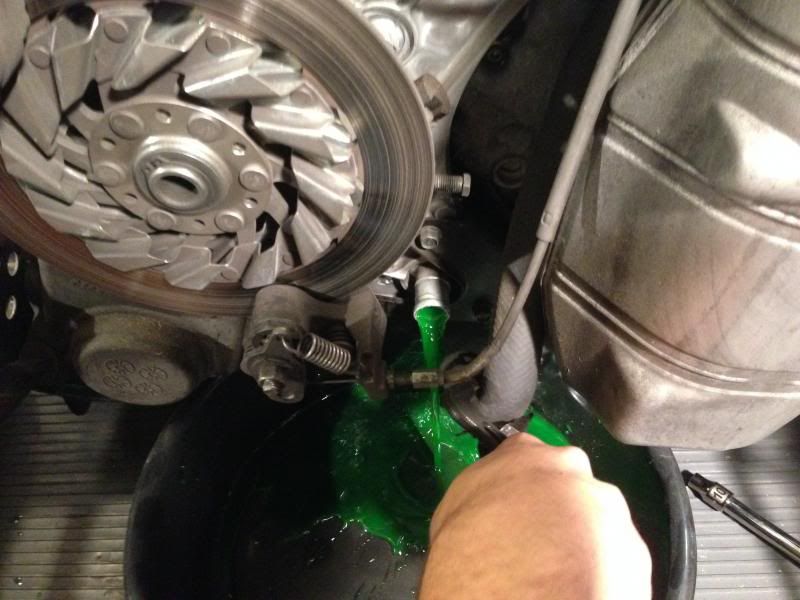
In this manual it does not say to take the radiator out. But to get access to everything, it seemed alot easier so i drained it and removed the radiator for more space to work.
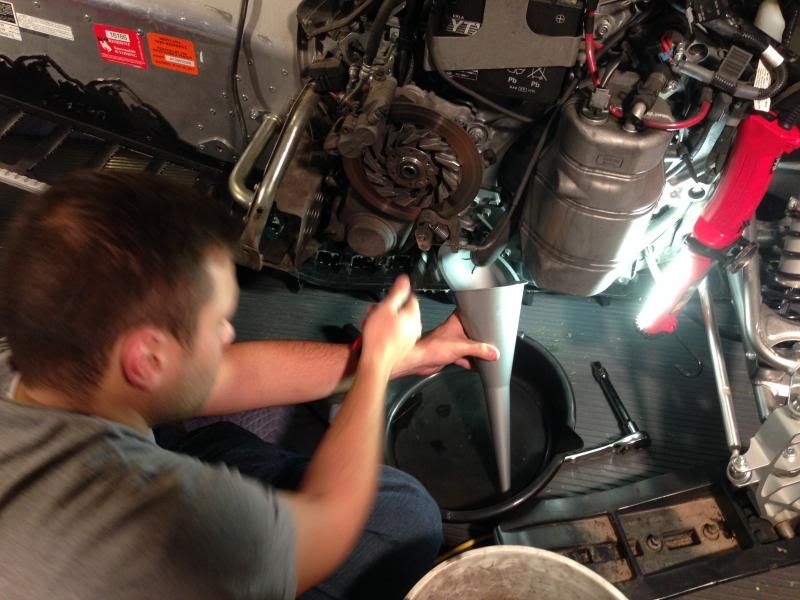
haha by the way, this fluid comes rushing out
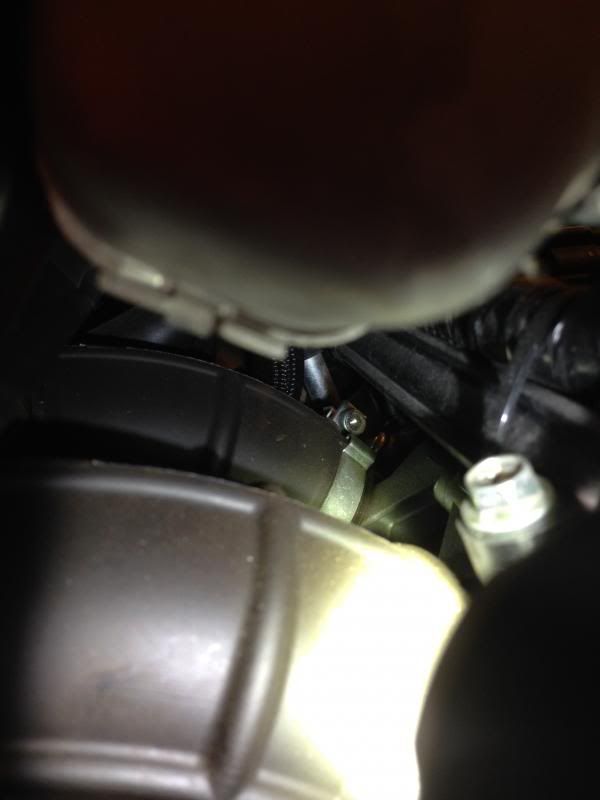
If you do decide to go this route, go to the right side of the sled and remove the tubing there that you see disconnected in this picture.
As this is not part of the install I shall not be including a step by step process.
Now onto a detailed review of removing the throttle bodies and adding the new parts to it!
I regret to say that I am lacking pictures of the airbox removal, it was pretty straight forward. Remove all of the sensors, along with 5 bolts
In this manual it does not say to take the radiator out. But to get access to everything, it seemed alot easier so i drained it and removed the radiator for more space to work.
haha by the way, this fluid comes rushing out
If you do decide to go this route, go to the right side of the sled and remove the tubing there that you see disconnected in this picture.
As this is not part of the install I shall not be including a step by step process.
Now onto a detailed review of removing the throttle bodies and adding the new parts to it!
Last edited:
Step Y, the last step of the first set.
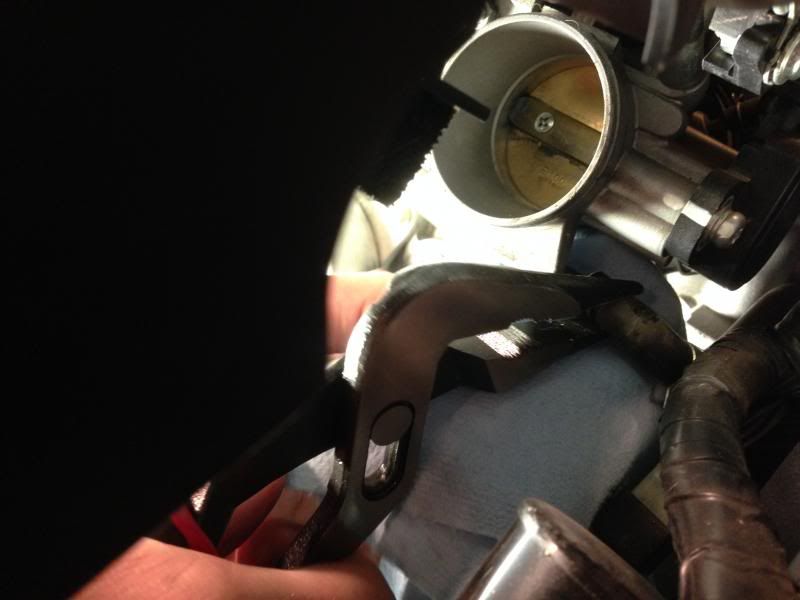
To begin with I had to disconnect the throttle cable. Its easiest to remove it from the handle bars.
There are two screws that unscrew then it splits apart into two sections. Pull the throttle into the wide open position, then hold the cable there with a pair of pliers, release the throttle and the cable pops right out of the holding.
From there it is right onto the throttle bodies.
Start with the two coolant lines. If you removed the radiator, then disconnecting the coolant lines will only leak a little bit.
Line one on right side.
Removed
Then the same on the left side.
From there remove the 16 pin electrical plug.
haha that one took some work to find the right release on it.
Well thats really all that is to getting the throttle bodies off. Loosen the three clamps, undo the coolant lines, undo the 16 pin plug, and the fuel line.
With everything disconnected just pull forward and down on the throttle bodies.

With a pull it comes right off.
Now when you pull it off mind the throttle cable that is attached to it.
With a pull it comes right off.
Now when you pull it off mind the throttle cable that is attached to it.
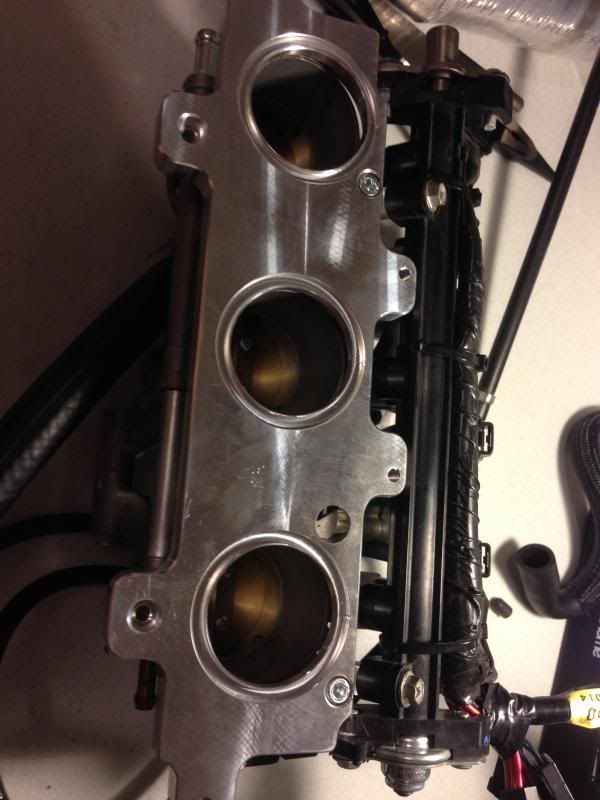
Throttle Body Preparation
Step 1
So now I took the Throttle Bodies over to the work bench to prepare for the load it will handle with the turbo.
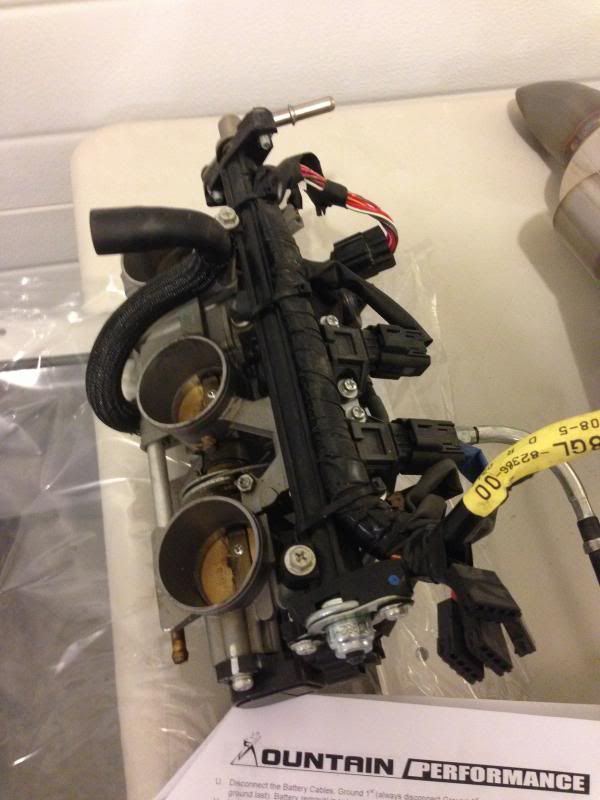
To begin with, take the rubber plugs off that are found above each throttle body. They are next to each gray OEM hose connectors.
Step 2-4
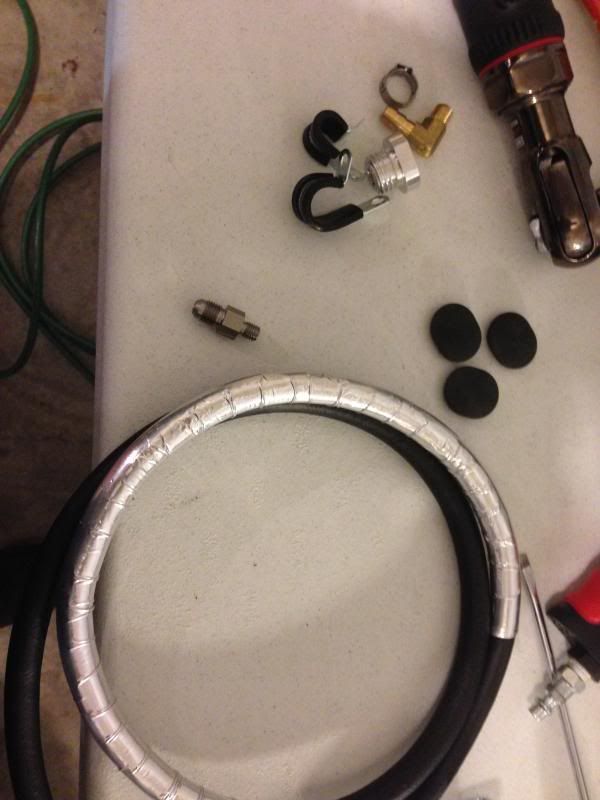
Find the bag with these components. These will be added to the throttle bodies.
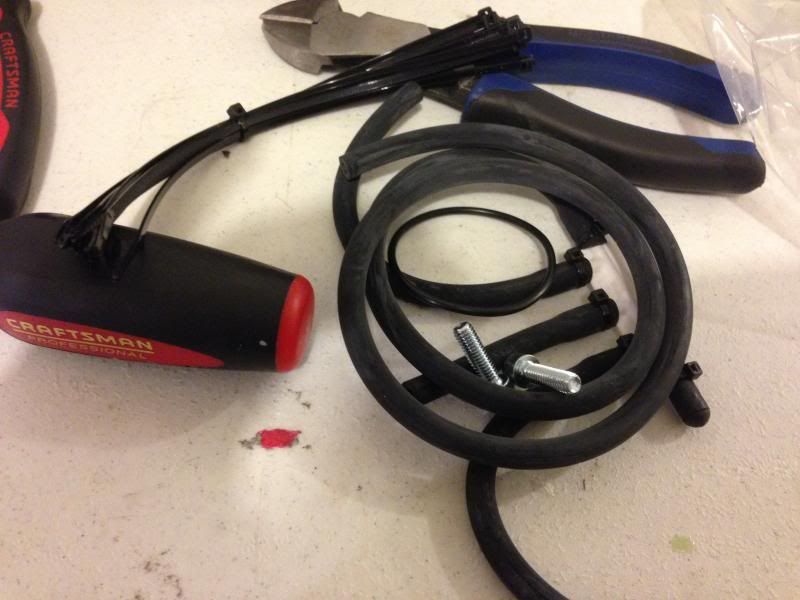
From there use zip ties to tighten down every vacuum line, along with the new ones that are installed. Make sure not to miss any!
I decided to use different colors, it was a bit more fun!
Step 1
So now I took the Throttle Bodies over to the work bench to prepare for the load it will handle with the turbo.
To begin with, take the rubber plugs off that are found above each throttle body. They are next to each gray OEM hose connectors.
Step 2-4
Find the bag with these components. These will be added to the throttle bodies.
From there use zip ties to tighten down every vacuum line, along with the new ones that are installed. Make sure not to miss any!
I decided to use different colors, it was a bit more fun!
Throttle Body Preparation
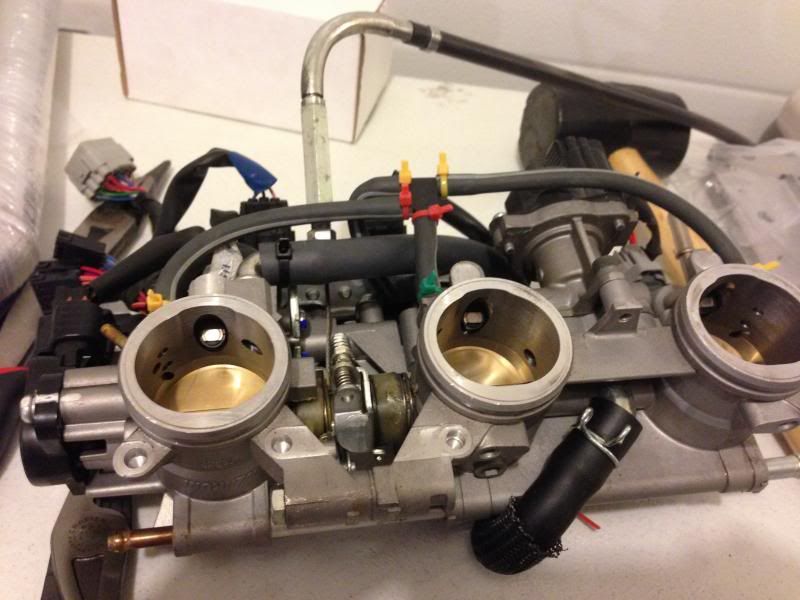
Step 5-6
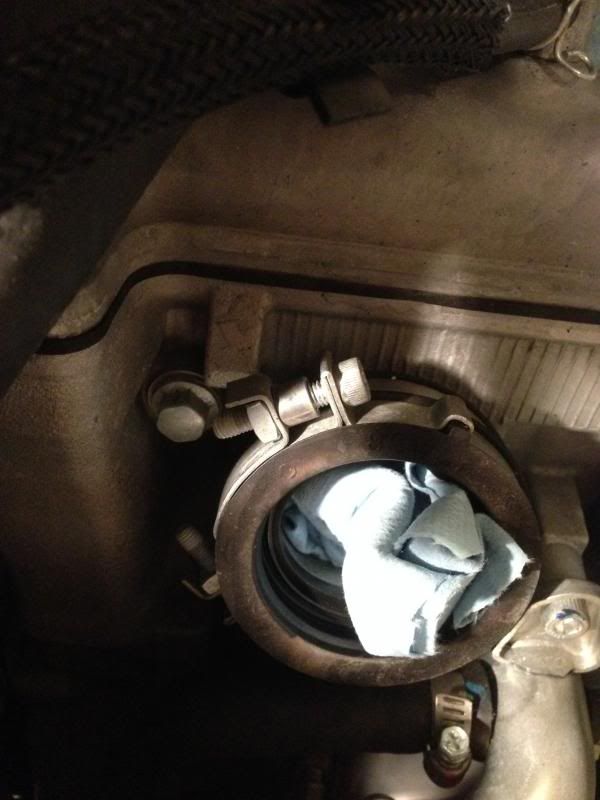
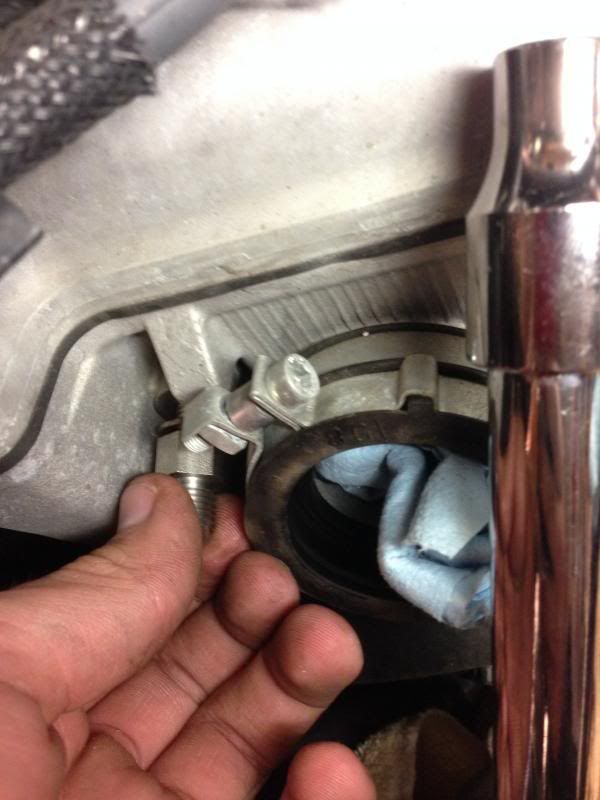
Next is the black IAC inlet line with the woven fabric. Remove that and replace it with the new IAC hose in the kit.
Stock
Replaced

Then tighten down the ring down. After that we will be working on the fuel rail.
Step 5-6
Next is the black IAC inlet line with the woven fabric. Remove that and replace it with the new IAC hose in the kit.
Stock
Replaced
Then tighten down the ring down. After that we will be working on the fuel rail.
Throttle Body Preparation
Step 7
Remove the 2 M5 screws holding the fuel rail to the throttle bodies
One on each side
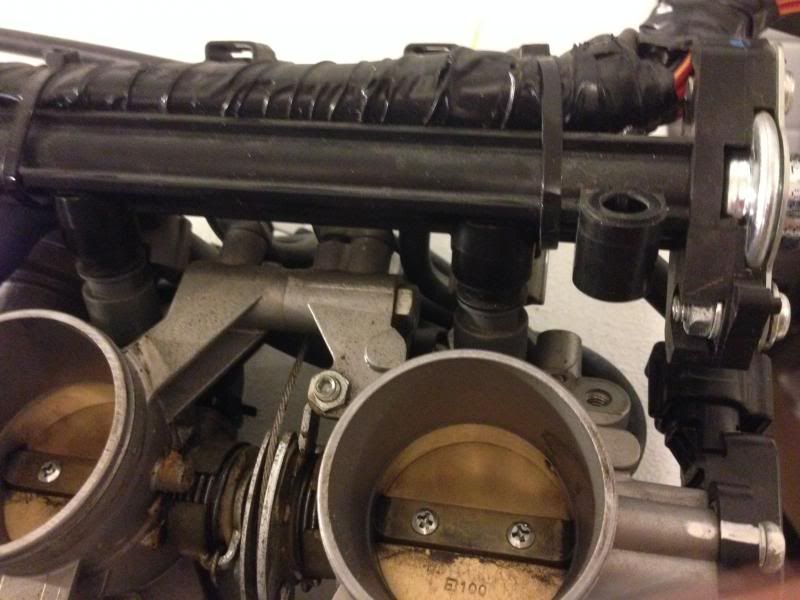
Remove the spacer that is currently there, and replace it with the supplied body adapter suppliers. Then replace the M5 screw.
Then remove the bolt that is not being used, youll need that to attach the adapter plate.
Step 7
Remove the 2 M5 screws holding the fuel rail to the throttle bodies
One on each side
Remove the spacer that is currently there, and replace it with the supplied body adapter suppliers. Then replace the M5 screw.
Then remove the bolt that is not being used, youll need that to attach the adapter plate.
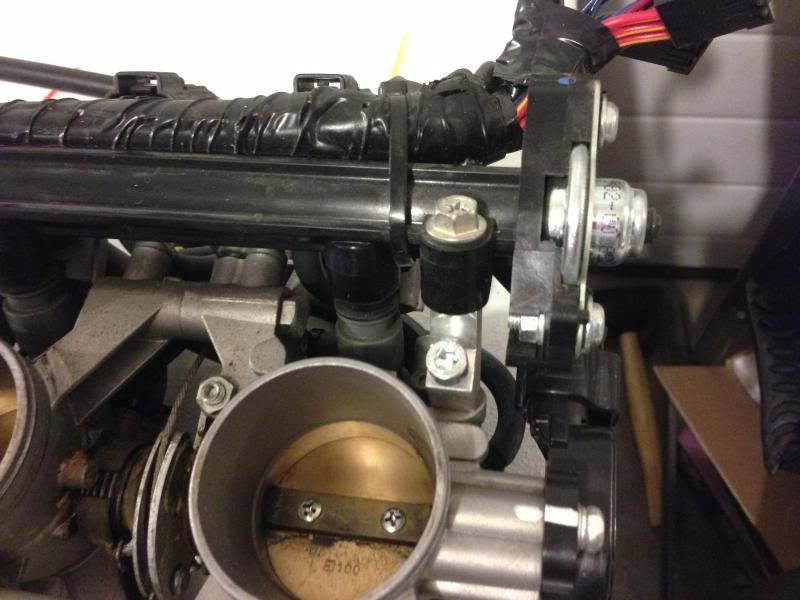
Throttle Body Preparation
Step 8-10
Seat the adapter plate and use the two screws removed earlier to hold in place. Use blue loctite but do not tighten down all the way yet.
Then Install the L shape brackets onto the front side of the spacer. There are two holes they fit perfectly into.
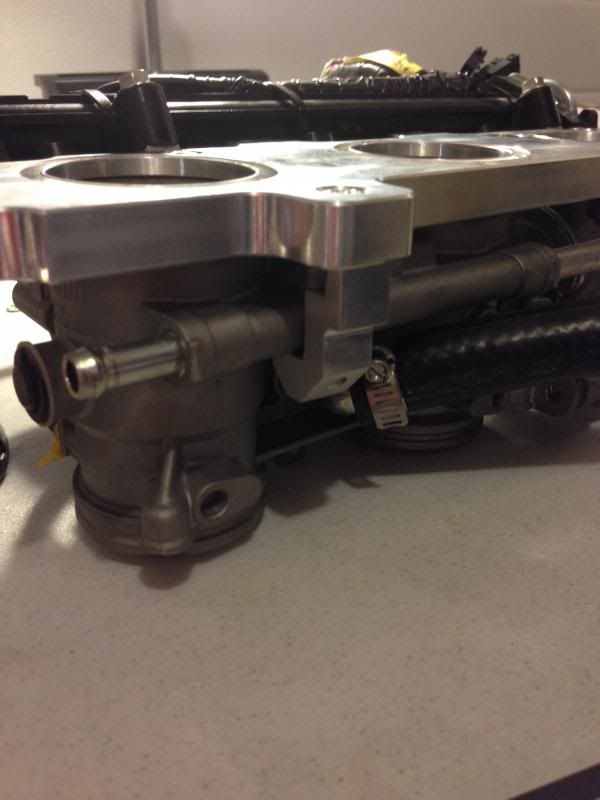
Also seat these ones with blue loctite. Then tighten all four screws down.
Step 8-10
Seat the adapter plate and use the two screws removed earlier to hold in place. Use blue loctite but do not tighten down all the way yet.
Then Install the L shape brackets onto the front side of the spacer. There are two holes they fit perfectly into.
Also seat these ones with blue loctite. Then tighten all four screws down.
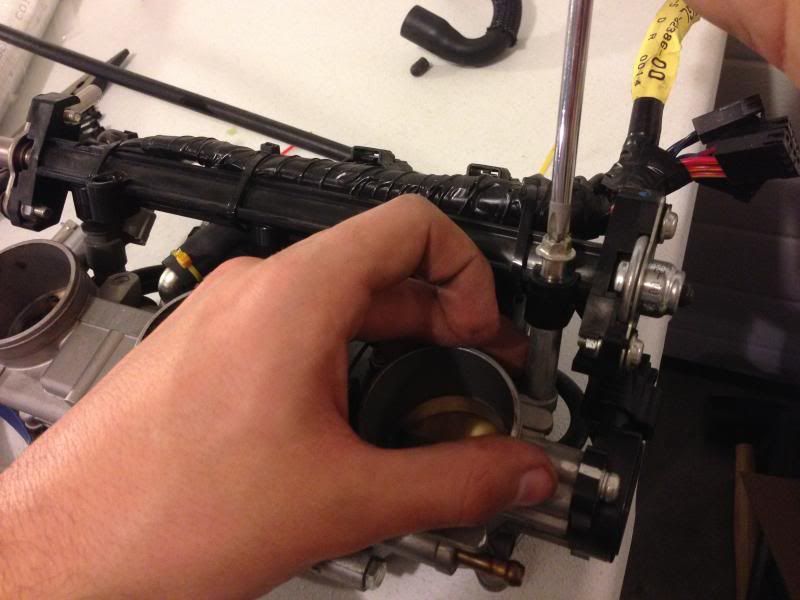
Throttle Body Preparation
Step 11
Remove the M8 bolt to the left of the far left cylinder, as you stand facing the front of the sled. When you remove it make sure to keep the copper washer that is behind it.
Find the bag with these materials
Step 12
Take the M8 oil fitting and reinstall it with the copper washer behind it..
Step 11
Remove the M8 bolt to the left of the far left cylinder, as you stand facing the front of the sled. When you remove it make sure to keep the copper washer that is behind it.
Find the bag with these materials
Step 12
Take the M8 oil fitting and reinstall it with the copper washer behind it..
Throttle Body Preparation
Step 12 continued
Take the steel braided hose from the kit and attach it to the oil fitting we just installed.
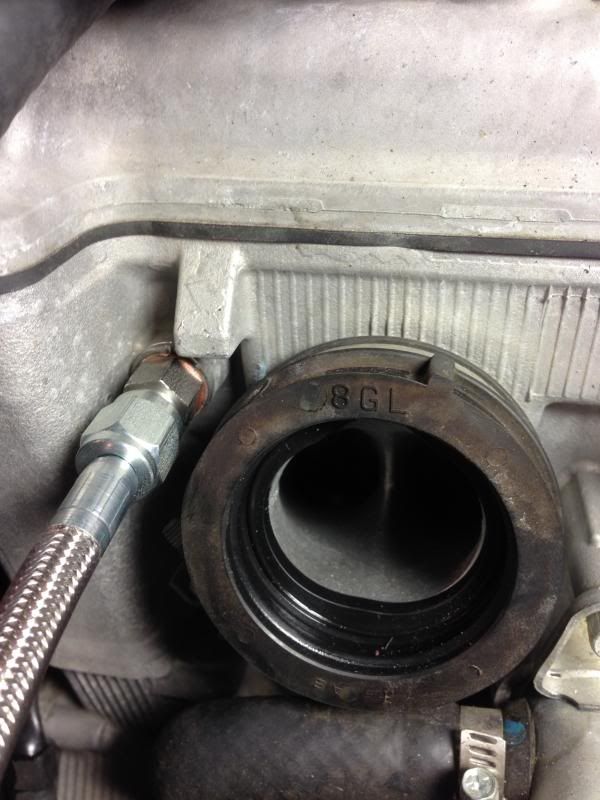
I had to remove the metal clamp around the cylinder to tighten it down.
Well that's all I have done so far!
I will continue tomorrow!
Here is what she looks like so far!
Step 12 continued
Take the steel braided hose from the kit and attach it to the oil fitting we just installed.
I had to remove the metal clamp around the cylinder to tighten it down.
Well that's all I have done so far!
I will continue tomorrow!
Here is what she looks like so far!
Ahhh yes.
Brings back memories of installing my Supercharger!
Good Times!
Get Er Done CBP.
There is snow in your mountains that is calling your name.
Just think how SWEET that Nytro of your's will be with a brand new MPI Turbo boosting it this year!

Brings back memories of installing my Supercharger!
Good Times!
Get Er Done CBP.
There is snow in your mountains that is calling your name.
Just think how SWEET that Nytro of your's will be with a brand new MPI Turbo boosting it this year!
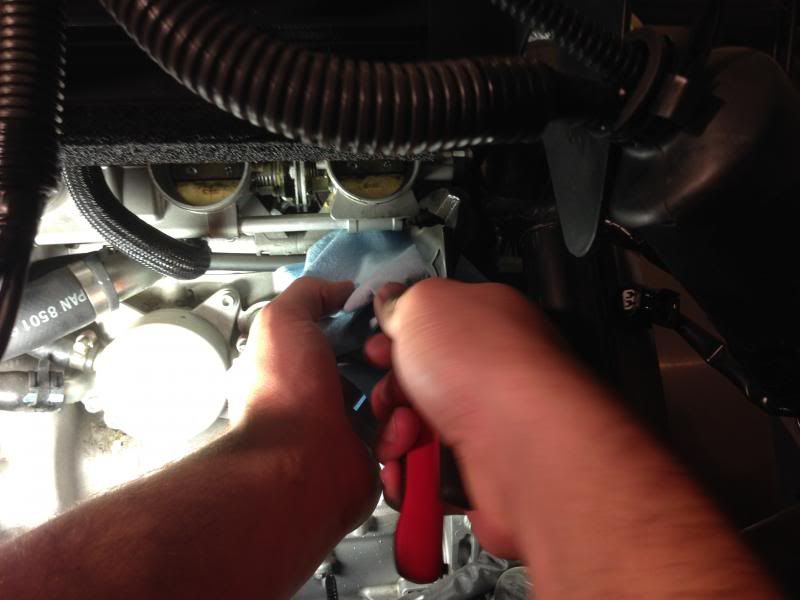
Well I ran into a small problem that I mentioned earlier
We debated between replacing the wiring
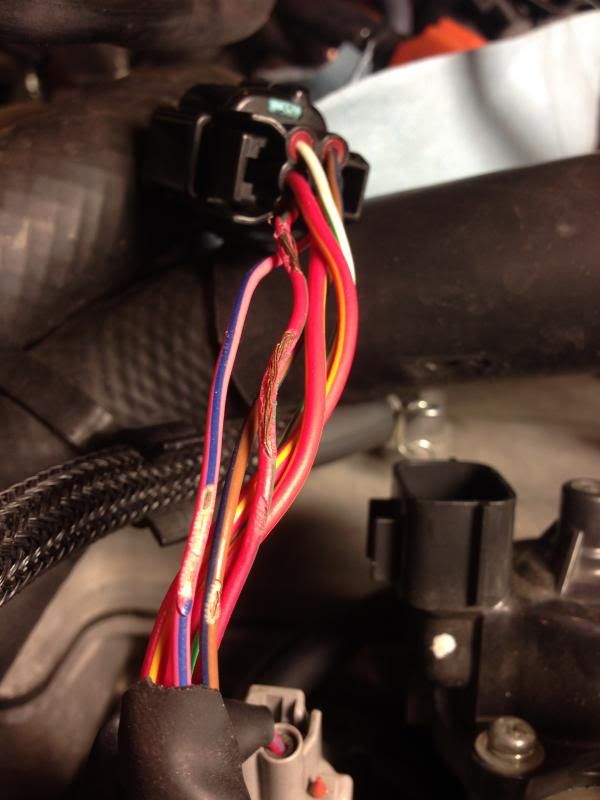
We ended up just wrapping each wire then wrapping it all together
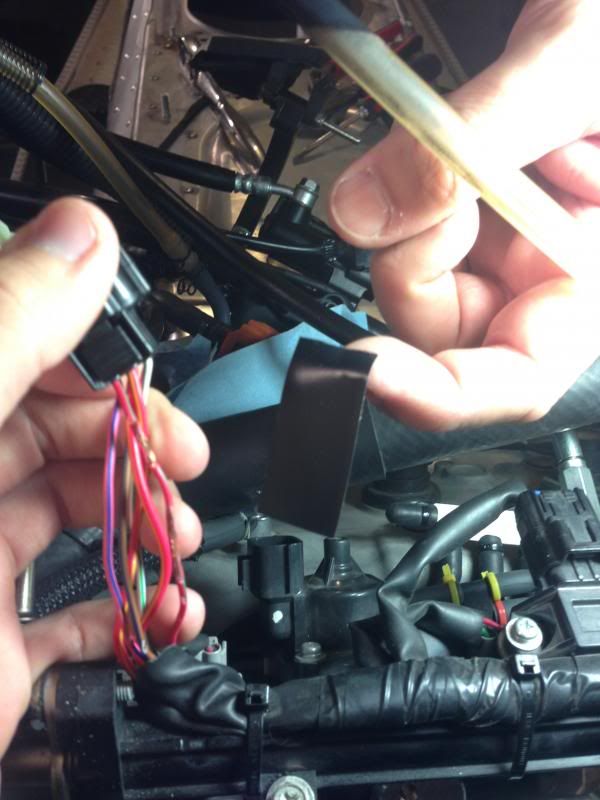
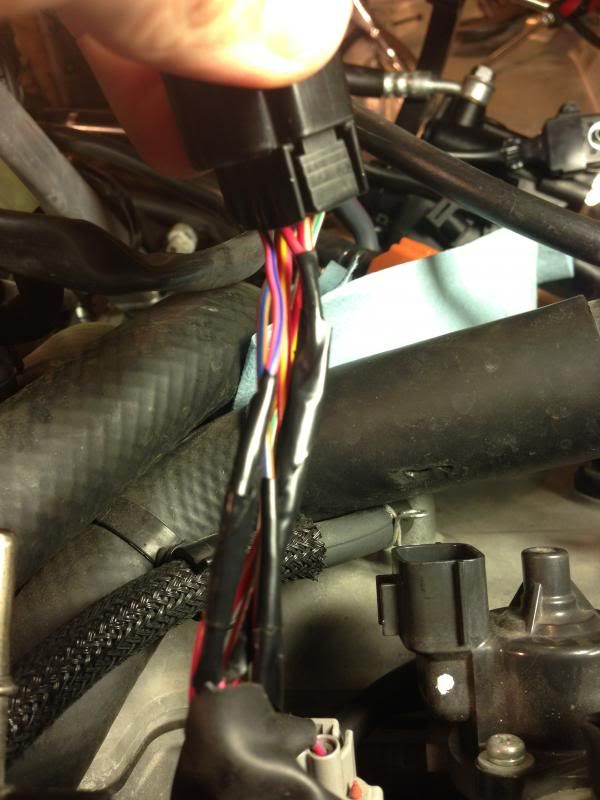
Then wrapped the entire thing up.
Well onto finishing the Throttle Body preparation
We debated between replacing the wiring
We ended up just wrapping each wire then wrapping it all together
Then wrapped the entire thing up.
Well onto finishing the Throttle Body preparation
Similar threads
- Replies
- 10
- Views
- 1K
- Replies
- 45
- Views
- 3K
D
- Replies
- 42
- Views
- 3K
D