
Well i have gained alot of knowledge and useful information from this site and thought i would contribute something. Its not the most advanced install, but there is some tips that can help make it easier.
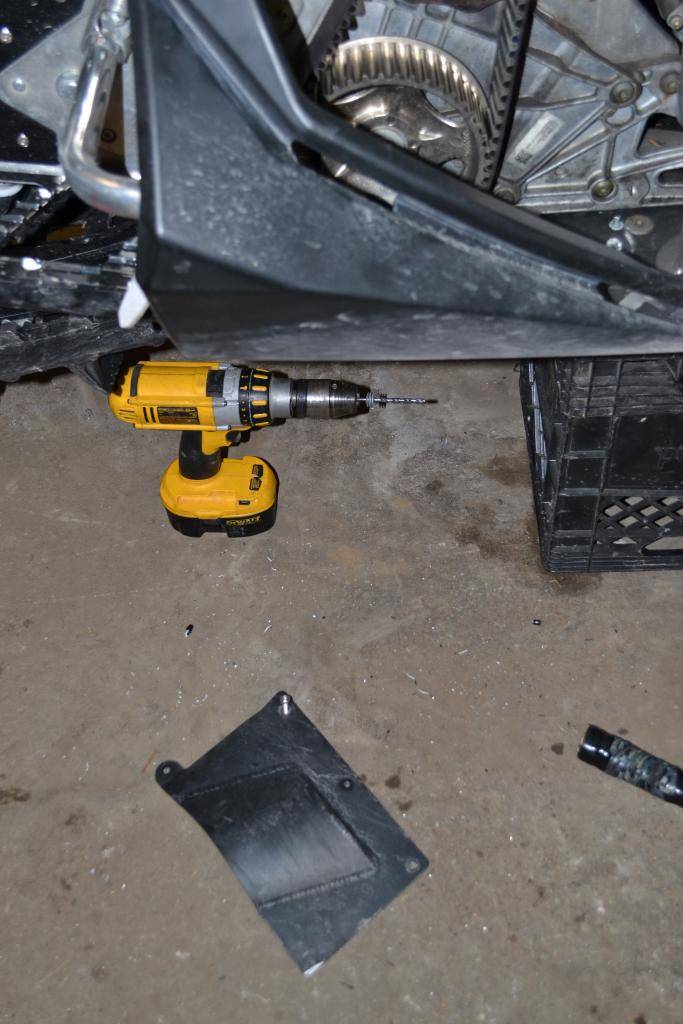
Tools needed; Basic hand tools(socket set/wrench's), drill,a long 3/16 drill bit, punch and hammer for nasty rivets, torx 40, pneumatic riveter.
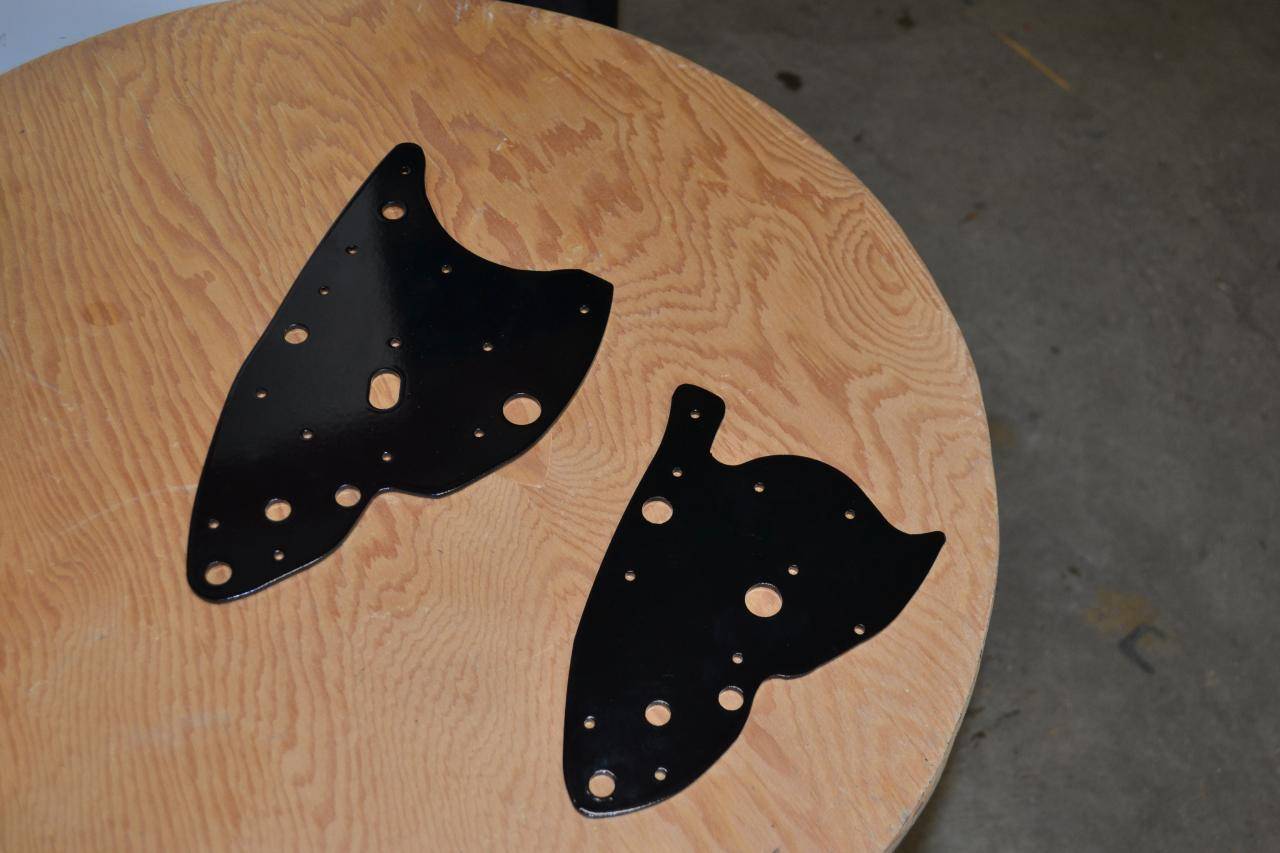
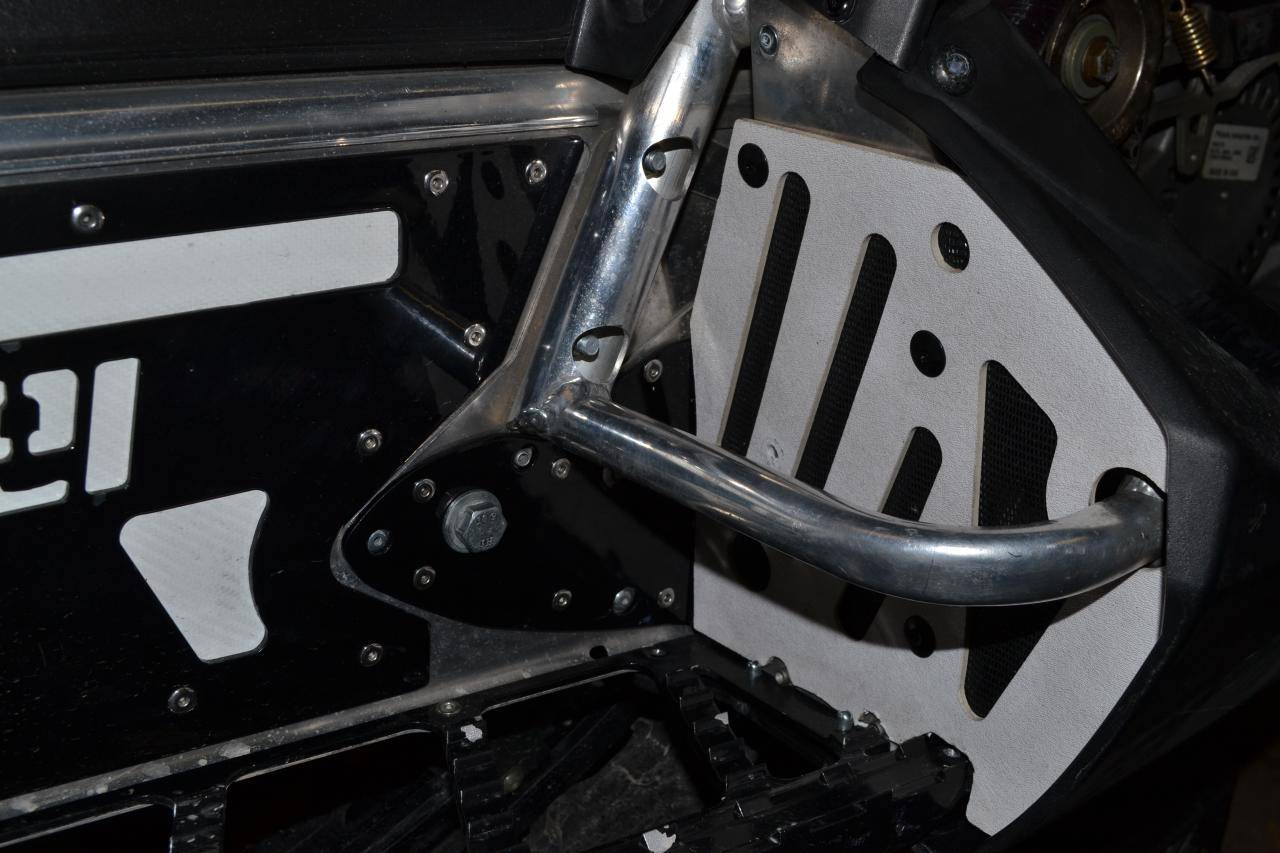
Plates powder coated black
Clutch side.
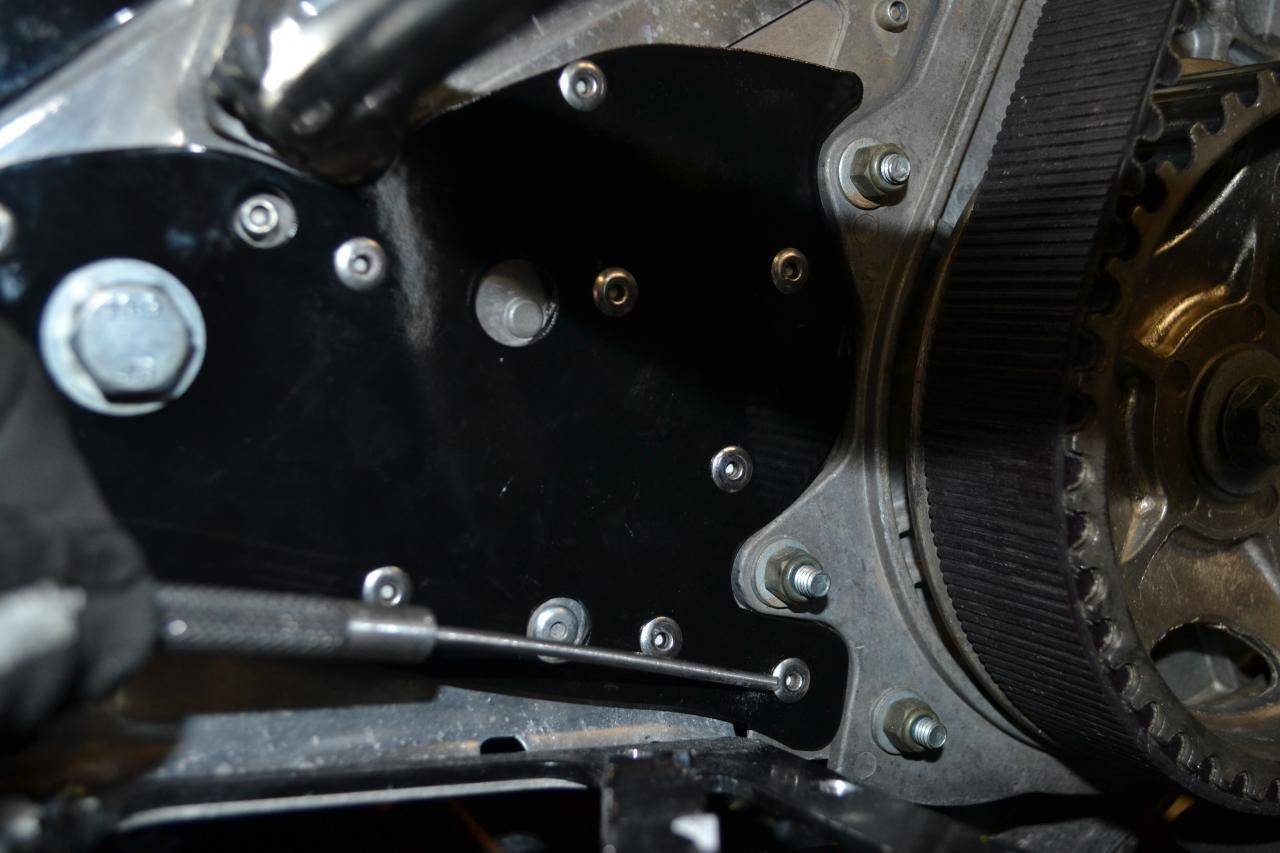
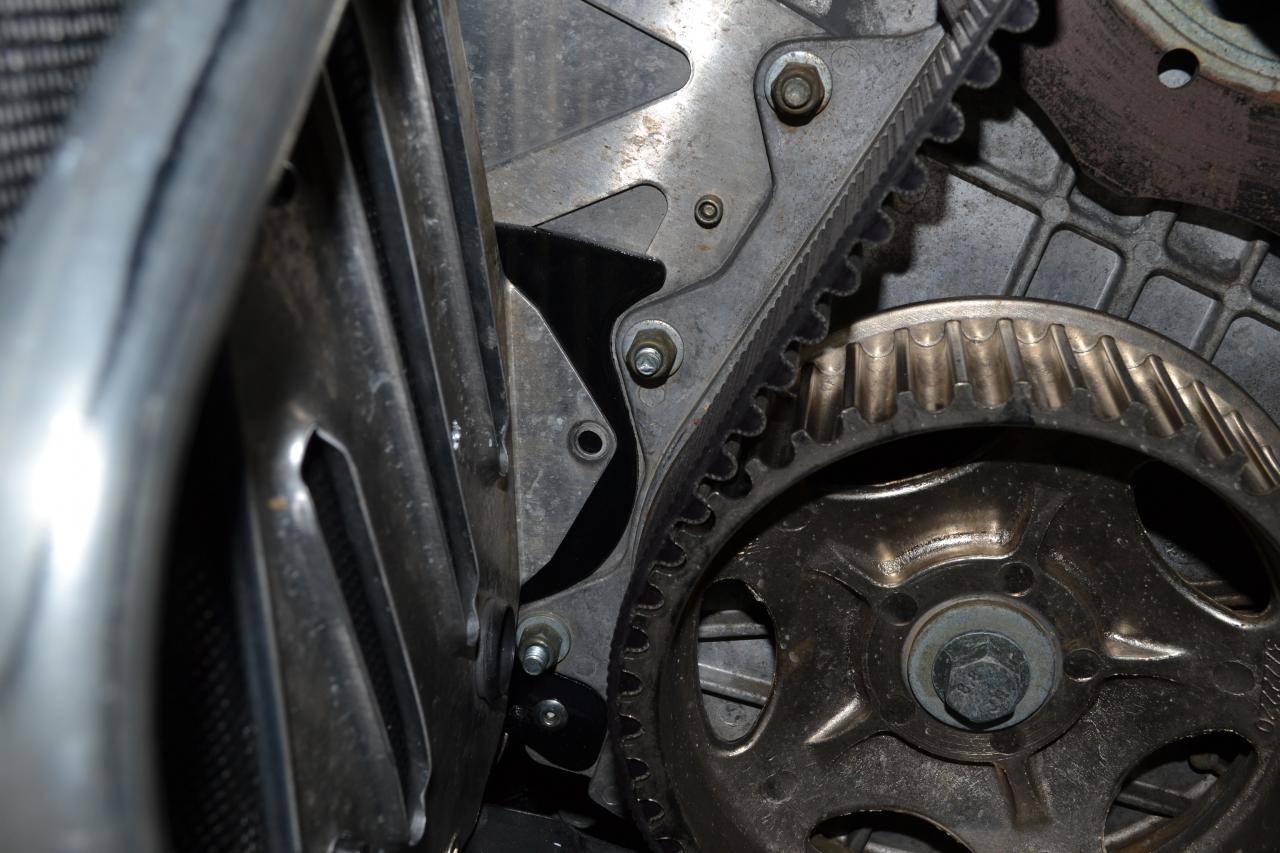
Remove torx 40 , Mike Taylor foot well vents, stock kick plate(plate is riveted up above stirrup to belt gaurd, you dont need to remove it completely, just the 5 rivets at bottom are enough to move plate out of the way) , belt and secondary clutch and front suspension arm bolt. Removing the back rivet on the stock plate is were the long 3/16 bit first comes in handy.


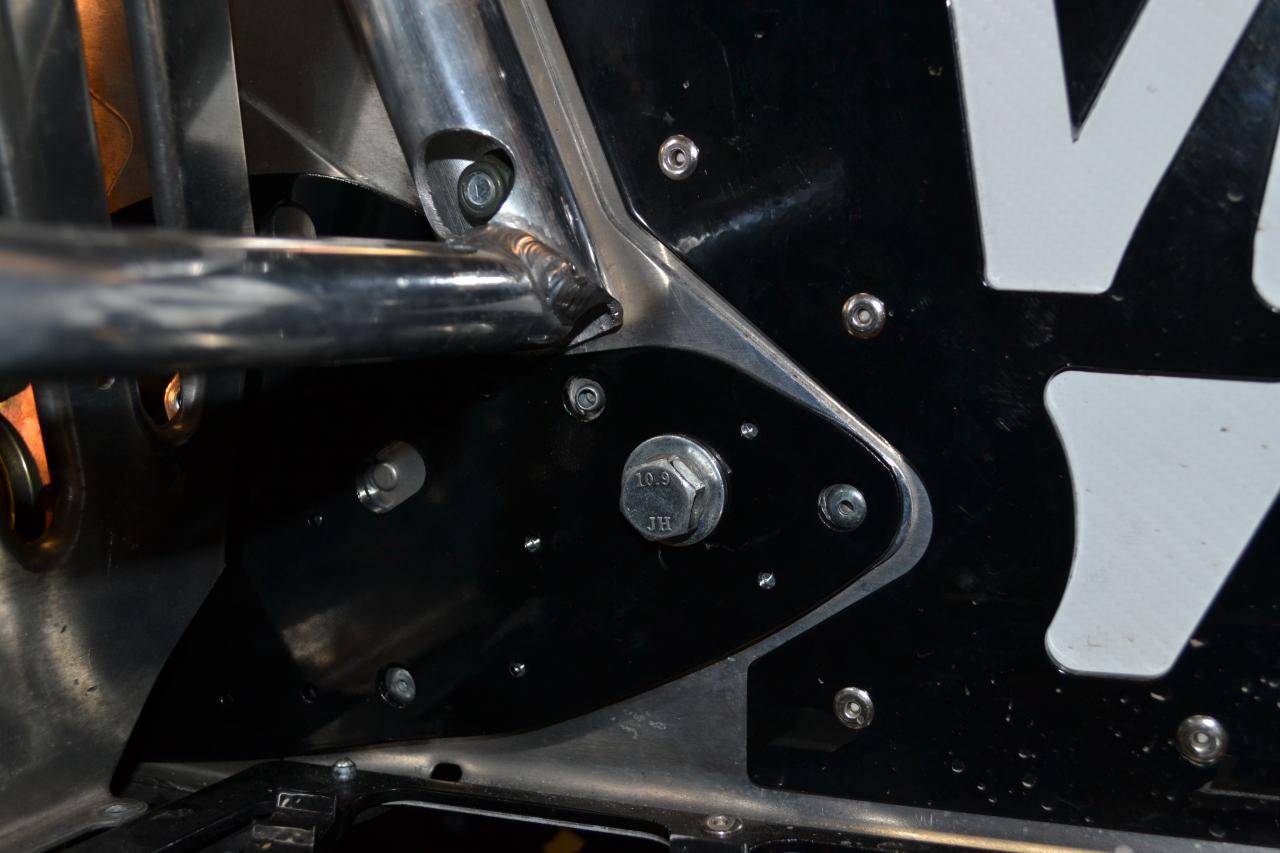
Loosen but do not remove the 2 bolts holding the stirrup to side of tunnel, this will help sliding the plate into position. Remove nut holding on drive shaft bearing(closest to the new plate). Install new large plate. Loosen track tension and attached a ratchet strap from front arm to rear suspension mounting bracket. Tighten strap to aid in front arm bolt alignment, install suspension bolt, align plate and tighten suspension bolt. The bolt will act as a clamp to hold plate while drilling and riveting .

Begin drilling and riveting in all 3/16 holes pre drilled into plate. I had some trouble with supplied rivets, shafts broke on first 3 of 4 installed. I had some extra stainless rivets which i used instead. Do not install rivet in middle of plate where stock kick plate was mounted. Once all rivets installed(except one mentioned prior),install kick plate and final rivet in Kurt's plate. I added larger washer to the bearing stud and installed nut. I utilized original rivet holes on top of kick plate but i had to drill new holes in bottom of plate (where it mounts to running board).


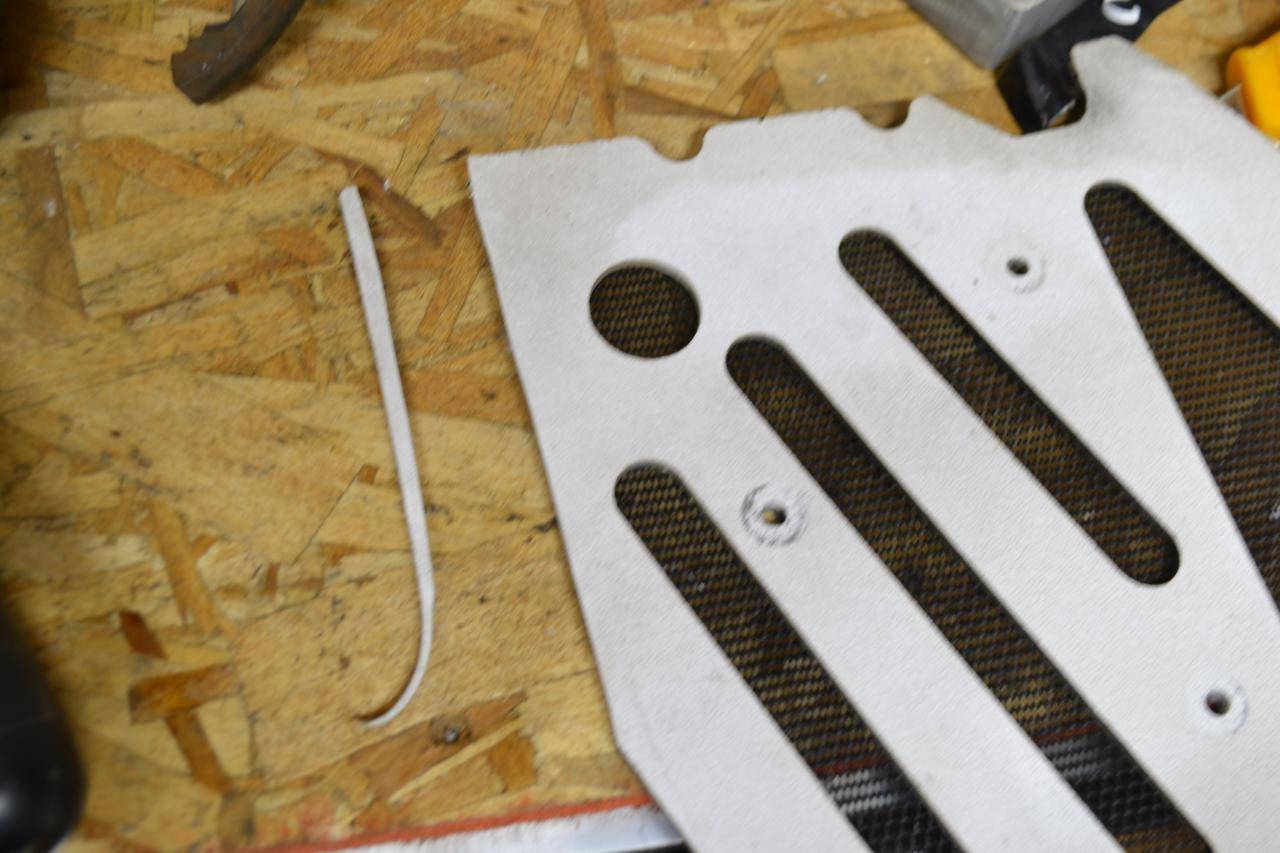
I removed a small amount of material from side of Mike Taylor footwell vent's due to thickness of Kurt's Plate. Then re installed vents, clutch, blet and torx. Clutch side complete.
Quick drive side.
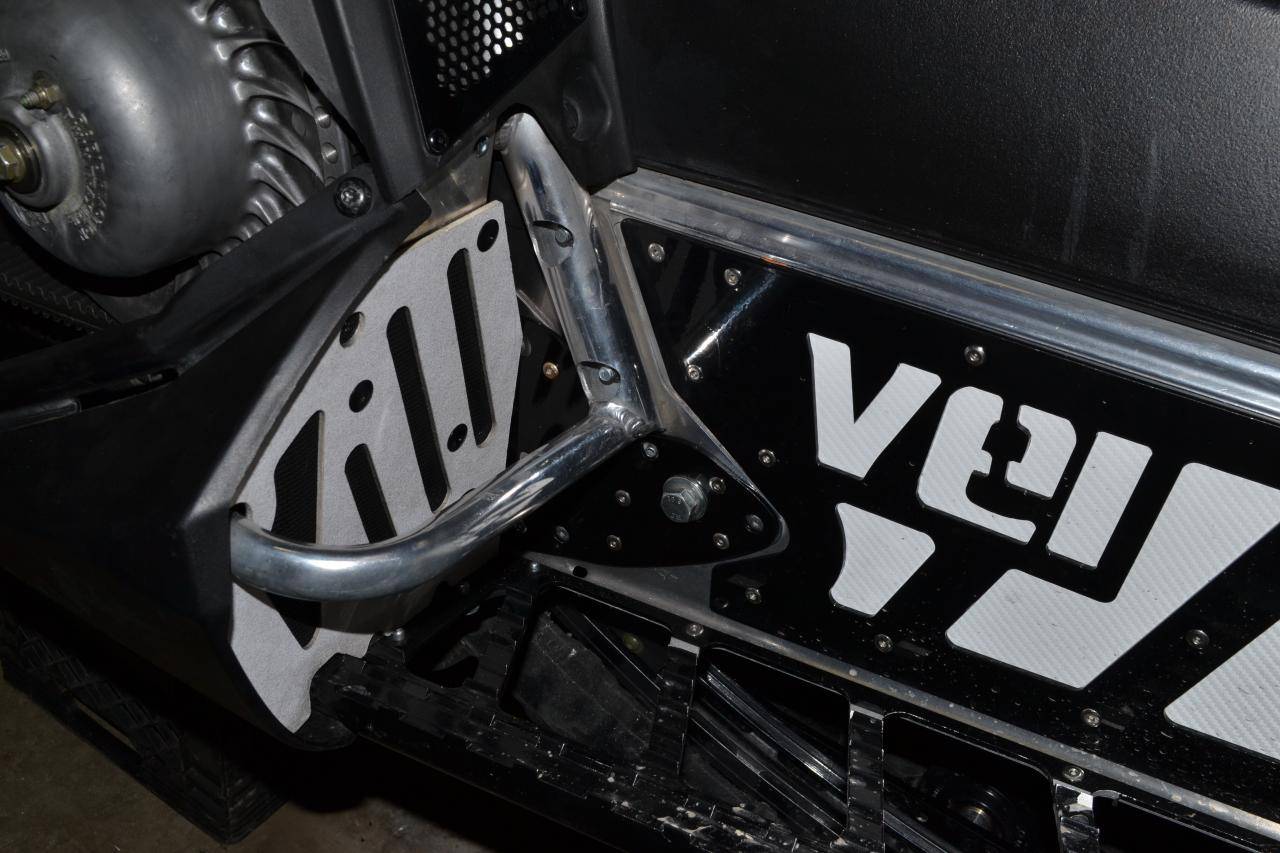
Using same tips from above, complete quick drive side. Remove torx, foot well vents, stock kick plate, loosen stirrup bolts but don't remove, remove suspension bolt and slide in plate. If using a quick drive guard, remove guard also. Install suspension bolt to secure plate. Drill and install all rivets(except rivet used on back of kick plate mount(do this one last). Bottom rivet is very tight, tough to get rivet gun in there, i removed running board/stirrup bolts and was able to manipulate boards slightly to make room. Tighten and re install all hardware,guard, kick plates and venting. Also don't forget to tension track.

.
Tools needed; Basic hand tools(socket set/wrench's), drill,a long 3/16 drill bit, punch and hammer for nasty rivets, torx 40, pneumatic riveter.
Plates powder coated black
Clutch side.
Remove torx 40 , Mike Taylor foot well vents, stock kick plate(plate is riveted up above stirrup to belt gaurd, you dont need to remove it completely, just the 5 rivets at bottom are enough to move plate out of the way) , belt and secondary clutch and front suspension arm bolt. Removing the back rivet on the stock plate is were the long 3/16 bit first comes in handy.
Loosen but do not remove the 2 bolts holding the stirrup to side of tunnel, this will help sliding the plate into position. Remove nut holding on drive shaft bearing(closest to the new plate). Install new large plate. Loosen track tension and attached a ratchet strap from front arm to rear suspension mounting bracket. Tighten strap to aid in front arm bolt alignment, install suspension bolt, align plate and tighten suspension bolt. The bolt will act as a clamp to hold plate while drilling and riveting .
Begin drilling and riveting in all 3/16 holes pre drilled into plate. I had some trouble with supplied rivets, shafts broke on first 3 of 4 installed. I had some extra stainless rivets which i used instead. Do not install rivet in middle of plate where stock kick plate was mounted. Once all rivets installed(except one mentioned prior),install kick plate and final rivet in Kurt's plate. I added larger washer to the bearing stud and installed nut. I utilized original rivet holes on top of kick plate but i had to drill new holes in bottom of plate (where it mounts to running board).
I removed a small amount of material from side of Mike Taylor footwell vent's due to thickness of Kurt's Plate. Then re installed vents, clutch, blet and torx. Clutch side complete.
Quick drive side.
Using same tips from above, complete quick drive side. Remove torx, foot well vents, stock kick plate, loosen stirrup bolts but don't remove, remove suspension bolt and slide in plate. If using a quick drive guard, remove guard also. Install suspension bolt to secure plate. Drill and install all rivets(except rivet used on back of kick plate mount(do this one last). Bottom rivet is very tight, tough to get rivet gun in there, i removed running board/stirrup bolts and was able to manipulate boards slightly to make room. Tighten and re install all hardware,guard, kick plates and venting. Also don't forget to tension track.
.
Last edited by a moderator: