Hartman Extension
I put this on ty4stroke as well, but as there is a thread here I will include it on snowest.
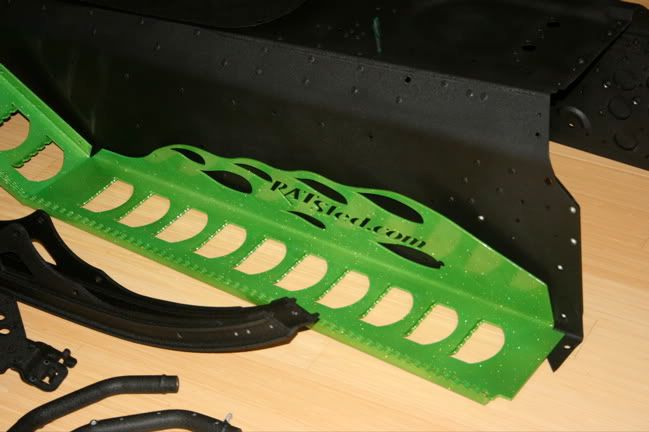
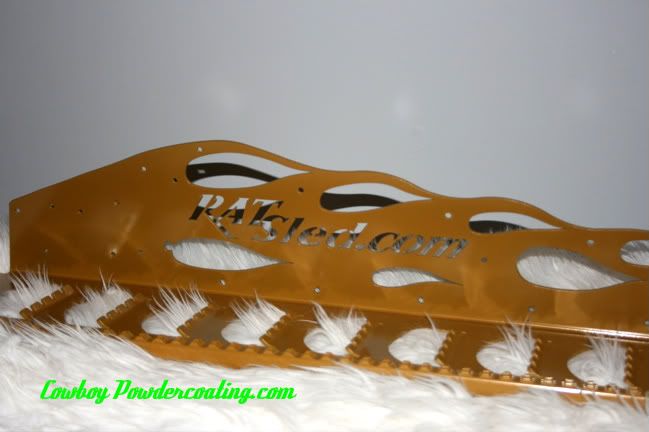
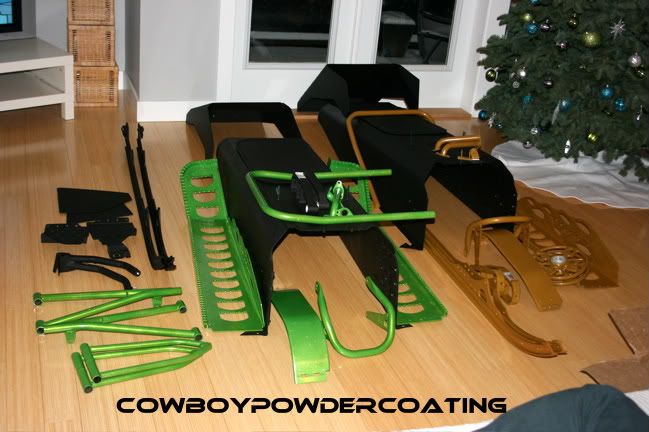
I just finished my install so here is my review and install pics.
The OP asked about strength, no worries there, there is internal support, and if anyone has ever dealt with Tom he is no-nonsense, and he does not sell you anything you don't need, or anything that he has not done extensive testing on.
First off, Tom will tell you if you call about it that this is not a bolt on kit, that it takes some craftsmanship to make it work. He is right, you have to cut off and reuse some of the original extension to complete the back of the running board. However, I have never done any metal work like this before, but I would consider myself above average with the tools. I think bottom line if you can do your own wrenching, and have at least used a grinder more then once you can do this mod.
Ok, so here it is, first remove the old tunnel, drill out all the rivets, remove the bumper and flap, as well as the taillight mounts from the old tunnel.
Next up, fit the new extension on, put in place and mark location on tunnel, use boxboard (mines a kokanee box, it's the beer up here) and create a template to cut the original extension. This pic is just the front portion of my cutout, I did not take another picture after I finished the template, but you see how I cut it later......
Once you have your template complete, you can start fabbing. I started by working on the extrusion, I heated and bent it in two areas as pictured below. I used the mark on the tunnel as a guide to know how far to bend it over. Pictures included for both sides. If you are wondering what the heat gun is for, it was cold and it seemed that the aluminum has such a high heat transfer that the heat was being sucked out faster then I was putting it in, so I used the torch to heat at the bend location, and used the heat gun to keep all surrounding areas hot to avoid them sucking the heat out, worked like a charm.
After bending horizontally, you also need to bend vertically to tie in the extrusion to the new tunnel extension. I did this by blocking it and clamping it to the dropdowns, heating and bending up. TIP, bend up first, then horizontal, since I did it this way while bending up it wanted to twist rathern then bend, took a bit of sweat to get it right.
Next I mark on the extrusion where the end is, cut it off, as well unpictured I trimmed off the rivet tabs on this portion for a cleaner look once completed.
I decided that to partially secure the end of the extrusion I would notch it, and insert it onto the extension. This looks ok, and did allow me to drill and rivet from the bottom. If I were to do this again I would mount it on top with no notch, and either bolt it, or tig weld to a plate and rivet as some others have done. I am unsure how much strength this rivet joint will have if I ever step on this portion, if it bend though I will go the tig route.

After securing the extrusion, I put in about 4 rivets to ensure the new extension was in the correct position, and secure. I then used my boxboard template to mark out on the old extension, used a zip disc to cut it out. I cut slightly proud of the marks so that I was a bit larger then it should be, then used a regular grinding disc to fit it in. Do this very SLOWLY and evenly. I probably fit up and ground the part at least 20-25 times on each side until I had it right. You can do it faster, but then will end up with battle wounds (I have one where the grinder slipped onto the polished surface) or you will end up with uneven sides.
So here is the final fit up of one side.
And a couple pictures of the completed project. I still have some riveting to do to finish up, but you get the idea.
Thanks...........aa