
C
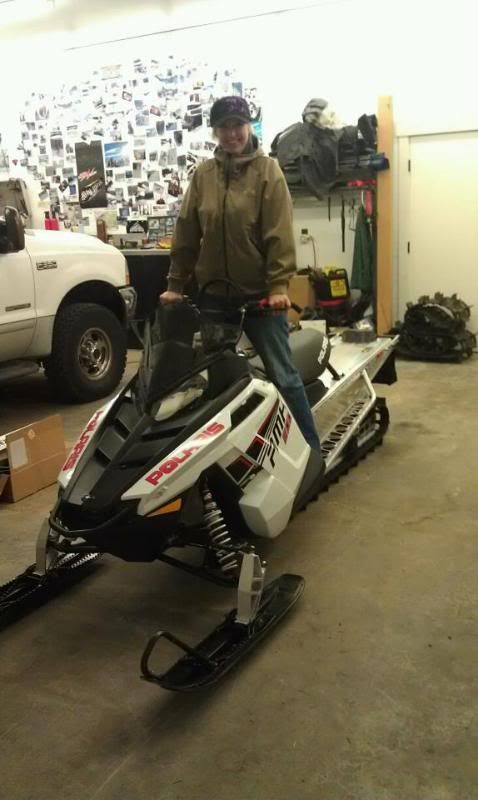
Everyone, meet Jezebel!
In September I picked up a 2012 PRO-RMK 155. It didn’t take long (2 days?) and she was already being torn down. I had a lot of help (THANK YOU THANK YOU!) this fall due to my travel schedule with Octane Productions that you can see some highlights here:
Crazy Fall!
Here’s the night I brought her home! Went with the RMK model as I knew she'd be getting new front and rear suspensions, plus I don't really like the PRO handlebars.
This was 2 days later…
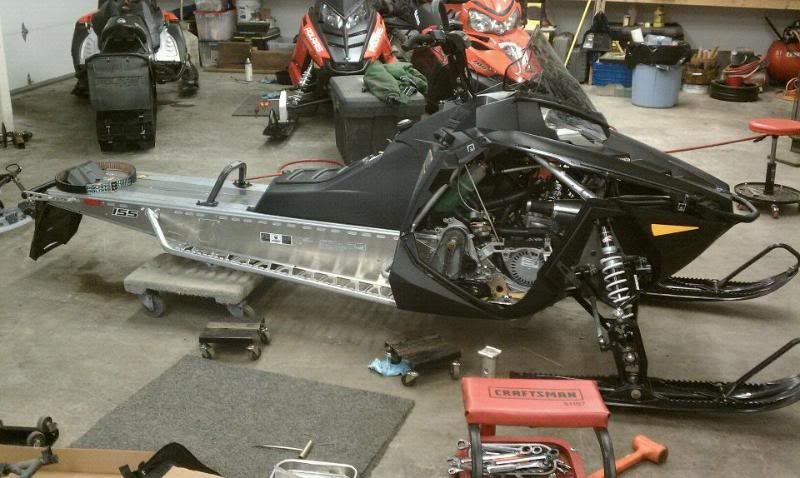
Pulled the primary and sent to Indy Dan for balancing. With this being an 800 I'm a bit nervous of crank issues... this will help it start out GOOD.
The very very first mod was a wrap from Arctic Fx Graphics.
Wrap Install
We scavaged the Camo Extreme 156 2.5 off of my old sled, Naomi. I’ve run this track since 06 and absolutely love it. It really shines in our PNW mashed POW.
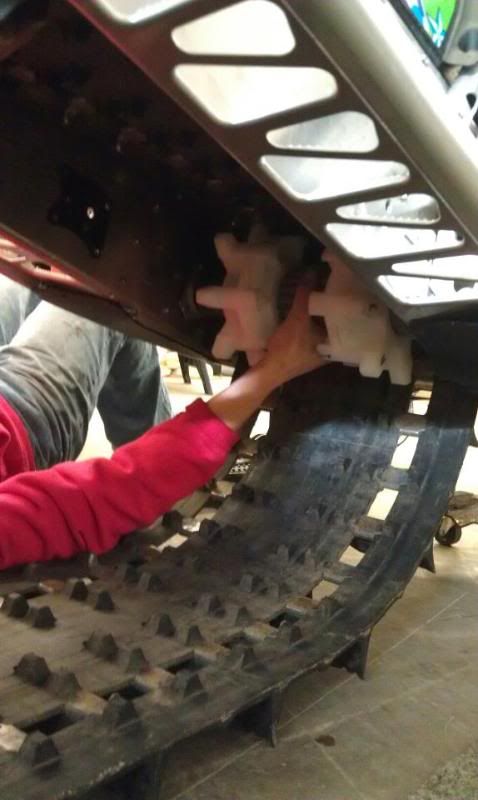
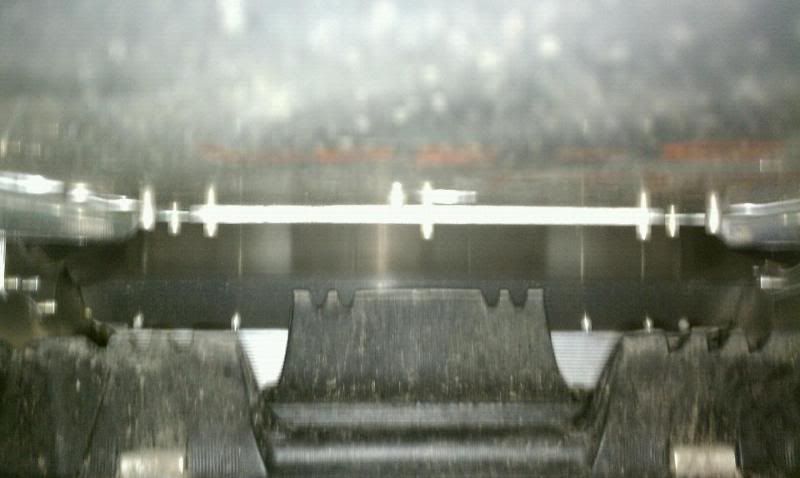
In order to install the track this requires 3 changes – Avid Drivers (went 7 tooth for clearance), Fastrax chaincase modification (clearance) and an anti-stab kit (self explanatory?) from Whal brothers. I can tell you this, but using the 7 tooth drivers the installation is incredibly easier! Easy enough for a girl to do it!
Fastrax Chaincase Mod
Driver install
Track clearance
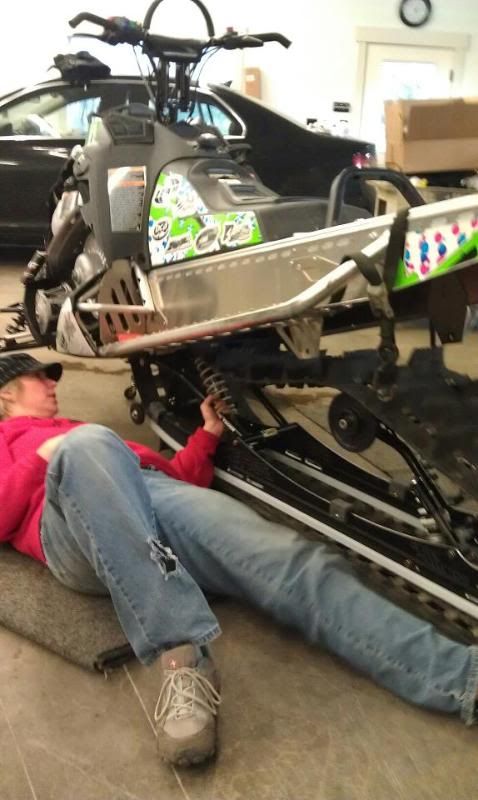
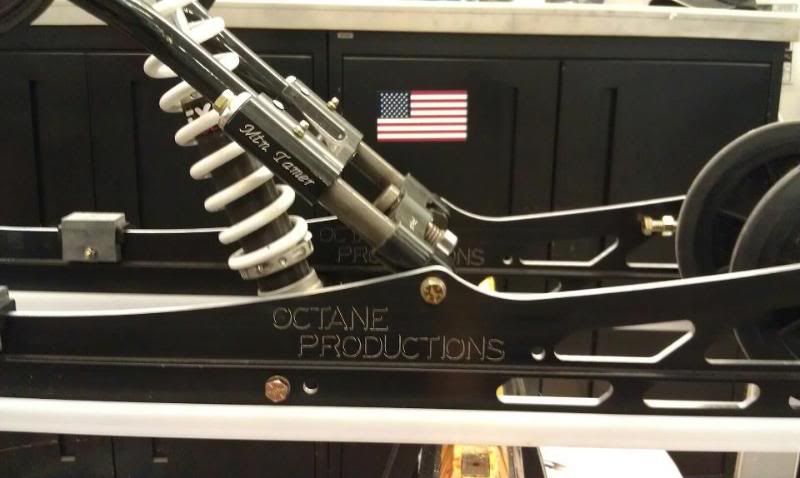
Next modification was the Timbersled Mountain Tamer rear skid with Ice Age rails and Zbrox Exit shocks.
Here’s the build thread:
Mountain Tamer and Ice Age rails installation
Ice Age surprised me with some special engraving
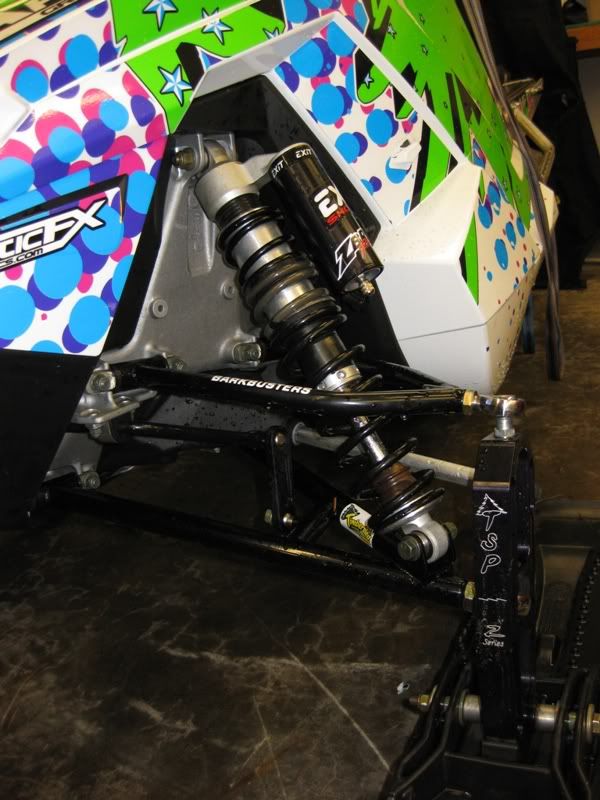
Then the installation of the Bark Buster front end with Zbroz Exit shocks.
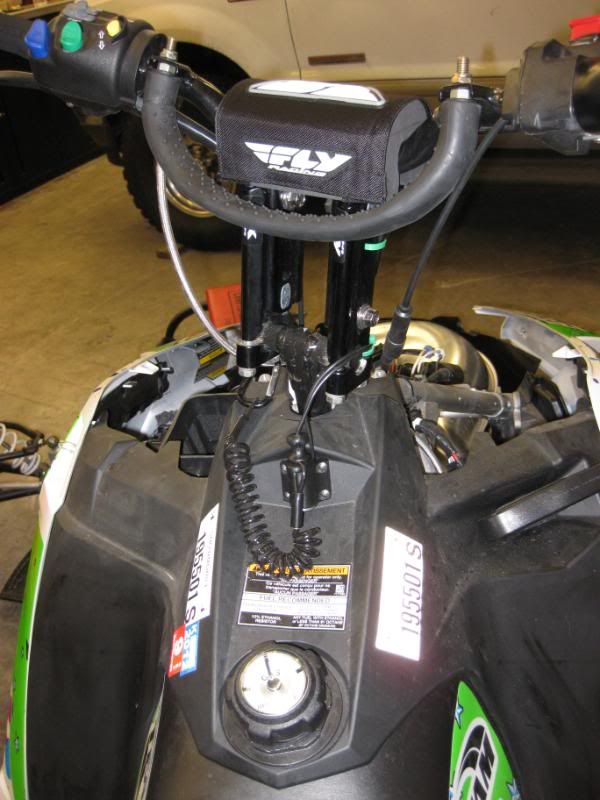
Installation of the tether and FLY adjustable risers. Prefer this type of tether over the suction cup style, had bad luck with them wearing out/shorting out.
Went with the FLY adjustable risers as I've found that I'm not your typical girl and like being able to adjust these to and 1/8th of an inch of perfection.
I started out with my mountain bar upside down for use only when stuck, to rock the sled... but have since removed it all together. LOVE having this extra clearance over the handlebars!
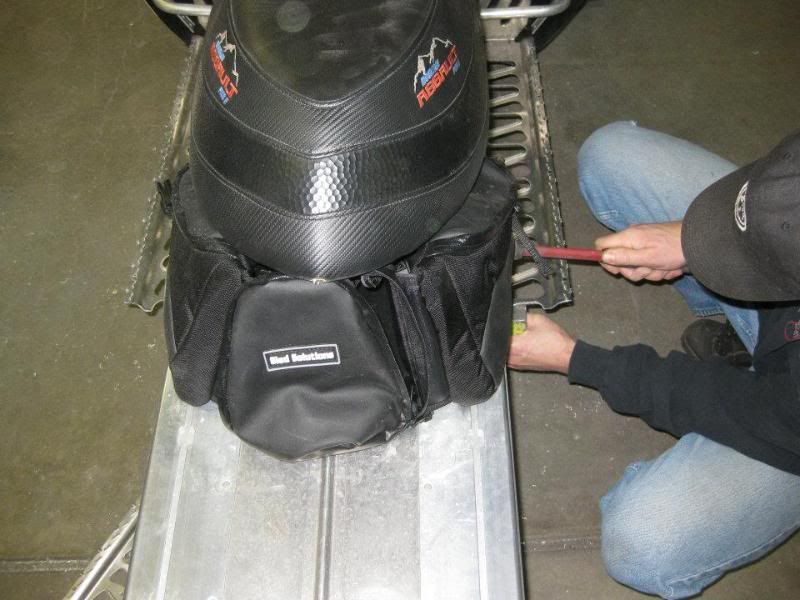
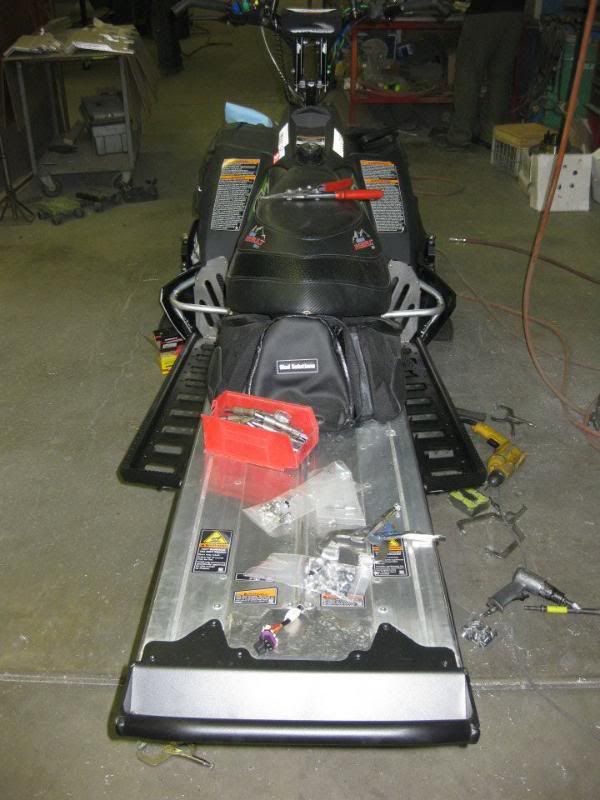
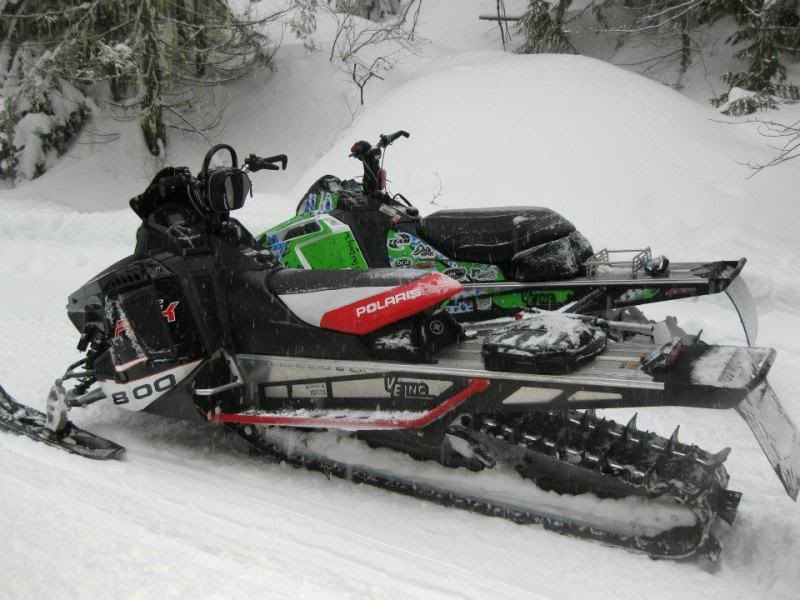
I kept the WRP Assault seat as it is 2” taller than stock. Added the Sled Solutions Backcountry Bag for my storage and am using the Trail Tank gas rack (shown in last picture)and gas can for extra fuel, but so far the sled appears to be surprisingly economical on fuel for the full throttle fun I’ve had!
After a few rides on her like this we went to Van Amburg’s for a day and got the Boondock Bumper kit installed. Just standing on this kit you can feel the difference, no flex in the boards and now I have no concerns when someone needs a tow out, when I tail land or when she takes her tumbles down the hill. And she looks badars!!
Here’s the step by step:
VE Boondocker Bumper Kit Install
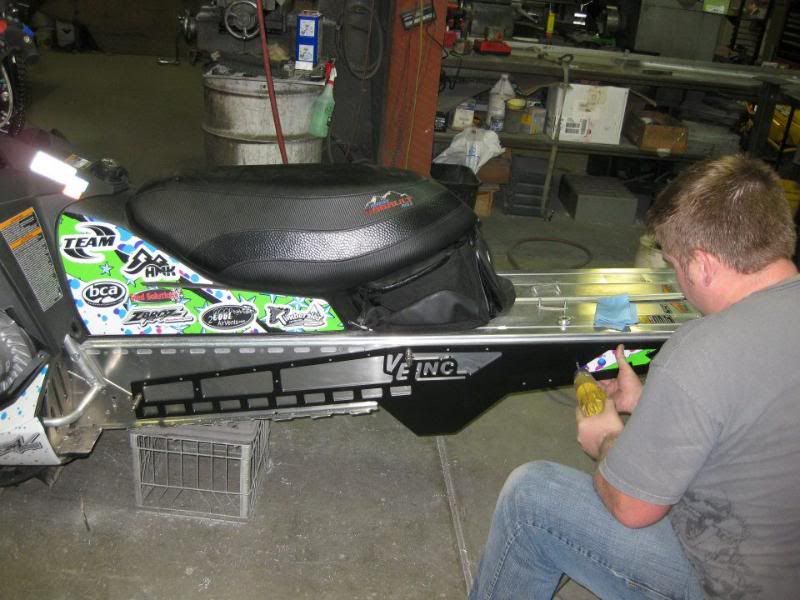
While at VE they started Fab’n up a front bumper. Easy install and tough as nails!
Front bumper – RAW.
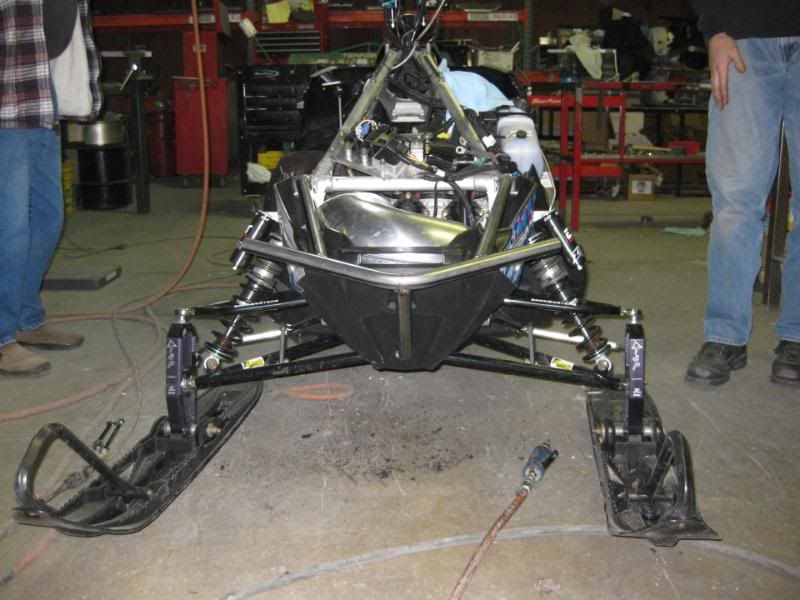
The new bumper has been tested hard already. I’ve really enjoyed the confidence to not let out and hold my line in those sticky situations where taking on a tree (with a stock bumper) could mean broken parts if you don’t stop and possible other concequences if you do stop… or when you just aren’t in control and pin it anyway…
After getting everything together and a few rides on her it was my opinion the shocks were too stiff so off they came and back to Zbroz they went for some re-valving. This gave me the opportunity to run the stock front shocks and complete rear suspension to get some comparison time. So glad this took place. The stock RMK front shocks really allows the front to dive around. On the softest setting they felt easy to tip but then it felt like it wanted to rock back over on me. On a rough trail I didn’t feel like I could get up speed as they didn’t want to keep a straight line. If I landed a bit off center off a bump it wanted to head in that direction.
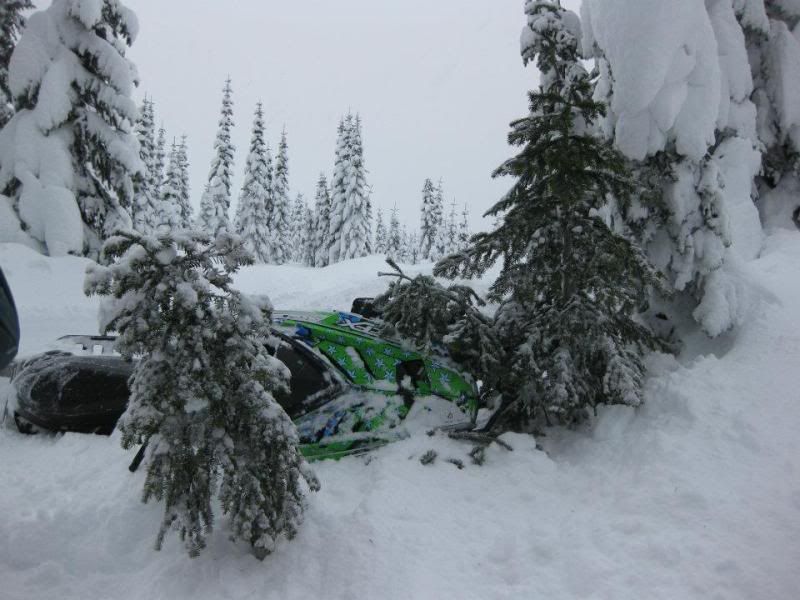
The stock rear suspension felt soggy to me. We cranked the shocks up pretty good and it still would ride soooo low! Going up hill on the trail alone I felt like my tunnel was on the ground. I would try to pre-load off some of the bigger bumps and it just didn’t spring. Carving, the sled will come around on a dime (like this part) and I found myself washing out or doing 180s uncontrollably (when there’s no consequences I like this part too). Sidehills were a battle of throttle control to keep from washing out but keep enough throttle going to not dive downhill or get stuck.
Flash forward to reinstallation of the Exit fronts and Mountain Tamer rear skid. The above is all corrected. I’m still washing out a bit, but pretty sure that is due to my fascination with tree wells and my proximity to them when I decide to hook it back up hill…
The MT really feels like it is getting up on the snow faster, holds a sidehill beautifully. I’m enjoying being able to pick a line sideways through the trees on one ski with confidence that the sled is going to do exactly what I’m asking of it. One big difference I love between the stock rear and MT skids is transitioning from down to up, through and/or crossing creek beds and ravines. The stock suspension would rock/squat back, skis would come up, track would trench down and it didn’t feel like there was any way to get it out of this other than turn out and get a better run at it to keep it on plane. The MT is taking these situations with ease. :heart:
Well I think that is it. I've had some fantastic fun and support in building this sled. I wanted to get some miles on her stock before I even contemplated so much as a pipe and it is pretty funny to see people's reactions when they learn that under the hood is bone stock. She's working amazingly well! So well, I haven't even started looking at RPMs to see if any clutching needs to be done... pin it and grin it is the name of this game! :heart:
The next mod I’m contemplating is the Carls ski cut. We ride in mostly heavy conditions and I’m noticing the uphill ski being a bit stubborn on the countersteer sometimes. Not 100% of the time though, so I’m waffling on whether or not to cut up my skis…
And still looking for the right vent material cover for my 2Cool AirVents. Hmm maybe blue or purple?? lol
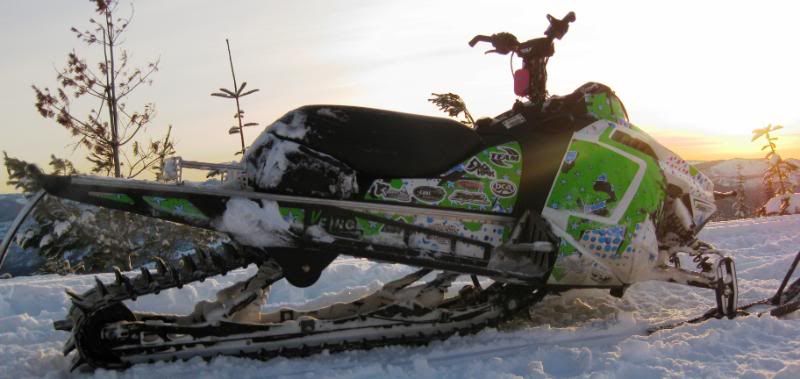
So this is her, on the trail home this past Friday after a fabulous sunny hookie day! All finished!
Here's a picture from the front showing the front bumper. My sled next to Mark Messenbrink's. 155 vs 174

HUGE thank you to:
Rich and Tami Baalman
Eric Hearling
Skagit Valley Polaris
Timbersled Products
Fly Racing
VanAmburg Enterprises
Fastrax Motorsports
Ice Age
Zbroz Racing
WRP
Trail Tank
Sled Solutions
Arctic FX Graphics
Avid Products