Install the app
How to install the app on iOS
Follow along with the video below to see how to install our site as a web app on your home screen.
Note: this_feature_currently_may_not_be_available_in_some_browsers

Installation and Review: SKINZ Air Frame Running Boards
- Thread starter christopher
- Start date
You are using an out of date browser. It may not display this or other websites correctly.
You should upgrade or use an alternative browser.
You should upgrade or use an alternative browser.
When it's installed I will get you some nice closeup images.
But I suppose only time will tell on how it effects the tunnel...
But I suppose only time will tell on how it effects the tunnel...
This has become my all summer project.
Every time I have 15 minutes I work on this beast.
Got the last of the inverted rivets drilled out of the foot pockets at lunch today.
Next is to remove the read track brackets.
This would probably go much faster if I would just sit down and spend a couple hours on it ....:face-icon-small-hap But where's the fun in that
HA, Just got notification that my boards are on there way do to be here on Tuesday, That sucks since I am in Menno South Dakota dropping my sled of at Ulmer Racing to have 210Hp turbo installed, guess the boards will have to wait a few weeks. I knew this would happen!!!
Hmmm
Let me think
New Turbo or Boards.
Hmmm
NEW TURBO WINS!!!
Let me think
New Turbo or Boards.
Hmmm
NEW TURBO WINS!!!
That sounds like a sweet deal.
If all goes well, next summer I will step up to forced induction.
The Drop Brackets are OFF the tunnel.
All that is left to do now is CUT...
If all goes well, next summer I will step up to forced induction.
The Drop Brackets are OFF the tunnel.
All that is left to do now is CUT...
Next item for me is to buy some Air Tools now.
Need a cutter and a rivet gun.
And I was told to use the new Polaris "Glue" in addition to the rivets to make these boards more secure to the tunnel. Need to go get some of that and the special applicator it requires.
Also need to get some clamps to hold the boards in place during installation.
Need a cutter and a rivet gun.
And I was told to use the new Polaris "Glue" in addition to the rivets to make these boards more secure to the tunnel. Need to go get some of that and the special applicator it requires.
Also need to get some clamps to hold the boards in place during installation.
Got the adhesives ordered last night.
Found a guy on E-Bay with a SMOKING deal.
LORD 406/19 Modified Acrylic Adhesive With Glass Beads

So far as I know, this is what Polaris is now using on their new sleds to cut down on weight as a structural adhesive. And I was told that on the prototype Air Frame Boards, it made a substantial difference over just Riveting alone. And, should the time come that it needs to be removed, that a commercial heat gun will loosen it and allow it to come off.
This stuff also requires an applicator to control the mixing.

And it needs a special mixing tube that should come with the adhesive tubes.

The Glue cost me $15.
The Gun cost me $60.
The Tube cost me $0.
=========
Note.
If it wasn't for the fact that I got such a deal on E-Bay I would have bought the much smaller 50ml tube and dispenser and gone the cheapest route possible. But since the adhesive was so cheap in the 300ml size, I figured what the heck. Might as well have more and not less of this stuff to work with seeing as how I have never used it before.
Found a guy on E-Bay with a SMOKING deal.
LORD 406/19 Modified Acrylic Adhesive With Glass Beads
So far as I know, this is what Polaris is now using on their new sleds to cut down on weight as a structural adhesive. And I was told that on the prototype Air Frame Boards, it made a substantial difference over just Riveting alone. And, should the time come that it needs to be removed, that a commercial heat gun will loosen it and allow it to come off.
This stuff also requires an applicator to control the mixing.
And it needs a special mixing tube that should come with the adhesive tubes.
The Glue cost me $15.
The Gun cost me $60.
The Tube cost me $0.
=========
Note.
If it wasn't for the fact that I got such a deal on E-Bay I would have bought the much smaller 50ml tube and dispenser and gone the cheapest route possible. But since the adhesive was so cheap in the 300ml size, I figured what the heck. Might as well have more and not less of this stuff to work with seeing as how I have never used it before.
Last edited:
A
Skinz Aiframe boards
Ordered a set of the Airframe boards.. Can't wait to start the install..
Keep the pics coming..
Ordered a set of the Airframe boards.. Can't wait to start the install..
Keep the pics coming..
COOL!
Now, everything is done in the PREP section that Skinz calls for BEFORE you begin the install.
I will go down this afternoon and shoot the next round of photos to get the before and after shots of the OEM boards being removed.
All I need now are the next round of tools.
Air Compressor.
Rivet Gun
Grinder
cant wait to see yours there are some pics on TY of a Nytro with them on, and they look sweet!! Im having my boards sent to Allen at Ulmer racing since he has my sled now for the turbo install. I will have it back after Hay Days in MN I cant wait.
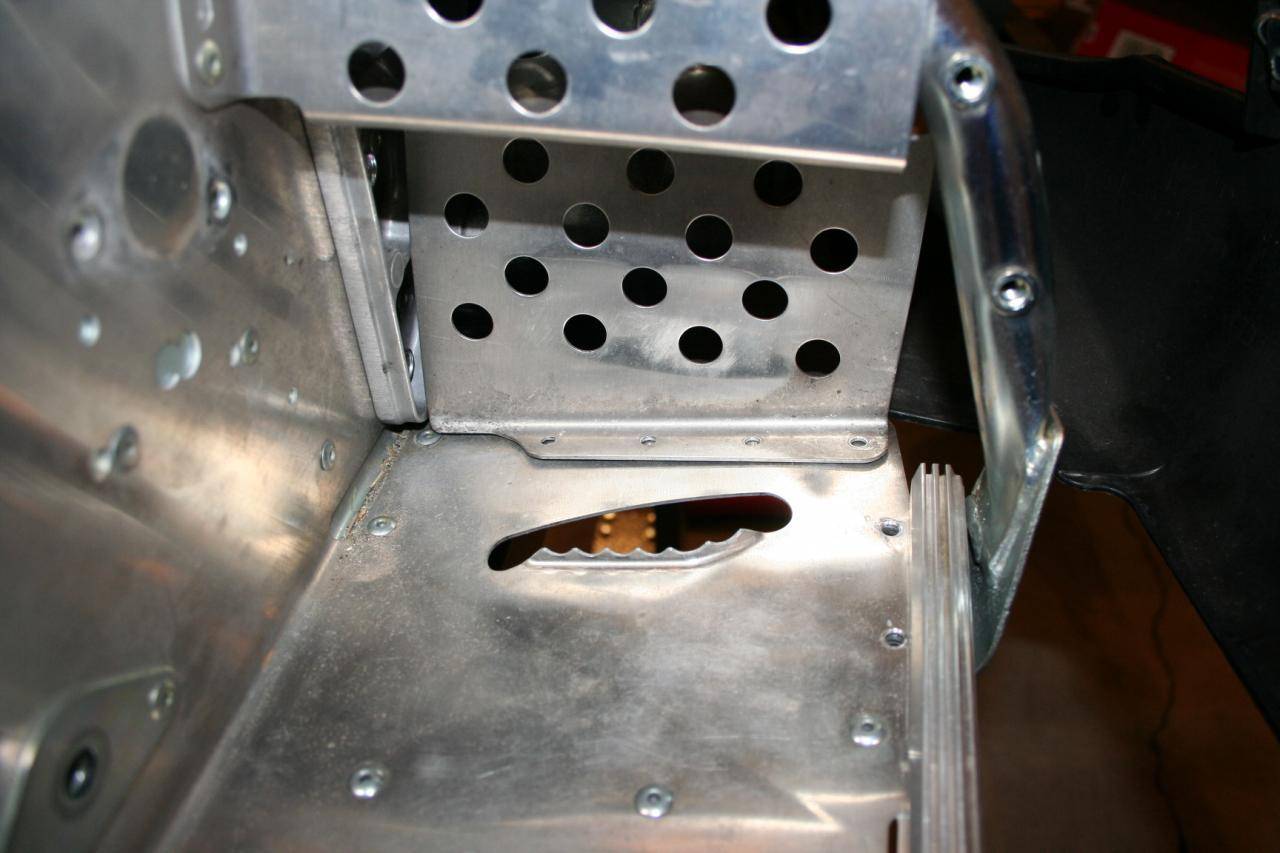
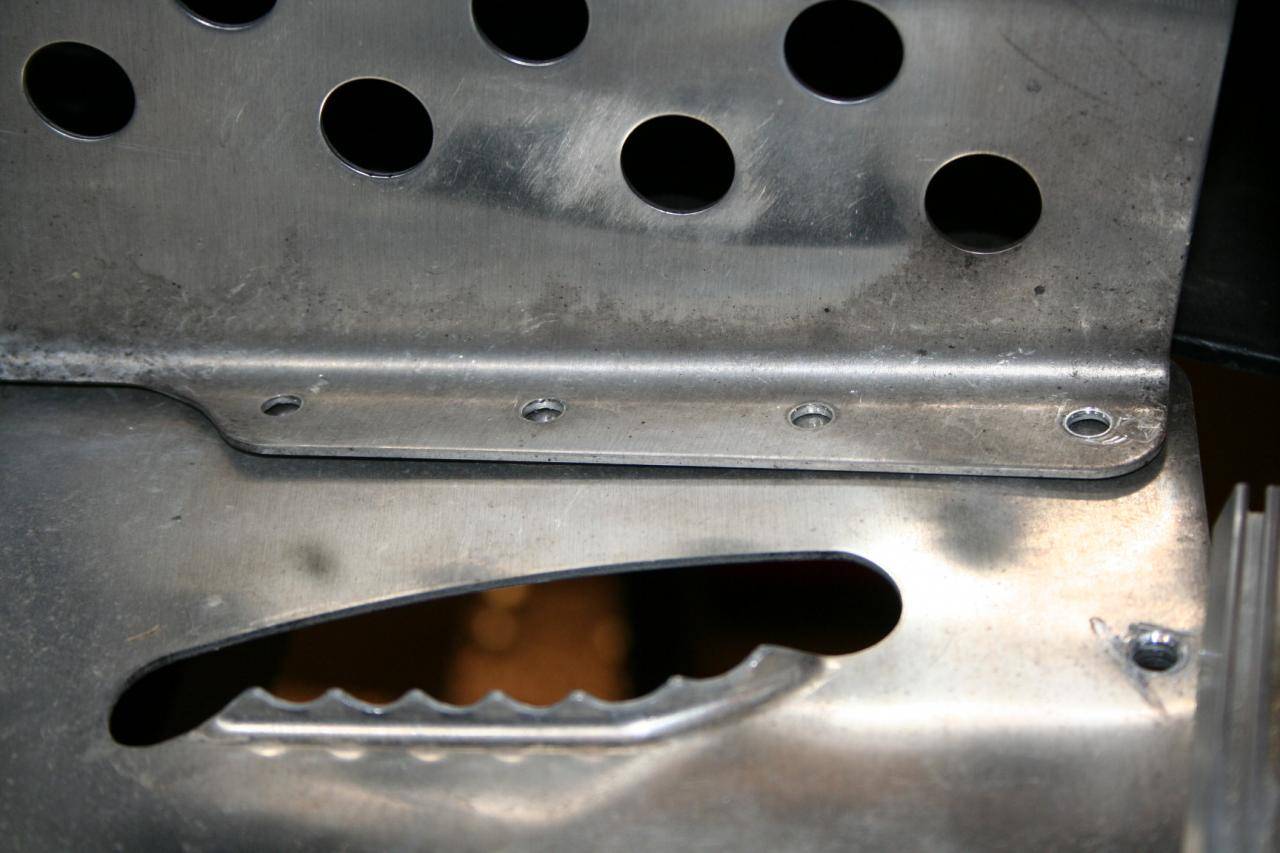
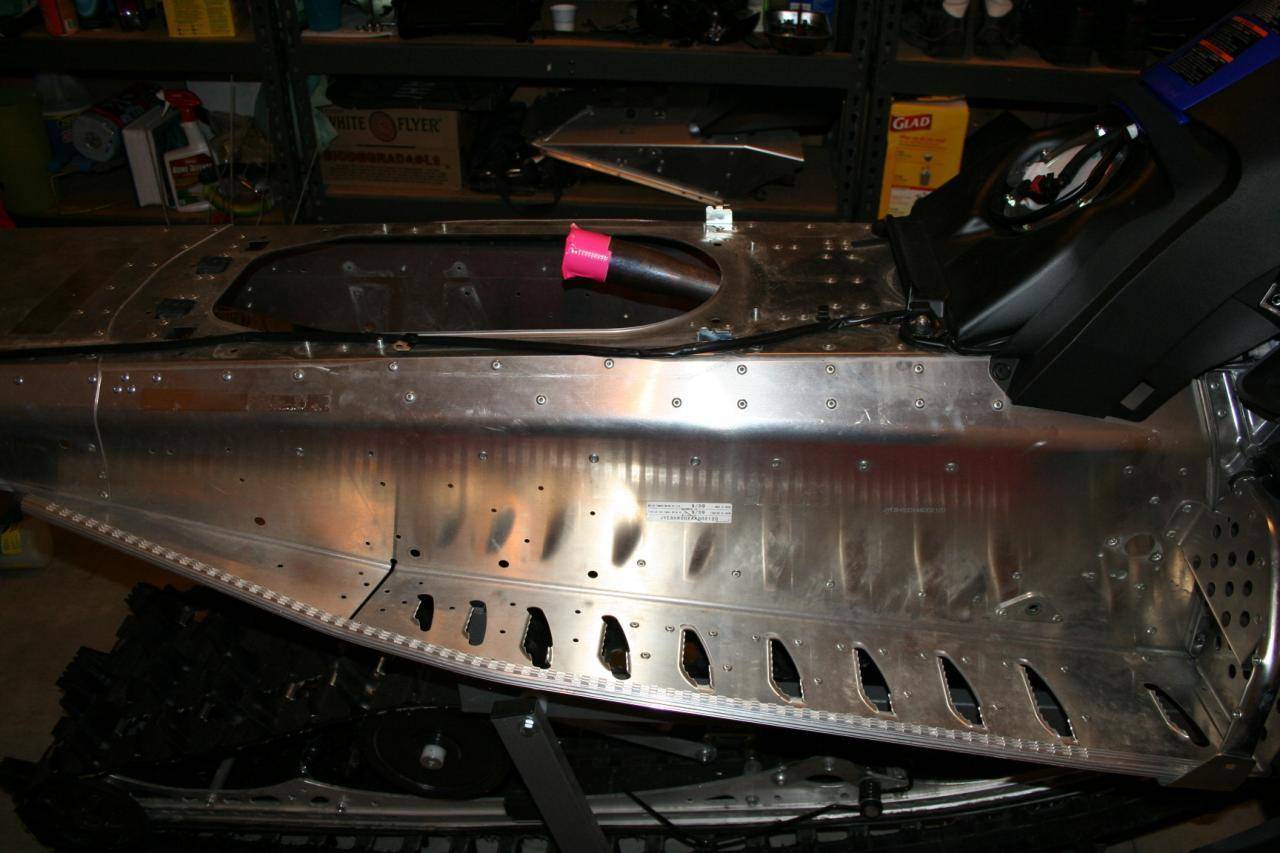
In preparation for installing the Skinz Air Frame boards you need to...
Remove the rivets at the base of the foot well.
These rivets are upside down in relation to all the other rivest.
Remove the rivets at the base of the foot well.
These rivets are upside down in relation to all the other rivest.
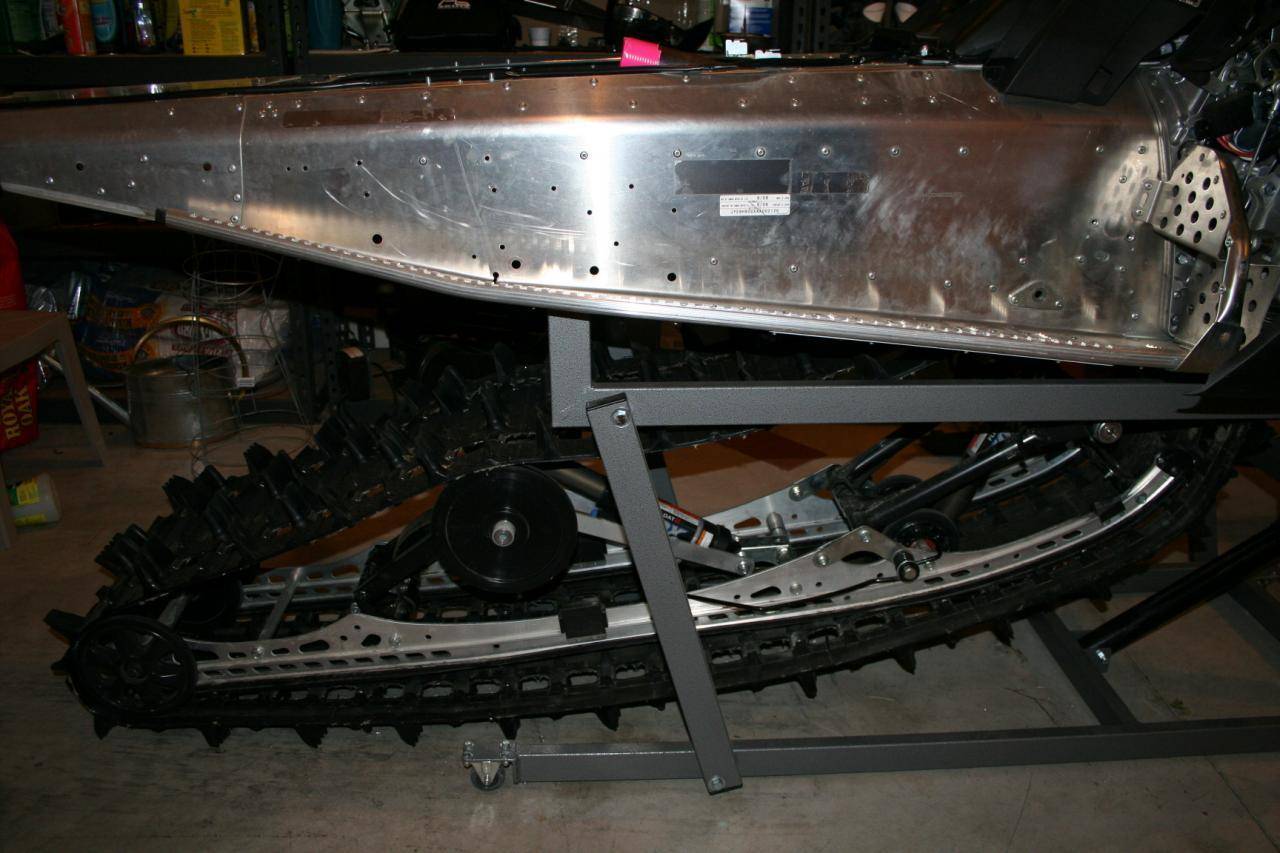
The rear drop brackets that support the track also need to be removed, as well as the support structure that attaches to the underside of the OEM Boards.
Rivets have to be drilled out, and bolts have to be removed to get the brackets off.
Rivets have to be drilled out, and bolts have to be removed to get the brackets off.
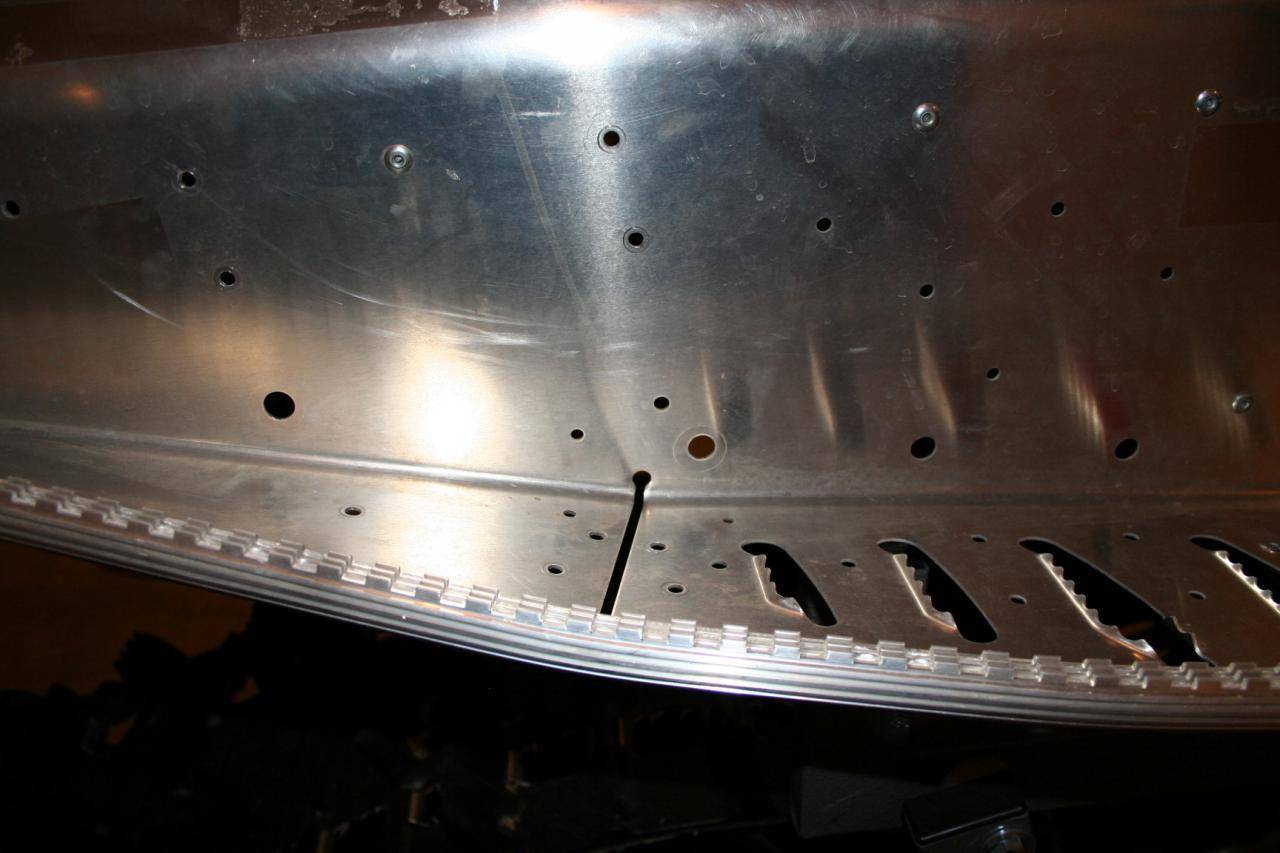
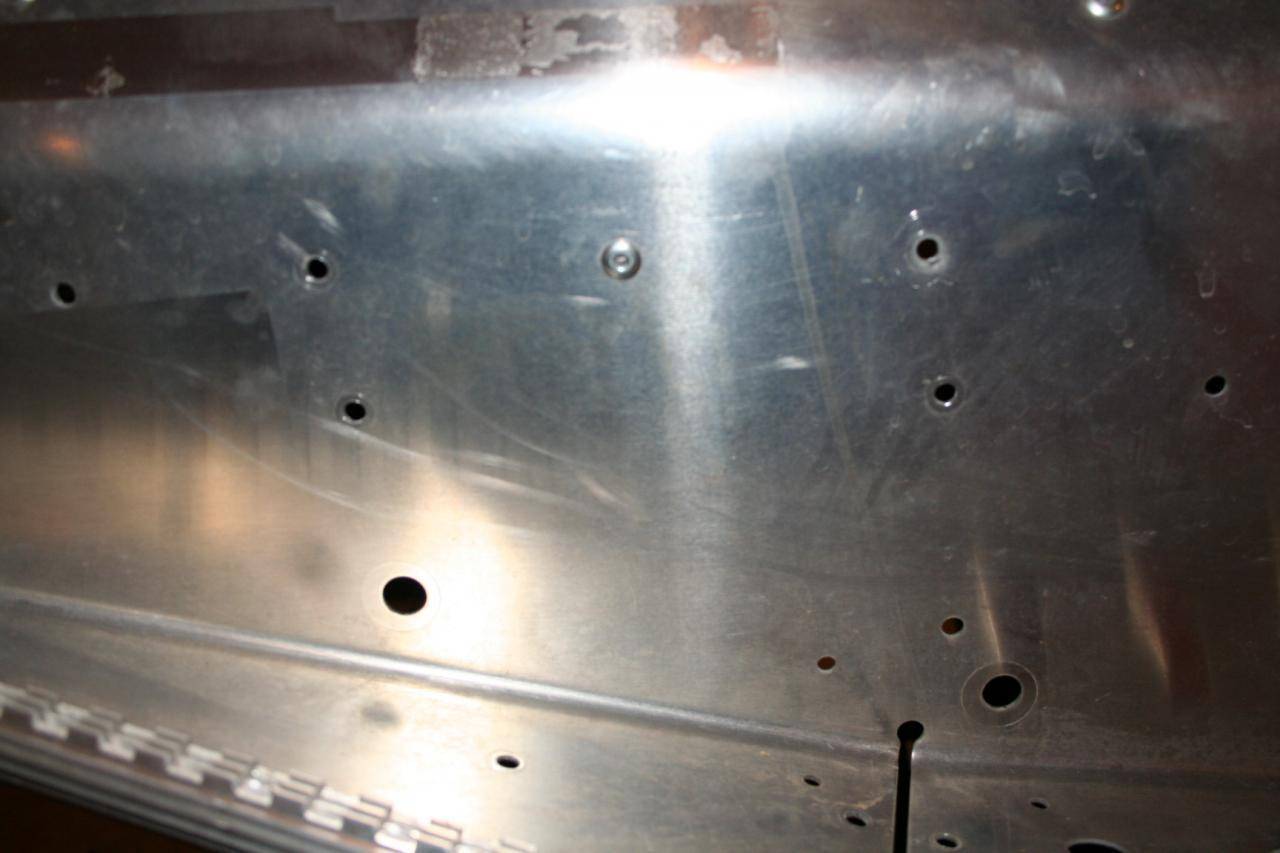
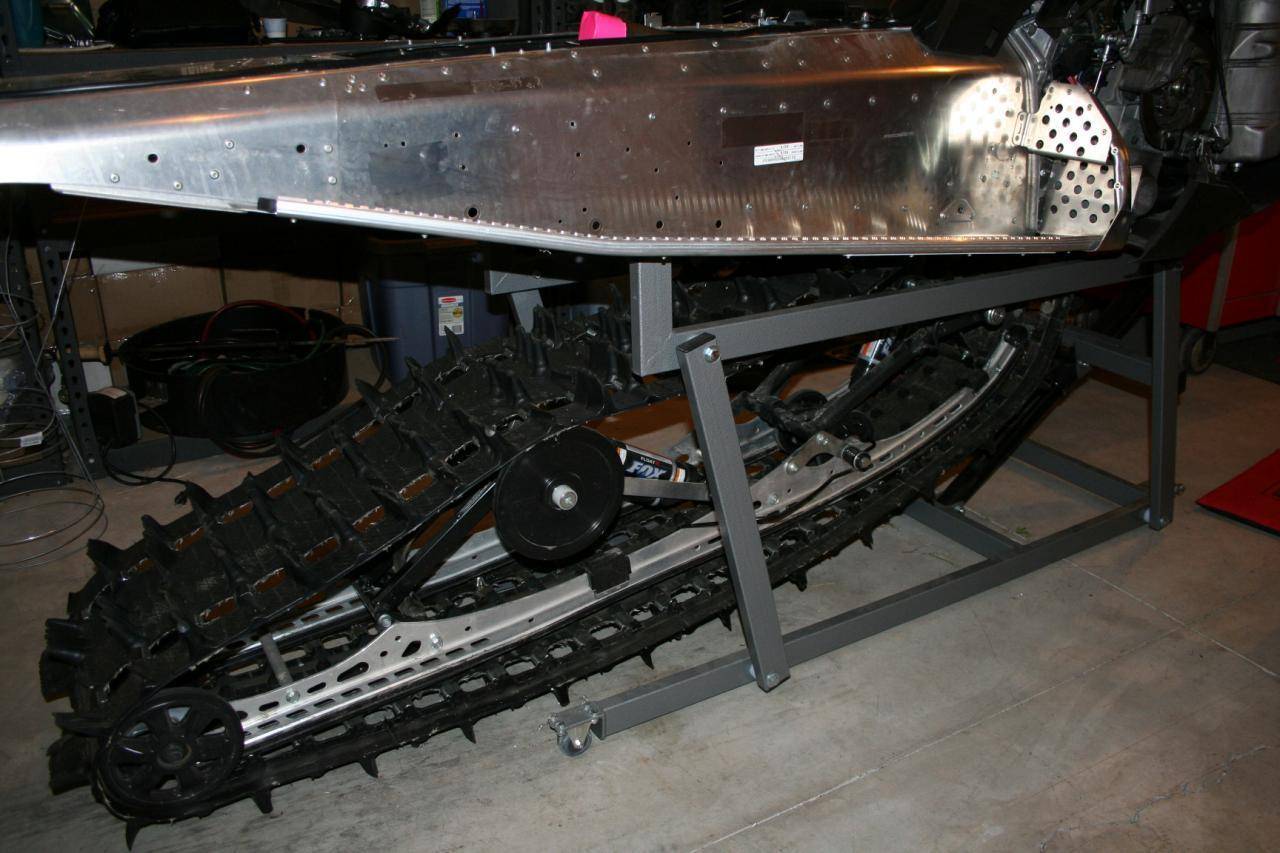
My boards are now ready to be cut off the sled.
Of course, once the drop brackets are gone, its a great time to remove the whole rear suspension and do any service that might be needed.
My next step will be to mandhandle the rear suspension OUT of the track, and then to experience the shear joy of removing the Anti-Ratchet drive that was THRASHED by my May 15th ride over Volcanic Ash in Island Park after the snow had melted.
This project just keeps growing....
My next step will be to mandhandle the rear suspension OUT of the track, and then to experience the shear joy of removing the Anti-Ratchet drive that was THRASHED by my May 15th ride over Volcanic Ash in Island Park after the snow had melted.
This project just keeps growing....
6
Hows it coming? Ordered my self a set for my dragon. Pretty excited to get them!
Suspension is out of the track and I am ready to cut off the old boards.
Might have that done this week.
Might have that done this week.
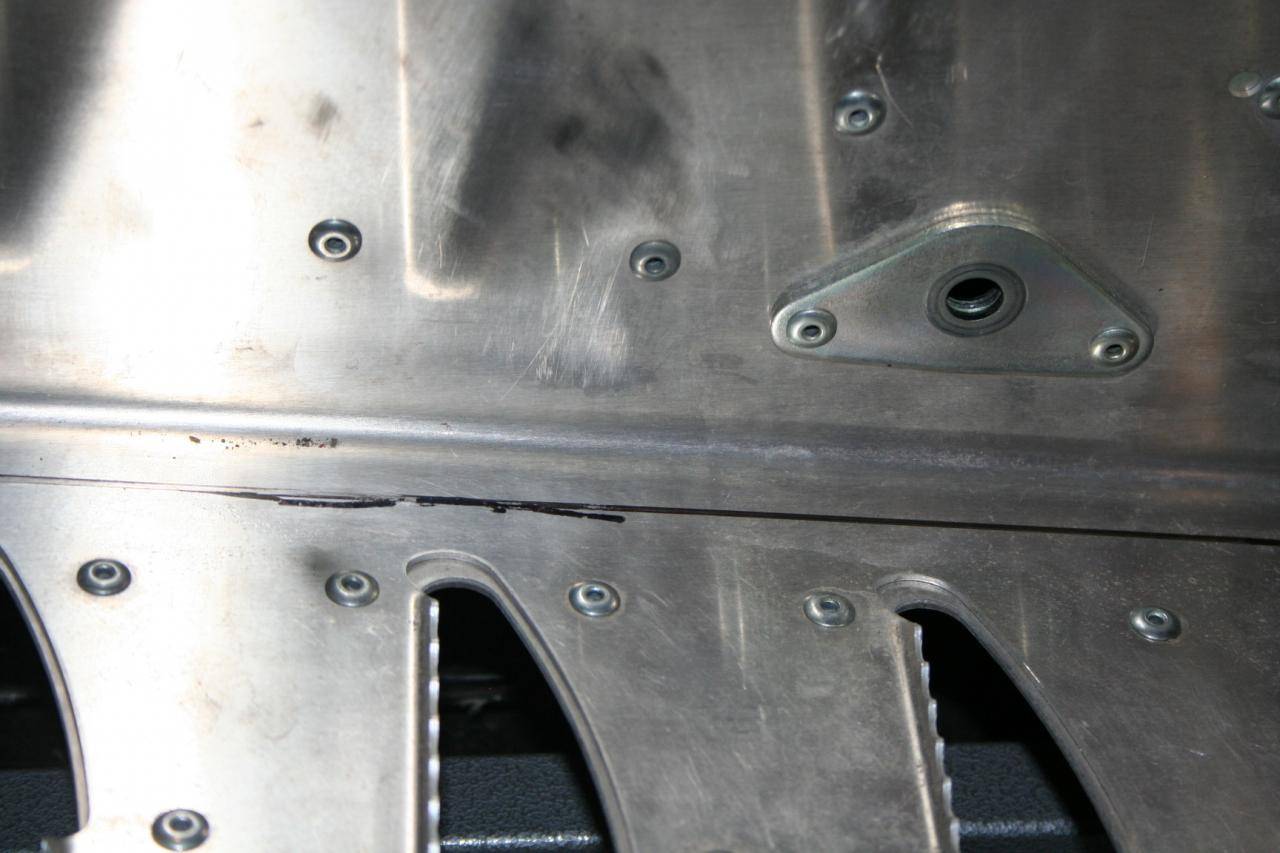
Marking the 0.75 inch trim line on the Skinz Air Frame Boards
Similar threads
F
- Replies
- 5
- Views
- 2K
- Replies
- 6
- Views
- 3K
- Replies
- 2
- Views
- 2K
- Locked
- Replies
- 0
- Views
- 1K