• Don't miss out on all the fun! Register on our forums to post and have added features! Membership levels include a FREE membership tier.

Install: Skinz Protective Gear Under the Tunnel Exhaust, Yamaha Nytro

christopher

Well-known member
Staff member
Lifetime Membership
Nov 1, 2008
81,516
27,375
113
Rigby, Idaho
In order to get the cover plate into the correct position, there are a series of bolts that are left over from the old seat mount that have to be removed.

picture.php


Center Rivet has to be drilled out from under the tunnel, and always spun on me, so I used vice grips to hold it.
picture.php


There are FOUR of these pairs that have to be removed.
picture.php


picture.php
 

christopher

Well-known member
Staff member
Lifetime Membership
Nov 1, 2008
81,516
27,375
113
Rigby, Idaho
On my 2010 Nytro 162 SE, one of these pairs was a bear. The connecting plate went under the mount for the Oil Cooler. Only way to get this out was to either drill all the rivets for the oil cooler and drop it, or to cut the plate in half and slide it out.
picture.php


picture.php


picture.php
 

christopher

Well-known member
Staff member
Lifetime Membership
Nov 1, 2008
81,516
27,375
113
Rigby, Idaho
I inserted a couple screw drivers to pull the plate away from the tunnel and took a grinder and sliced through the plate to release it.
picture.php


Once it was sliced in half, and the center rivet drilled it, it slid under the oil cooler and out the back with no further trouble.
picture.php
 

christopher

Well-known member
Staff member
Lifetime Membership
Nov 1, 2008
81,516
27,375
113
Rigby, Idaho
Next I positioned the rear of the cover and center punched a hole for the drill bit.
picture.php


Set a rivet.
picture.php


And began drilling all the remaining holes all the way around the plate.
picture.php


And set the Clecos in place as I drilled each hole to ensure the plate didn't budge while drilling
picture.php
 

christopher

Well-known member
Staff member
Lifetime Membership
Nov 1, 2008
81,516
27,375
113
Rigby, Idaho
While I expect the Under The Tunnel Conversion to work just fine, when all was said and done, this plate is NOT a perfect fit on my 2010 Nytro 162 SE.

Its CLOSE, but NOT perfect.

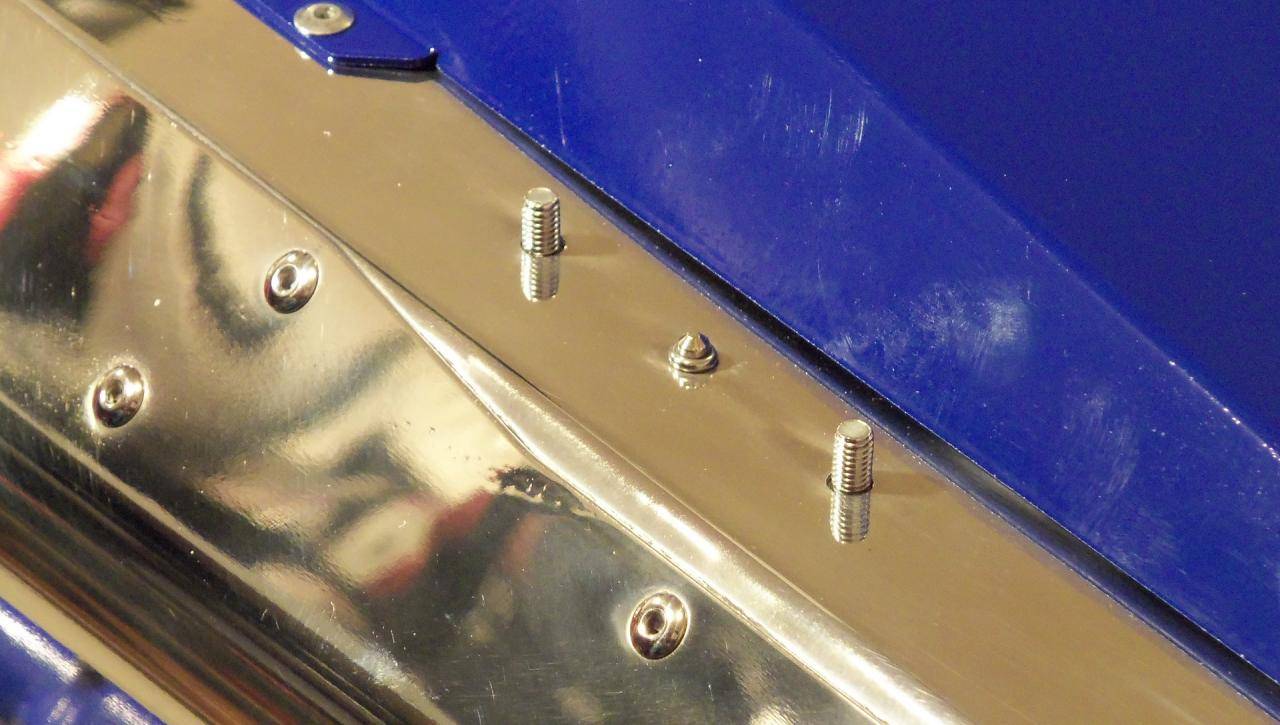
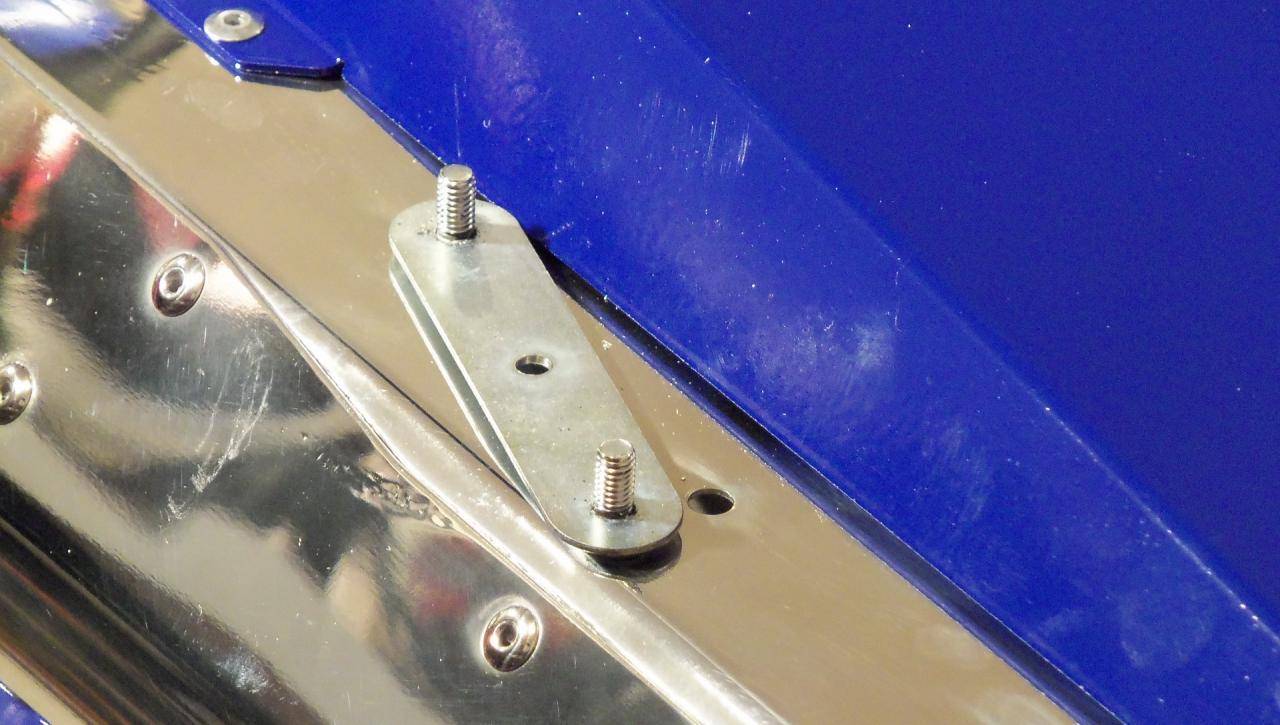
When the plate is first laid on the exhaust there is a natural position that it wants to be in based on the hight of the plate at the ridge line, and the rubber gromet on the exhaust mount. While you can slide it forward and backward, the plate really only fits in one spot. On my sled, I WANTED the plate to go forward a good inch so that the rear end of the plate would sit forward of the rear tunnel section so the back of the plate would lie flush with the tunnel.

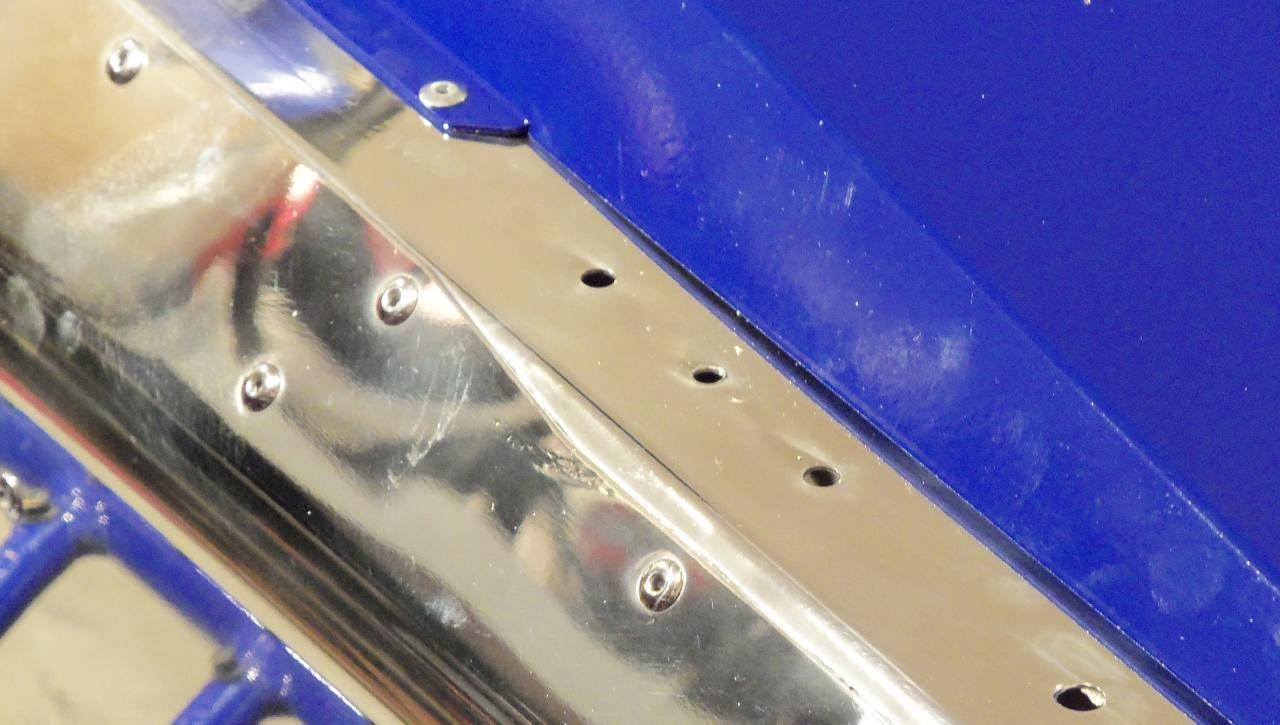
As it is, there is a very clear gap all the way around the plate. And, as you can see from the photos, the plate is just a bit too wide, so that it ends up resting on top of two different rivets in the rear.

picture.php


picture.php


Now, for all I know this is intentional so that the underside of the plate doesn't fill up with mud or debris?? Honestly I don't know, but there is an 8th of an inch gap all the way around this thing.

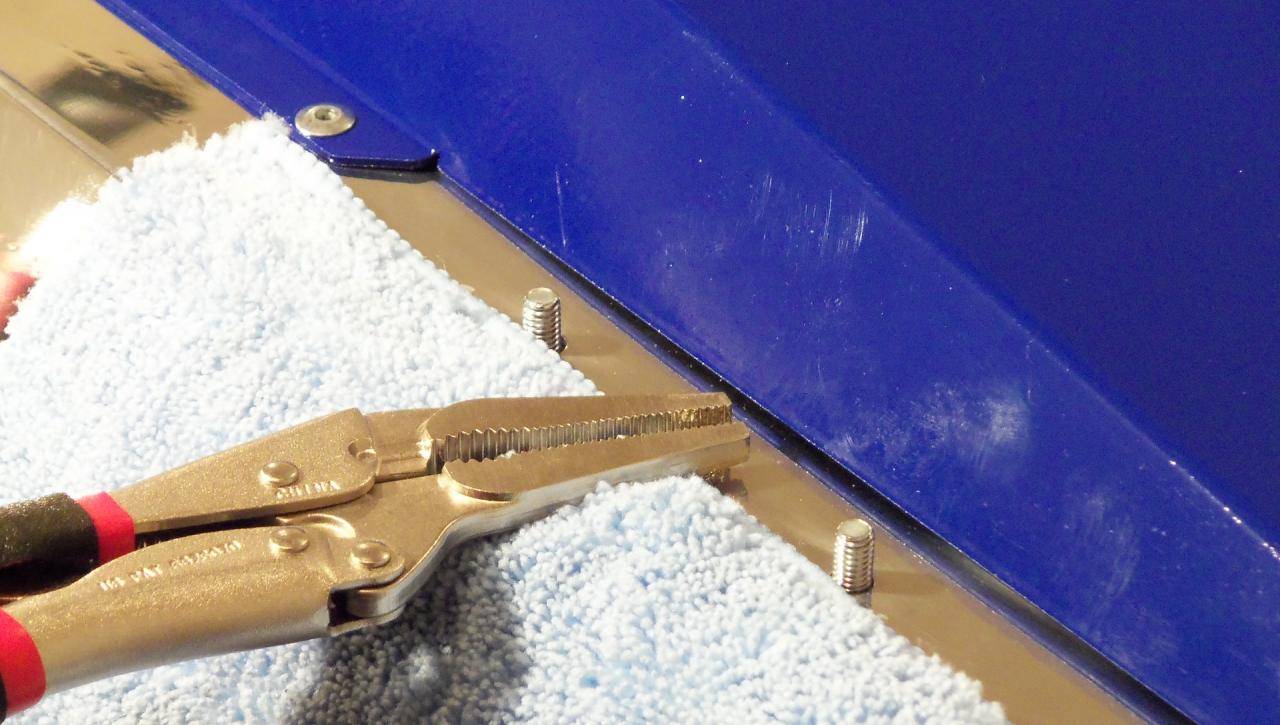
When I was finished installing it, I was concerned enough about this that I went back and DRILLED OUT ALL THE RIVETS and removed the plate, and looked to see if there was any way to reposition the main exhaust hanger bolt so I could fix this gap. But the width of the plate stops me no matter how far forward or aft I moved it. the plate is just a little too wide at the tail end, and the rise at the ridge is just a little too low to let me move the plate forward.

I will be talking to Skinz about this and asking for their comments this week.
 

christopher

Well-known member
Staff member
Lifetime Membership
Nov 1, 2008
81,516
27,375
113
Rigby, Idaho
With my tunnel now polished and the Air-Frame boards installed, I am finally ready to rivet this beast into place.!
 

christopher

Well-known member
Staff member
Lifetime Membership
Nov 1, 2008
81,516
27,375
113
Rigby, Idaho
Positioned the bumper into place. There is "SOME" room to slide it forward or backward, but give or take about 3/8ths of a inch, it HAS to be where it ends up or the pre-existing whole that were left from the OEM bumper bolts will not line up with the metal of the new bumper. So positioning it was really a matter of trying to center all of the holes.

picture.php


Here you can see THREE of the pre-existing OEM bumper mounting holes that have to be re-used to mount the new bumper.
picture.php


Unfortunately you have to drill from the inside of the tunnel out, which means your pushing the bumper off the tunnel, so I had my son grab it and hold it in place in addition to the spring clamps.
picture.php
 

christopher

Well-known member
Staff member
Lifetime Membership
Nov 1, 2008
81,516
27,375
113
Rigby, Idaho
This kinda surprised me. Considering how sweet this bumper is, it didn't come with a short bolt and a nice caped nut. I think tomorrow I am going to go hunting for some shorter bolts with a decorative caped nut to replace the ones that came from Skinz.
picture.php
 

christopher

Well-known member
Staff member
Lifetime Membership
Nov 1, 2008
81,516
27,375
113
Rigby, Idaho
This is the finished product MINUS the rivets.
I had ordered another bag of Rivets from OFT Racing as I do NOT like the rivets that Skinz supplies. The OEM Yamaha Rivets from OFT Racing are VASTLY superior in quality!

picture.php


picture.php


picture.php
 

christopher

Well-known member
Staff member
Lifetime Membership
Nov 1, 2008
81,516
27,375
113
Rigby, Idaho
Gotta go buy a little multi-meter today.
The colors of the wires don't match up and I don't have a clue which is hot, Ground and Neutral.
 

christopher

Well-known member
Staff member
Lifetime Membership
Nov 1, 2008
81,516
27,375
113
Rigby, Idaho
The moment of truth just arrived.
After MONTHS of working on my sled we got the suspension back in place tonight and I was able to fire up the engine.

I AM IN LOVE!

The sound of this new exhaust is MUSIC TO MY EARS!

I am giving the Skinz Super-Q muffler a TWO THUMBS UP.

I LOVE THE SOUND IT MAKES!!!
 

christopher

Well-known member
Staff member
Lifetime Membership
Nov 1, 2008
81,516
27,375
113
Rigby, Idaho
Had a couple rivets that had to be installed on the bumper before I was finished with it.
picture.php


Got the new Tail Light installed.

picture.php


picture.php
 
Premium Features