• Don't miss out on all the fun! Register on our forums to post and have added features! Membership levels include a FREE membership tier.

Installation and Review: Skinz Protective Gear "Air Frame" Boards

christopher

Well-known member
Staff member
Lifetime Membership
Nov 1, 2008
81,508
27,371
113
Rigby, Idaho
<hr style="color: rgb(232, 232, 232); background-color: rgb(232, 232, 232);" size="1">This afternoon my Skinz Protective Gear Airframe Boards arrived from Sled Solutions (http://www.sledsolutions.com/store/product_info.php?cPath=164_168_191&products_id=760).

I requested this be powdercoated in Yamaha Blue as I thought it would add a nice touch to my Blue 2010 SE. Skinz was more than happy to accommodate this request and did a fabulous job on the powder-coating!


While I have not yet done the install, I wanted to let everyone know what was built and shipped to me.

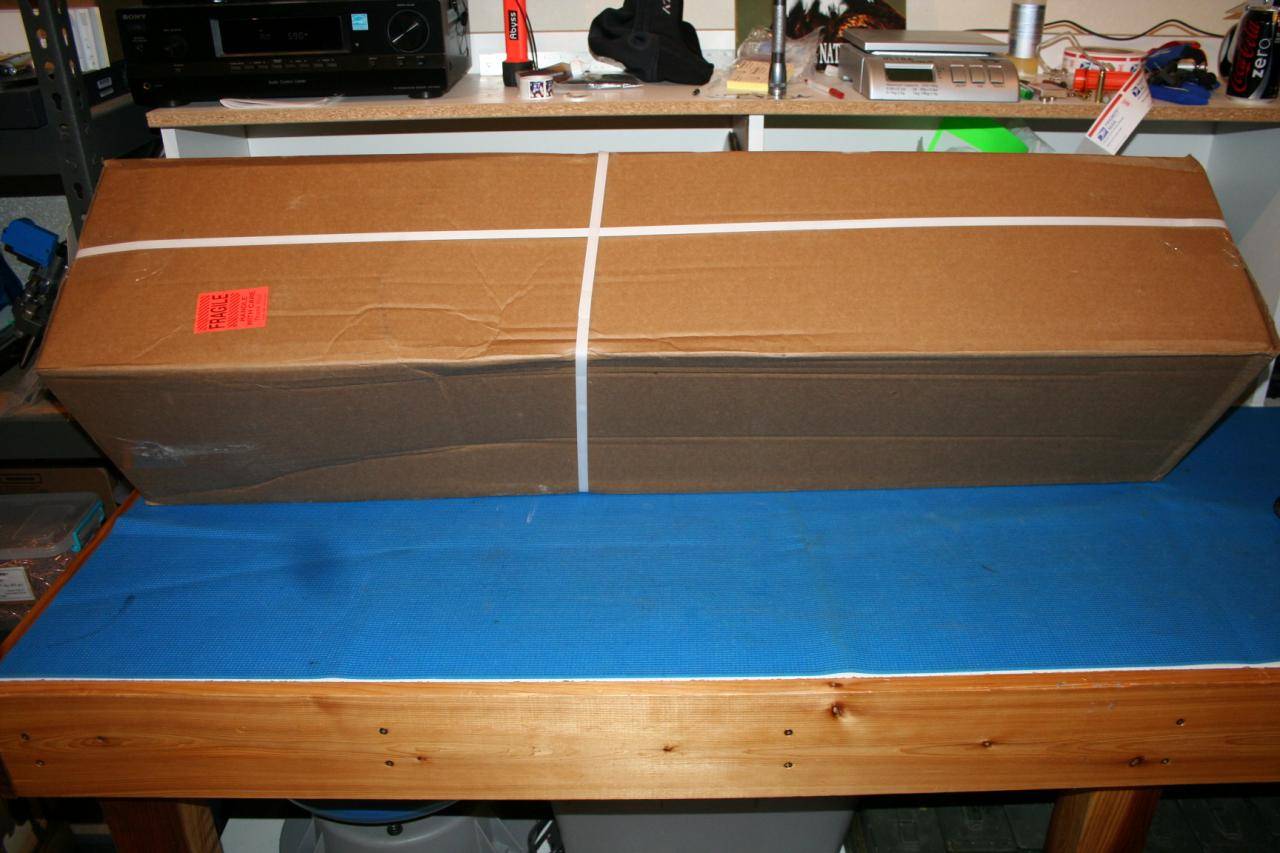
Some may ask why I bother with the photos of the shipping material. Having been in custom manufacturing, HOW a specialty product is packed and shipped to the customer says ALOT about the overall quality of the product itself.

Skinz packaging and shipping was FIRST RATE!
Everything arrived INTACT without any scratches or abrasions, extremely well wrapped and boxed.

The overall quality of the finished product "Appears" to be excellent!
The beauty of their aluminum welds speaks volumes all by itself. Every one of the welds was Clean and Crisp, and there are a whole lot of welds!!


As summer rolls along and I get this installed, I will add more to this post.


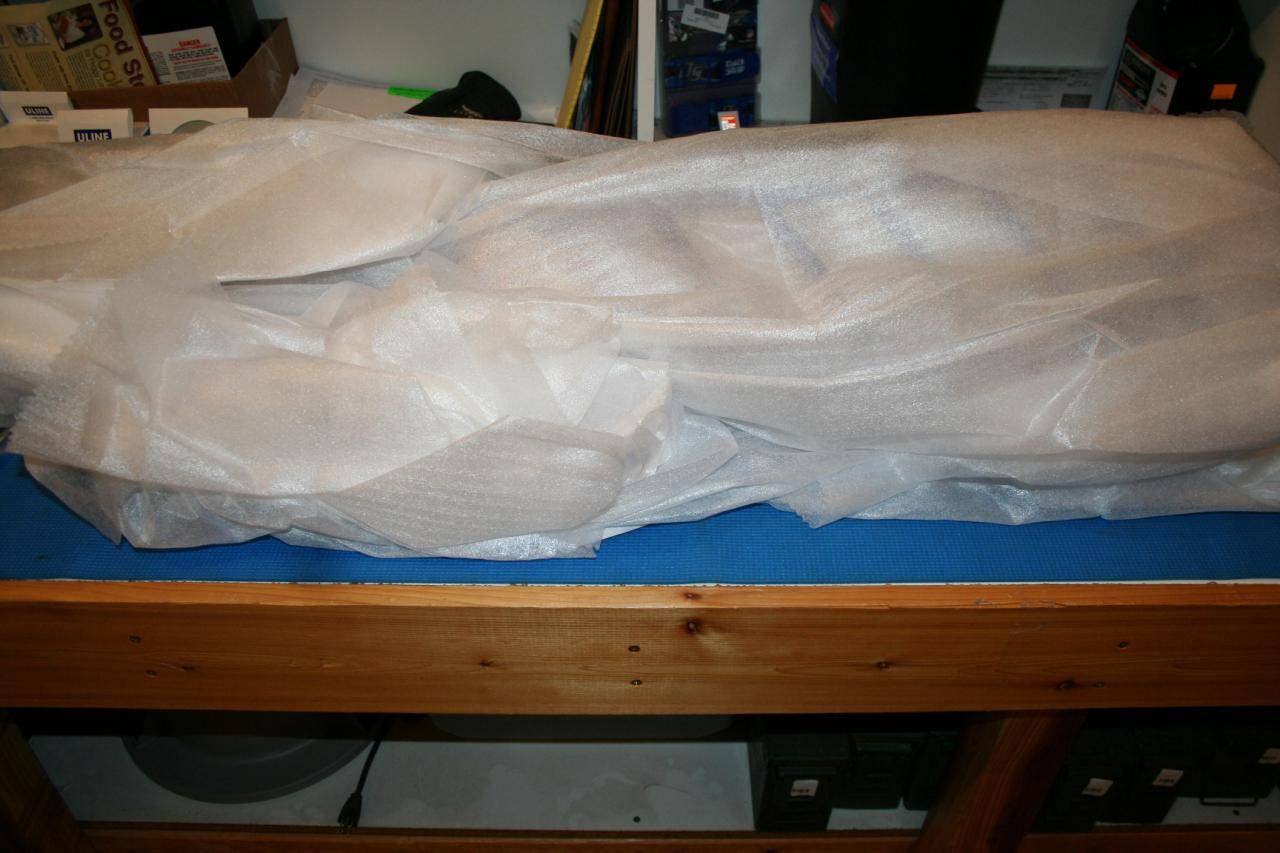
The Box.
picture.php


Well Wrapped, each board fully isolated from the other one.
picture.php


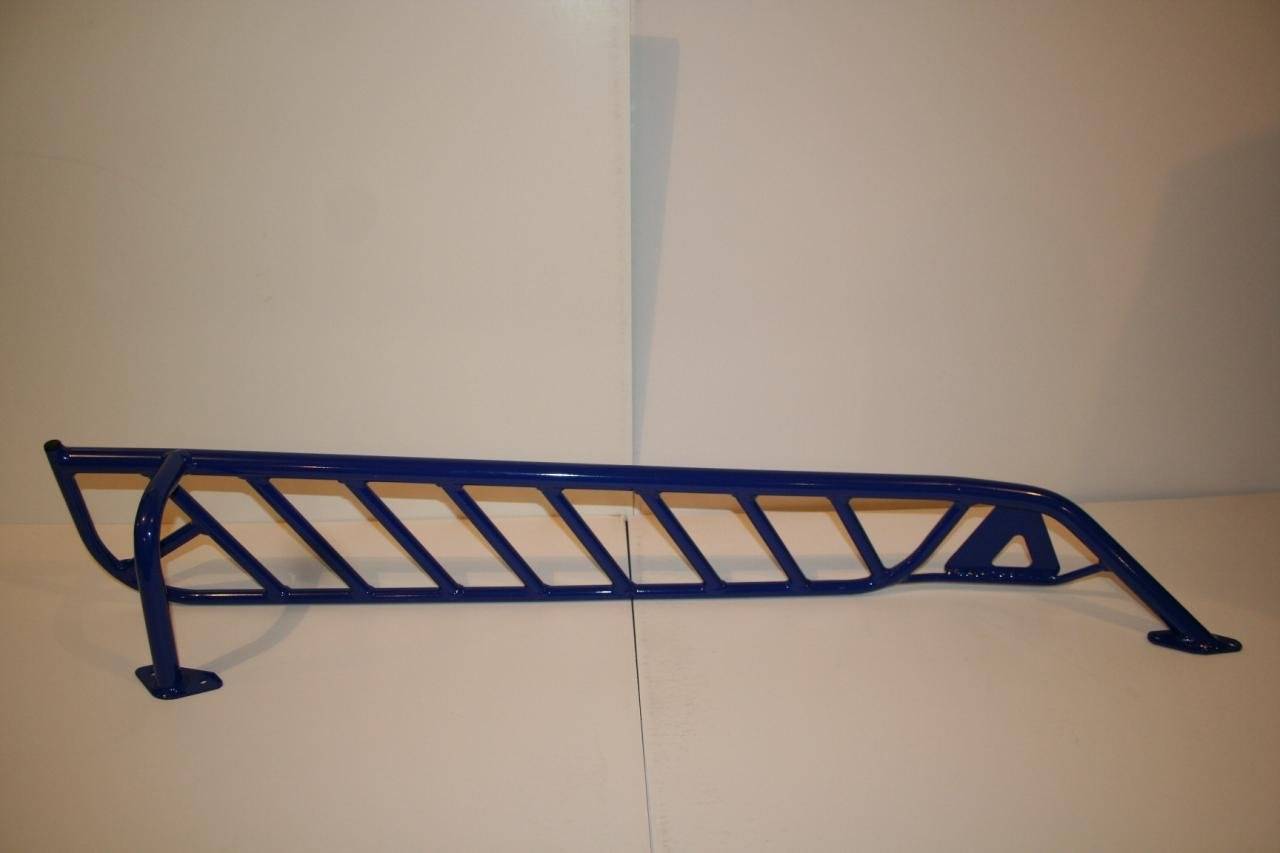
Board on it's side.
picture.php


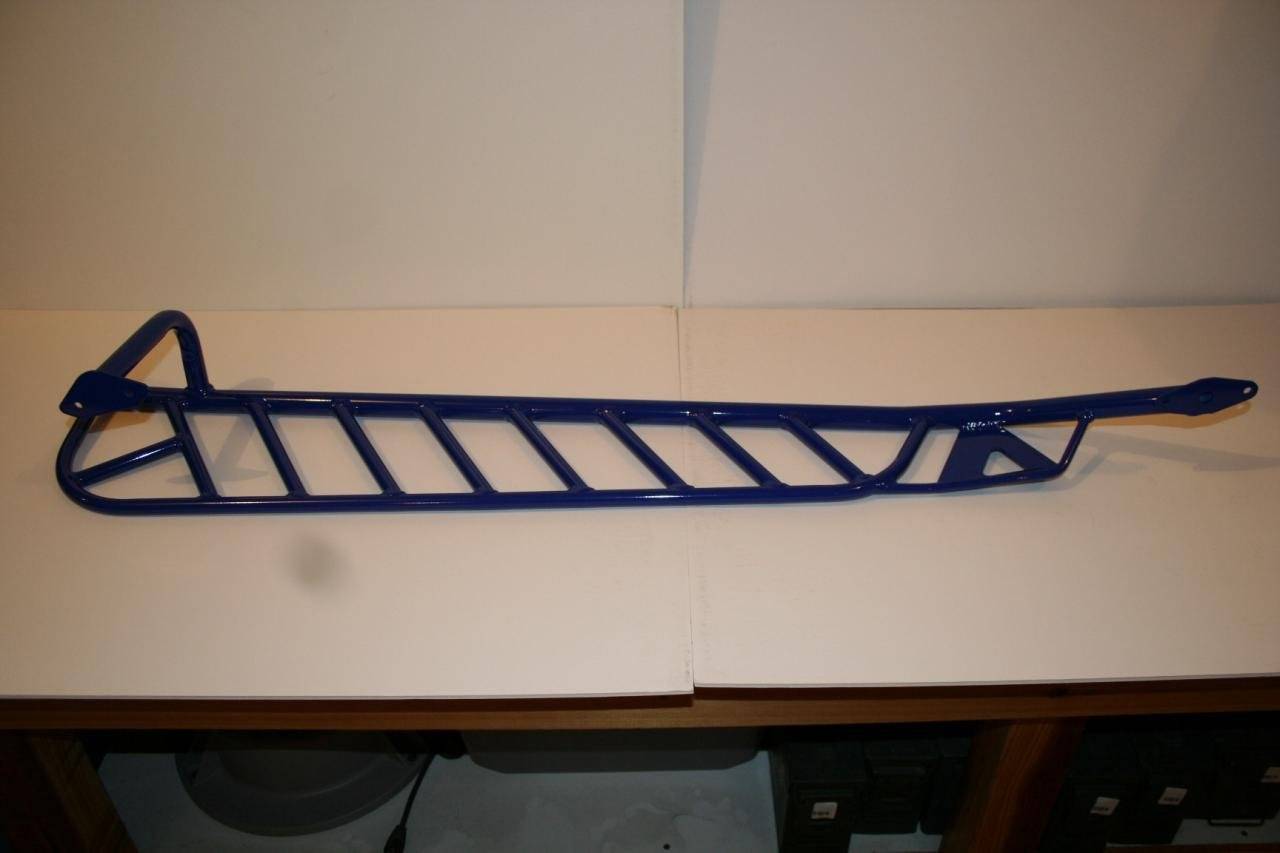
Board flat in the position you would stand on it.
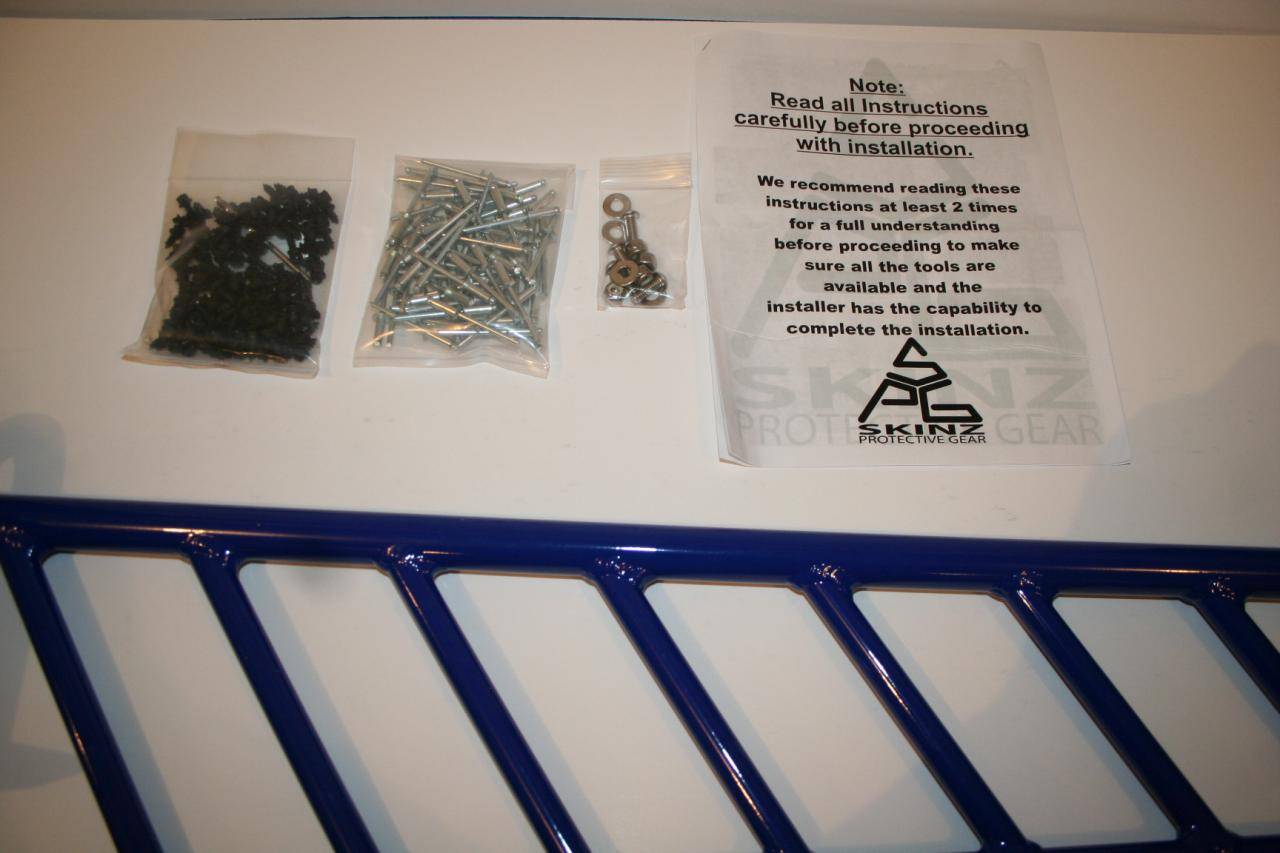
Notice there are NO traction studs installed.
The user is required to drill and screw all of the studs into the cross bars for traction.
picture.php


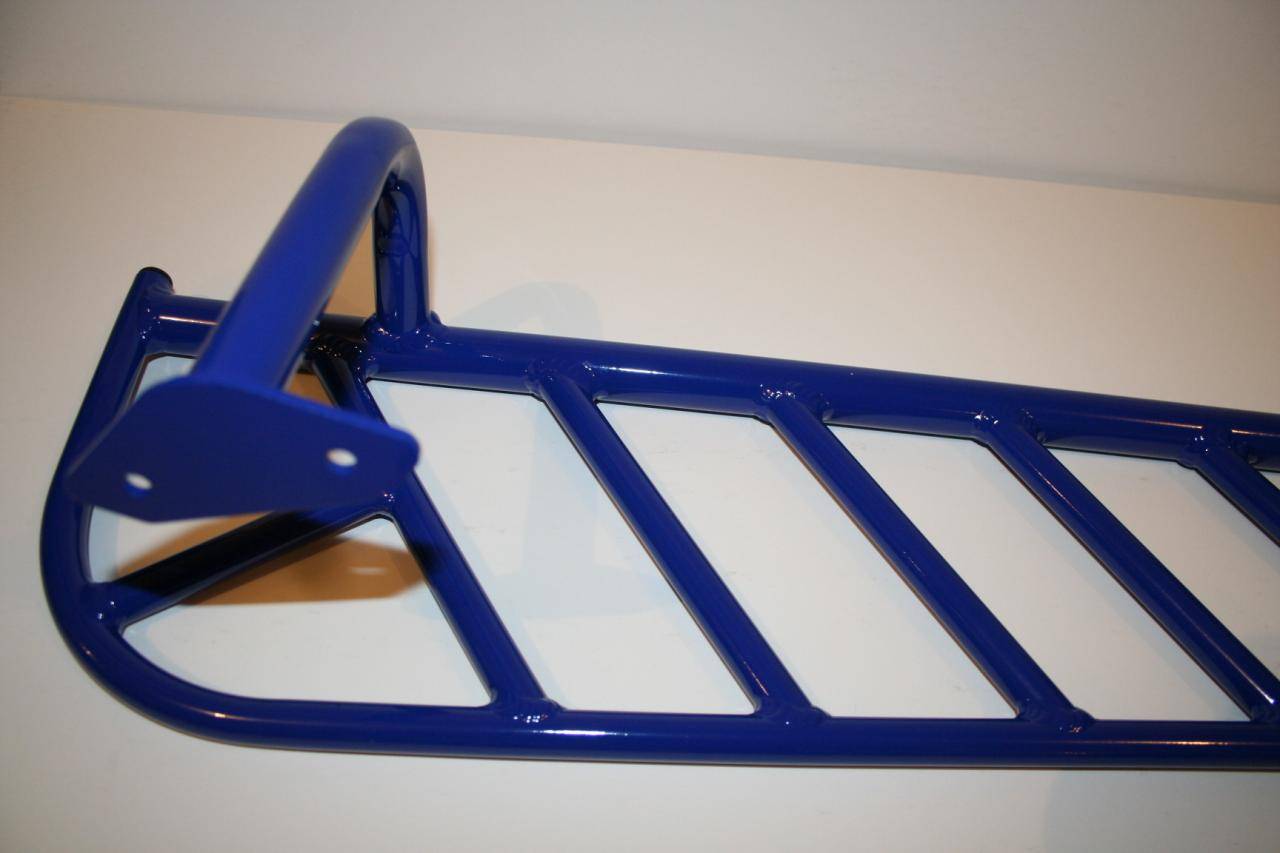
Closeup of Front Rightside Board
picture.php


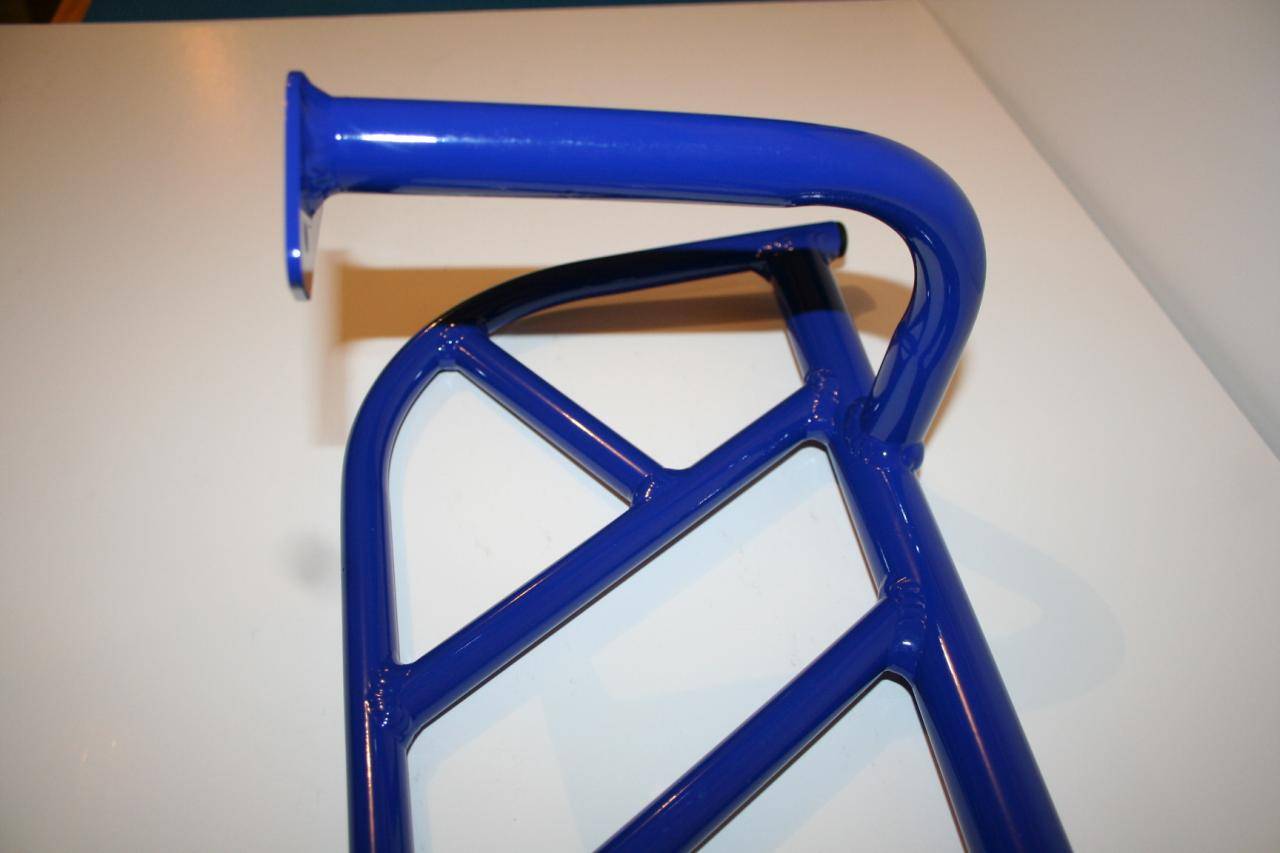
Closeup of Front Rightside board
picture.php


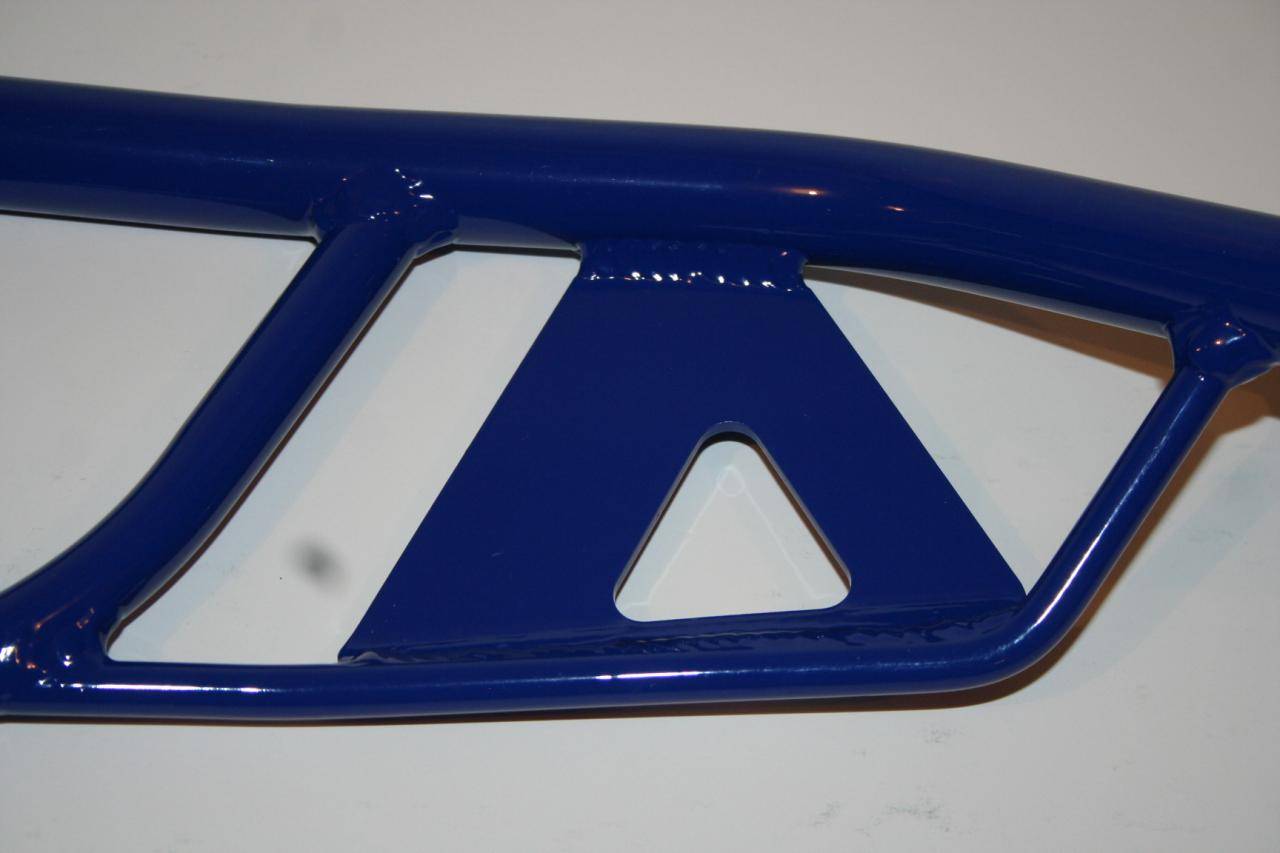
Closeup Rear Rightside Board.
picture.php


Boards were shipped with.
picture.php


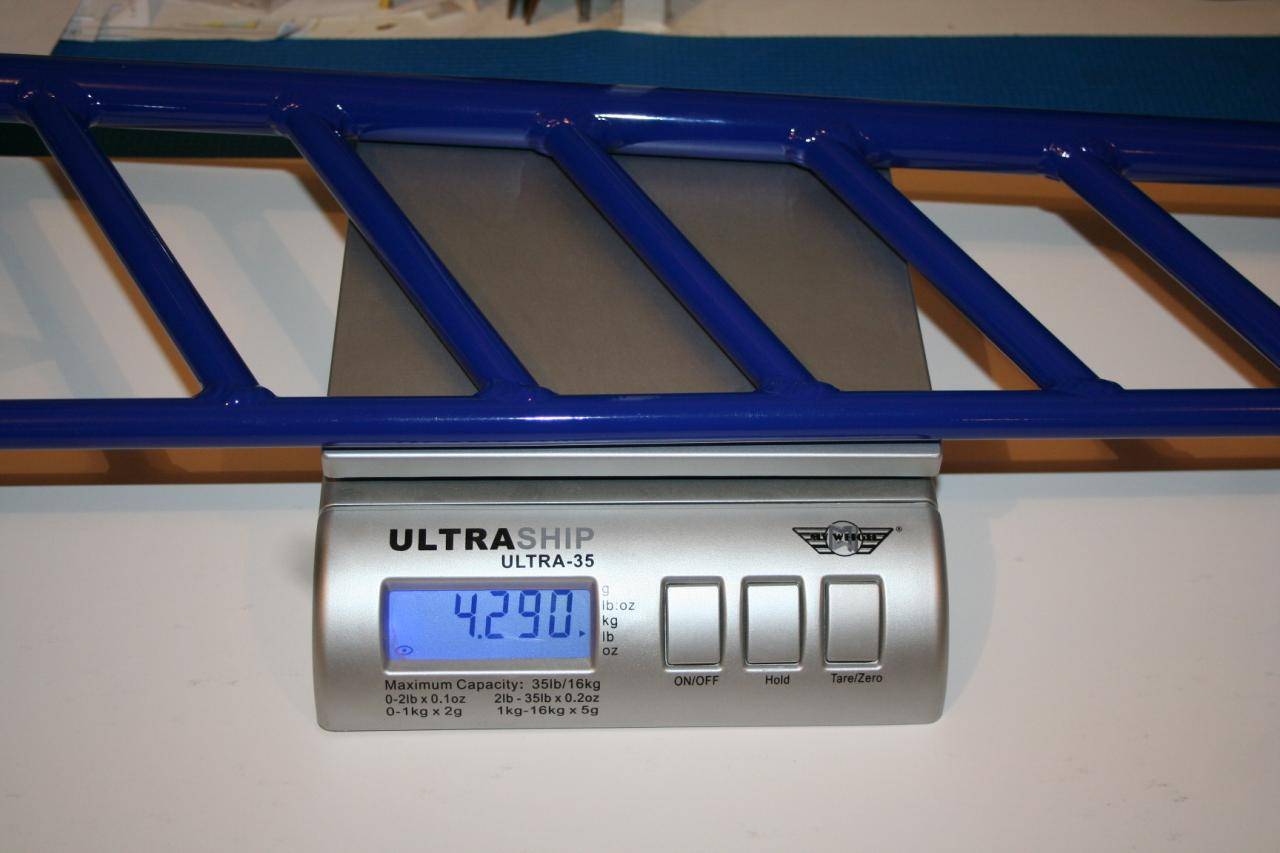
True Weight
picture.php


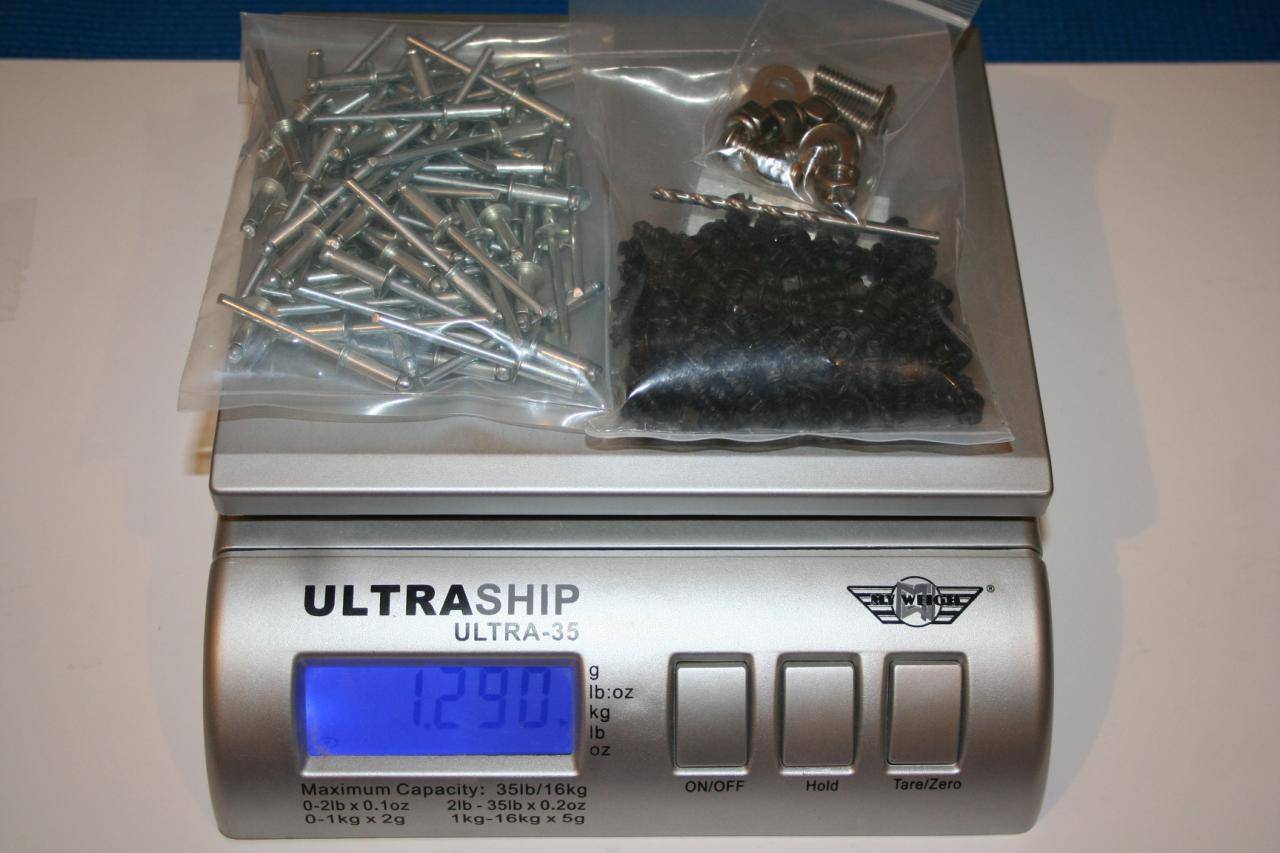
Mounting Rivets and Traction Screws
picture.php
 

christopher

Well-known member
Staff member
Lifetime Membership
Nov 1, 2008
81,508
27,371
113
Rigby, Idaho
Now that the photos are posted, some thoughts.

The boards are pretty much exactly what I was hoping they would be.
They feel STRONG and STIFF in my hands.
Very solid and if looks tell you anything, very well made.
Of course I won't really know till the old boards are cut off and the new ones riveted on.

I was a little surprised that none of the traction screws were installed from the factory, but I can understand why, and it might turn out that that makes the boards easier to install onto the sled. As once they are riveted to the sled, they will be in a great position to drill the pilot holes and then fasten in the screws. Again, only time will tell.

But for now I am JAZZED.
These look nothing short of stunning and I can't wait to see my sled with them installed.
 

christopher

Well-known member
Staff member
Lifetime Membership
Nov 1, 2008
81,508
27,371
113
Rigby, Idaho
The following comment was sent to me from someone who knows...

IMO...you should also use some structural adhesive in your install...same stuff Polaris and others are using in the assembly of the chassis... Lord brand #406 or similar.... easy to apply, releases with heat.... will make the boards and tunnel even stronger. you would need to sand the powdercoat in the contact area for the bond to be effective.


I have great respect for the source of this comment and will be following his advice.
 

christopher

Well-known member
Staff member
Lifetime Membership
Nov 1, 2008
81,508
27,371
113
Rigby, Idaho
Once they are on and I have had a chance to ride with them next winter, I will report back on just how well they do or do not work.

The traction screws WERE a surprise to me!
Not at all what I was expecting to see.

I "thought" I was going to see vertical rivets in each of the cross support bars.
 

christopher

Well-known member
Staff member
Lifetime Membership
Nov 1, 2008
81,508
27,371
113
Rigby, Idaho
Still in the prep mode to installing the boards.
Spent last night drilling out rivets holding in the stock boards.
Never drilled out a rivet upside down before.
What a pain in the butt.

Have to get the rear drop brackets removed from the tunnel next, and then I am ready to cut off the boards and get started with the new install.
 

christopher

Well-known member
Staff member
Lifetime Membership
Nov 1, 2008
81,508
27,371
113
Rigby, Idaho
This has become my all summer project.
Every time I have 15 minutes I work on this beast.

Got the last of the inverted rivets drilled out of the foot pockets at lunch today.

Next is to remove the read track brackets.

This would probably go much faster if I would just sit down and spend a couple hours on it ....:face-icon-small-hap But where's the fun in that
 

christopher

Well-known member
Staff member
Lifetime Membership
Nov 1, 2008
81,508
27,371
113
Rigby, Idaho
That sounds like a sweet deal.
If all goes well, next summer I will step up to forced induction.

The Drop Brackets are OFF the tunnel.

All that is left to do now is CUT...
 

christopher

Well-known member
Staff member
Lifetime Membership
Nov 1, 2008
81,508
27,371
113
Rigby, Idaho
Next item for me is to buy some Air Tools now.
Need a cutter and a rivet gun.

And I was told to use the new Polaris "Glue" in addition to the rivets to make these boards more secure to the tunnel. Need to go get some of that and the special applicator it requires.

Also need to get some clamps to hold the boards in place during installation.
 

christopher

Well-known member
Staff member
Lifetime Membership
Nov 1, 2008
81,508
27,371
113
Rigby, Idaho
Got the adhesives ordered last night.
Found a guy on E-Bay with a SMOKING deal.

LORD 406/19 Modified Acrylic Adhesive With Glass Beads

406_19_300MLX75ML.jpg


So far as I know, this is what Polaris is now using on their new sleds to cut down on weight as a structural adhesive. And I was told that on the prototype Air Frame Boards, it made a substantial difference over just Riveting alone. And, should the time come that it needs to be removed, that a commercial heat gun will loosen it and allow it to come off.


This stuff also requires an applicator to control the mixing.
EA300M.jpg


And it needs a special mixing tube that should come with the adhesive tubes.

EDS_370-24R.jpg


The Glue cost me $15.
The Gun cost me $60.
The Tube cost me $0.

=========

Note.
If it wasn't for the fact that I got such a deal on E-Bay I would have bought the much smaller 50ml tube and dispenser and gone the cheapest route possible. But since the adhesive was so cheap in the 300ml size, I figured what the heck. Might as well have more and not less of this stuff to work with seeing as how I have never used it before.
 

christopher

Well-known member
Staff member
Lifetime Membership
Nov 1, 2008
81,508
27,371
113
Rigby, Idaho
COOL!

Now, everything is done in the PREP section that Skinz calls for BEFORE you begin the install.

I will go down this afternoon and shoot the next round of photos to get the before and after shots of the OEM boards being removed.

All I need now are the next round of tools.

Air Compressor.
Rivet Gun
Grinder
 

christopher

Well-known member
Staff member
Lifetime Membership
Nov 1, 2008
81,508
27,371
113
Rigby, Idaho
In preparation for installing the Skinz Air Frame boards you need to...


Remove the rivets at the base of the foot well.
These rivets are upside down in relation to all the other rivest.

picture.php


picture.php
 

christopher

Well-known member
Staff member
Lifetime Membership
Nov 1, 2008
81,508
27,371
113
Rigby, Idaho
The rear drop brackets that support the track also need to be removed, as well as the support structure that attaches to the underside of the OEM Boards.

Rivets have to be drilled out, and bolts have to be removed to get the brackets off.


picture.php


picture.php
 

christopher

Well-known member
Staff member
Lifetime Membership
Nov 1, 2008
81,508
27,371
113
Rigby, Idaho
Of course, once the drop brackets are gone, its a great time to remove the whole rear suspension and do any service that might be needed.

picture.php


picture.php


My next step will be to mandhandle the rear suspension OUT of the track, and then to experience the shear joy of removing the Anti-Ratchet drive that was THRASHED by my May 15th ride over Volcanic Ash in Island Park after the snow had melted.


This project just keeps growing....
 

christopher

Well-known member
Staff member
Lifetime Membership
Nov 1, 2008
81,508
27,371
113
Rigby, Idaho
Cutting the boards off with a grinder.
Note, I had no trouble at all cutting through the Aluminum with this.

picture.php


picture.php
 

christopher

Well-known member
Staff member
Lifetime Membership
Nov 1, 2008
81,508
27,371
113
Rigby, Idaho
There is a small steel plate along the inside of the foot-well that must NOT be cut.
That is why there is a small jog in the line as you have to go around the little plate beneath the boards.

picture.php
 

christopher

Well-known member
Staff member
Lifetime Membership
Nov 1, 2008
81,508
27,371
113
Rigby, Idaho
First Test Fit of the new boards !!

picture.php


picture.php


You can clearly see that there is still plenty of deburring and trimming yet to be done.

picture.php


picture.php
 
Premium Features