
?
Did you put the larger capacity fuel tanks on any of these builds?
Did you put the larger capacity fuel tanks on any of these builds?
Follow along with the video below to see how to install our site as a web app on your home screen.
Note: This feature may not be available in some browsers.
Did you put the larger capacity fuel tanks on any of these builds?
So did you modify the bushings or just get a bigger hammer? I built my own 3rd shock setup for my 2015 Timbersled and I just machined a set of bushings identical to the aluminum hardtail ones but out of oilite.
how does the clear belt shield stay see through ? seems it wood fill with moisture and fog up or is it vented?Yeti MX 120 ( IronMan ):
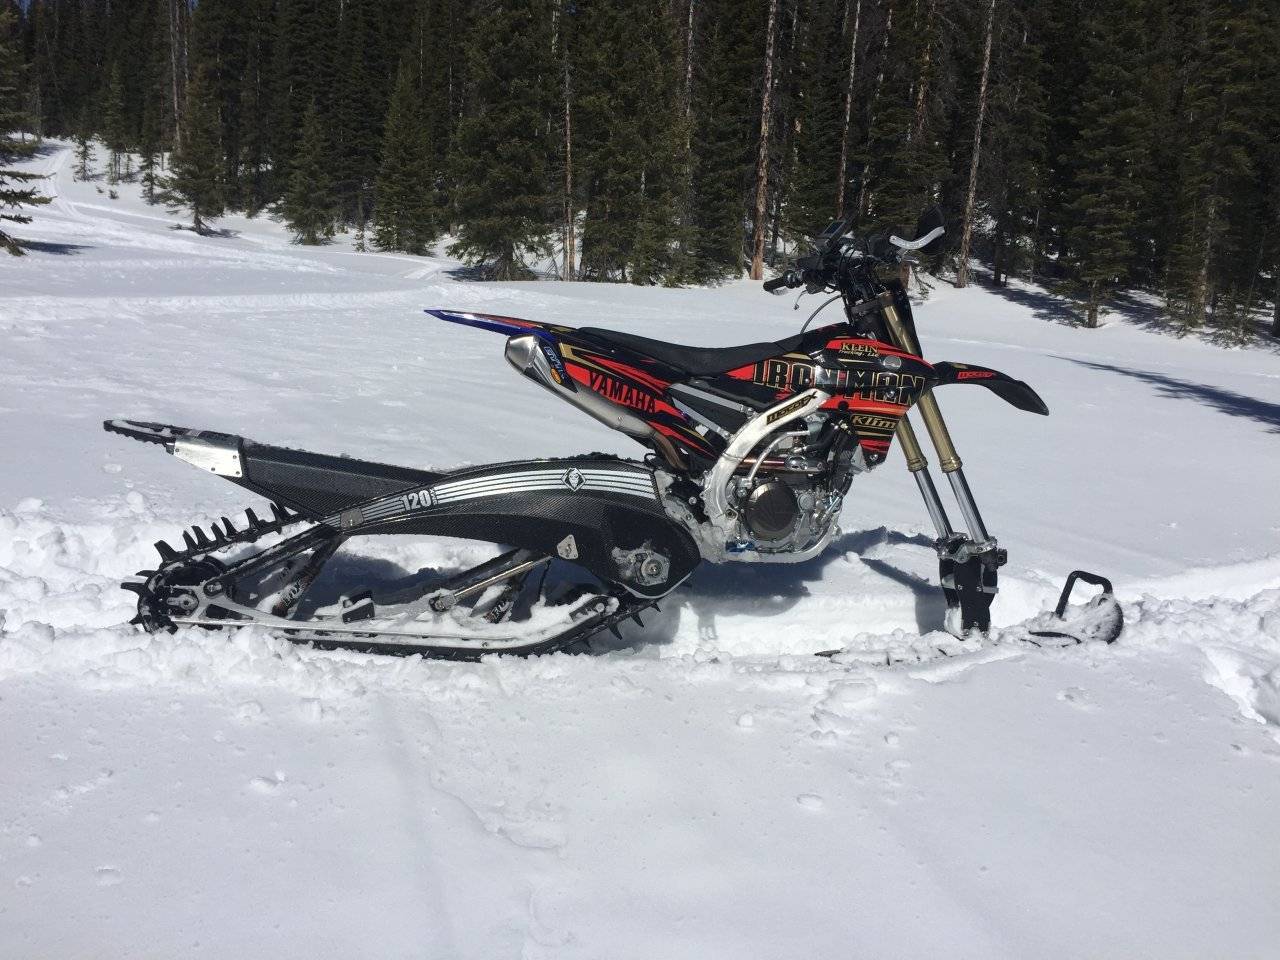
With the instruction manual that Yeti provides I found my self truly going step by step through the install process following every detail in the manual. It was quite a change from the typical fist beating on chest carnal male response of: " who needs instructions". This is the most high tech, well engineered piece I have ever bolted to a bike. So I felt it was due the respect of following the instructions to the letter.
I did purchase the RSS suspension strut with the unit, but it was not ready at the time of this install. I will go back to the install of RSS when it arrives at the shop.


Almost all of the Yeti parts have part #'s on them. This makes it a very easy job to fit the correct pieces to their homes when doing the install. Make sure you pay attention and press the left and right bushings into the sub-frame in to their correct locations. They have a very tight press fit and can not be removed easily.
Yeti even provided the tools for the frame bushing installation, and the socket for adjusting the eccentric bolt.
Chain adjustment is done by loosening 6 12mm headed bolts and the eccentric bolt nut. Standing on the left hand side of the bike, and turning the eccentric bolt in a clockwise direction will move the entire kit rearward to tighten the chain. Very slight rotation of the bolt moves the kit a long way. Do not put a lot of pressure on this 12mm eccentric bolt head. It requires less than 15lbs. of torque to achieve chain tension when all fasteners are loose. If the eccentric will not tighten the chain with minimal torque, loosen the swing arm bolt to reduce any binding of the strut rod to sub-frame.

The entire install went soothe as glass until the dreaded brake bleeding process. I have done so many that I did not follow the instructions and started bleeding using my Phoenix Injector just like I had done for every TS I ever installed. It turns out that Yeti sends out their kits with a Speedy Bleeder in the caliper and the bleeding process is much different than I am use to. So FOLLOW THE INSTRUCTIONS!!!!! They will save you time. Yeti even includes a bleeding syringe with the kit.

Let's hear it,,,,,,the good,,,,,,,, the bad,,,,,,,,, and the ugly!!!! on these kits... Don't hold nothing back, give it to us straight.....
:face-icon-small-hap
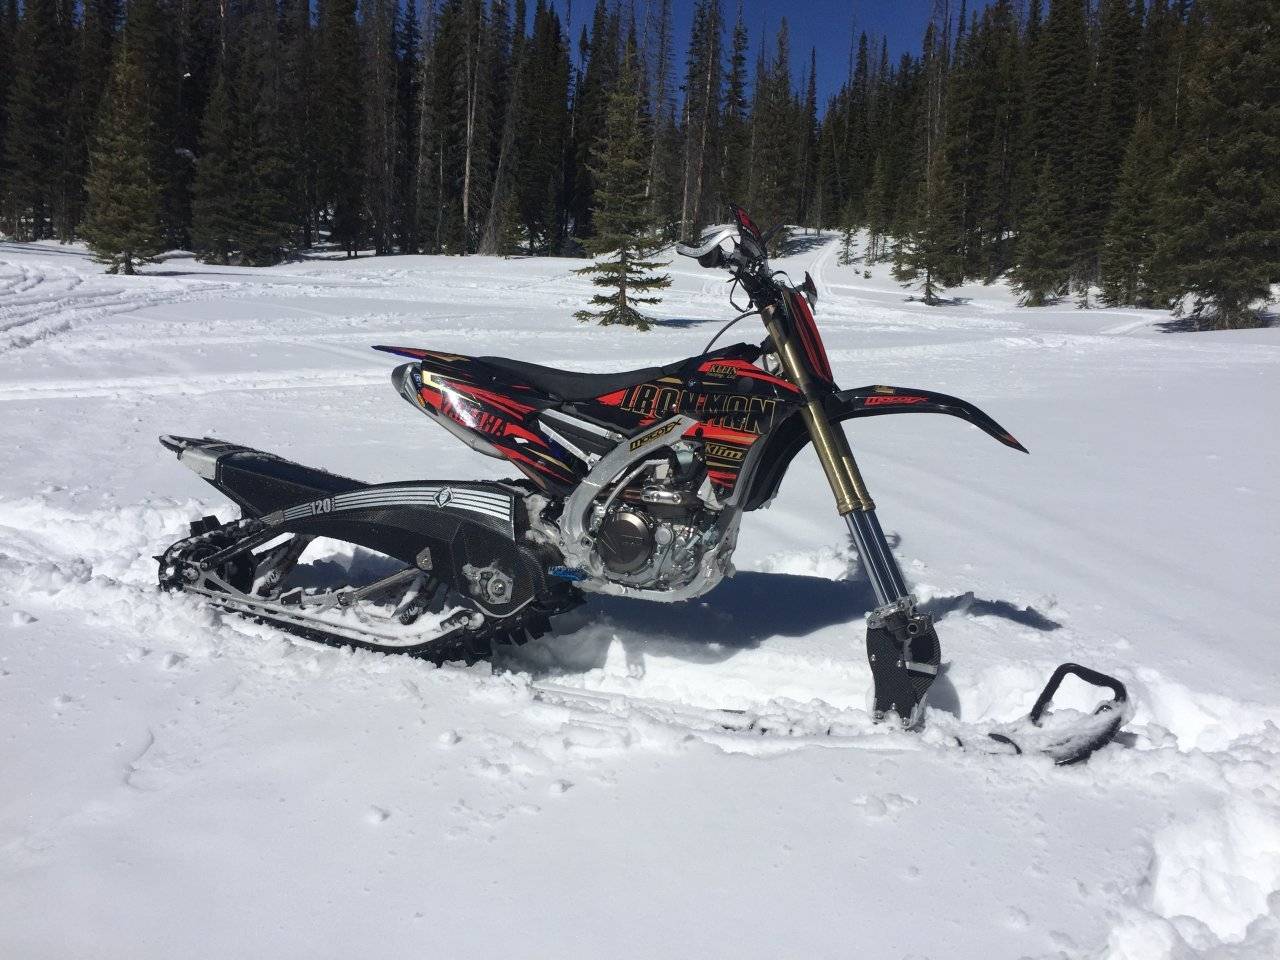
The next step in in all of the builds is a custom Seat Concepts seat.

We will send your seat out and have it recovered and foamed to give you that cushy ride that is not hard in the cold, but will give you the ability to use the seat and help you carve the corners without having a sore butt in the afternoon. Look how the seat is hour glass shaped now.


No more 2x4 ride!!!!
.
Wandering if you find the concepts seat cover to hold moisture and is wet all the time especially in snowy wet conditions ? Ive been running one this season and my only complaint is that its always wet on top the grainy material seems to hold moisture. I know the timber open tunnel doesnt help with kicking up snow alot but my normal mx seat stayed dry.. Getting tired of the wet a$$.. I did use the vapour barrier as well between the foam and cover
Wandering if you find the concepts seat cover to hold moisture and is wet all the time especially in snowy wet conditions ? Ive been running one this season and my only complaint is that its always wet on top the grainy material seems to hold moisture. I know the timber open tunnel doesnt help with kicking up snow alot but my normal mx seat stayed dry.. Getting tired of the wet a$$.. I did use the vapour barrier as well between the foam and cover
