• Don't miss out on all the fun! Register on our forums to post and have added features! Membership levels include a FREE membership tier.

Installation and Review: Mountain Performance Inc, Stage 1 & 2 Supercharger

Thread Rating
5.00 star(s)

christopher

Well-known member
Staff member
Lifetime Membership
Nov 1, 2008
81,508
27,371
113
Rigby, Idaho
Now, the entire electrical harness has to be disconnected and removed.
While a bit intimidating for me, watching Slash take it apart made it much easier than I expected. Ever line came apart very cleanly and had a unique connector on it. So putting it all back together again SHOULD be pretty smooth.

picture.php


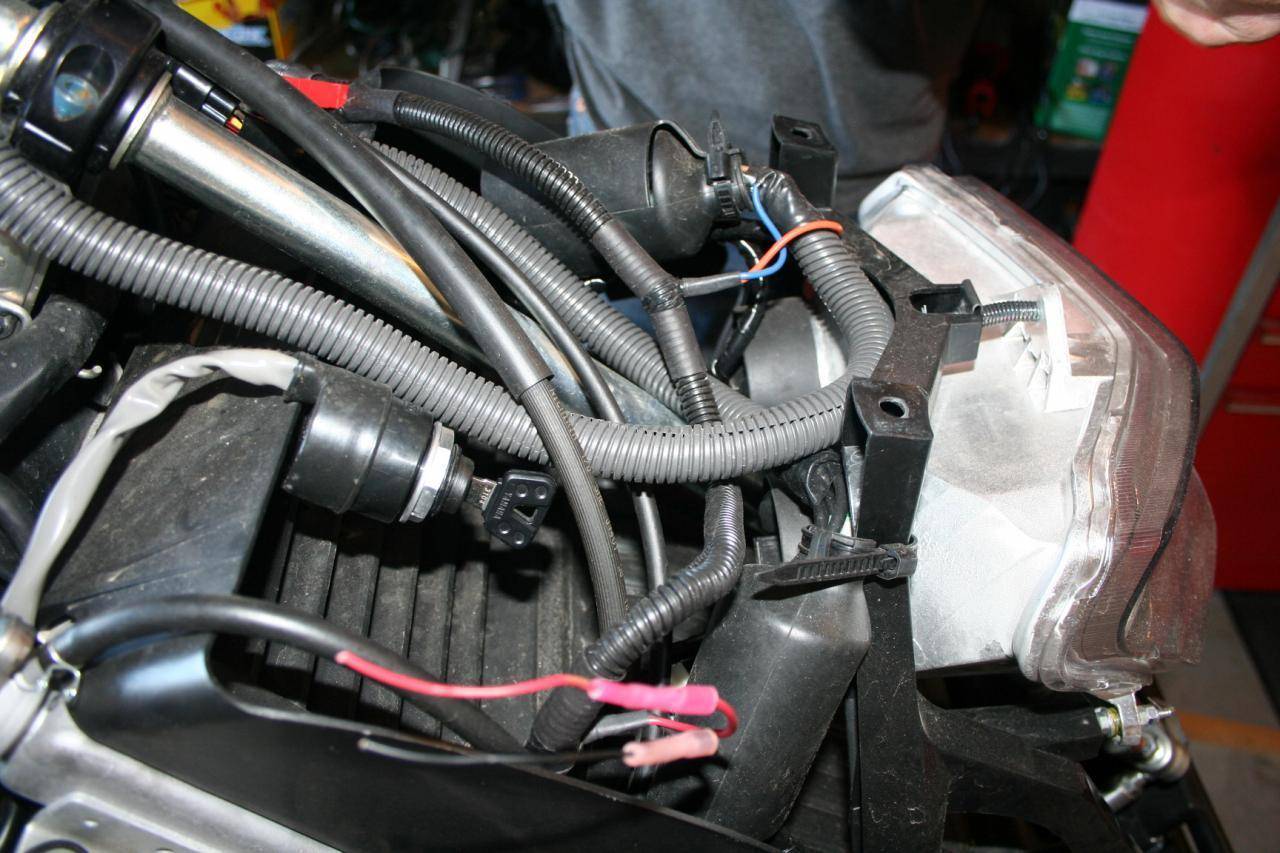
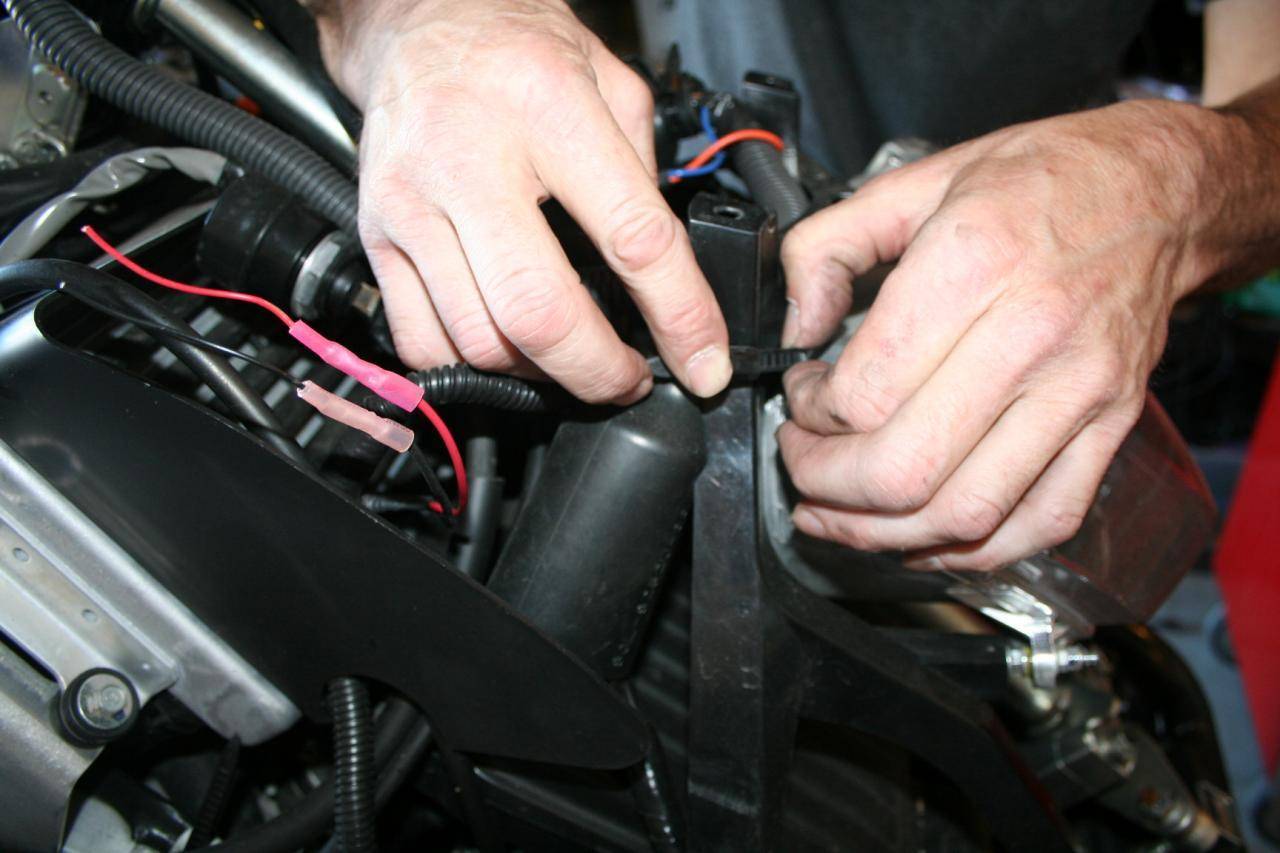
LOTS of retaining ZIP ties have to be removed.
picture.php


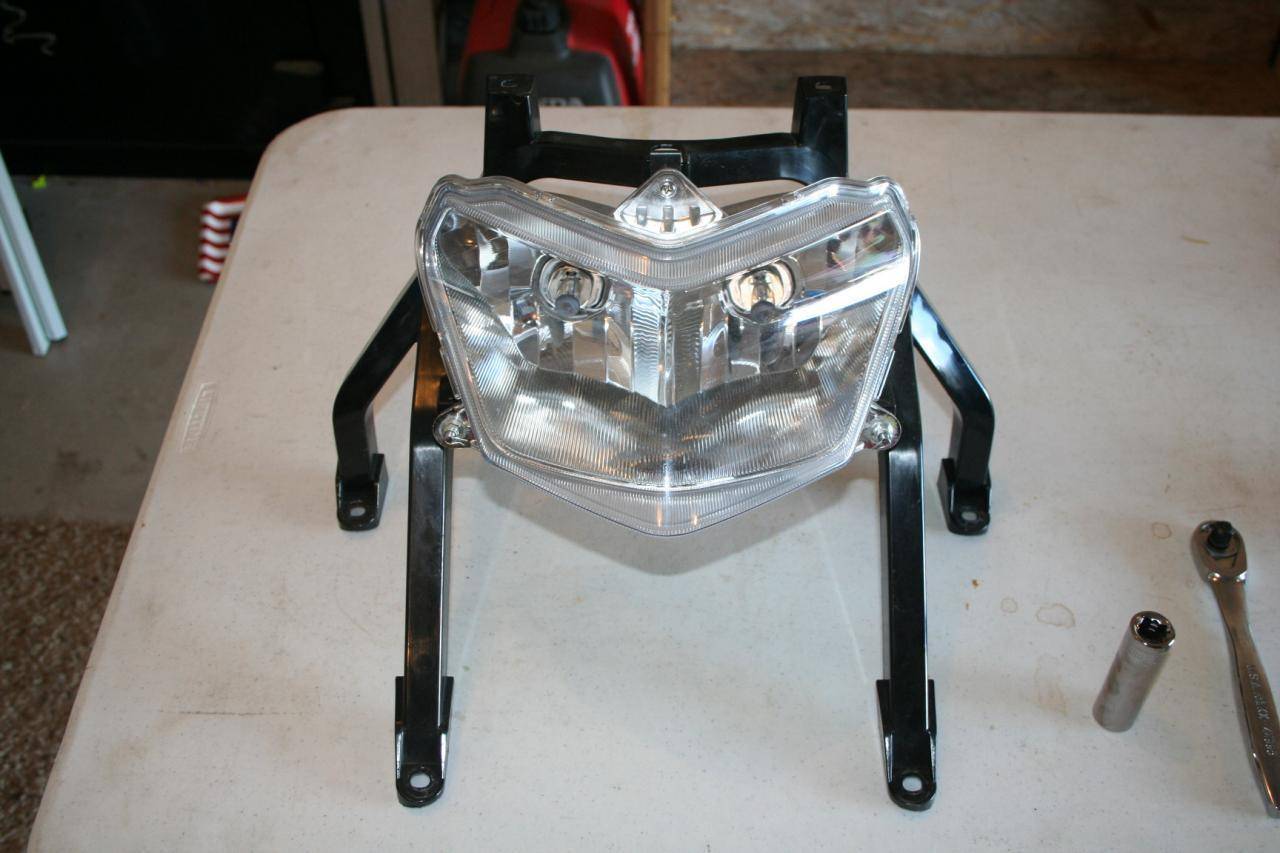
Front Headlight Assembly has to come off along the way when removing all the wiring harness.
picture.php


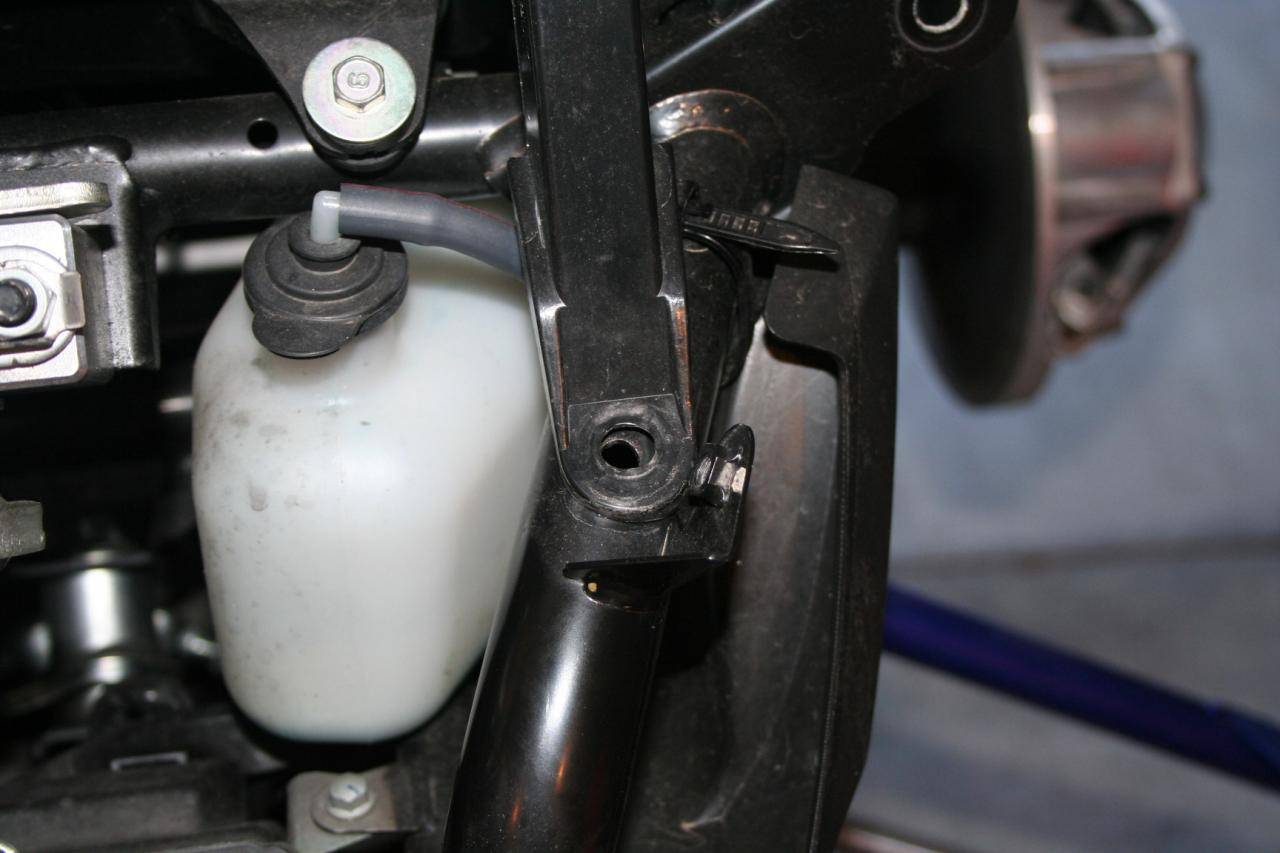
The light assembly is made out of Plastic and mounted to the metal sub-frame, and held in place with Yamaha's plastic push pins.
picture.php


It comes off with no hassle at all. I plan on converting it over to HID this summer as well.
picture.php


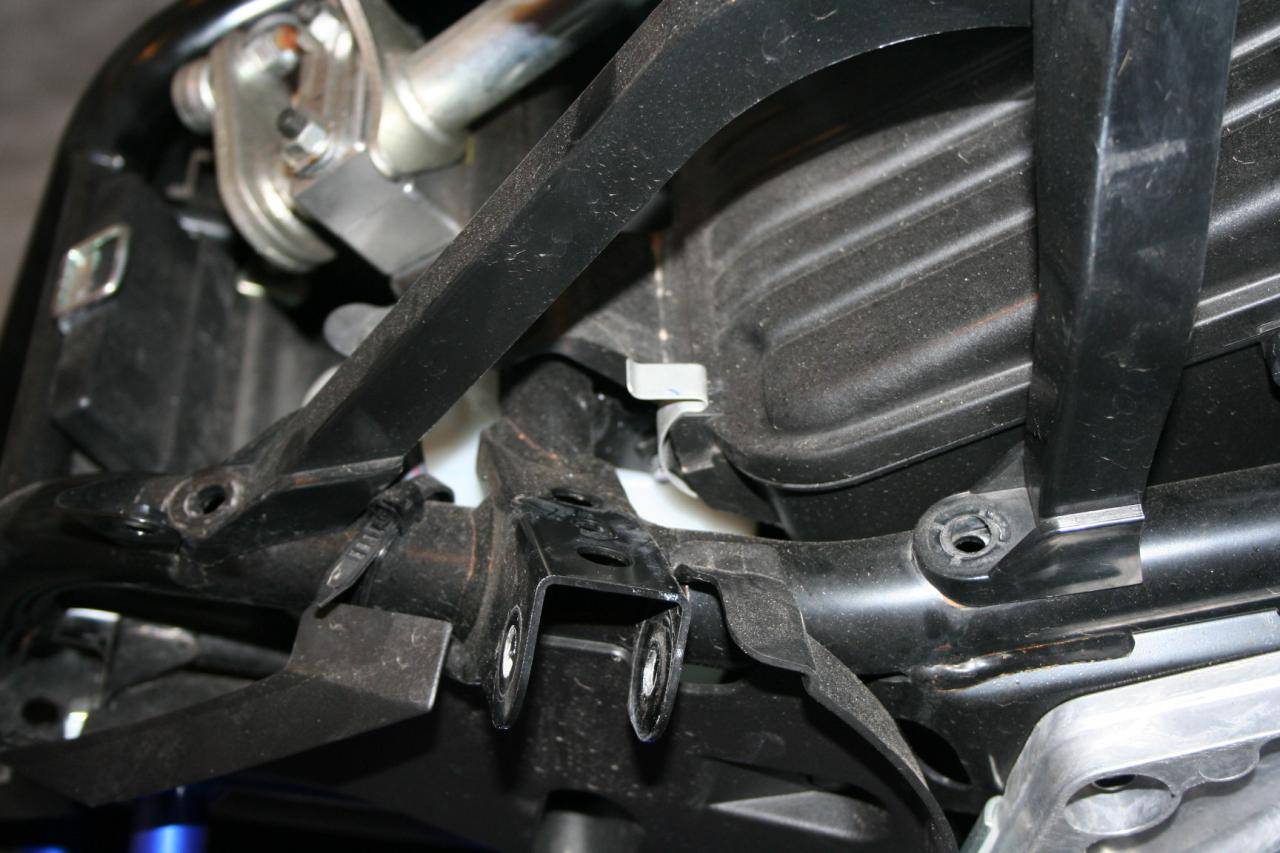
Headlight Assembly removed as a single unit.
picture.php
 

christopher

Well-known member
Staff member
Lifetime Membership
Nov 1, 2008
81,508
27,371
113
Rigby, Idaho
Next thing to come out is the whole steering column.
I had installed the OFT Steering relocation kit (Which I STRONGLY endorse everyone else do as well). So mine might look just a bit different than stock.


Pay really close attention to the 4 locking tabs that have to be bent down. Those tabs fail and a nut comes off and you have NO steering.
picture.php


picture.php


More harness to unplug
picture.php


Its all gotta go.
picture.php


The rollover kit has to come off.
picture.php


Obviously the battery has to be disconnected and removed as well.
picture.php
 

christopher

Well-known member
Staff member
Lifetime Membership
Nov 1, 2008
81,508
27,371
113
Rigby, Idaho
As the harness is coming off, and the steering column is being removed, everything on the handlebars will have to be disconnected as well.

I need a new set of bars, so in my case I will have to strip them down and I bent them last season while practicing my forward dismount! :face-icon-small-hap

I am also going to install the new Yamaha Heater Grip heaters as well.
picture.php


picture.php


Upper mounting bracket on the steering column coming off.
picture.php


Lower Mounting bracket coming off.
picture.php


picture.php
 

christopher

Well-known member
Staff member
Lifetime Membership
Nov 1, 2008
81,508
27,371
113
Rigby, Idaho
With the steering column removed, you now have full access to the airbox.
picture.php


Remove the airbox lid
picture.php


The oil vent line, which in a rollover is where all the oil coming gushing out of your dry sump from unless you have installed the
OFT Racing Moto-R Kill w/ Jacobson Roll-over Valve. Seriously guys, if you haven't installed one of these, you need to!


The radiator shroud has to come off.
picture.php


The airbox has to be removed, but it won't come off till the 3 intakes are removed from the throttle body. And they don't come off till your able to expose the 3 retaining bands and the allen key sockets on each one.
picture.php


So we removed the radiator to get better access first.
picture.php


picture.php


Removing the Radiator means draining the cooling system.
picture.php


picture.php
 

christopher

Well-known member
Staff member
Lifetime Membership
Nov 1, 2008
81,508
27,371
113
Rigby, Idaho
With the radiator off, now we finally have access to unscrew the intake tubes .
picture.php


picture.php


Off they come.
picture.php


Almost able to remove the whole air box now.
picture.php


And now for the first time we can see the engine.
picture.php
 

christopher

Well-known member
Staff member
Lifetime Membership
Nov 1, 2008
81,508
27,371
113
Rigby, Idaho
With the AirBox off, its time to remove the Oil Tank.
picture.php


Disconnect the return line.
picture.php


Remove the drain plug and drain all the engine oil.
picture.php


picture.php


With the lines removed the tank comes right off.
picture.php


Just a passing note.
Was really surprised at how dirty my oil was after this last season.
Not sure why, but it was not looking or smelling good.
Will be upgrading to AMSOIL when we reassemble everything and using that from now on.
 

christopher

Well-known member
Staff member
Lifetime Membership
Nov 1, 2008
81,508
27,371
113
Rigby, Idaho
Next on the list was removing the fuel tank.
The tank panels came right off exposing the tank.
picture.php


Today's project will be to remove the SKINZ Air Frame seat from the tunnel allowing me to then remove the tank.

I have ordered a TRAIL TANK to replace my stock OEM tank, as I am expecting this SuperCharger will burn another couple gallons of fuel on every ride! So when we get to the reassembly, the tank that goes back on will look a bit different than the one coming off.

picture.php
 
T

TRUEBLUEMAX

Well-known member
Aug 4, 2010
751
280
63
Hooper, Utah
Looks really awesome. I really should not read all these posts about riders boosting their sleds. I told myself one more year before the boost and seeing all of this does not help that itch to get it done this summer.

MPI should pay you to rewrite their instruction manual with all of your pictures included. I am sure a lot of people would like the detail you always present with your installs.

It does seem like you are missing a lot of the fun letting somebody else tear your sled apart.
 

christopher

Well-known member
Staff member
Lifetime Membership
Nov 1, 2008
81,508
27,371
113
Rigby, Idaho
Looks really awesome. I really should not read all these posts about riders boosting their sleds. I told myself one more year before the boost and seeing all of this does not help that itch to get it done this summer.

MPI should pay you to rewrite their instruction manual with all of your pictures included. I am sure a lot of people would like the detail you always present with your installs.

It does seem like you are missing a lot of the fun letting somebody else tear your sled apart.

he he
Ya, as soon as Yamaha got me on a boosted sled, my budget was SUNK!
Damn thing was SO MUCH FUN to ride!

So far the MPI manual has been pretty good.
It could be better, but I think for most guys that are comfortable enough to undertake this kind of a project, the manual has everything they need in it.

The only thing that strikes me as odd, is that they put all of the images at the end of the manual, rather than inline with the text.

As for the fun.
I have plenty of work to do yet.
Slash just tore it down for me in rapid order.
And he was complaining that I was slowing him down last night!! :face-icon-small-hap
 

christopher

Well-known member
Staff member
Lifetime Membership
Nov 1, 2008
81,508
27,371
113
Rigby, Idaho
Removing the Fuel Tank.

There really isn't much holding the fuel tank to the sled.
Two large bolts at the bottom secure it in place.
One of them holds the electrical harness that runs to the rear tail light.

picture.php


Tail Light connector next to the reverse gear lever.
picture.php


The fuel line and the power line to the fuel pump have to be removed.
picture.php


picture.php


Vent line on top of the tank has to be removed.
picture.php


There is a small red safety clip on the fuel line that has to be slid to the side to release the fitting from the tank.
picture.php
 

christopher

Well-known member
Staff member
Lifetime Membership
Nov 1, 2008
81,508
27,371
113
Rigby, Idaho
Before disconecting the fuel line I thought it might be smart to drain the tank :face-icon-small-hap

picture.php


The fuel tank is now unattached to the sled and ready to be lifted off.
picture.php
 

christopher

Well-known member
Staff member
Lifetime Membership
Nov 1, 2008
81,508
27,371
113
Rigby, Idaho
The last thing to do now is to remove the battery, and all the prep work is done before the actual installation can begin.
 

Fireman35

Well-known member
Lifetime Membership
Aug 11, 2009
370
79
28
Burlington,WI
Installation and Review: Mountain Performance Inc, Stage 1 Supercharer (Part 2)

looks like you had good help...scary parts over now just start bolting it back together. And good call on the rollover valve anyone with a nytro thats not running one is risking a blown motor for 175.00.
 
W

wilmot

Well-known member
Feb 3, 2010
508
101
28
Clearfield, UT
The best thing any 4-sroke yamaha guy can purchase is the rollover valve. Keep the oil in the motor where it belongs... Hey Chris, your going to help make my install a breeze. When your done with Slash send him to utah. I have plenty of root-beer.(decaff):face-icon-small-sho
 

christopher

Well-known member
Staff member
Lifetime Membership
Nov 1, 2008
81,508
27,371
113
Rigby, Idaho
Slash is a really great guy.
Its certainly nice to have a couple people around that are very comfortable working on engines. Should the need arise I know who I can call on for help if I get stuck.
 

christopher

Well-known member
Staff member
Lifetime Membership
Nov 1, 2008
81,508
27,371
113
Rigby, Idaho
Battery Removal.

almost as easy as removing the side panels. :face-icon-small-hap

Once the main cables are removed, there is one clip that has to be disconnected on the left.
picture.php


There is harness bundle held in place with a metal hold that has to be opened to allow the harness to be move to expose the mounting screw for the battery cover plate.
picture.php


picture.php


Lift the now fully exposed battery up and out and you are left with this
picture.php
 

christopher

Well-known member
Staff member
Lifetime Membership
Nov 1, 2008
81,508
27,371
113
Rigby, Idaho
Preparation Checklist.

Air Box- Removed
Battery
- Removed
Dash- Removed
Drain Coolant - Done
Drain Oil
- Done
Front Bumper- Removed
Fuel Tank- Removed
Headlight Assembly- Removed
Hood- Removed
Lower Side Panels- Removed
Oil Tank- Removed
Radiator and Fan Assembly- Removed
Rear Seat Shrouds- Removed

Reservoir Tank- Dang it, I missed this one!

Side Panels
- Removed
Steering Column- Removed
Tank Shrouds- Removed
Throttle Bodies- To Be Done Next
 
Last edited:
Premium Features