
Cutting the boards off with a grinder.
Note, I had no trouble at all cutting through the Aluminum with this.
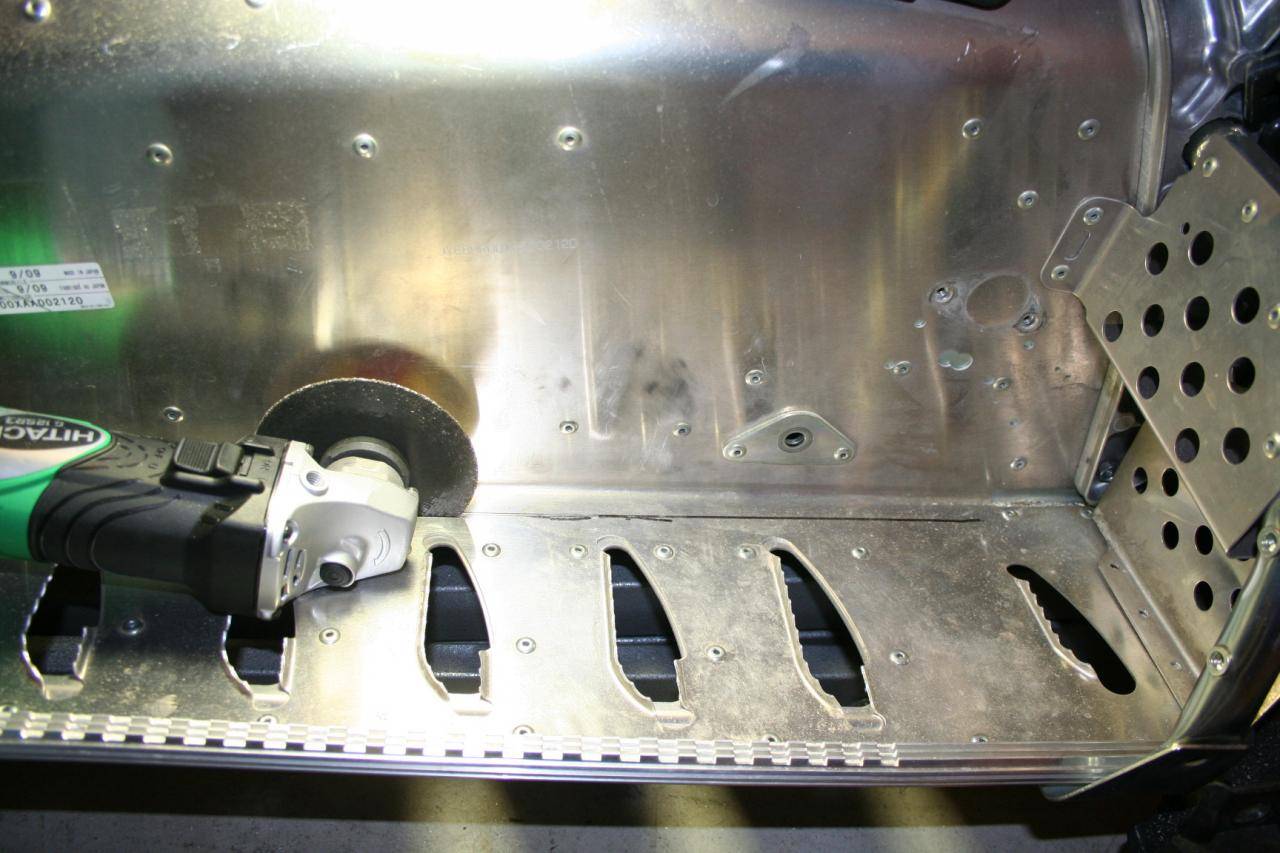
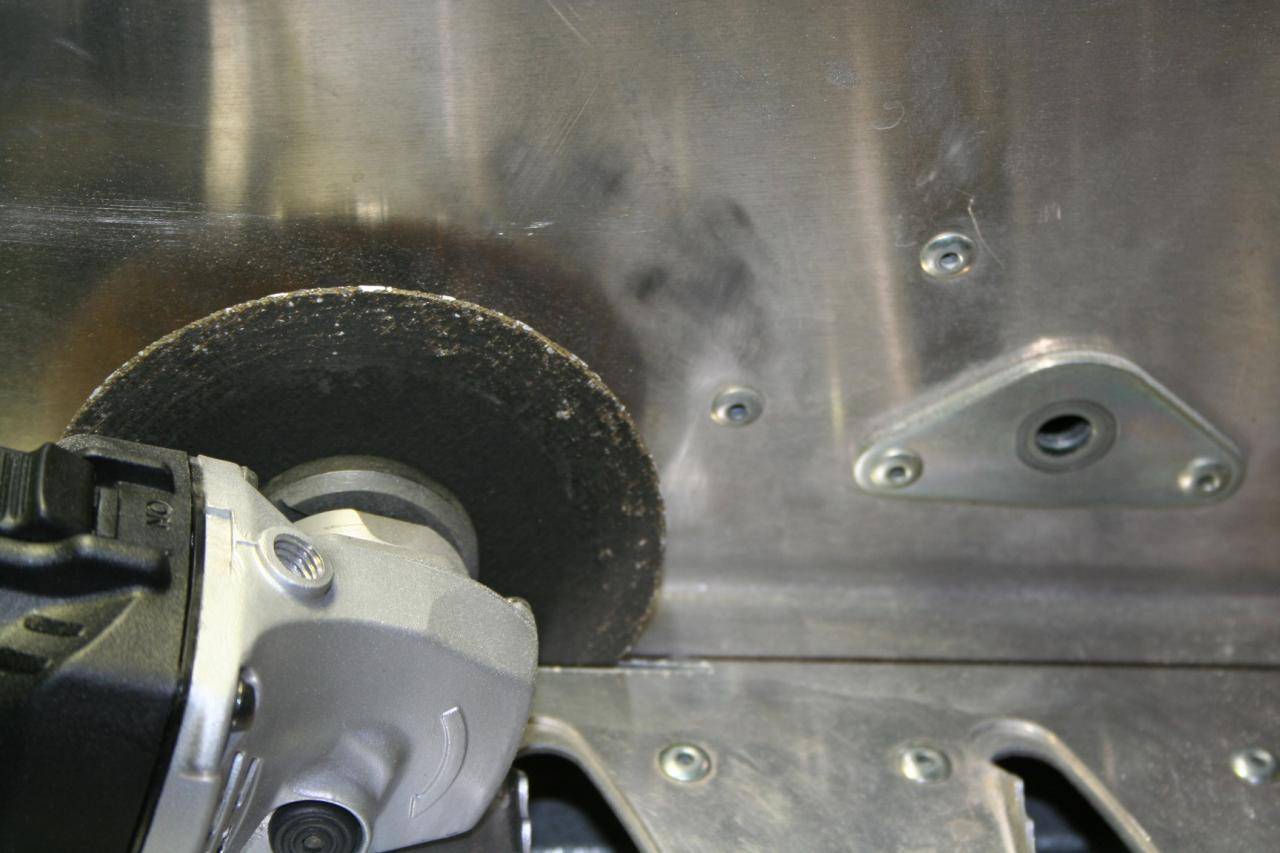
Note, I had no trouble at all cutting through the Aluminum with this.
Follow along with the video below to see how to install our site as a web app on your home screen.
Note: This feature may not be available in some browsers.
Ya you can take more off....it will be harder to keep a nice straight edge though, and make sure you clean it up real nice when your done. Whats this epoxy idea all about?
Yes.Not to get to far off topic but...
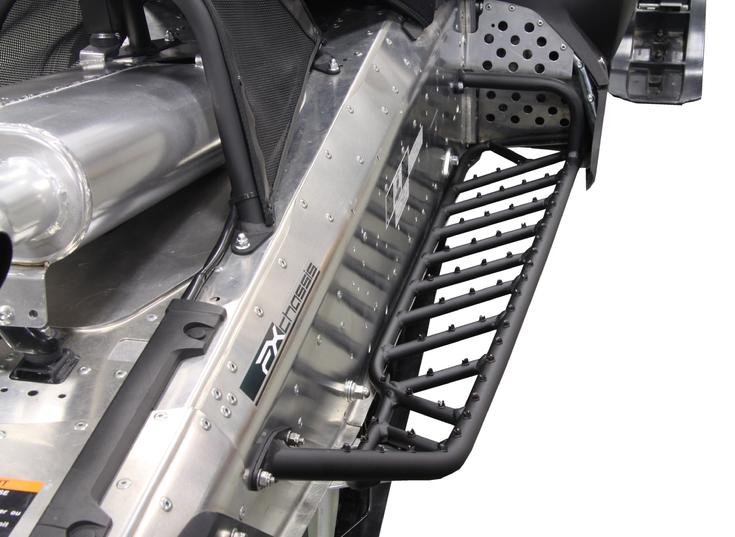
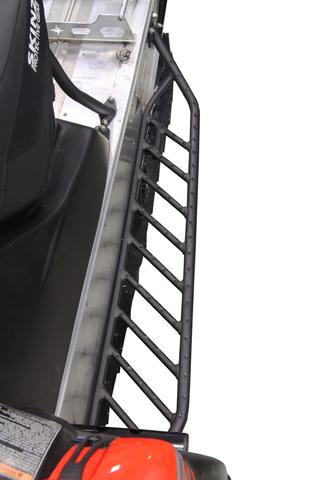
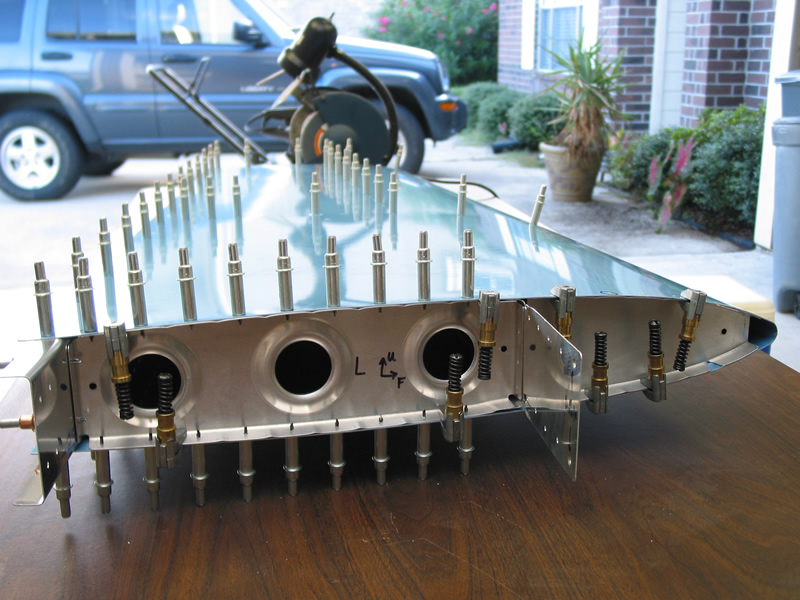
Looking at your pictures above I see you are still running the stock track. Are you replacing it while you have your sled apart? Huge benefits from both CE and Powderclaw.
Isn't that going to make laying the epoxy a bit of a bear?Looking good....If I may suggest...drill your hole's first and debur them as well so you are not fighting the epoxy and drilling and riveting at the same time...
Thisstle it's a structural epoxy for extra strength.
BC.
Originally Posted by Thistledoo ... Whats this epoxy idea all about?
Any idea if a polished aluminum surface will cause problems with adhesion of the Epoxy??
Christopher: ...the alignment will have to be EXACTLY correct???

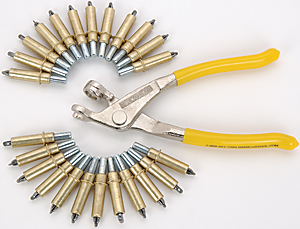
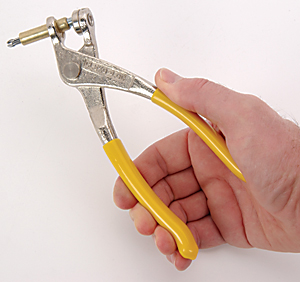
I have never even heard the word before!!Yes.... That is What Clecos are for...