
I
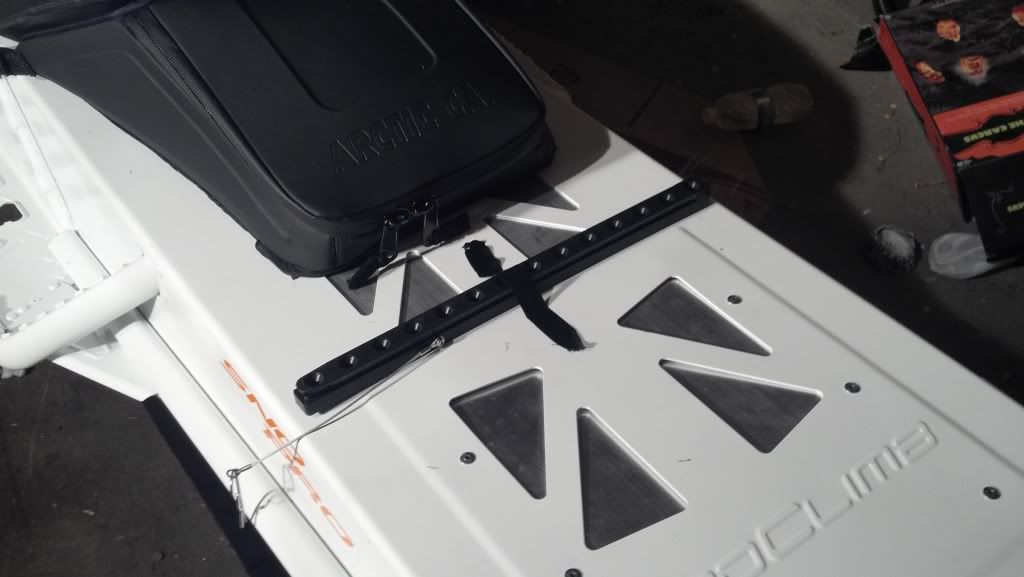
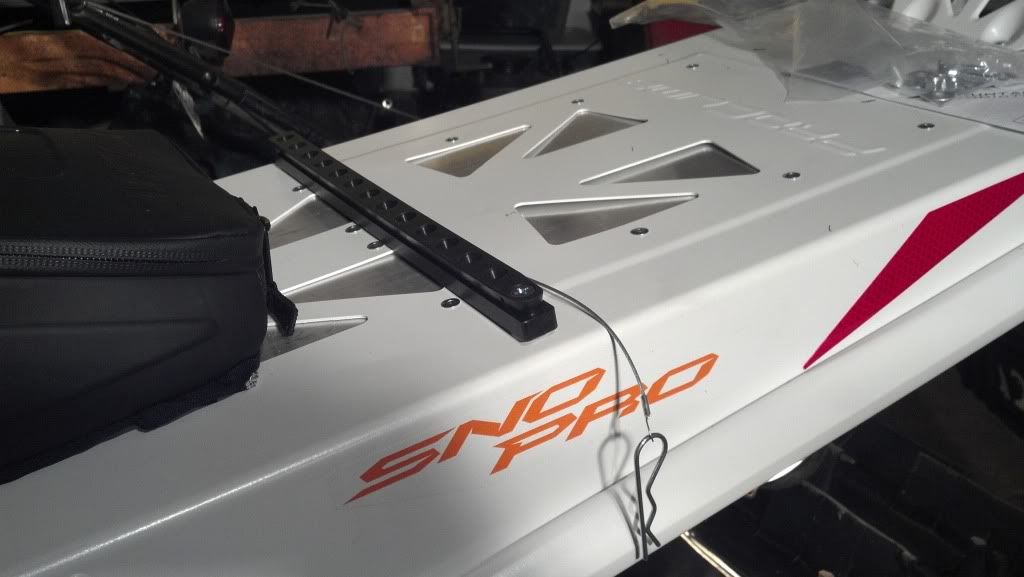
So I finally got around to finishing the install of my Mountain Addicition Track Rack tonight. To start off I taped one of the tracks onto the tunnel in the position I wanted. Note that you should use the gas can or bag to get the general position since the gas can or bag overhang the track quite a bit:
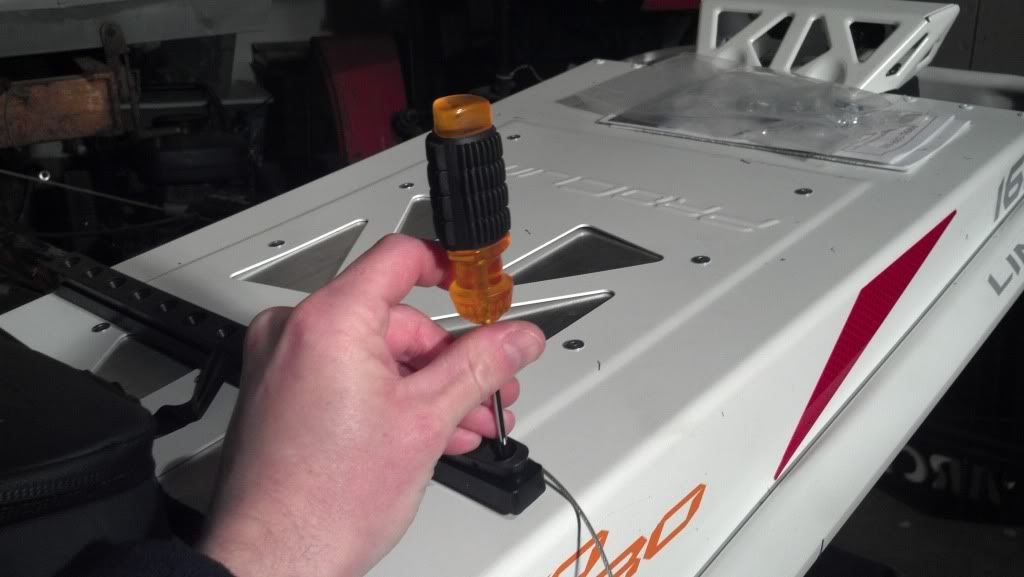
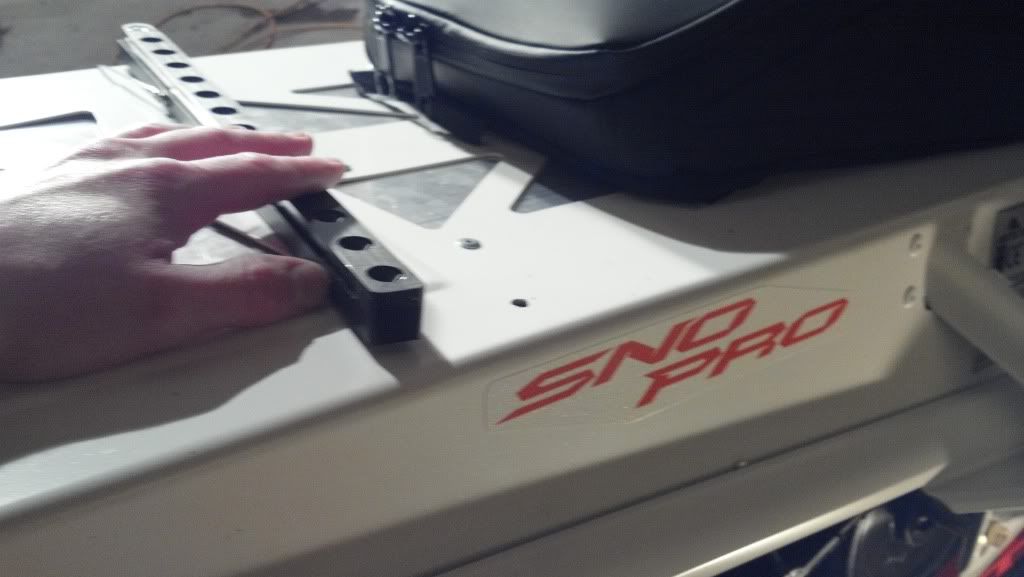
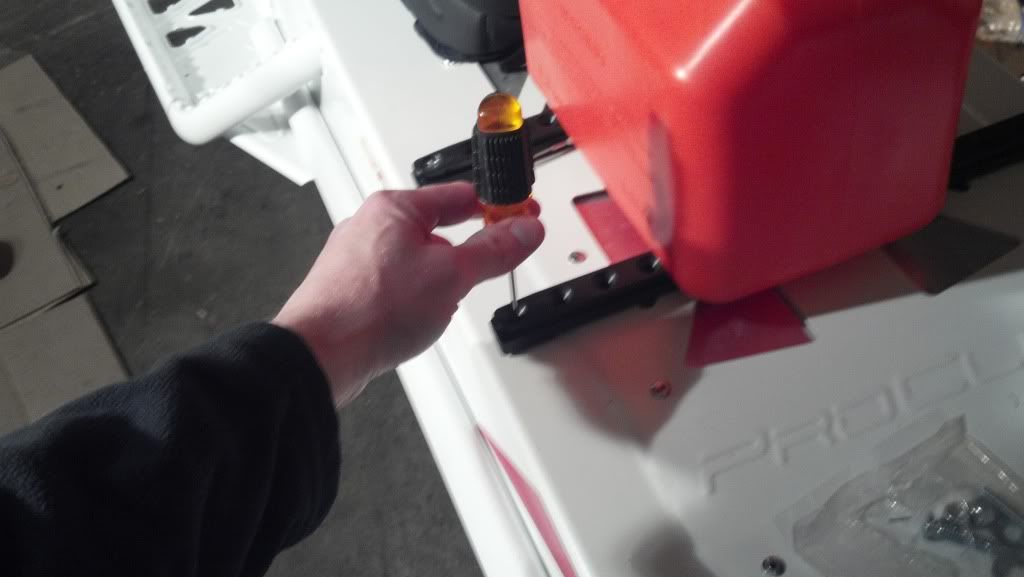
Using a screwdriver that I centered in the track hole I created a dent in tunnel to prevent the drill bit from wandering all over the place. After this picture was taken I used the hammer to create the dent:
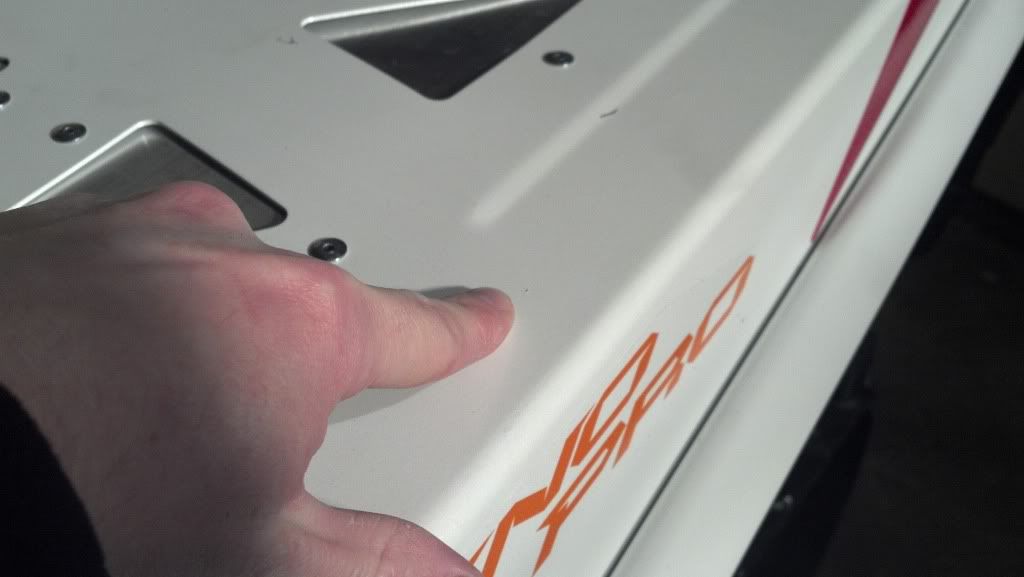
After I moved the track out of the way you can see the dent at the end of my finger. You can also sort of see a smaller dent I made that turned out to not be centered in the track hole:
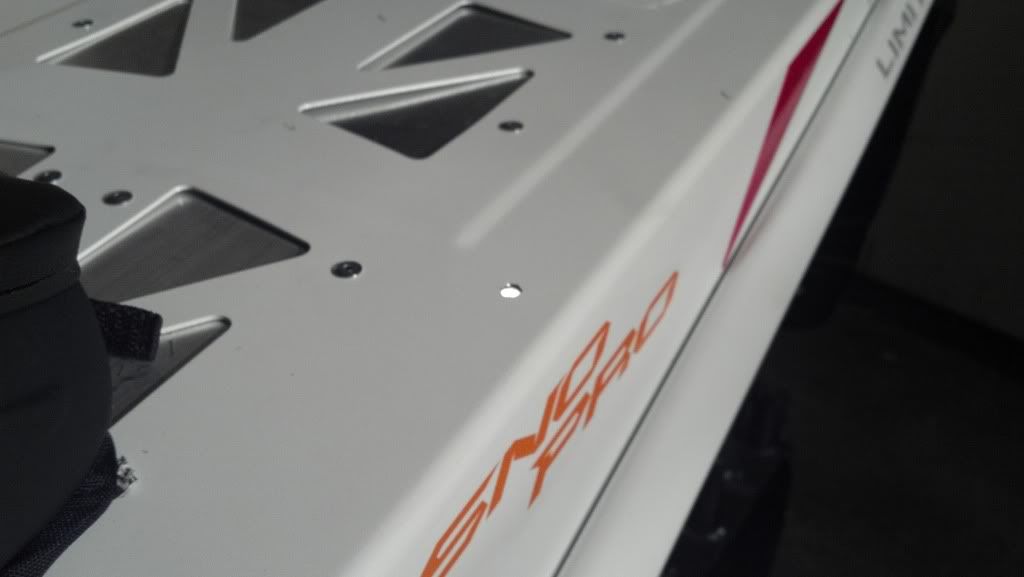
Here's the wonderful hole in my tunnel I just created:
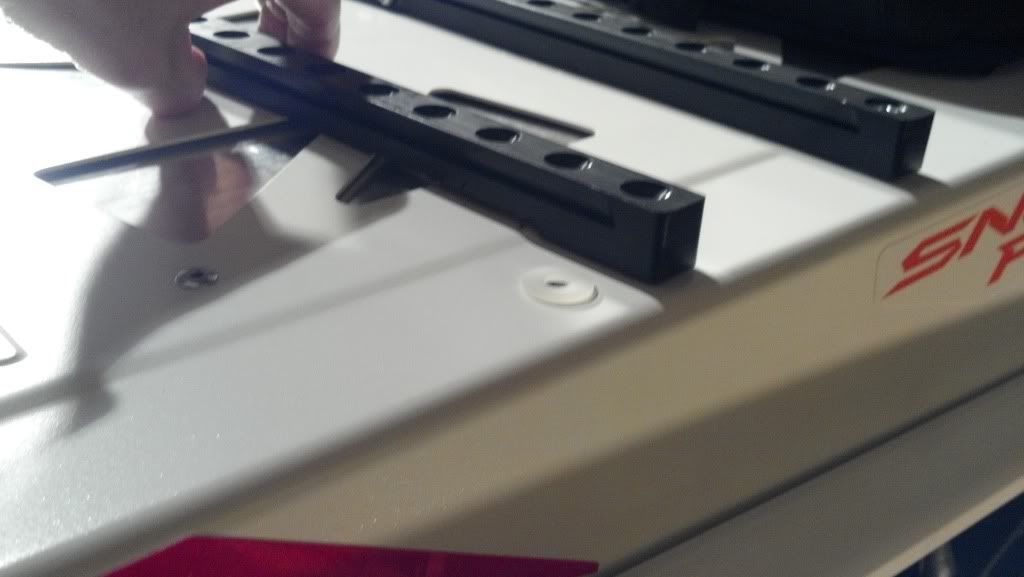
My tunnel is warped where the cut outs are. So even on this part of the tunnel, which should be flat, I had to use nylon washers to get the track to be level:

Without actually putting the fender washer and nut on I put the bolt into the track so that it would stay in place when I made the dent for the other side of the track. I then used the same screwdriver centered in the hole trick on the opposite side of the track and drilled a hole there as well:
Here's a nice blurry picture of the second hole I drilled on the other side of the rack. Note that when I drilled the hole I moved the track out of the way. I only had the track in position while I was making the dent with the screwdriver:
Next I put the other track into one of my gas cans. Doing this will allow me to get the second track into the right position without using a tape measure:
I then slide the gas can onto the track that I've now bolted down to the tunnel. I hadn't put any WD40 on the bottom of the gas can yet, so I had to use a rubber mallet to position the thing:
Once it was in position I used the screwdriver and hammer trick to make dents on the tunnel on both sides of the second track:
I then removed the gas can and track, made the dents in the tunnel a little deeper, and drilled the two holes for the second track.
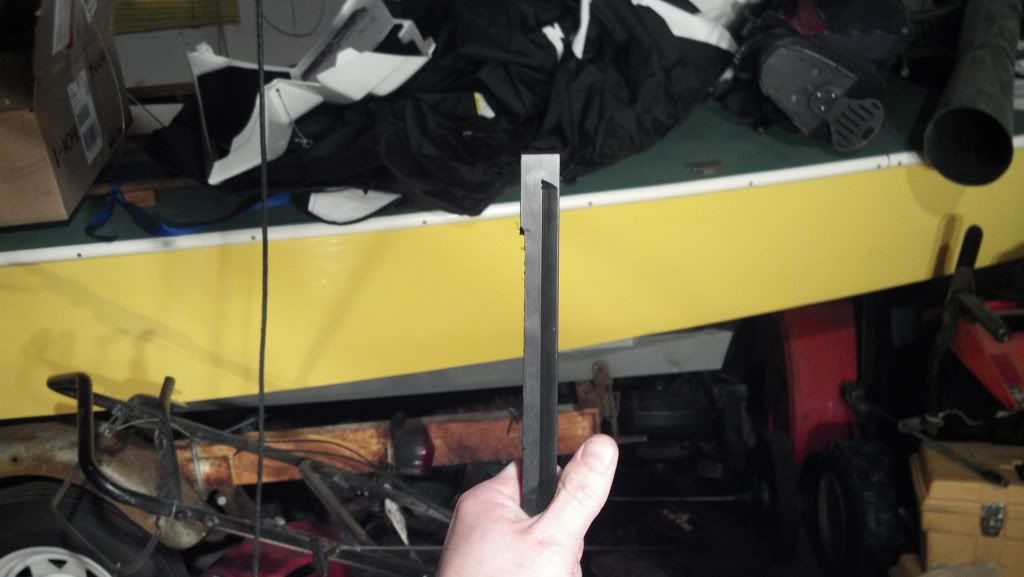
Since I used one nylon washer up front I had to use 1 nylon washer in back to keep the tracks level with each other. Because my tunnel is warped as I've mentioned before I had to use a router to cut out the bottom of the second track. In the following pictures you can see the nylon washer I used, the cutout portion of the second track, and the warpage of the tunnel:
If you also have a warped tunnel and would like to know how to make a nice router cut on a track please see this thread:
http://www.snowestonline.com/forum/showthread.php?t=286766
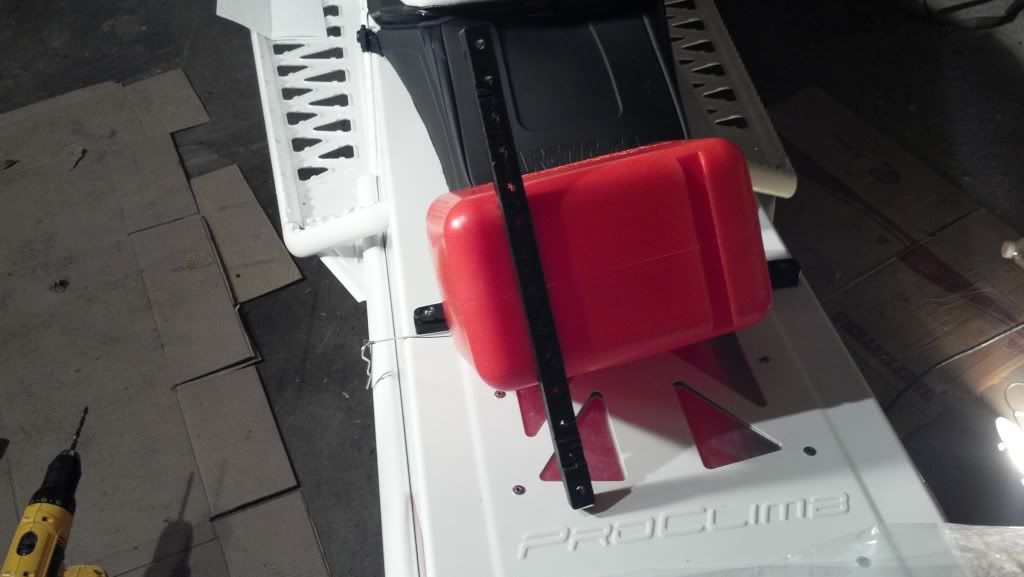
Here's a picture of both tracks bolted down and ready for the gas cans to be installed:

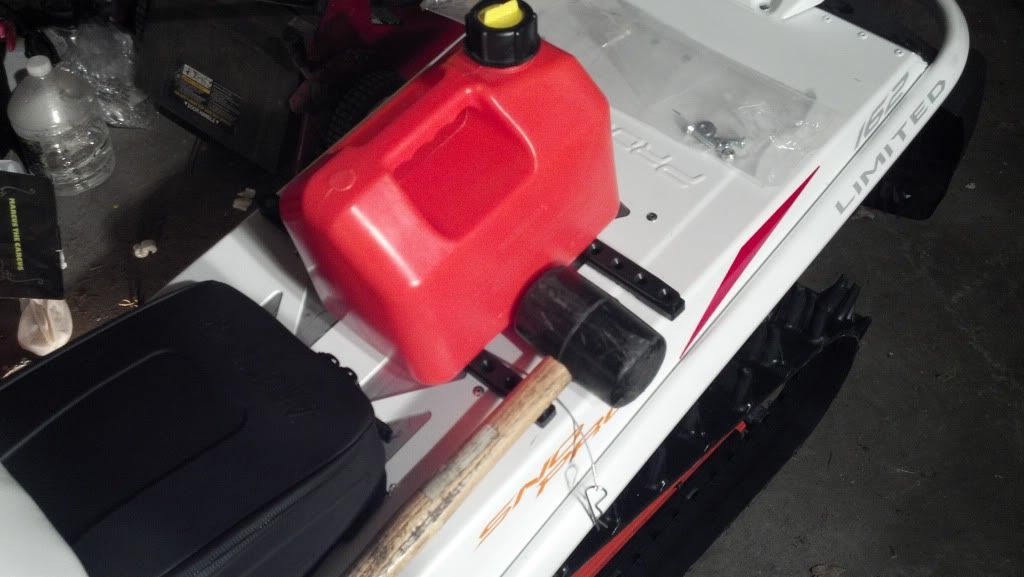
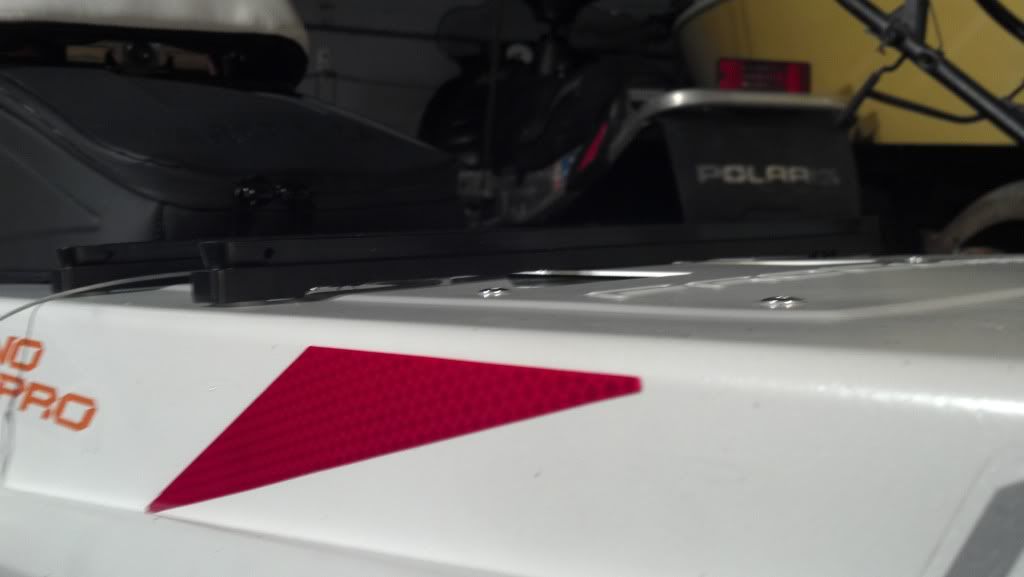
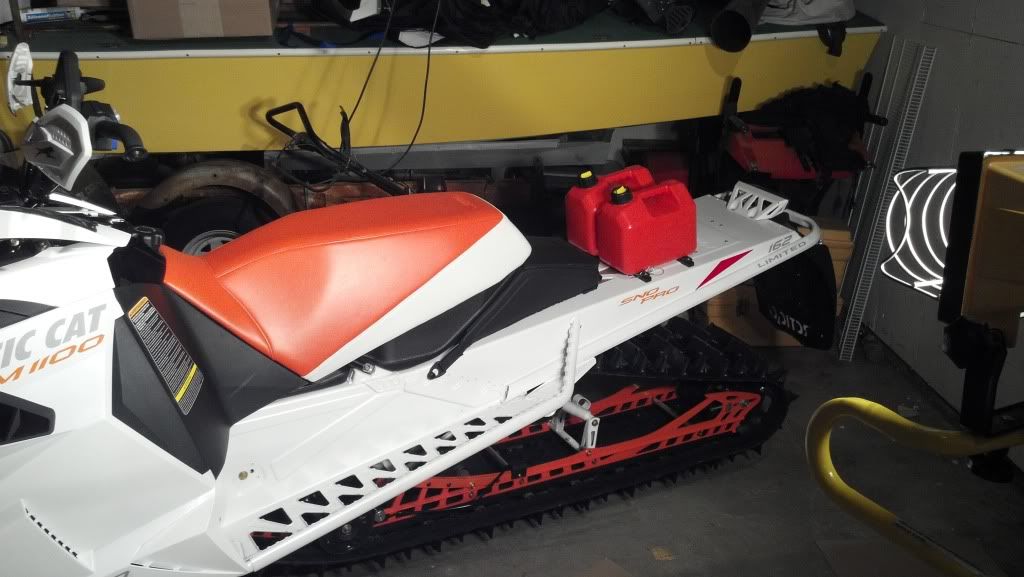
Here's a picture of the gas cans installed on the back of the sled. I really like the clean look when combined with the tunnel bag I chose:
One little additional tip. It's very easy to over tighter the bolt on the side of the track where the cotter pin goes in.
Using a screwdriver that I centered in the track hole I created a dent in tunnel to prevent the drill bit from wandering all over the place. After this picture was taken I used the hammer to create the dent:
After I moved the track out of the way you can see the dent at the end of my finger. You can also sort of see a smaller dent I made that turned out to not be centered in the track hole:
Here's the wonderful hole in my tunnel I just created:
My tunnel is warped where the cut outs are. So even on this part of the tunnel, which should be flat, I had to use nylon washers to get the track to be level:
Without actually putting the fender washer and nut on I put the bolt into the track so that it would stay in place when I made the dent for the other side of the track. I then used the same screwdriver centered in the hole trick on the opposite side of the track and drilled a hole there as well:
Here's a nice blurry picture of the second hole I drilled on the other side of the rack. Note that when I drilled the hole I moved the track out of the way. I only had the track in position while I was making the dent with the screwdriver:
Next I put the other track into one of my gas cans. Doing this will allow me to get the second track into the right position without using a tape measure:
I then slide the gas can onto the track that I've now bolted down to the tunnel. I hadn't put any WD40 on the bottom of the gas can yet, so I had to use a rubber mallet to position the thing:
Once it was in position I used the screwdriver and hammer trick to make dents on the tunnel on both sides of the second track:
I then removed the gas can and track, made the dents in the tunnel a little deeper, and drilled the two holes for the second track.
Since I used one nylon washer up front I had to use 1 nylon washer in back to keep the tracks level with each other. Because my tunnel is warped as I've mentioned before I had to use a router to cut out the bottom of the second track. In the following pictures you can see the nylon washer I used, the cutout portion of the second track, and the warpage of the tunnel:
If you also have a warped tunnel and would like to know how to make a nice router cut on a track please see this thread:
http://www.snowestonline.com/forum/showthread.php?t=286766
Here's a picture of both tracks bolted down and ready for the gas cans to be installed:
Here's a picture of the gas cans installed on the back of the sled. I really like the clean look when combined with the tunnel bag I chose:
One little additional tip. It's very easy to over tighter the bolt on the side of the track where the cotter pin goes in.
Last edited: