This information was supplied by Jason Koskela, product development and testing coordinator for Team Industries.
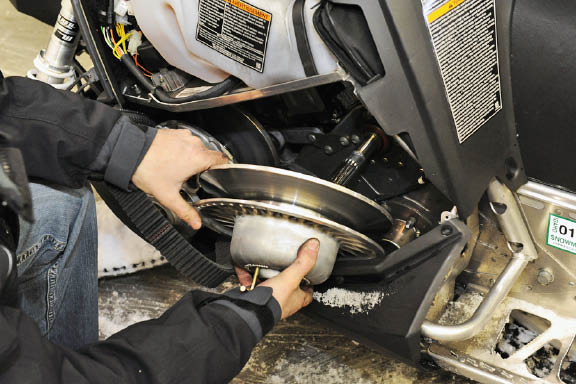 1. Take your "belt removal tool" from your tool kit and thread it in the clutch far enough to get sufficient slack in the belt so it can be removed. Then loosen and remove stock retaining bolt and remove OEM Team clutch from machine.
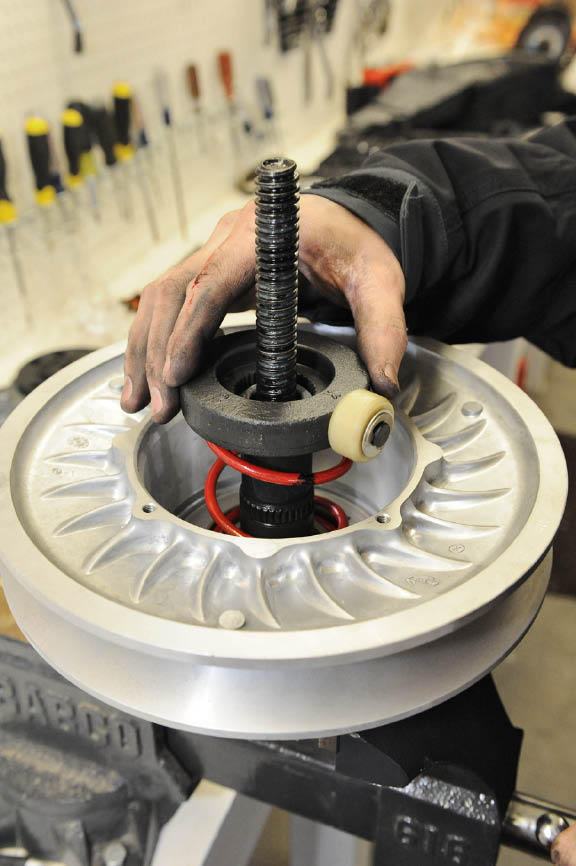 2. Here we are installing the spring in the new Tied clutch.
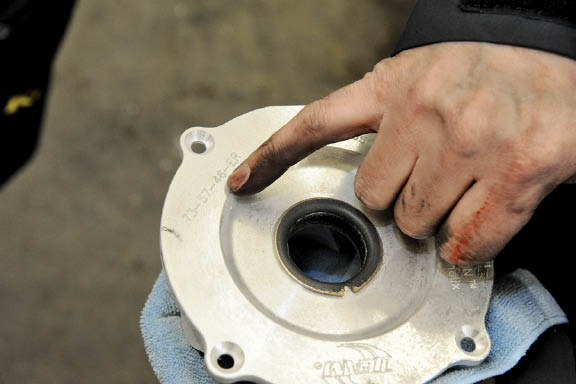
 3. Next you need to align the raised X on the roller assembly with the raised X on the sheave
 4.Now locate the recommended angle on the helix. There are two different cuts pin-stamped 90 degrees from each other.
 5.Make sure the selected helix angle numbers line up with the X on the sheave when installed.
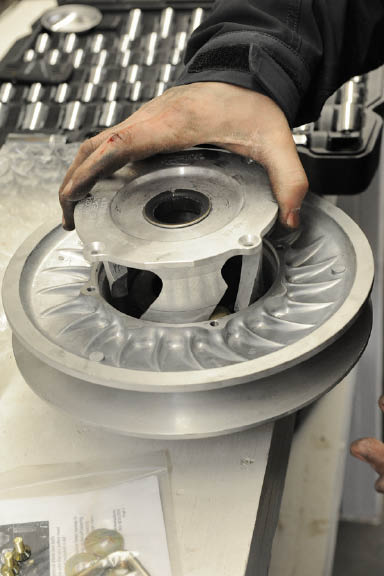 6. Now you need to line up helix angles on the roller assembly. Start rollers into milled slots leading up to the pin-stamped angle.
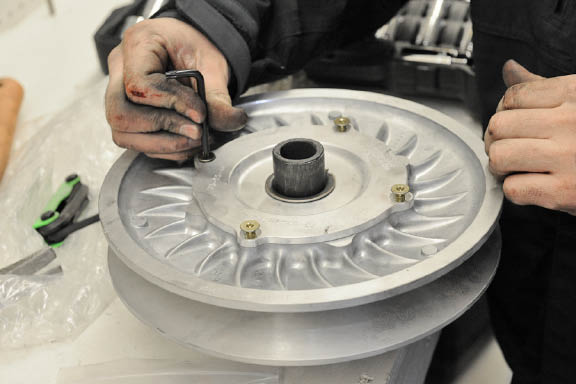
7. Tighten the four t-27 torx screws with supplied L-shaped wrench hand tight.
 8. Now install new clutch and re-install stock retaining bolt
 9. Once you change clutches, you need to check your belt deflection. There are two set screws on the side of this clutch. Set belt deflection with first screw; once you have desired amount make sure to set the other screw to the same height.